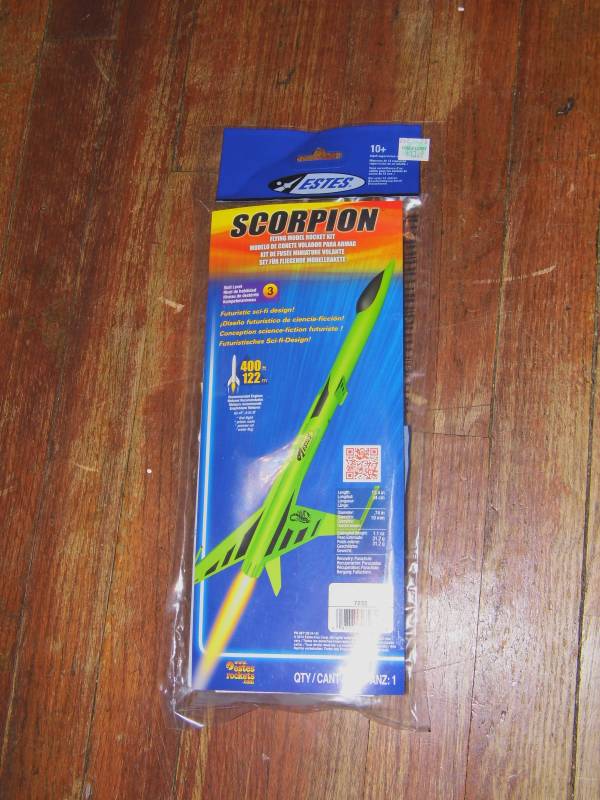
Estes Scorpion (7232)
By Steve Lindeman
2015-12-28

The Scorpion (7232) is one of two rockets I got for Christmas and one of two new Estes rockets that features a futuristic sci-fi design with twin scoops but in a smaller size than is normal for a skill level 3 build. This is a 13mm rocket that measures 13.4 in. in length, a dia. of .74 in. and a wt. of only 1.1 oz. Altitude is predicted at 400'. The Scorpion and her sister ship The Lynx (7233) share all the same basic parts but just have different styled wings.
On a side note: This is the second new kit that I've built that shares the same name as a previous release but has nothing in common with its predecessor other than name and manufacturer. Estes needs to start researching their own records better and start coming up with more original names for their new rockets.
Scorpion

Motor Mount
2016-01-02
As is typical of most Estes build this kit starts with the motor mount. Now if you're all thumbs as I tend to be at times, a pair of tweezers will help with this section of the build as there are 8 tiny parts that need to be glued on the end of the mount. On a side note here: Check the green centering ring that you split before gluing it on to ensure proper length for wood pieces.

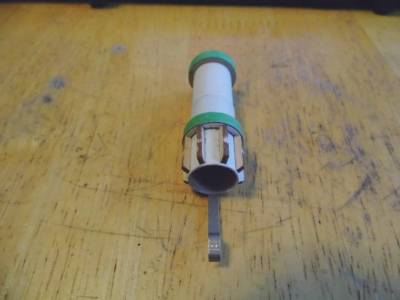
Scorpion motor mount
Wing Assembly & Top Fin
2016-01-05
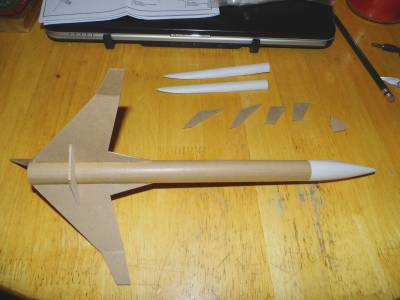
Wing assembly consists of three pieces for each wing, with the tips of each wing angled downward. The top fin is made up of two pieces. Here's a shot of them before I paper coat them. I have been giving all my rockets this treatment regardless of size for several years now with great success.
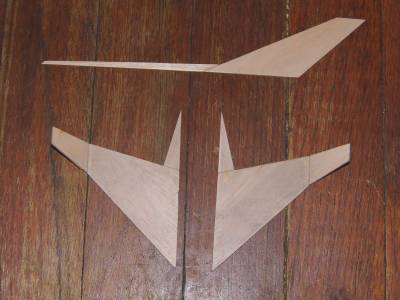
Wings & Tail Assembly before paper coating
BT, Wings & Top Fin
2016-01-16
Boy am I behind. So the next step in the build was to mark the body tube for all the fins and such. After marking it I then marked the white tube for the intakes. I was able to cut both pieces from one tube leaving the other tube for another project.

Tubes marked
After that I started on the paper covering on all balsa parts. Once they were covered I grabbed a new blade for my Exacto-knife and cut the two scoops from one of the two white tubes provided in the kit.
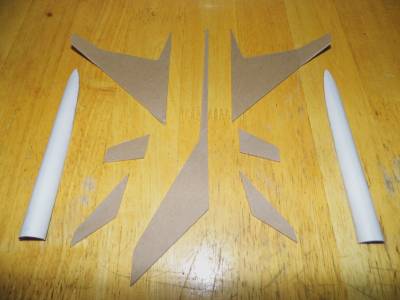
Balsa paper coated & scoops cut

Attaching Wing & Fins
2016-01-16
Next up was the top fin attachment. Now I normally would go with white glue throughout a build of this size, but this time I just happened to have a brand new bottle of yellow wood glue so I went with it. I figured with thinner balsa wood it wouldn't hurt to have a little extra bonding strength. After top fin was attached I then attached the wings. One of the Pros: here. I like the little guide pieces that Estes now includes in some of their kits. It made setting the fin angles a snap.
Guide piece tacked on to BT to set wing angles
After the wings were glued on the two front fins were glued on. These were followed by the two rear bottom fins again using one of two balsa guides provided in the kit and shown in the instructions to set their angles.
Front fins glued on
Scorpion bottom fins
All was then left overnight to cure.
Launch Lugs & Motor Mount
2016-01-16
The next day I glued on the launch lugs. After giving them a couple hours to set I applied white glue as shown in the instructions to the inside of the BT and installed the MM. This was the only time I used white glue in this build as I knew the yellow would grip to fast to get the MM in properly.
Scorpion MM
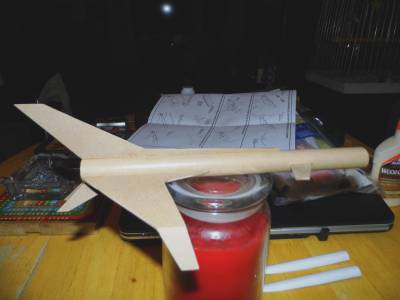
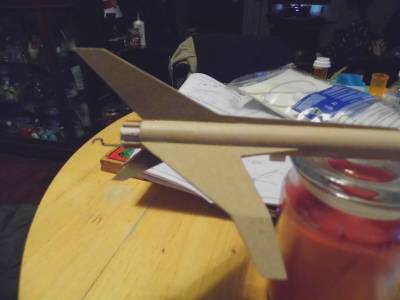
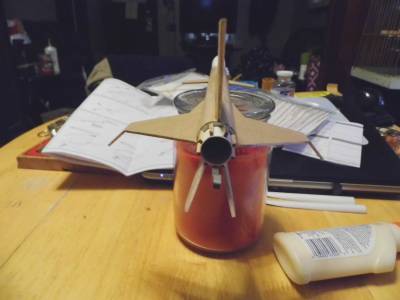
Note: NC was temporarily put in place to help balance rocket on glass candle for photos.

Scoops
2016-01-16
Now this is where the fun, er- all Hell broke lose. Up to this point this has been an easy build. Even cutting the two scoops from one tube wasn't that hard. But when it came time to attach the scoops to the BT, what a headache. My biggest mistake was using the yellow glue at this point. I thought I could get a better bond by using it as opposed to the white glue but only ended up with a mess as I seemed to be all thumbs. It was at this point, after much cursing both out loud and under my breath, that I was ready to rip them off and finish the build without them. After some more cussing and fussing they finally weren't looking half bad. At this point I left them to set overnight.
Scoops attached
The following day I started on finishing the scoops. I grabbed the Elmer's wood filler and a putty knife and leveled in the back end around the scoops. I then took a brush and thinned wood filler and went over all seams of the scoops. Once satisfied with the results I again set it up to dry for the afternoon before giving it a light sanding to see how it looked. It's getting there but still needs some touch up.
Wood filler added to tailend of scoops
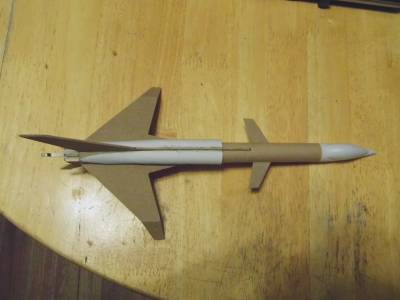
Details & Nose Cone
2016-01-16
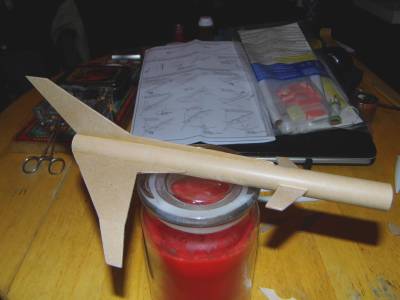
The next step was to cut the included wood stick into two 1" pieces for the wig tips and one 1 1/2" piece for the top of the tail. After they were glued on I added the clay to the NC as per instructions. This is as far as I'm going for now till spring when I can start priming as wife complains about odor coming from basement when I try and do it this time of year. Also I have 3 other projects waiting in the wings one of which I had already started (Estes Cosmic Interceptor) before I got this one and another one (Estes Magician) for Christmas. On my Birthday (01/10) I got the Estes Mega Der Red Max. Boy am I behind. (I think I said that already).
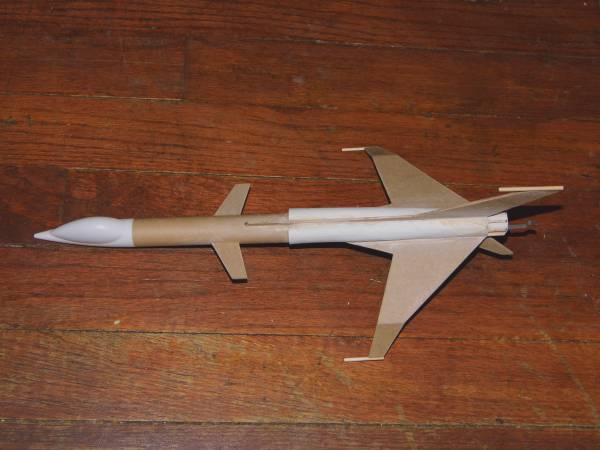
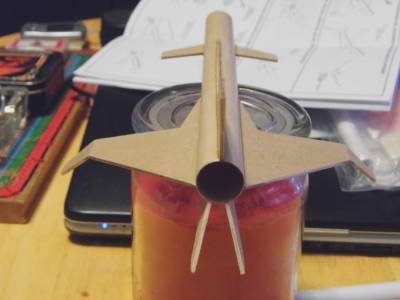
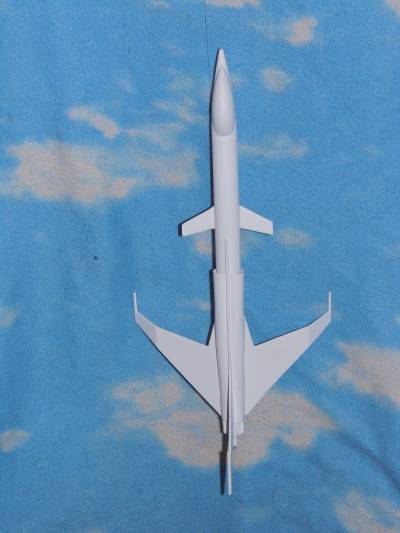
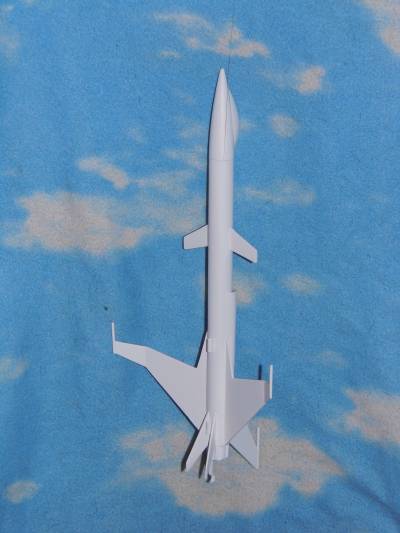
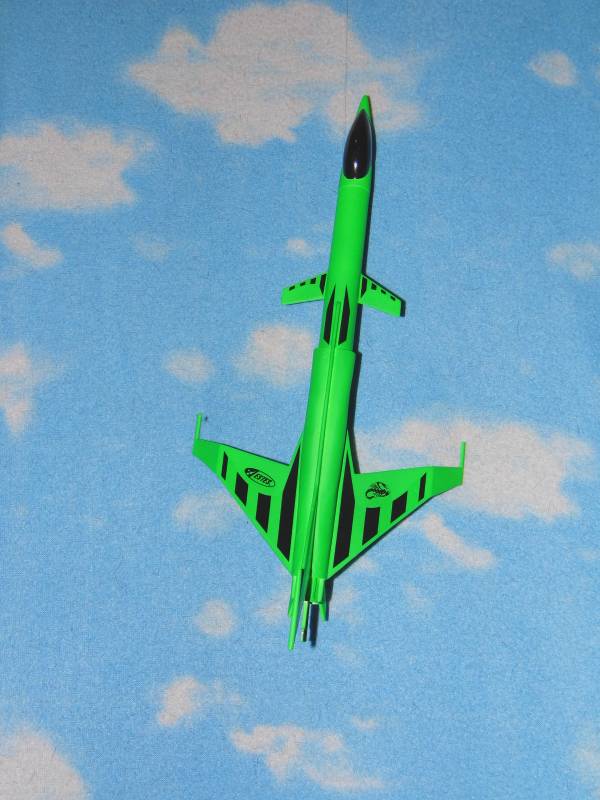
Scorpion top shot
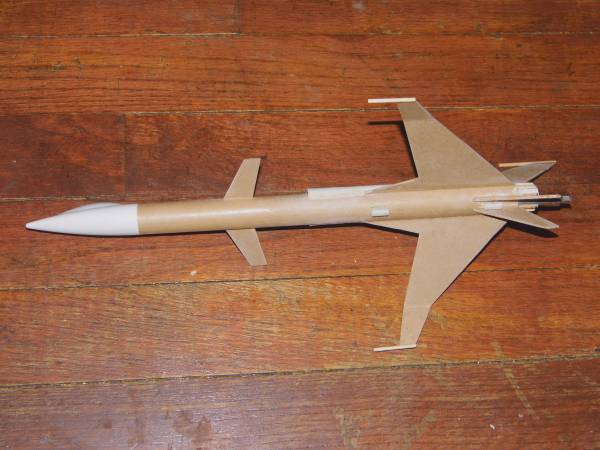
Scorpion bottom shot
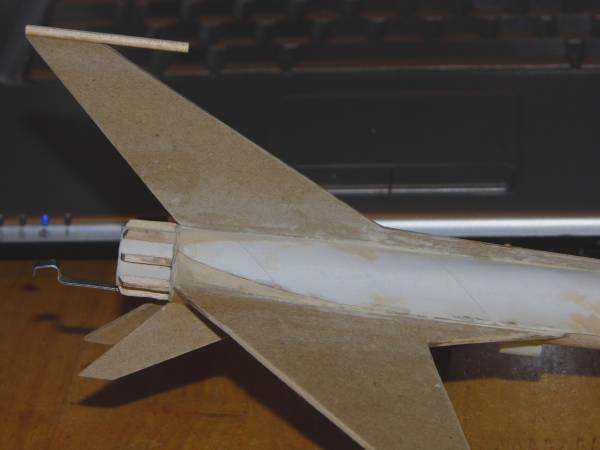
Closeup finished scoop end
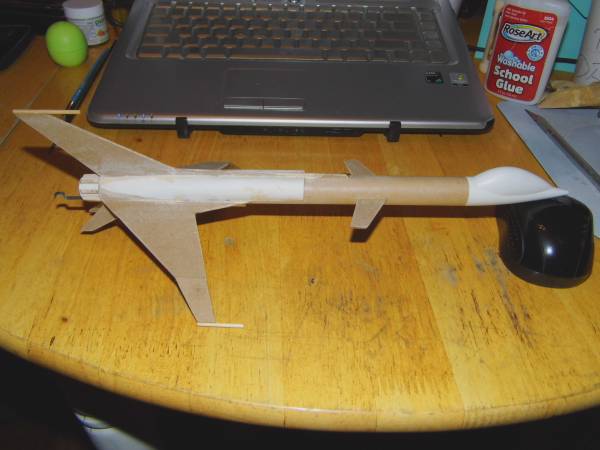
Scorpion ready for primer
Painting
2016-02-21
Couldn't wait any longer for weather to warm up so broke out the small space heater and headed for the basement. Wife was not happy when she found out what I was up to! After basement warmed for a while I shut down the space heater opened the windows and grabbed the primer. A quick coat of primer was applied and after allowing air to vent windows were closed and space heater turned back on. After a light sanding I went thru the whole process again. Nose cone was then painted black and left and everything left to dry overnight.
Scorpion primed
Note: Background is an old blanket my wife had
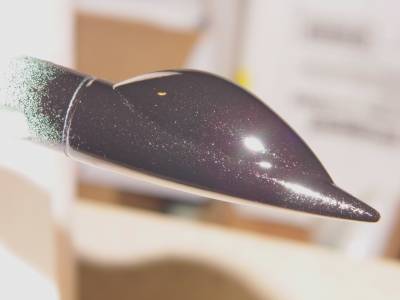
NC painted black
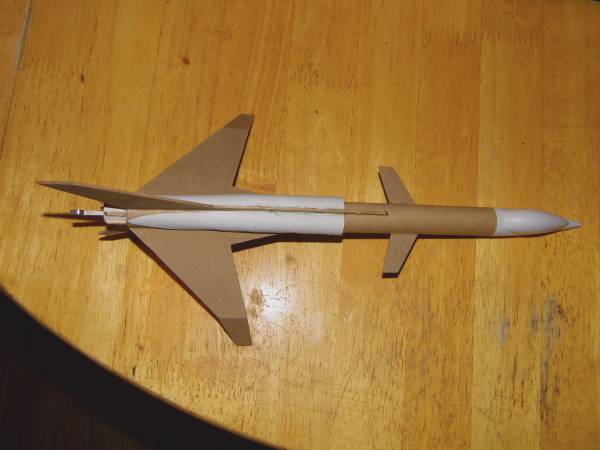
I actually let 2 days pass before I masked off the NC canopy and applied another coat of white primer to it. I then painted entire rocket with two coats of Rust-Oleum Fluorescent Neon Green to make it stand out.
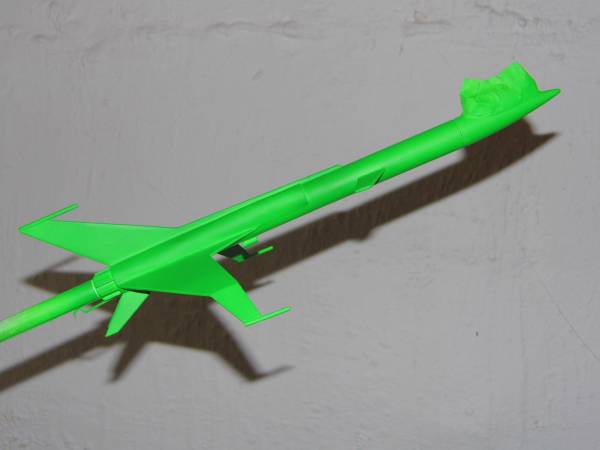
Rust-Oleum Fluorescent Neon Green
Being as I'm doing this in the basement during a typical Michigan winter, I again gave it a couple of days to let the paint cure before bringing it upstairs to apply the decals. The decals went on without any trouble at all and look great against the Neon Green paint job. All that is left now is to clear coat it with my infamous Dupli-Color Clear Effex to make it really pop. That won't be done till the weather warms though as I have tried in the past to do it in the basement but it always fogs so not doing it again. Will wait.
Scorpion decals applied

Scorpion Maiden Flight
2020-03-07
Sorry I'm so late in getting this launch photo posted. On July 9, 2016 I loaded up the Scorpion along with several other rockets and headed south to Brooklyn, MI for a club launch across from Michigan International Speedway at Graves Farm Campgrounds.
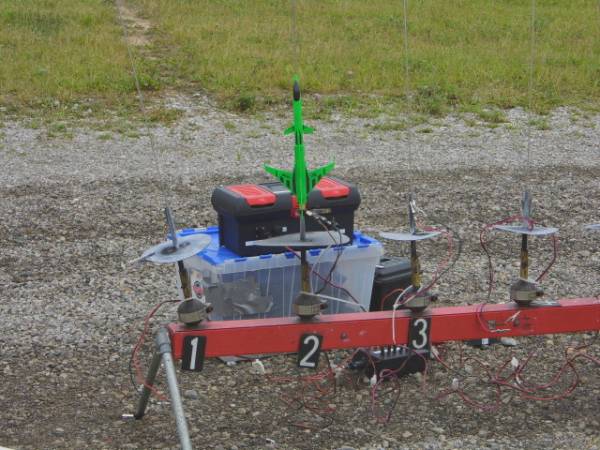
Scorpion going in 5...4...3...


 |
 |