U.S.S. RELIANT
By Lester Anderson
2016-02-02
A small, simple, Star Trek themed rocket kit. It is essentially a rebranding of the Sky brand rocket kit East Wind.(https://www.apogeerockets.com/Rocket_Kits/Skill_Level_2_Kits/East_Wind)
Parts
2016-02-02


I am going to be building the MPC U.S.S. RELIANT. It is essentially a rebranding of the Sky Rockets East Wind kit.
Step 1, fin.can & engine hook assy.
2016-02-04
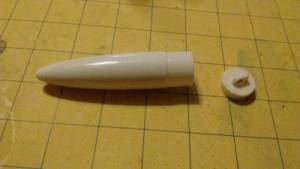
As per previous people who have built variations of this rocket, I decided to inspect the level of engagement of the top of the motor hook. I found that I had less than a 16th of an inch of motor hook engagement on the top of a dummy casing. Not exactly safe in my opinion.
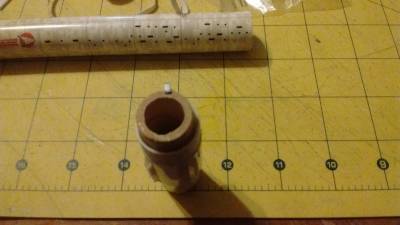
So because of this I made the decision to modify the rocket a little bit. I have decided to add an engine thrust block inside the main body tube. This will also be my shock cord attachment anchor.
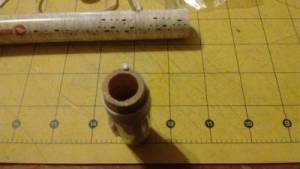
This thrust block is nothing more than a standard BT 5 to bt20 centering ring with some Kevlar thread attached to it. I did have to buff it up a little with some masking tape to get it to fit the inside of this oddball mpc body tube.
And here we have the thrust block installed in the body tube. Being that close to the end made doing you feel its real easy.

A detail shot of the joint of the plastic fin can and body tube. Getting the alignment of the pre-printed body wrap and the fin can straight was an important consideration for the look of this model.

And to finish this that we have the engine hook itself installed. The hole that pierces the body tube to the top of the engine hook is 5/8 of an inch from the bottom of the body tube. The engine hook itself is taped in place with clear cellophane tape. I personally don't like having the engine hook only taped in place, but there isn't really anything else to hold it in.
Step 2, launch lug & Fin assembly
2016-02-05
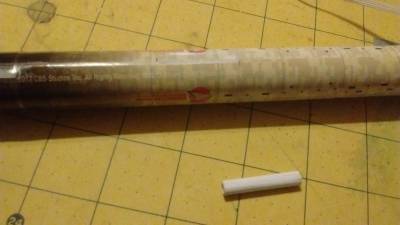
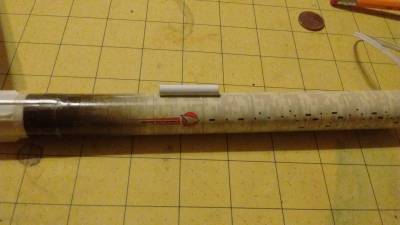
Applying the launch lug is rather straightforward. The instructions have you measure from the bottom of the body tube 4 3/8 of an inch. Mark the tube there, then glue the launch lug on.
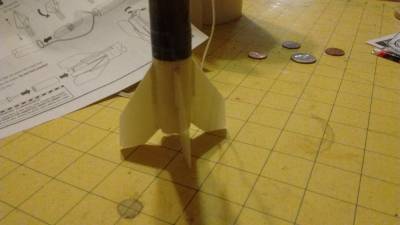
And now we have the fins glued on.

Step 4 nose cone assembly
2016-02-07
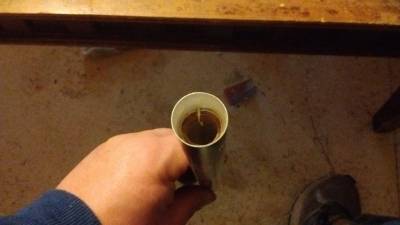
The instructions have you install the parachute to the nose cone before the nose cone is assembled. Kinda backwards.
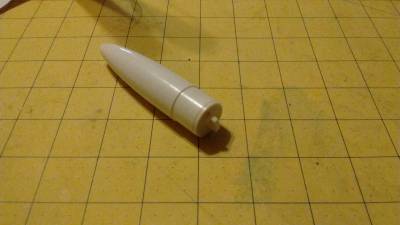
The nose cone is a 2 piece affair. Both pieces just get glued together.

Lastly, tie the elastic shock cord to the nose cone.

Step 3, Parachute assembly
2016-02-08
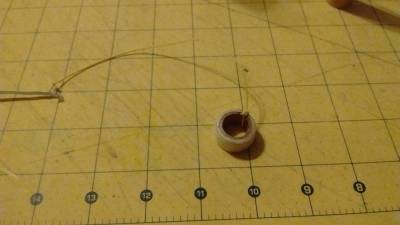
First thing I did for parachute assembly was to build myself a harness from the shroud lines. This helps to keep all of the shroud lines even. Next we apply all of the tape disc's to the corners of the parachute.


Next, tie all of the shroud lines to the corners of the parachute. Finally, attach the parachute to the nose cone.


Sticker placement
2016-02-08
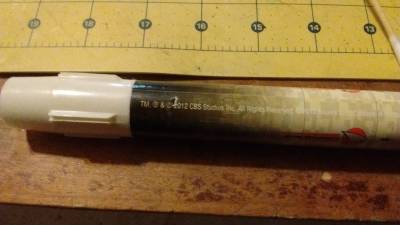
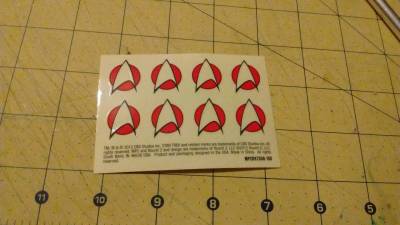
Surprisingly, this kit comes with 8 stickers for the fins. That actually means you get two stickers for each fin, one for each side. This is a refreshing change for me from the Estes standard of only giving enough decals to recreate the header card.

And with that the build is done. For those of you wondering if this model is the same weight as it's RocSim file on Apogee's website, I don't remember if I weighed everything. I will include the file.

Sponsored Ads

 - Ancient Prophecy - 1st Edition - Rare")


 | Intermediate Rocket Kit | Step-by-Step Instructions | Science Education Kits | Great for Teachers, Youth Group Leaders and Birthdays,Blue")

, Launch Pad/ Controller, Glue, Four AA Batteries, and Two Engines")


 |
 |