Kenny's Trimaran - 2010 Design This Spaceship Contest Entry
By Howard Smart
2011-04-27
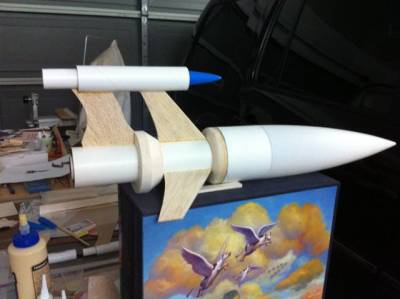
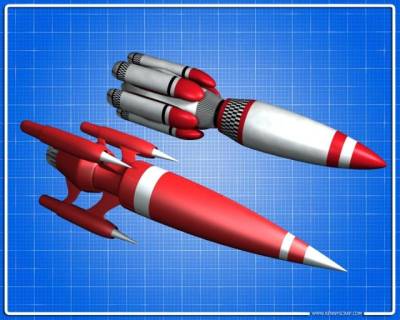
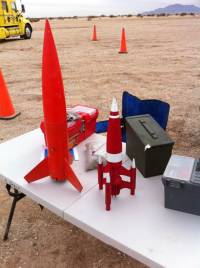
This is a very interesting rocket built from a 3D model as part of the Design This Spaceship contest. The rocket has a large nose cone, narrow waist section, and three outboard pods that look like jet intakes.
Components
2011-04-29

![]()
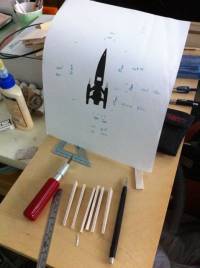
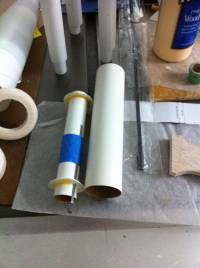
The large diameter of the central body is 2.6 inch, the narrow section is 1.6 inch. The nose cone and tubes are all from Apogee.
I printed out a profile of the design using a 3D software program, and used this to make measurements to scale up the design.
The pod's outer diameter is 24 mm, and the inner diameter is 18mm. These nose cones are also from Apogee, and conveniently come in a three-pack.
The solid balsa transitions I turned from 1/2 inch balsa stock. I rough cut them using a band saw, then turned them to the right diameter using a sanding station. I chucked them in a power drill and sanded the chamfer and rounded edges. I then cut the 1.6inch hole in the center using a hole cutter on a drill press.

Construction/Finishing
2011-04-29
The construction of this rocket was a nonlinear process. Many parts can be worked on concurrently. When it all comes together it is quite satisfying.
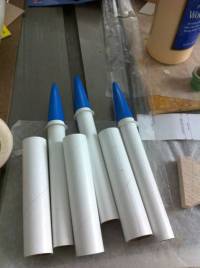
The pods are constructed by centering an 18mm tube inside a shorter 24mm tube. I made sure the aft centering ring was flush. I also added a ring inside the aft end of each 18mm tube to strengthen them, since they will be hitting the ground first.
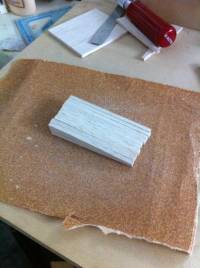
I cut the fins from 1/8inch hard balsa. This balsa is very tough and a bandsaw really helps to cut them close. A stationary sander finished them off.
The two sets of fins had to have exactly the same span, and exactly parallel edges, otherwise they won’t meet up on the edge of the pod. This took some care. It also helped to have through-the-wall attachment of the fins to the pods.
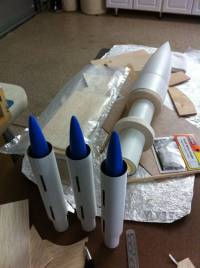
I first attached all three forward fins, then each rear fin and pod together.
The motor mount is a standard 24mm long Estes mount, for black powder E motors. It will also take 24mm reloads.
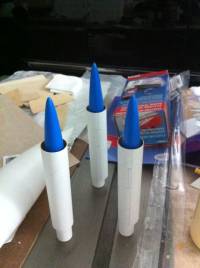
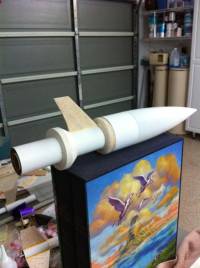
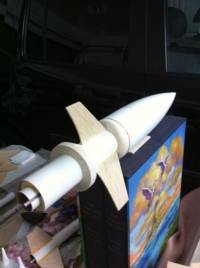
I chose to depart a little from the 3D model and put a bunch of tapered ribs at the aft end rather than try to fit the fins into a tapered shroud. I think it adds interest and looks cool.
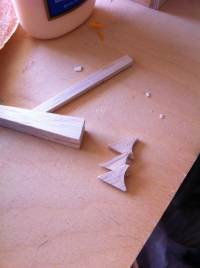 I added the curved detail at the root of the forward fins as a separate piece

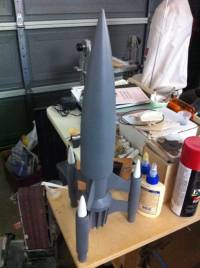
I filled any crevices with Elmer’s wood filler, and gave it one coat of white Kilz. Then I gave it one coat of grey primer to hide any color differences that might show through the red.
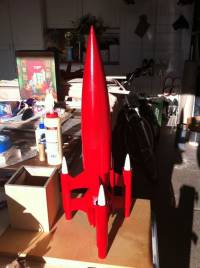
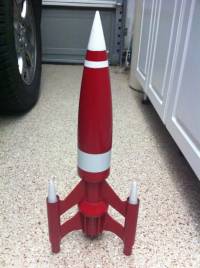
The final color is two coats of gloss red enamel (Ace Hardware). The white is spray enamel on the pod nose cones, hand painted on the large nose cone, and is actually a vinyl sticker on the main body tube.

Flight/Recovery
2011-04-29
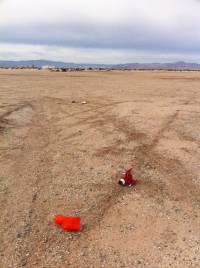
I launched this three times on December 4 in Plaster City, CA. It was a beautiful day, perfectly calm, temperature in the 60s. The rocket was a head-turner. Everyone who saw it asked me whether it was a kit or where I had gotten it.
The first launch was with an Estes D12-3. This was a little underpowered, and arced over. This made even the 3 second delay seem a little short. Good thing I had separate nose cone recovery.
Learning from the first launch, I increased the thrust and impulse for the second and third launches. I got some Aerotech E20-4s from What’s Up Hobbies (our on-site vendor). THIS is the right motor for this model! Great flights to about 500 or 600 feet, good delay.
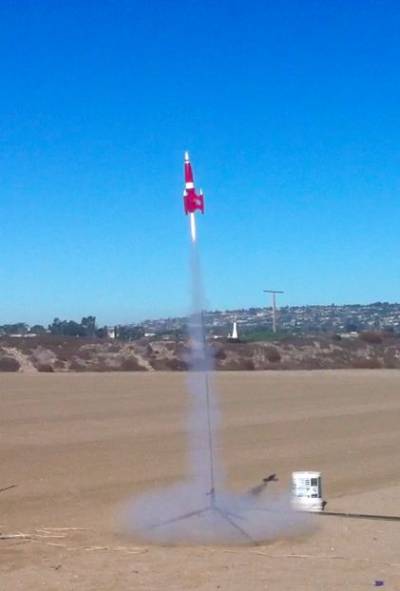
This one is a vidcap from a launch at Fiesta Island.

Summary
2011-04-29
Even though this was one of the simplest models in the Challenge, it was quite a challenge to build. I often found myself staring at it wondering just how I was going to make some part look right and be sturdy enough. In the end I was happy with how it came out. I would have loved to make it even bigger, say 4 inch in the nose cone section. It looks to me like the Madcow Squat nose cone would work. I have ideas about air-starting outboards in the pods. Hmmm.

Sponsored Ads


 |
 |