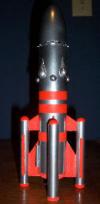
Scratch Arakska - 1 Original Design / Scratch Built
Scratch - Arakska - 1 {Scratch}
Contributed by David Hoffmeier
| Manufacturer: | Scratch |
Brief:
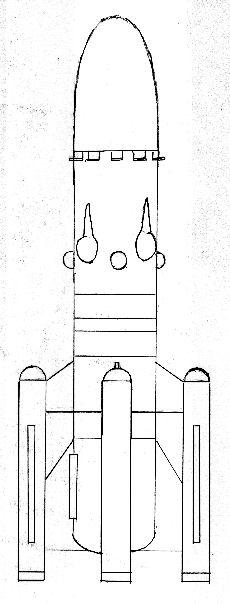
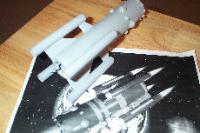
This model was built to enter the EMRR Spaceship Design Contest. Using a BT-60, an 18mm engine mount, and four BT-5s for the outboard nacelles the only obstacles left was the rounded aft section and the small cones on the nacelles. Crayola’s Model Magic turned out to be just what was needed.
Characteristics:
- Height: 9.8 inches Width: 3.8 inches Weight (without engine): 2.25oz
- Motor Mount: 18mm (single) Recovery: 12 inch Parachute
CLICK ON ANY
PICTURE TO ENLARGE
|
|||||||||||||||||||||||||||||||||||||||||||||||


Construction:
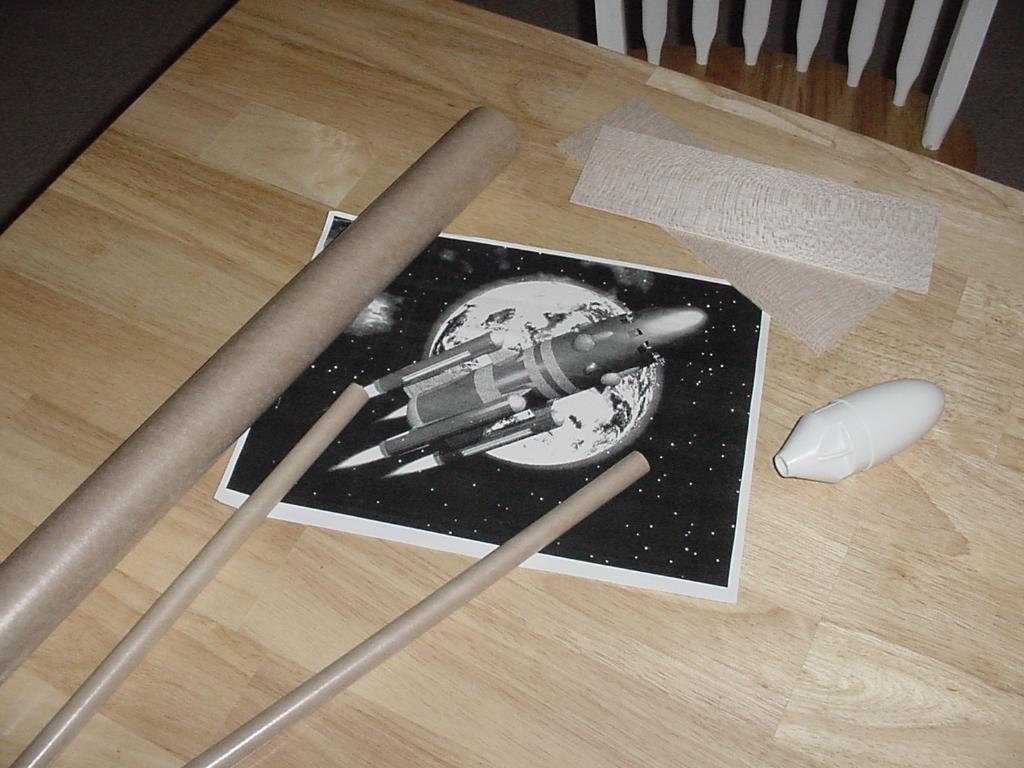
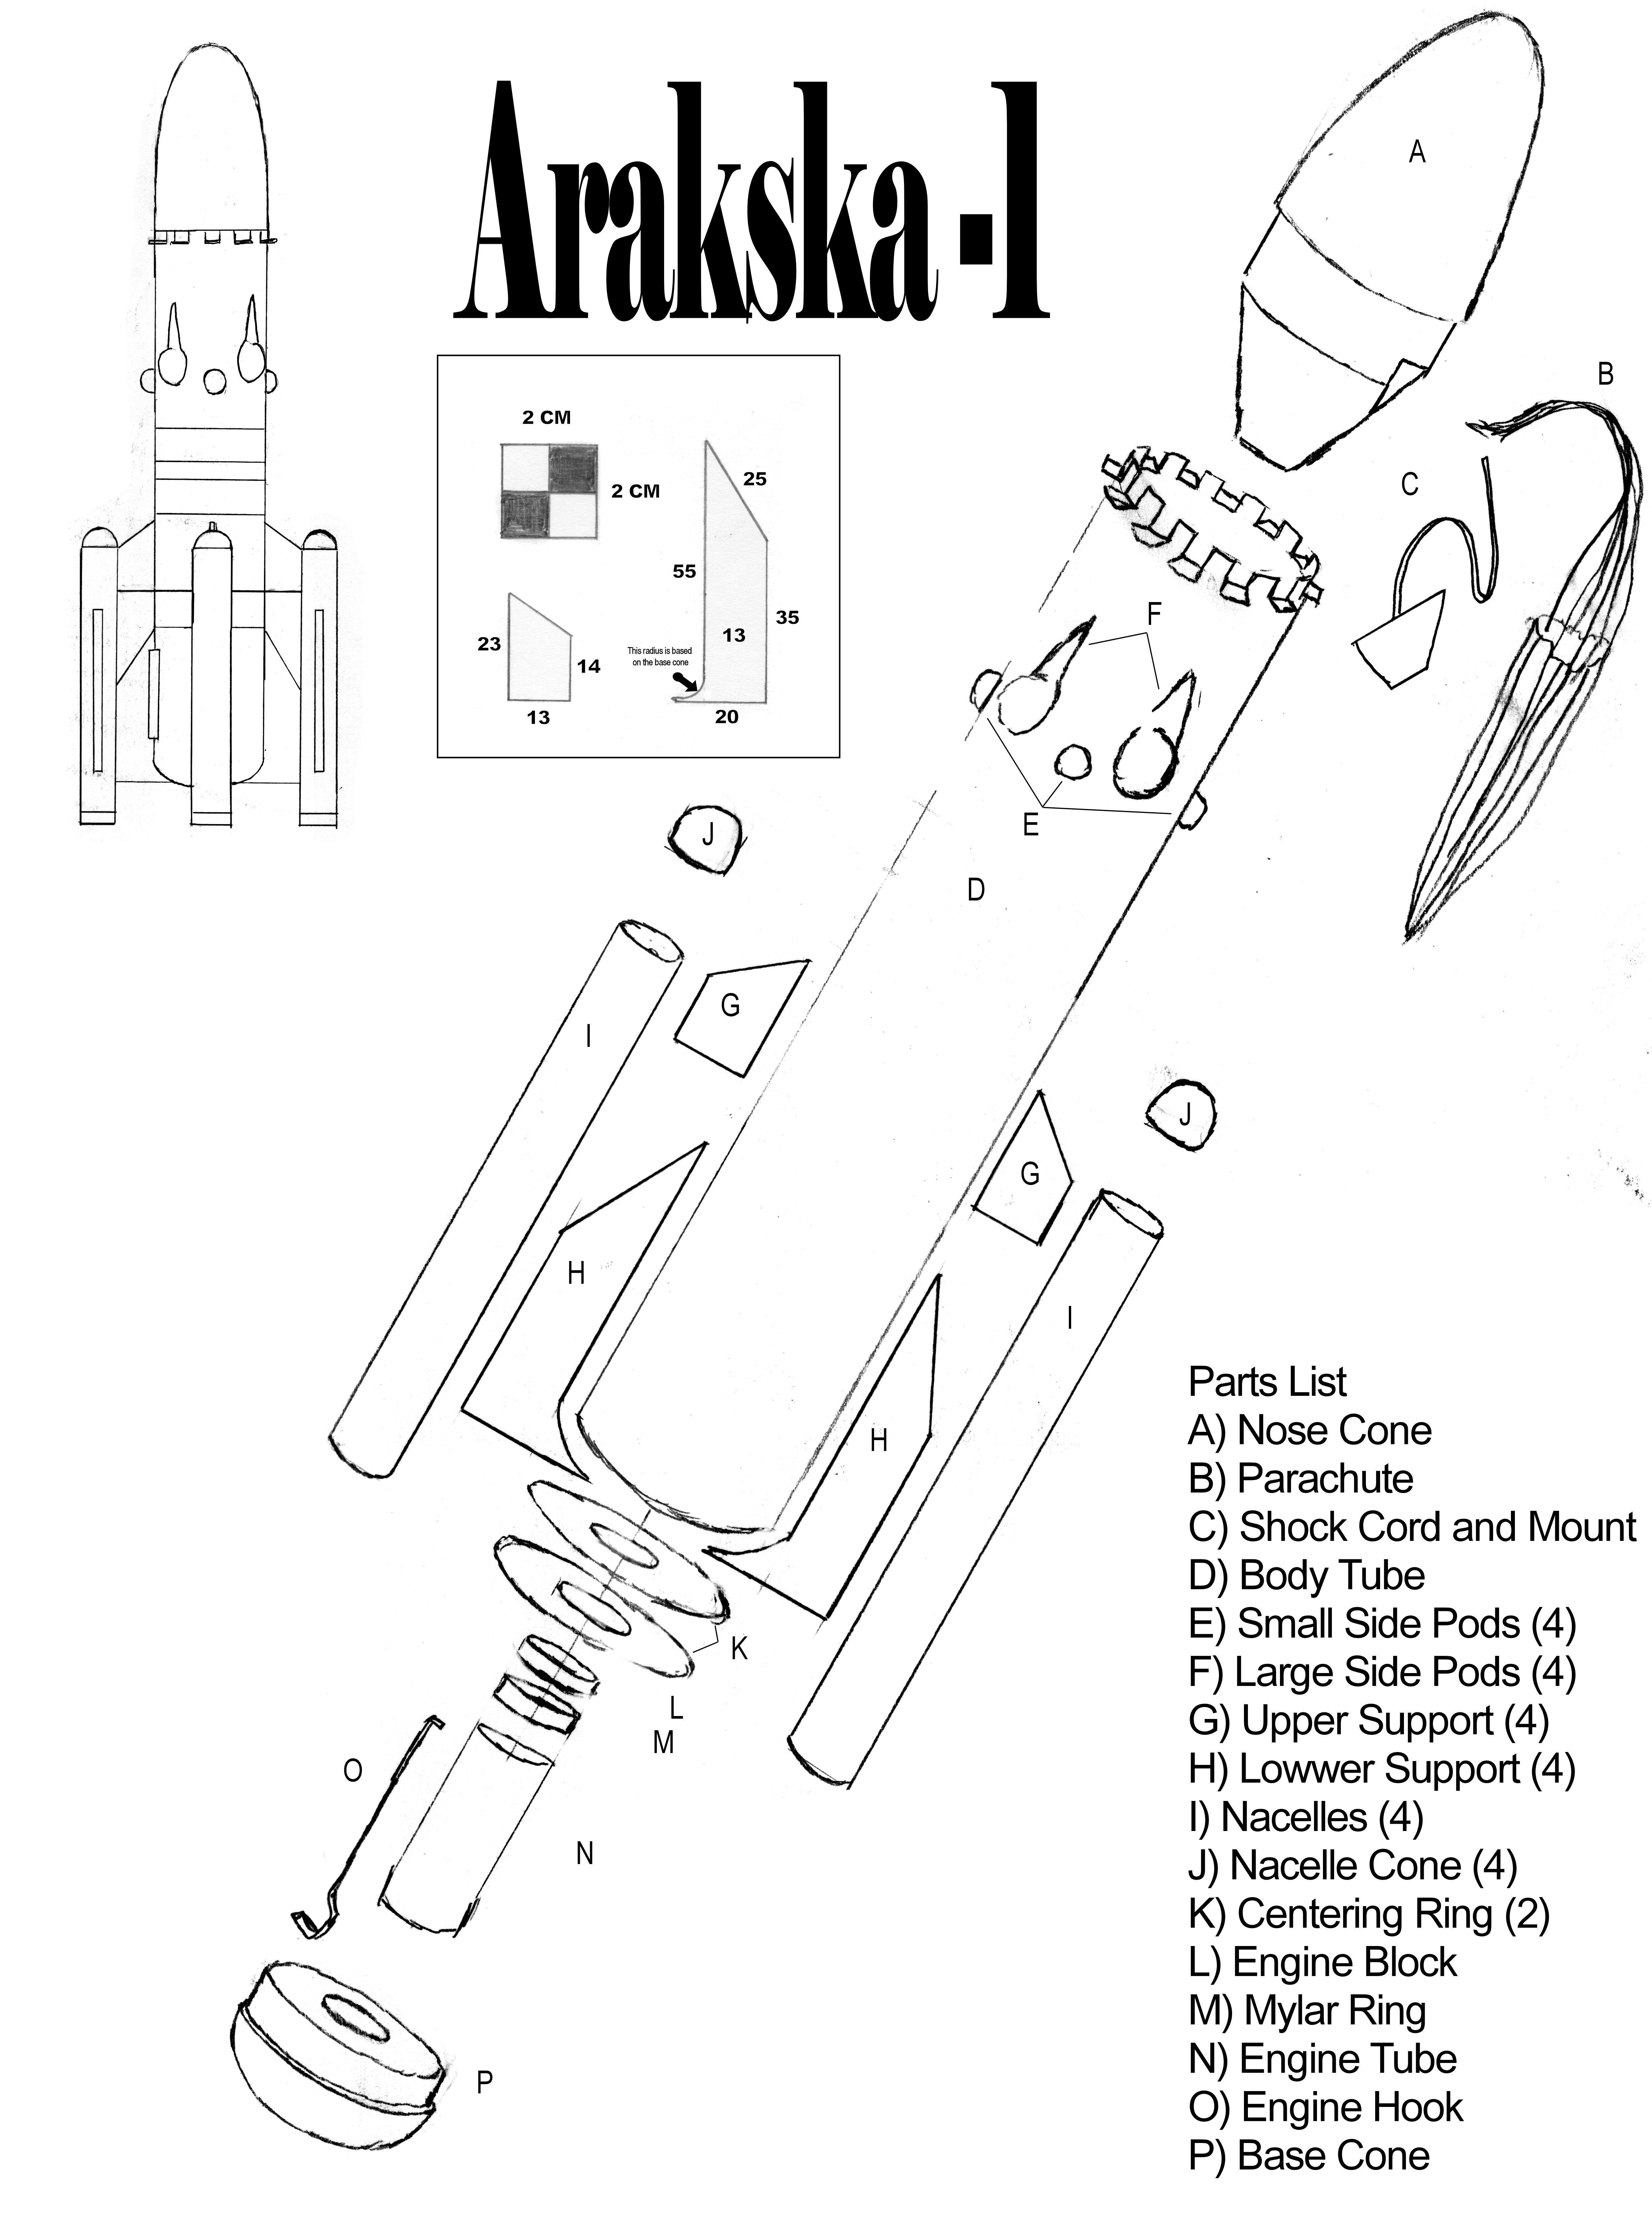
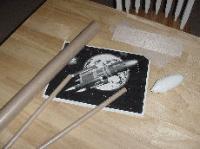
The following are the major components used:
|
|
Narrative:
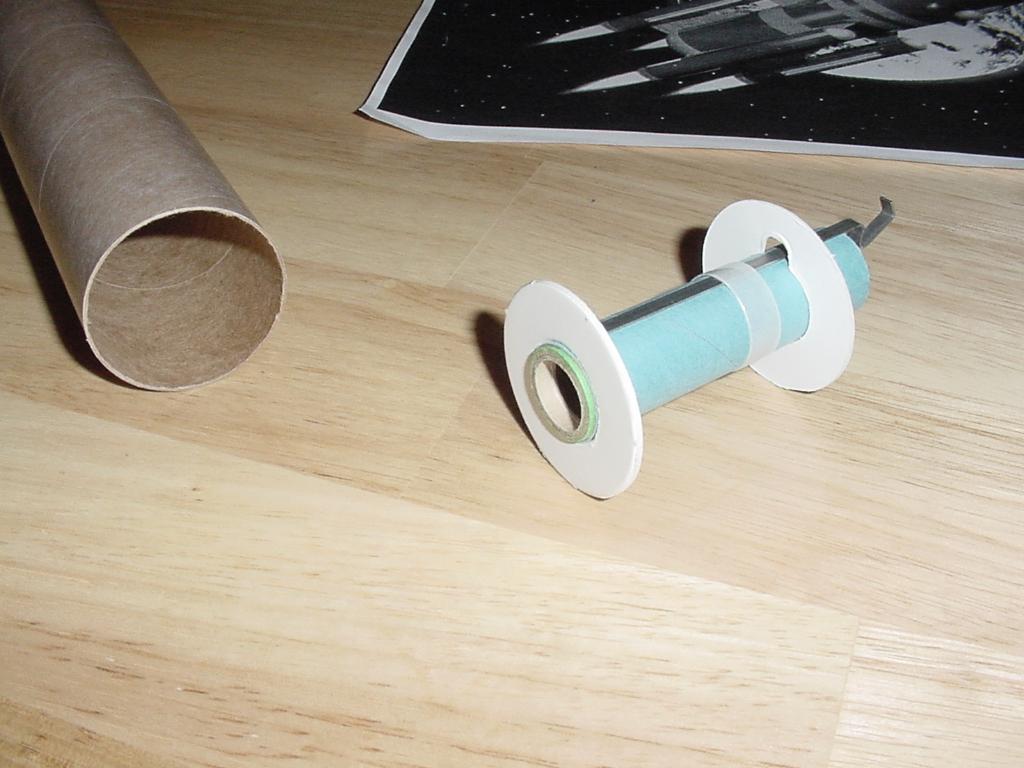
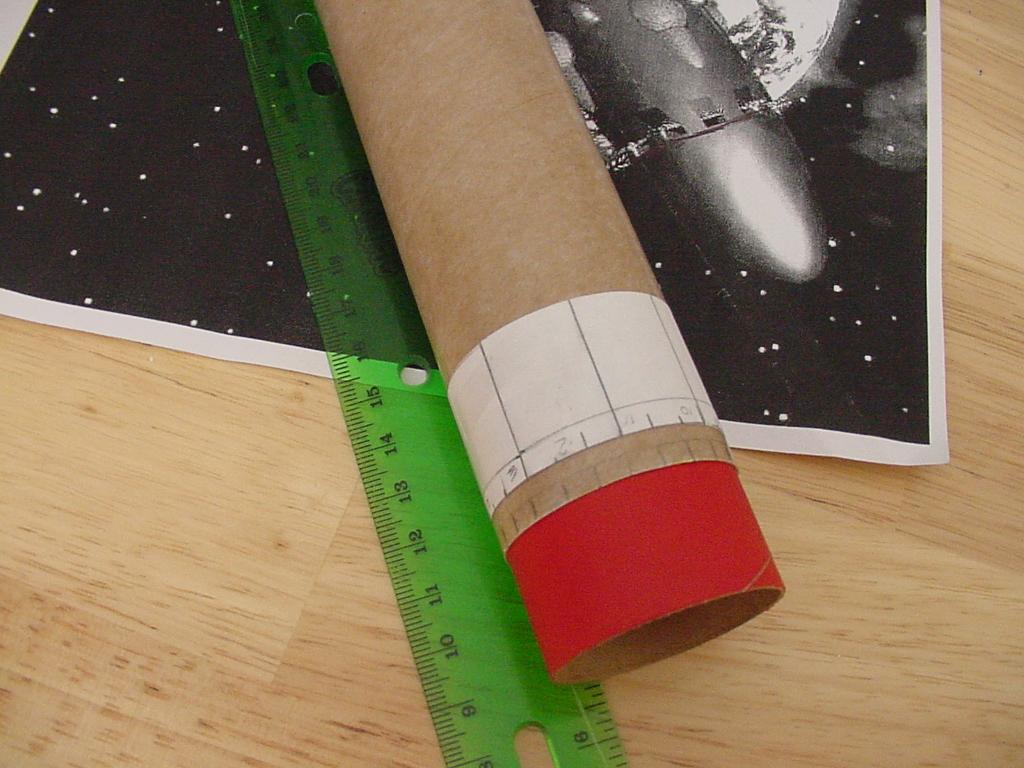
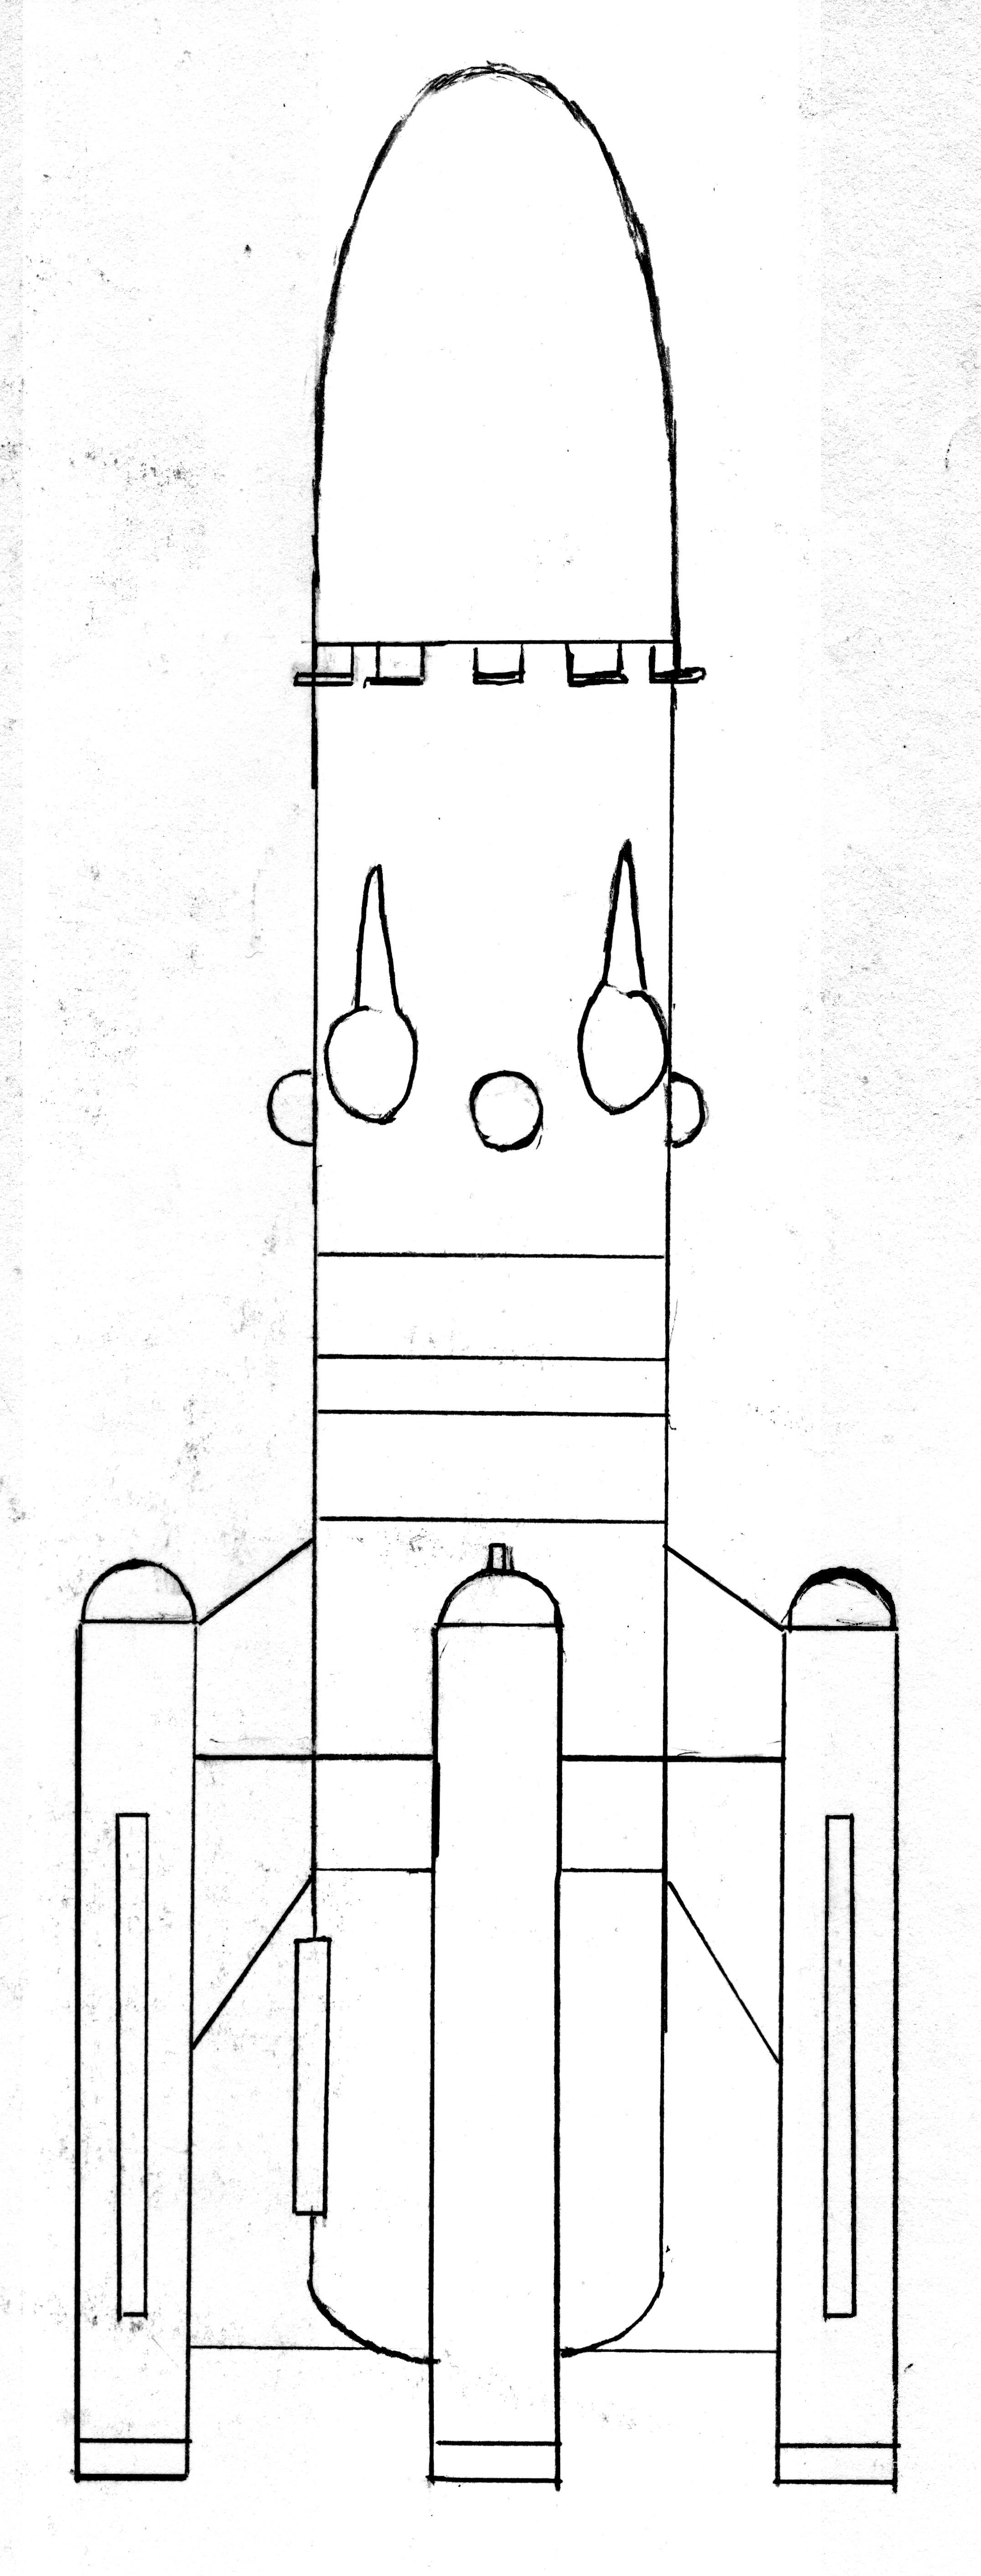
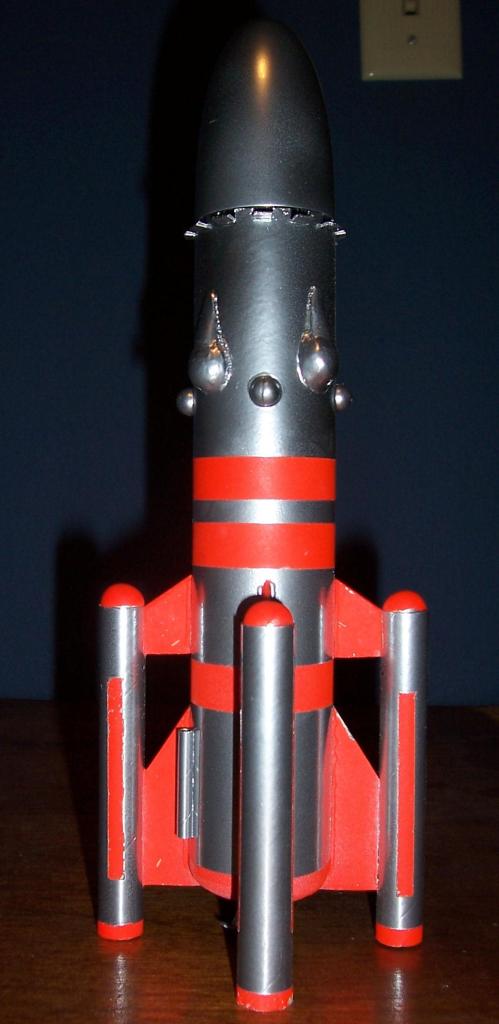
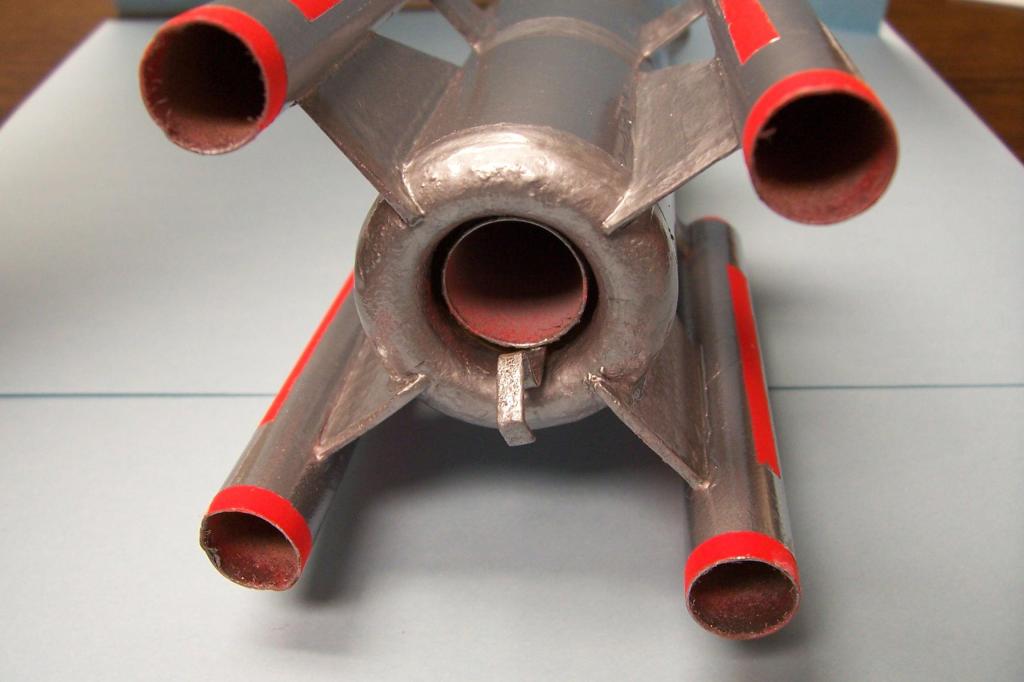
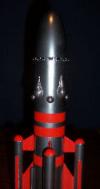
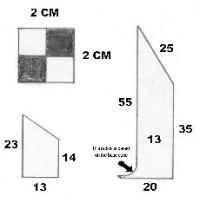
Since the only source document was the photograph, the measurements are all relative. Since I was only going to use a single 18mm motor, my nacelles could be constructed out of BT-5 (3.9"/10cm). For the nose cone I used a PNC-B60 which is the same one used in the Big Bertha rocket by Estes. I began with determining the length of the rocket based on the width of the BT-60 body tube (7.5"/19cm).
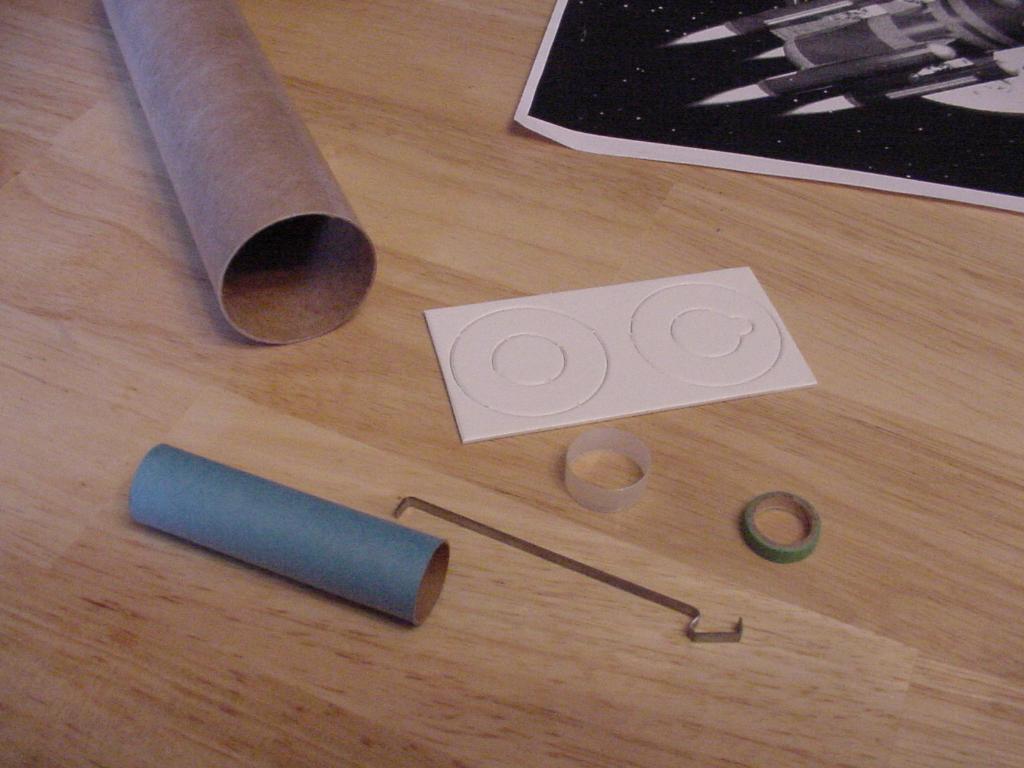
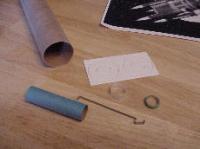
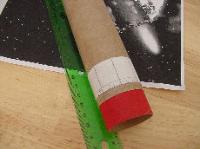
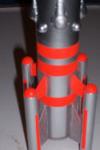
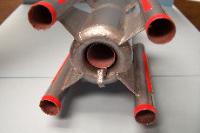
The engine mount is a typical 18mm mount using an engine block, engine hook, Mylar ring, and cardboard centering rings. The forward centering ring was placed at the edge and the aft ring about 1" from the edge.
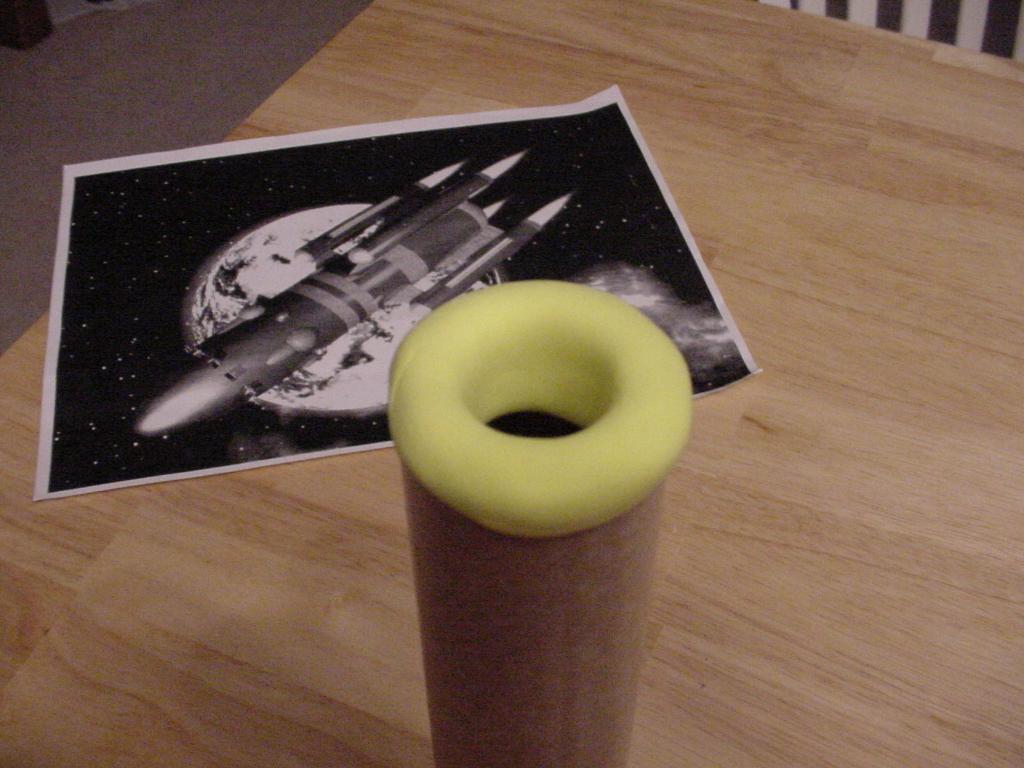
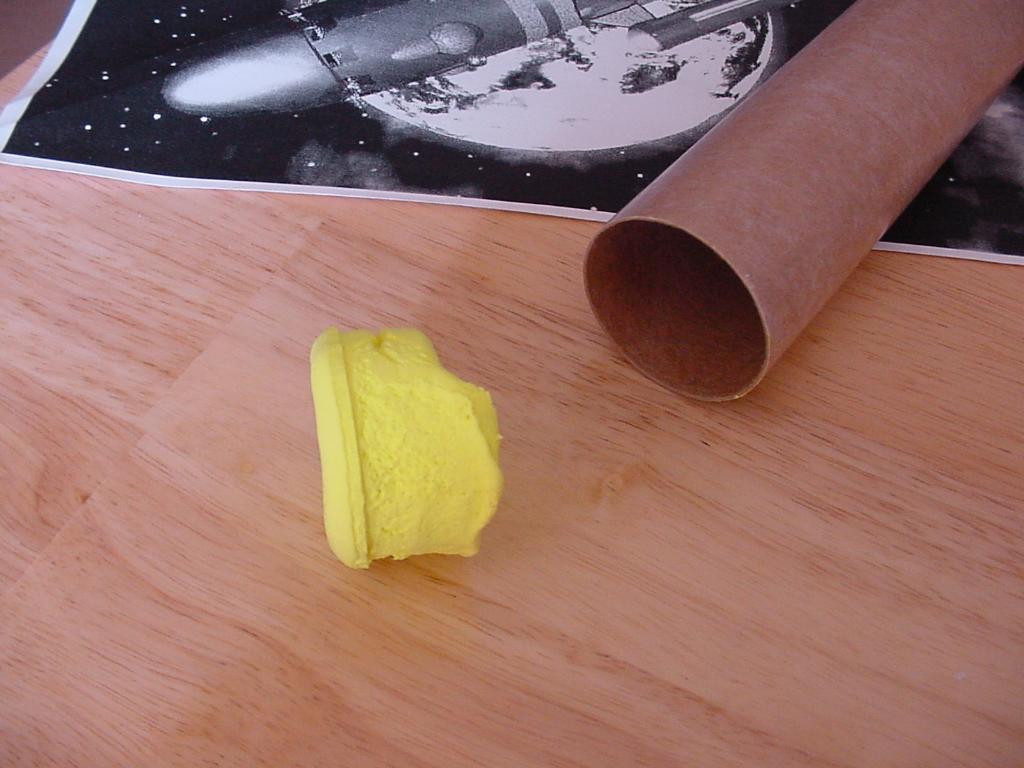
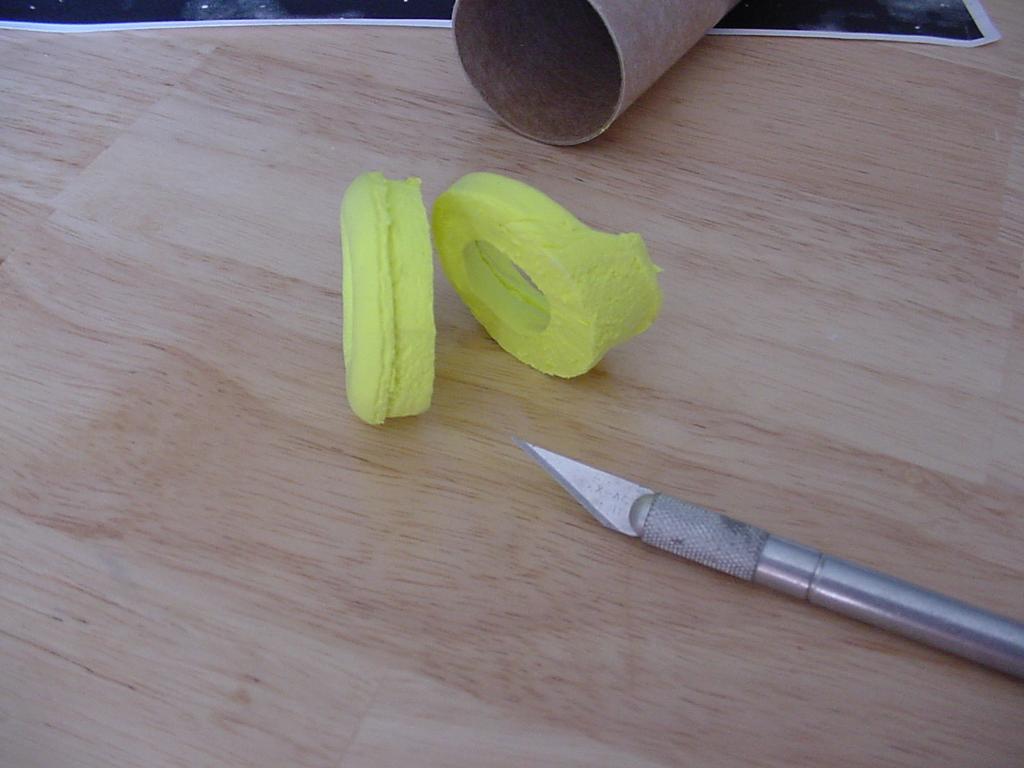
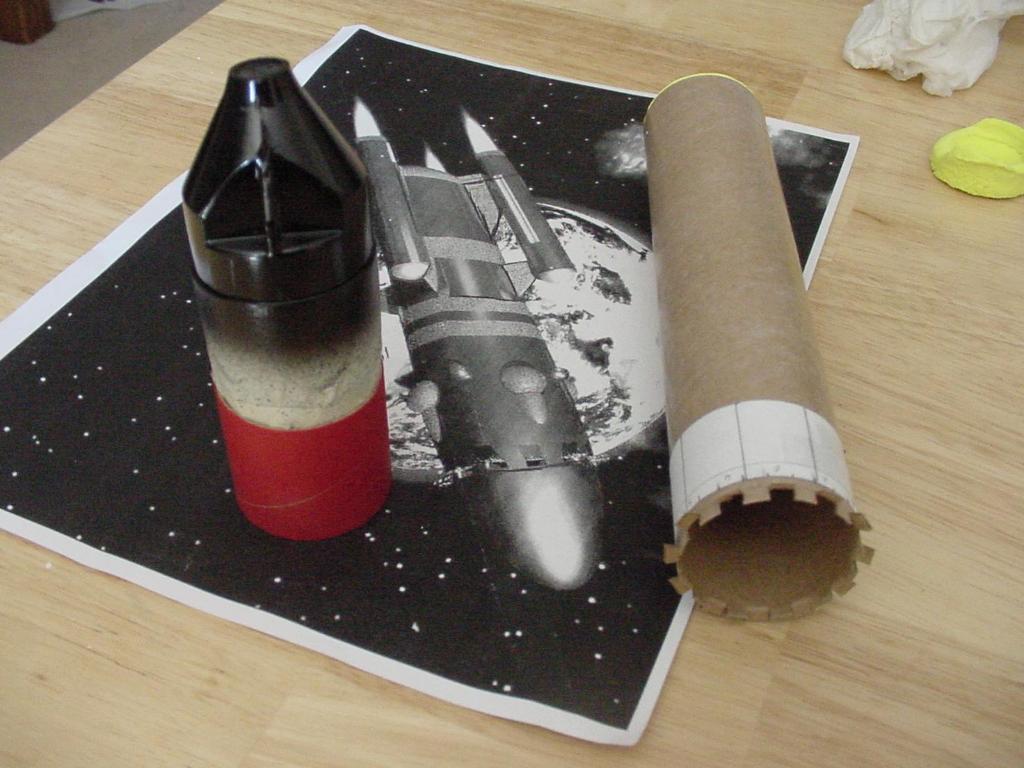
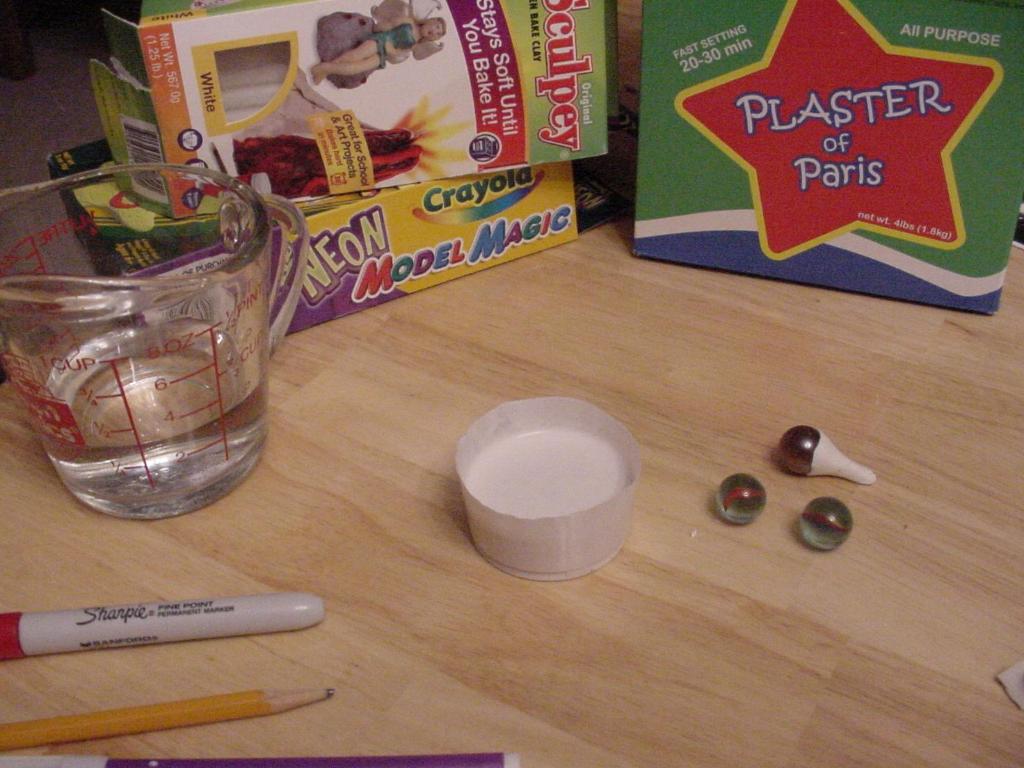
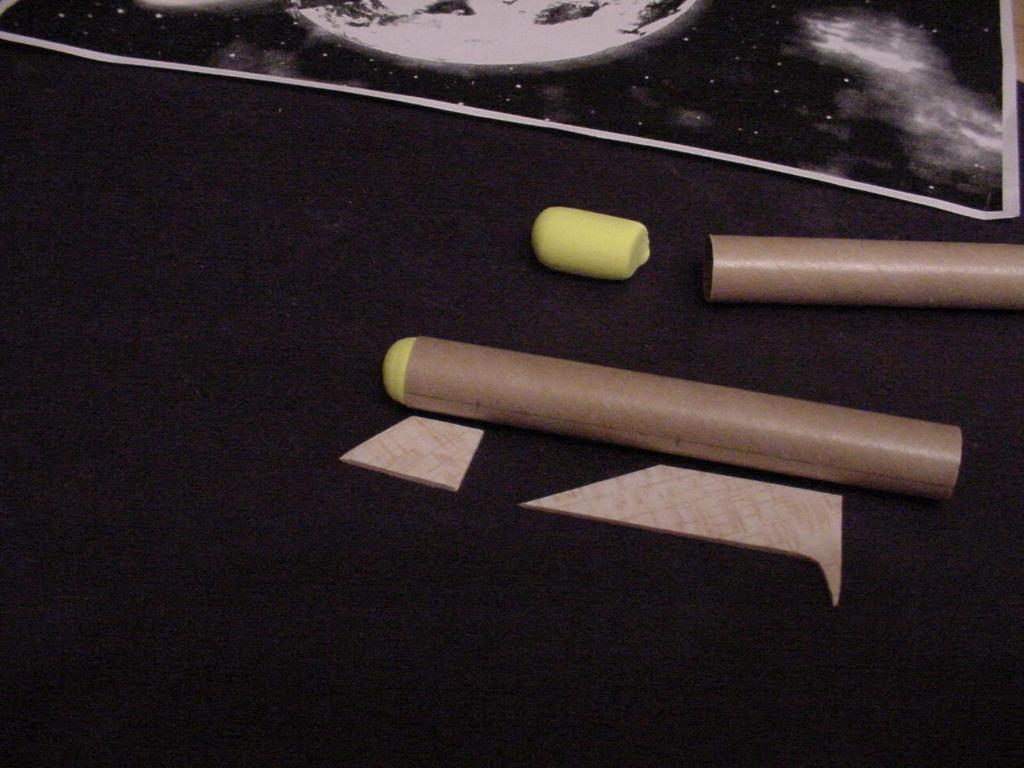
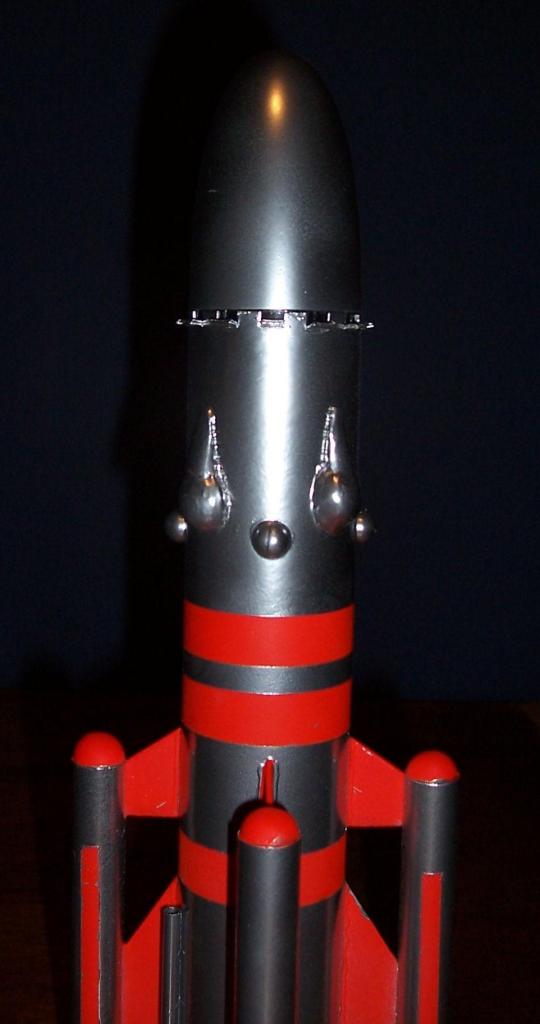
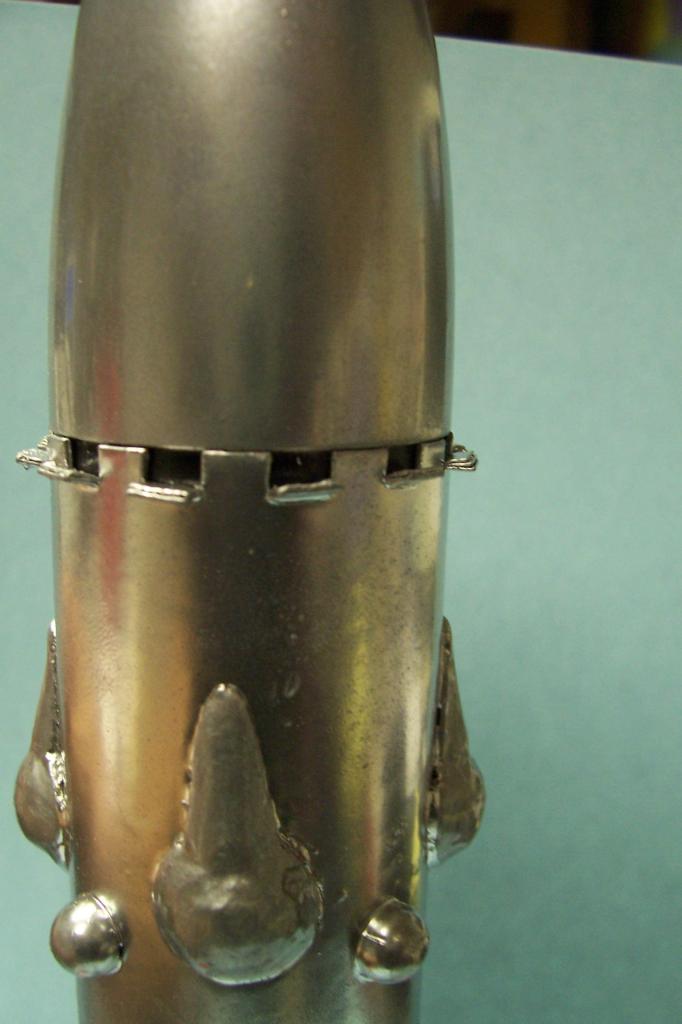
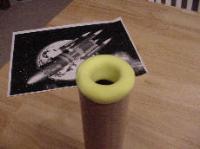
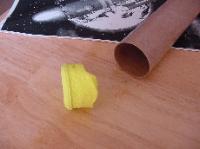
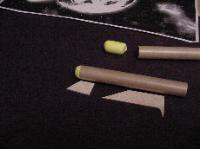
Before inserting the engine mount I decided to create the curved base portion of the rocket. Using Crayola’s Model Magic, I formed the rocket base and the nose cones for the nacelles.
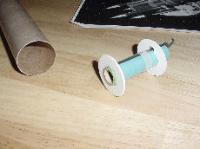
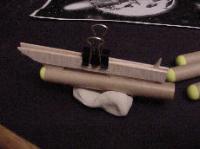
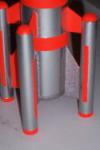
This material is very light weight and easy to work with. Once dried, it holds it shape very well and is paintable. I allowed my base and cones to dry and cut them to size. The image to the right shows both the engine mount and aft cone together in the body tube.
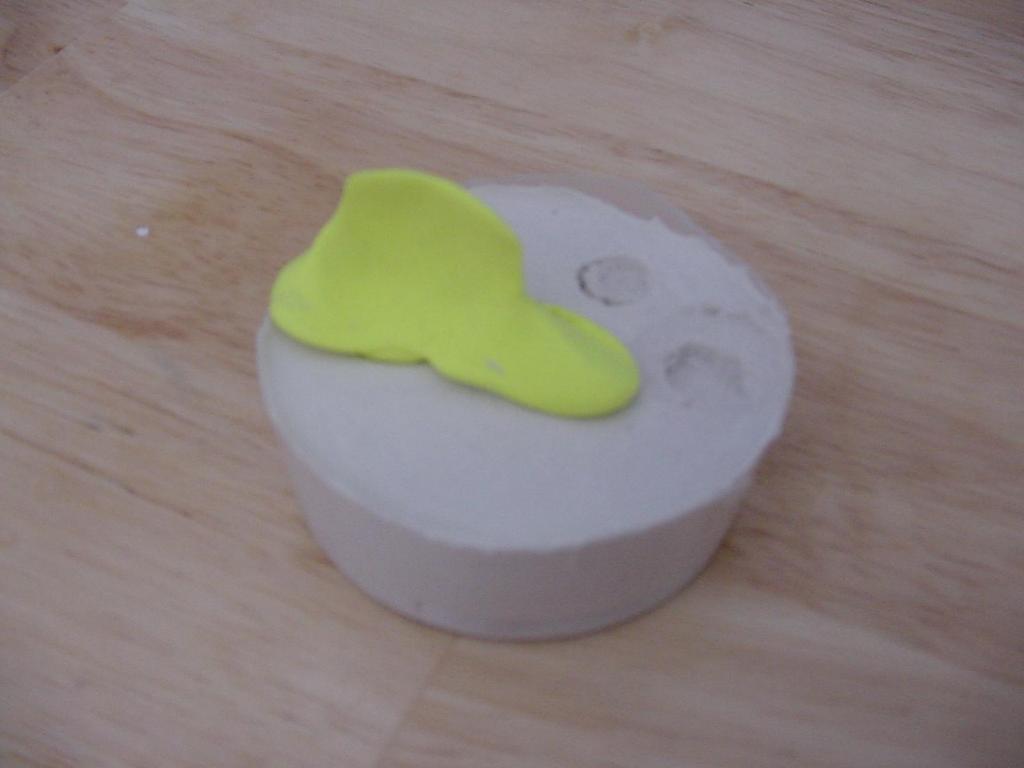
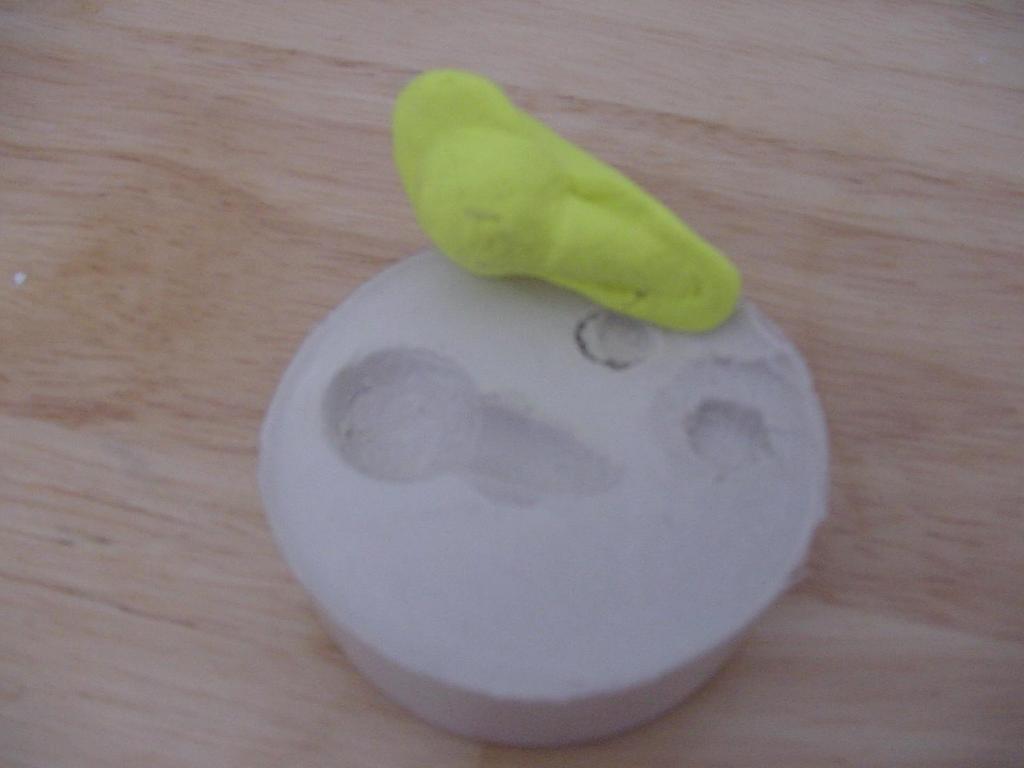
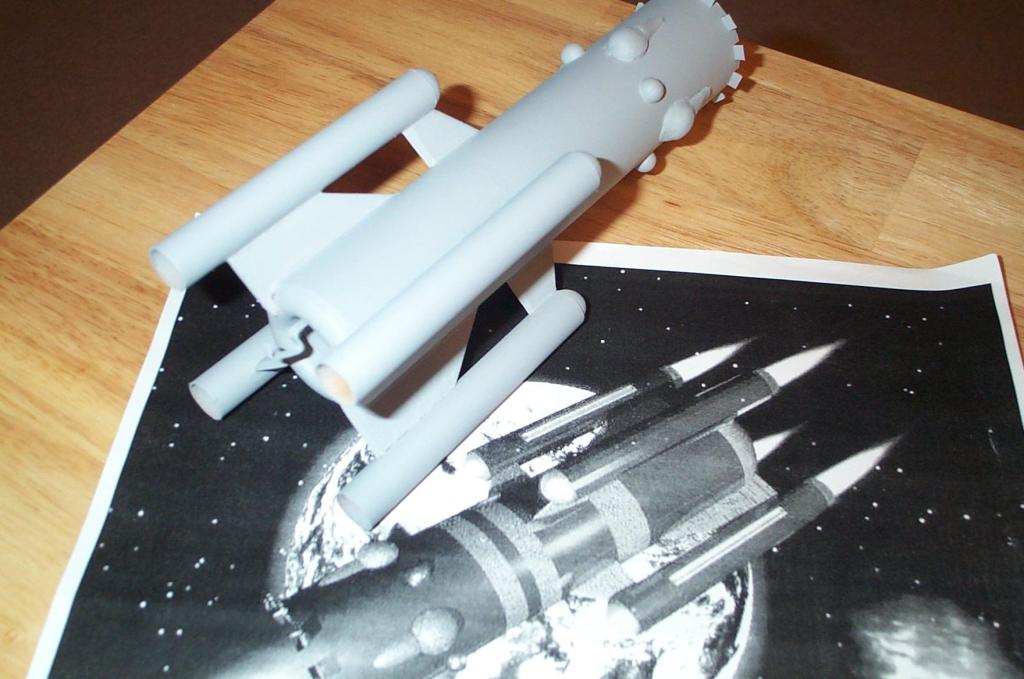
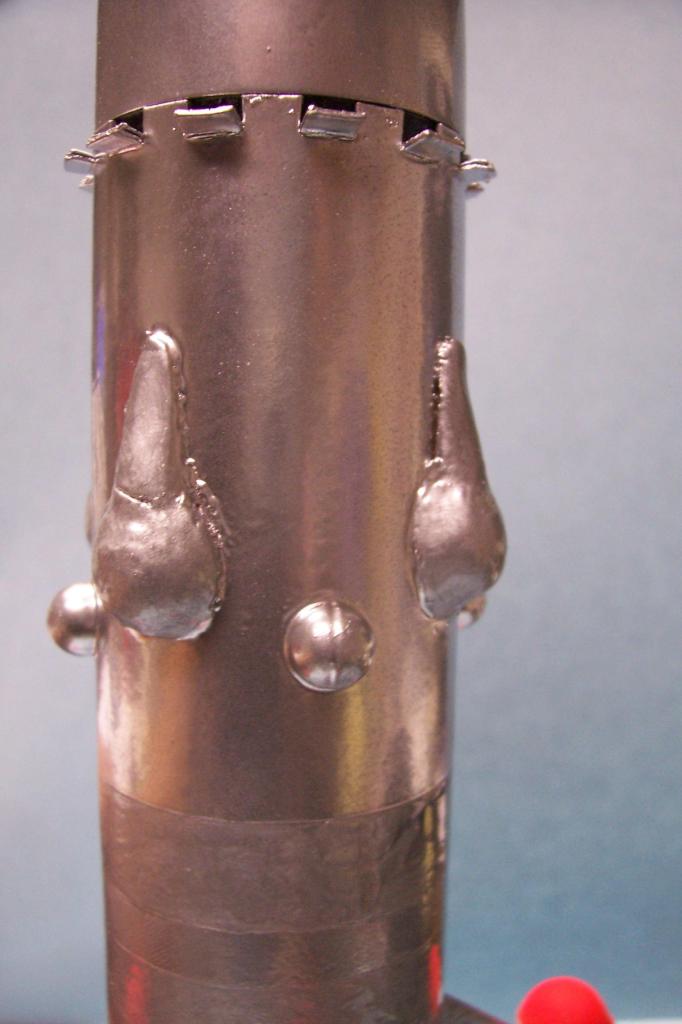
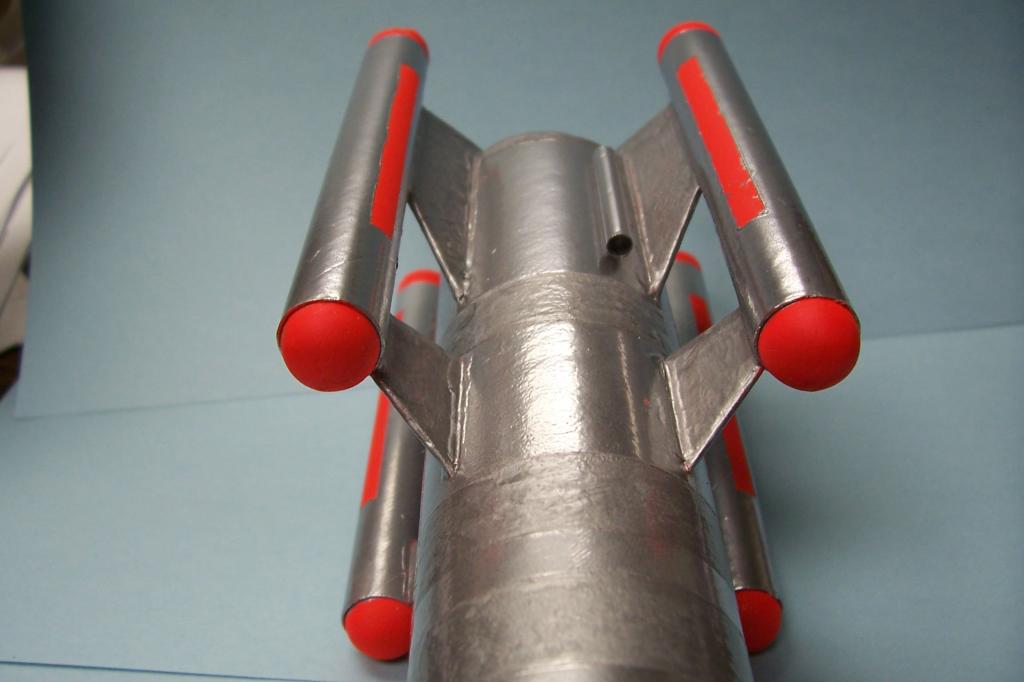
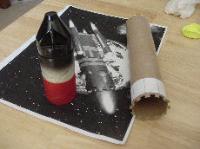
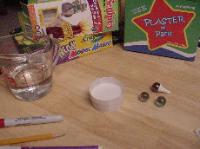
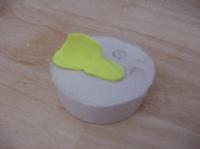
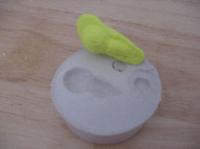
I also use Crayola’s Model Magic to create the side pods for the forward portion of the rocket. Using Plaster of Paris, I created molds which I forced the model magic into. Getting the model magic back out of the molds without damage, proved to be very challenging. Once dry they were trimmed and glued to the rocket using white glue.
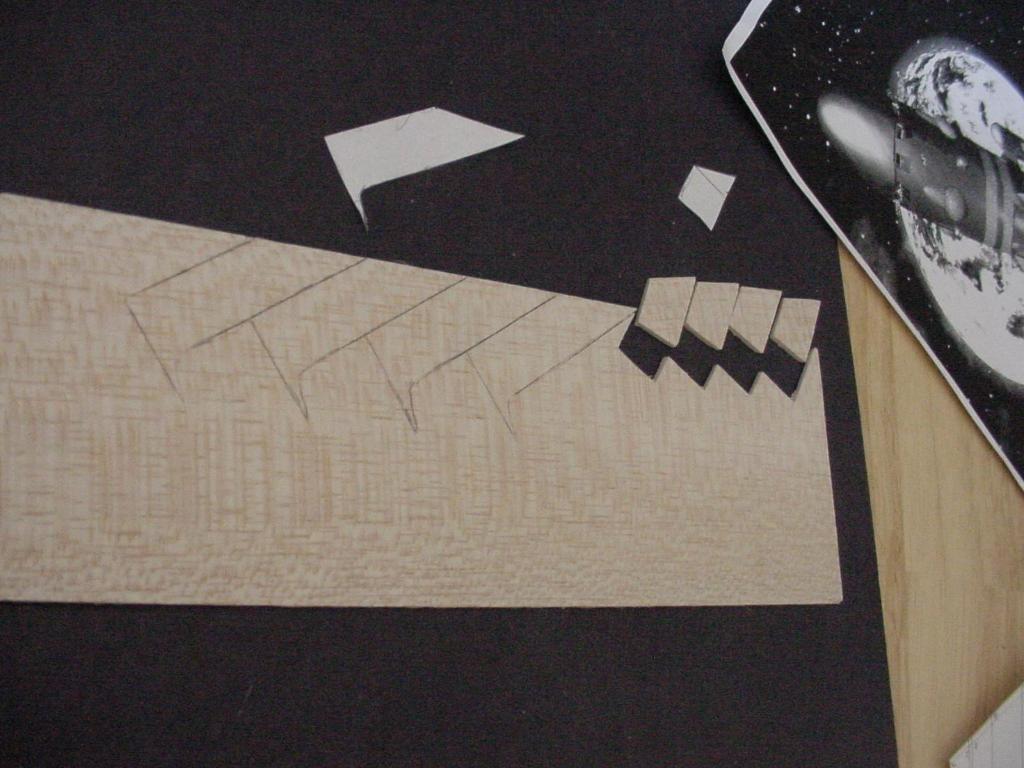
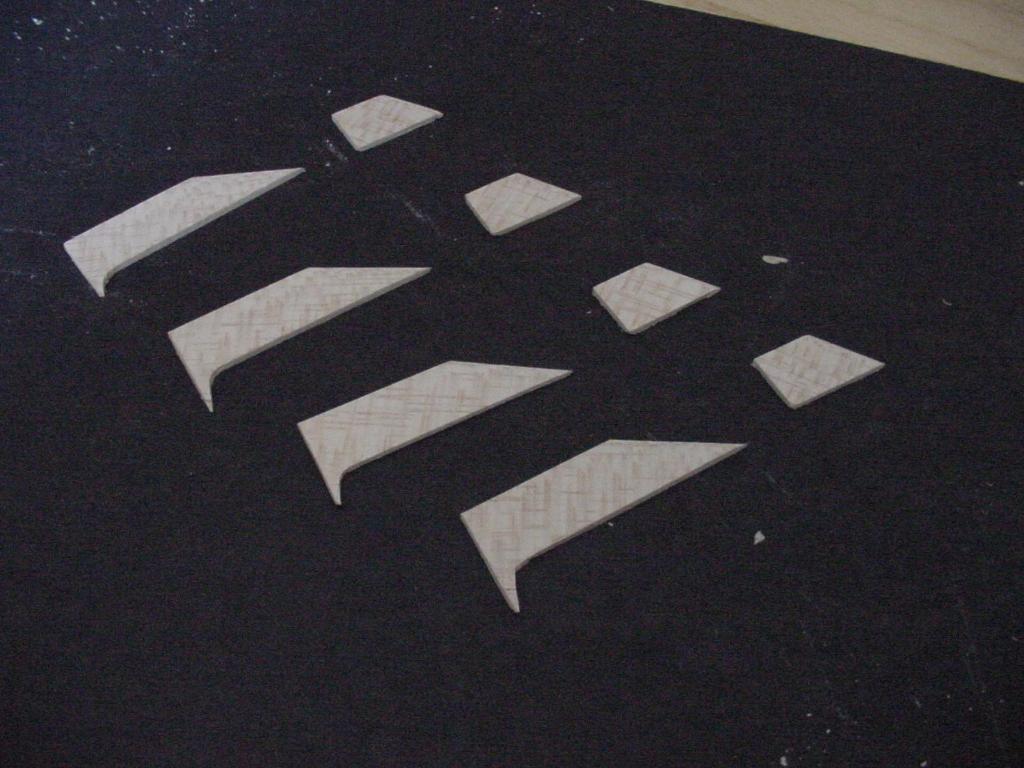
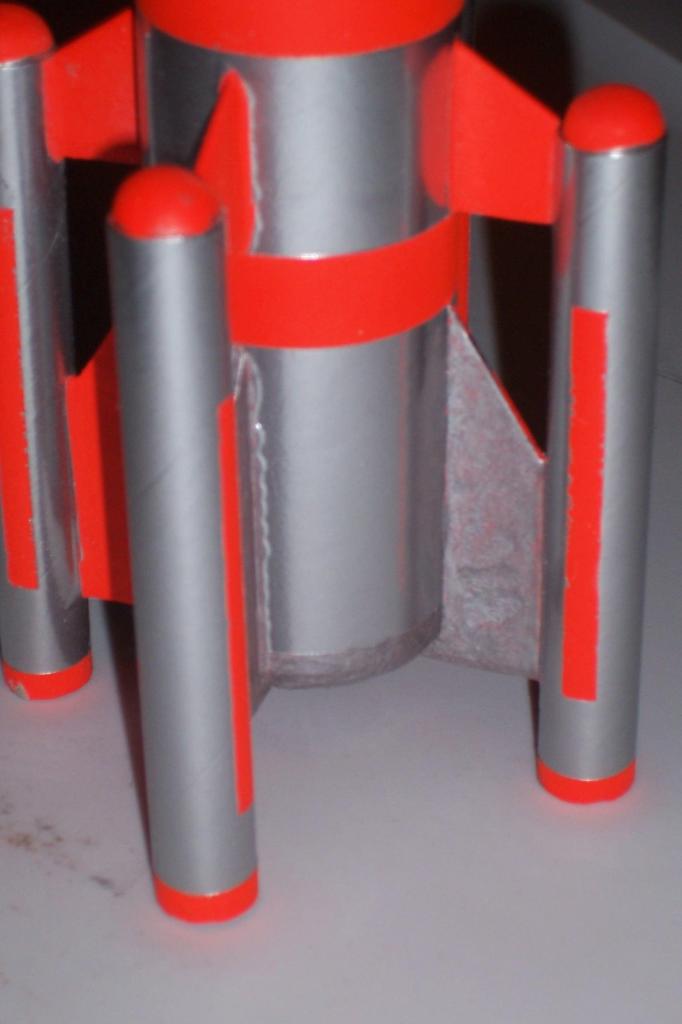
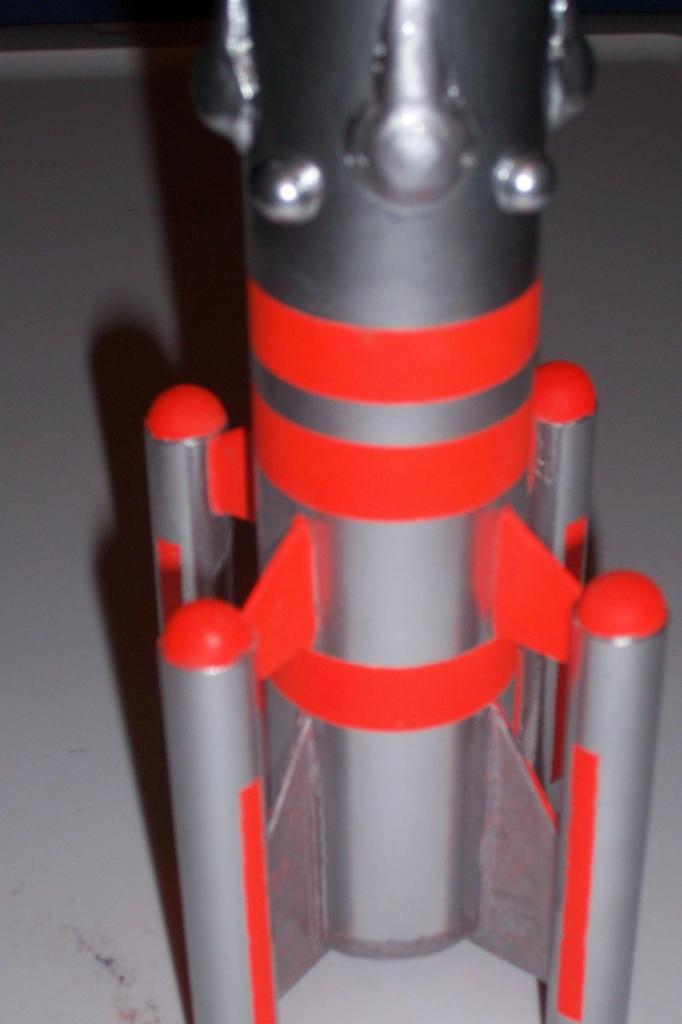
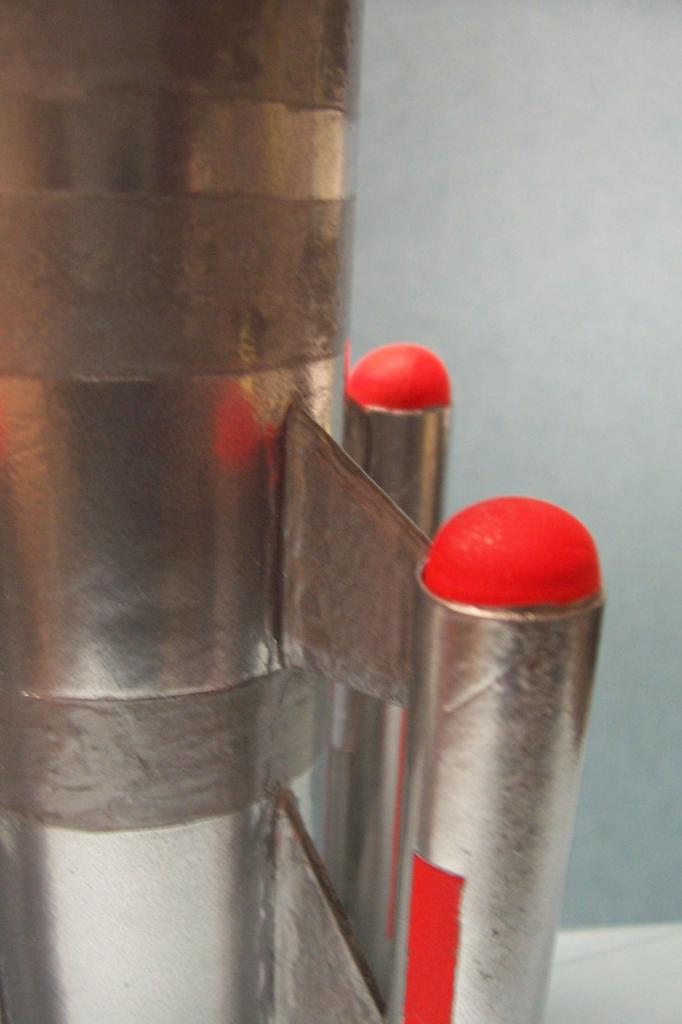
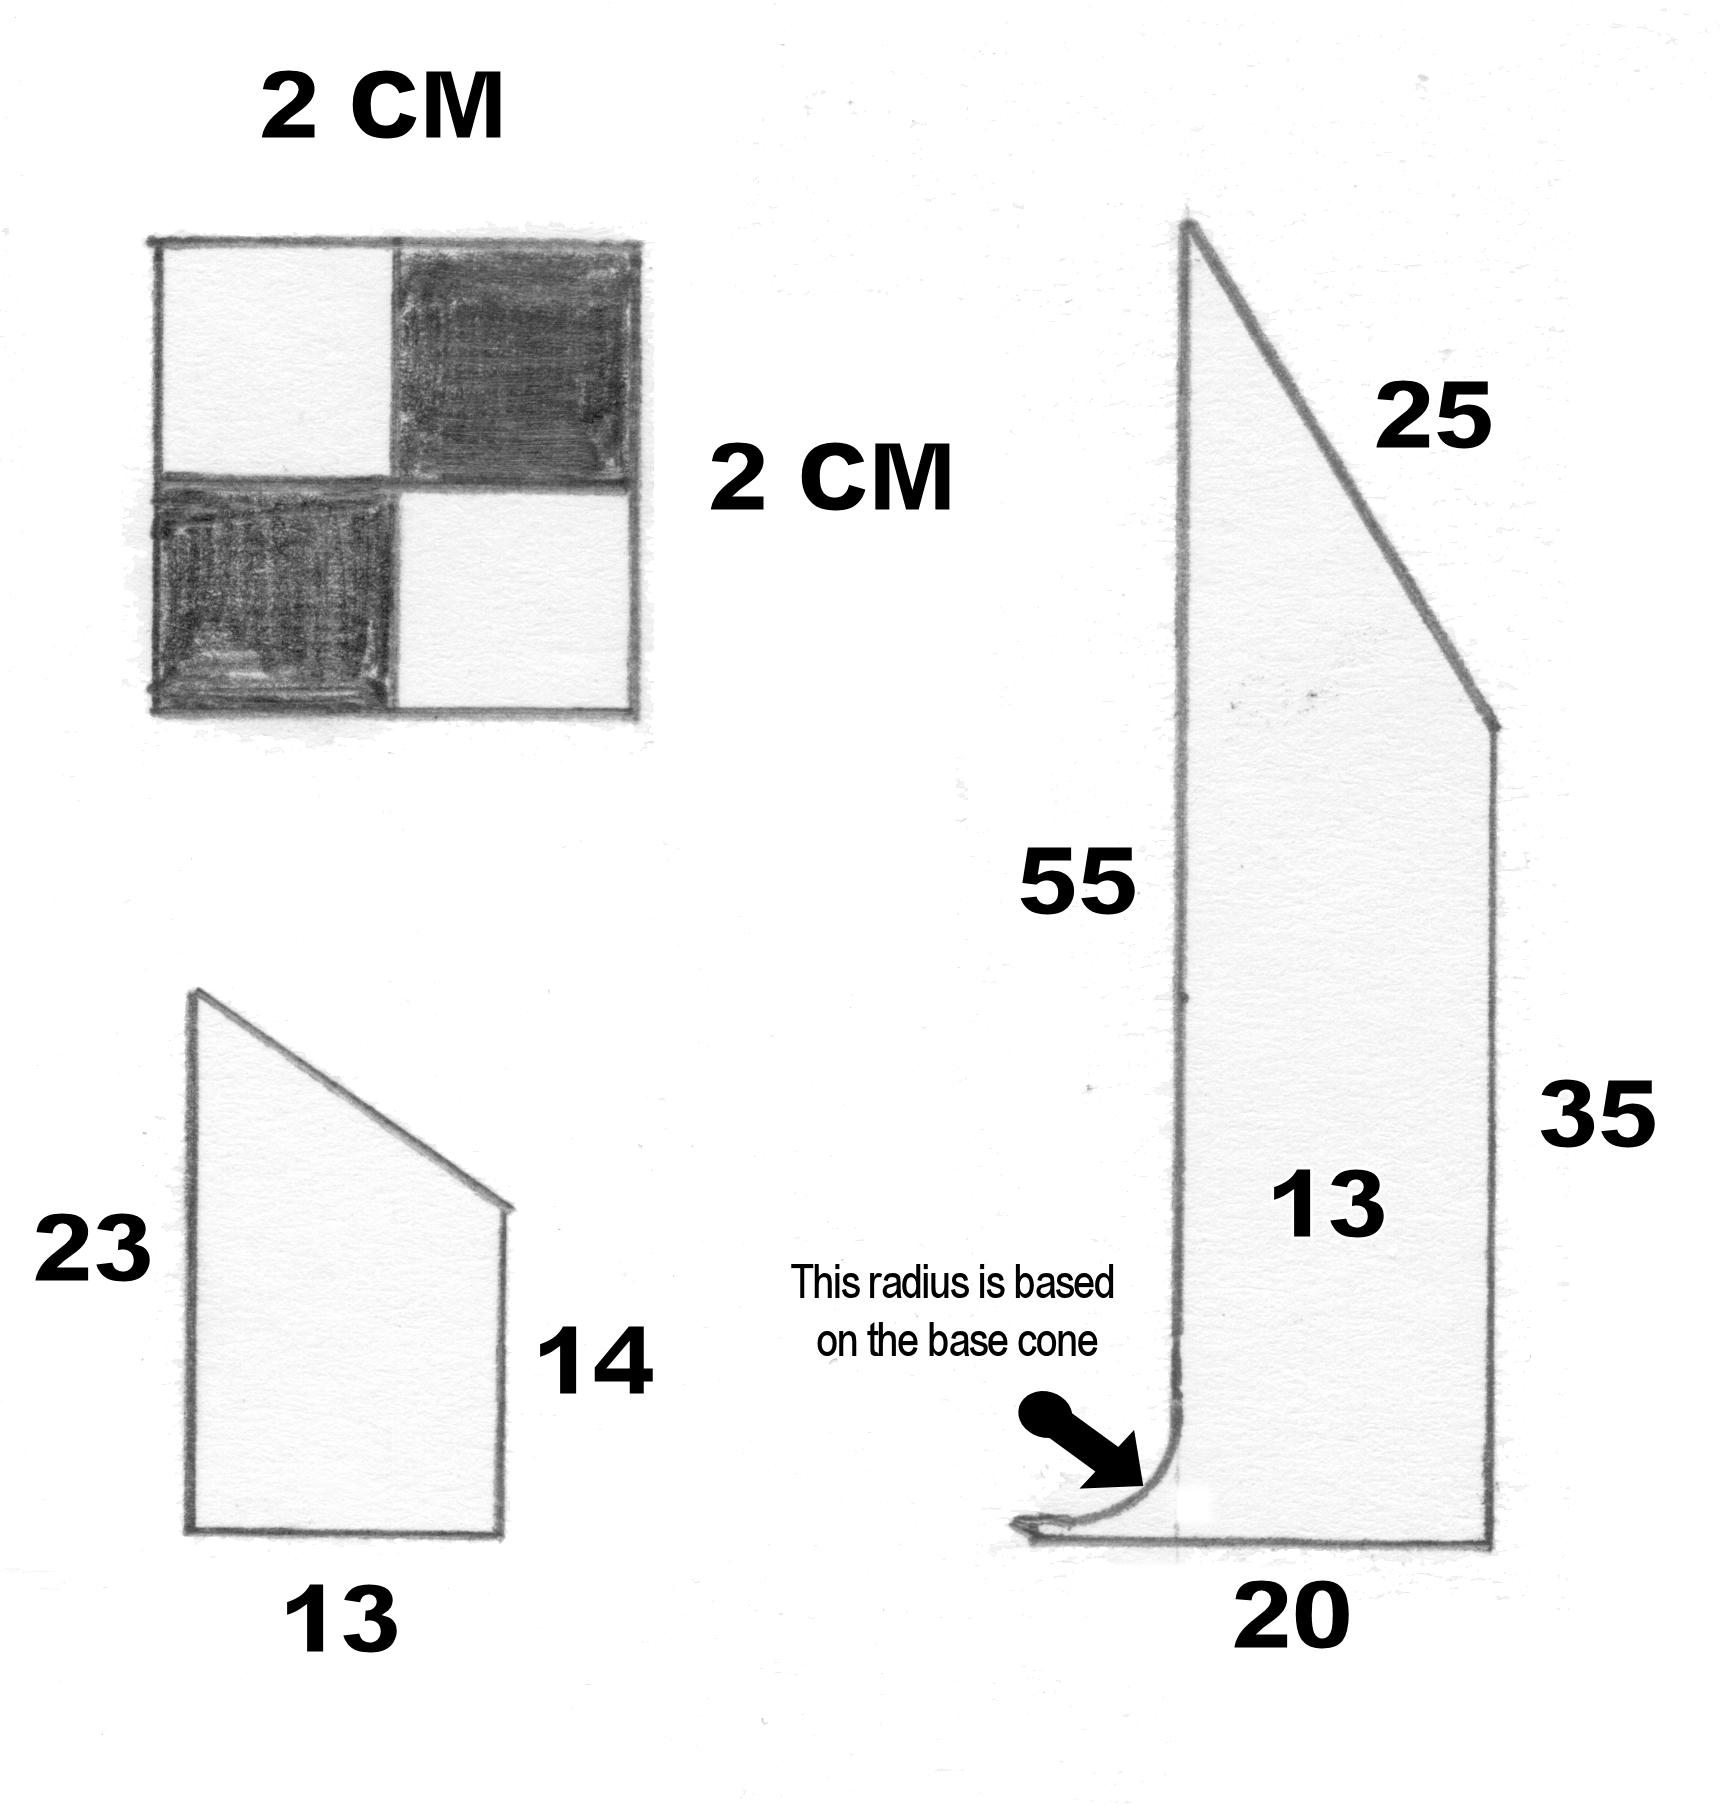
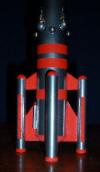
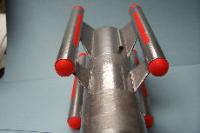
Now for the nacelles; using 3.9" of BT-5 and model magic nose cones I needed to create the supports. The supports are cut out of 1/16" balsa. The radius on the aft support was based on the finished curve of the main body’s aft cone.
I began gluing the supports to the nacelles first. With two pieces of long scrap balsa, clamped both supports with a binder clip, and then glued them to the nacelles. I balanced the nacelle on a piece of modelers’ clay to keep it from falling over.
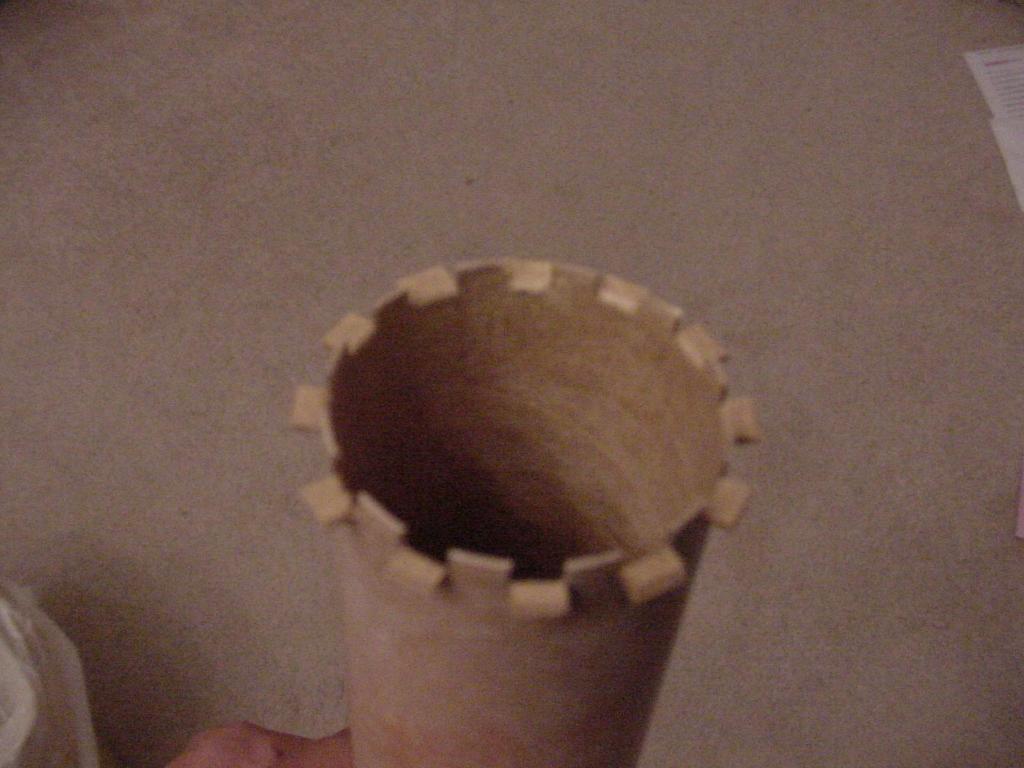
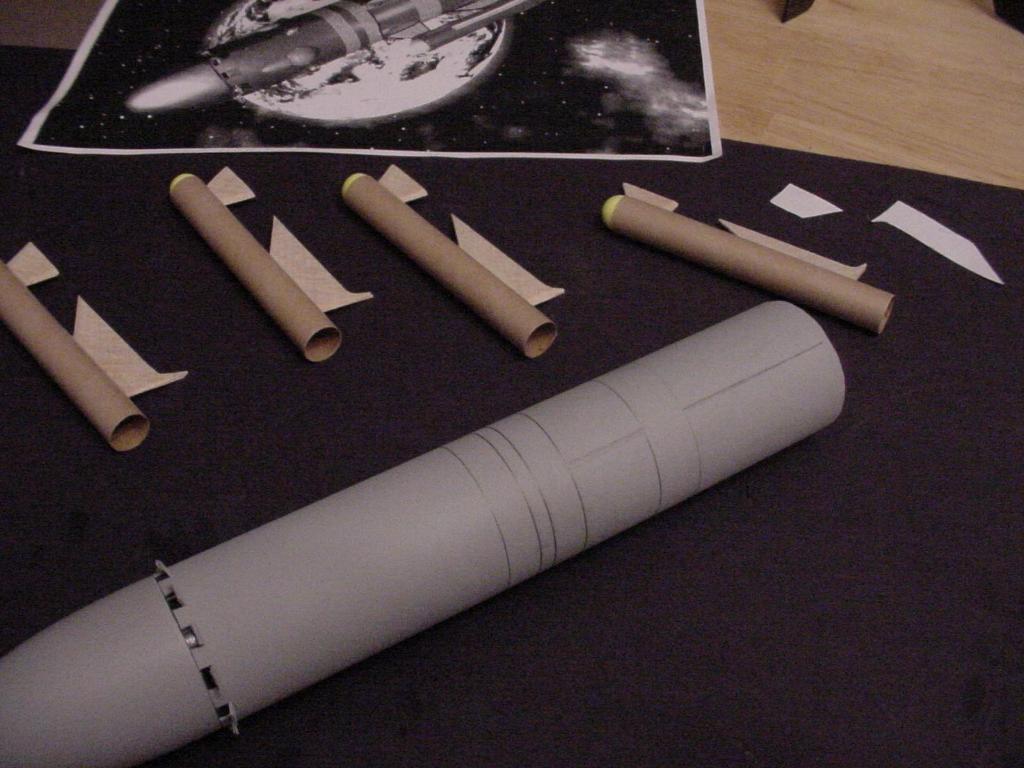
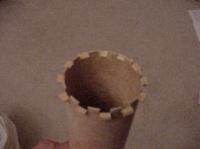
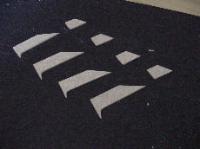
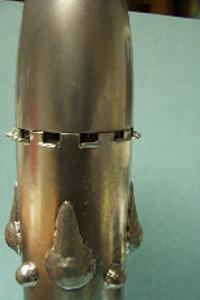
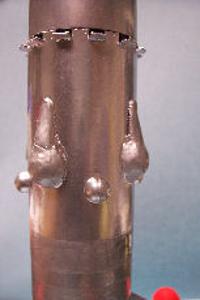
I made 24-1/8" slits the top of the body tube and bent down every other tab to simulate the open bay doors in the photograph. Placing a coupling ring inside the tube helped keep the shape of the tube while cutting. A coat of black paint on the bottom of the nose cone helps create the illusion of open doors.
After a coat of sandable gray primer, I began marking for fin placement and paint rings.
With the fins on and the small pods, I decided to conduct a swing test. I ended up placing 0.3 oz of clay into the nose cone.
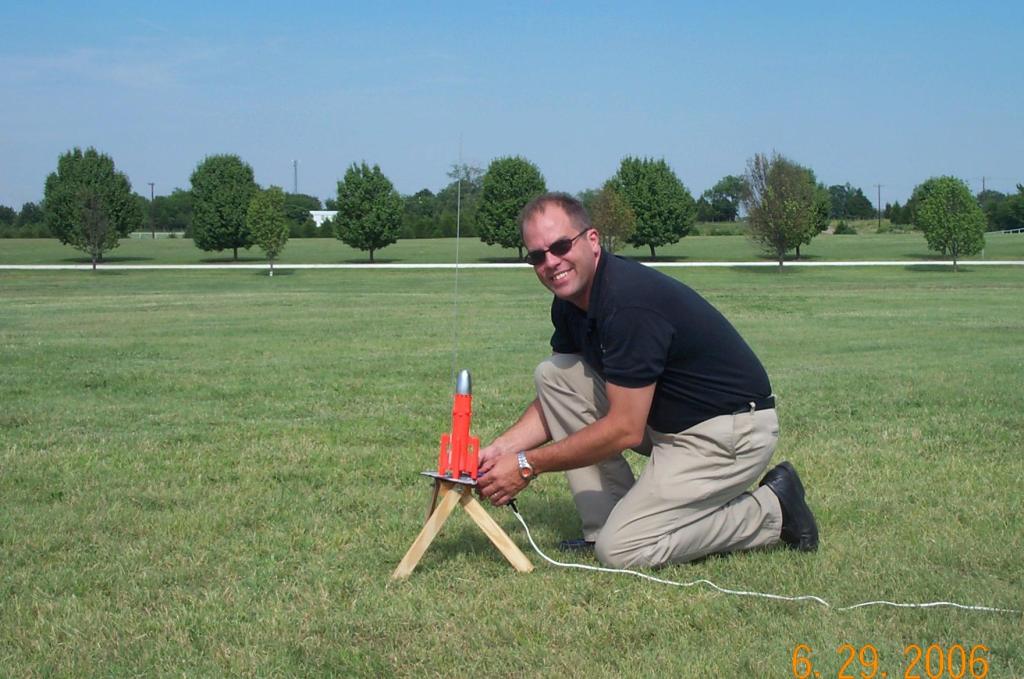
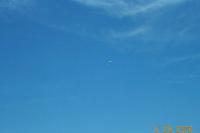
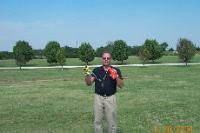
After a coat of florescent orange paint to the body, it was ready for its first launch. Digital cameras never seem to catch the right moment.
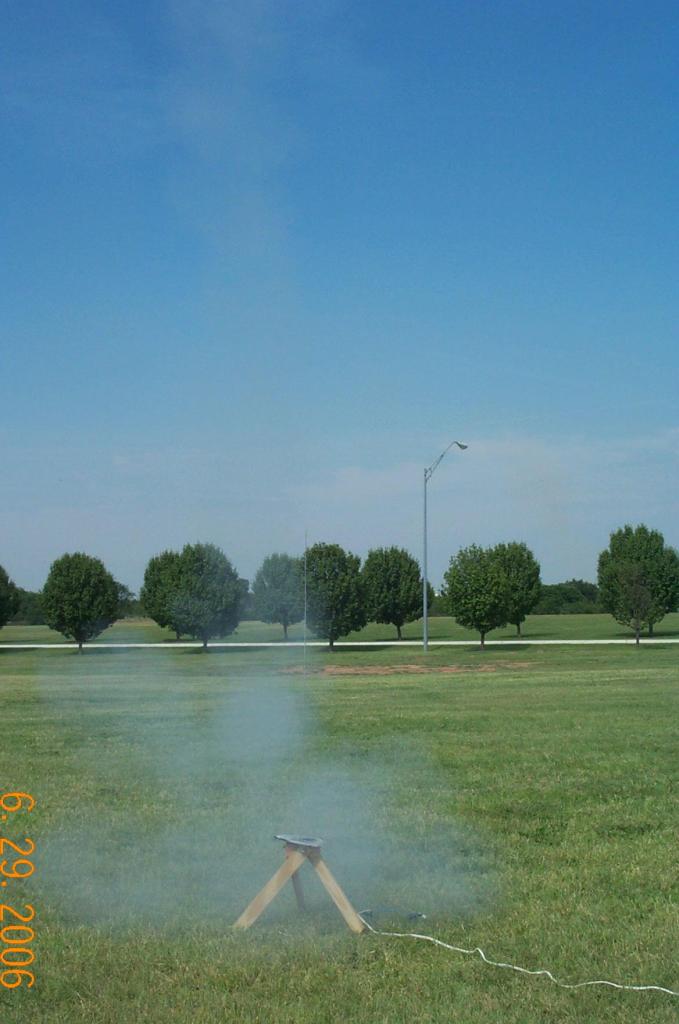
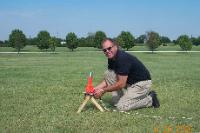
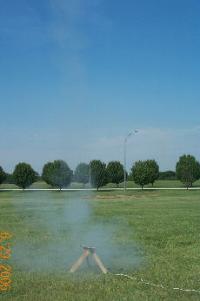
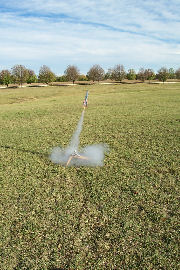
On a hot (96¡ F) summer day with a light breeze (2-4 mph), Arakska-1 lifts off. Using a B6-4 for first flight, Arakska-1 reached approximately 300ft and landed 80ft down range.
Launch two was during a group launch. I used a B6-4 again and achieved the same results. No photos were taken of the launch that day. I was the Safety Officer and had a lot of kids to keep an eye on.
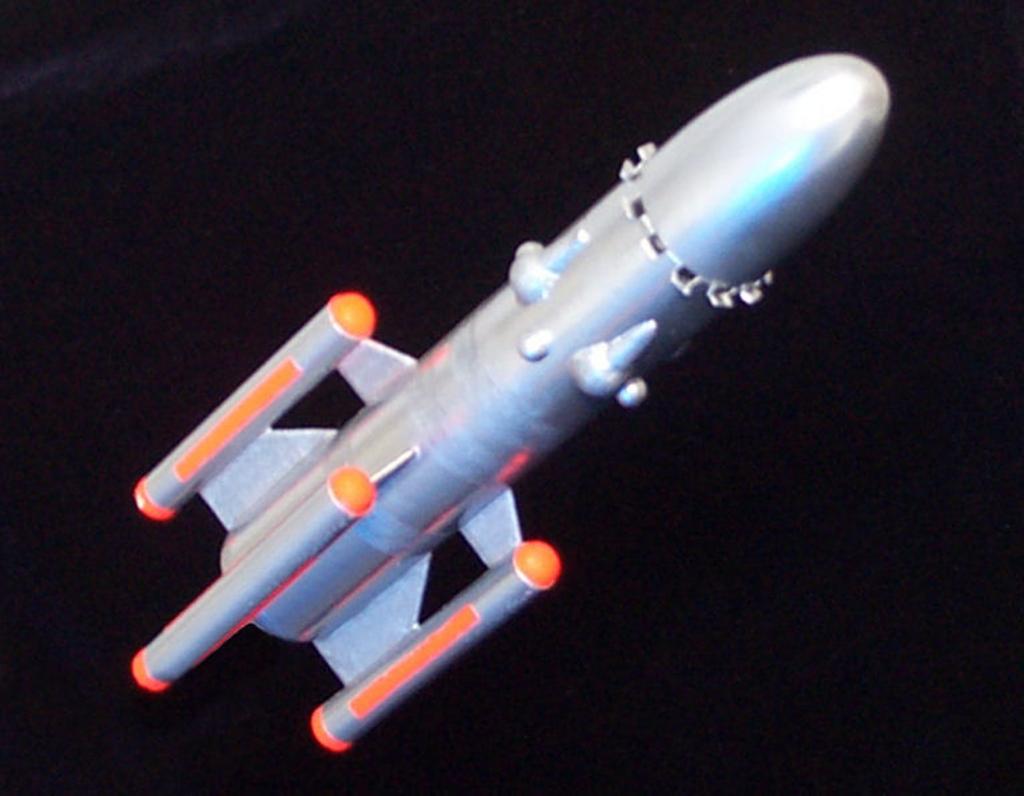
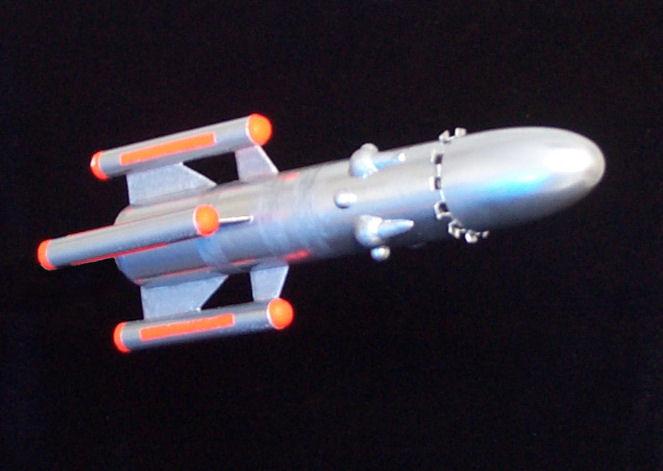
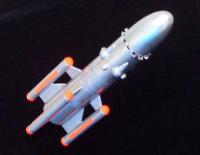
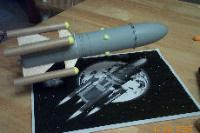
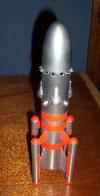
Now in its full paint and glory it’s time for the third launch. Metallic silver and hammered metal paint complete the paint scheme. The orange areas were taped off before applying the silver paint.
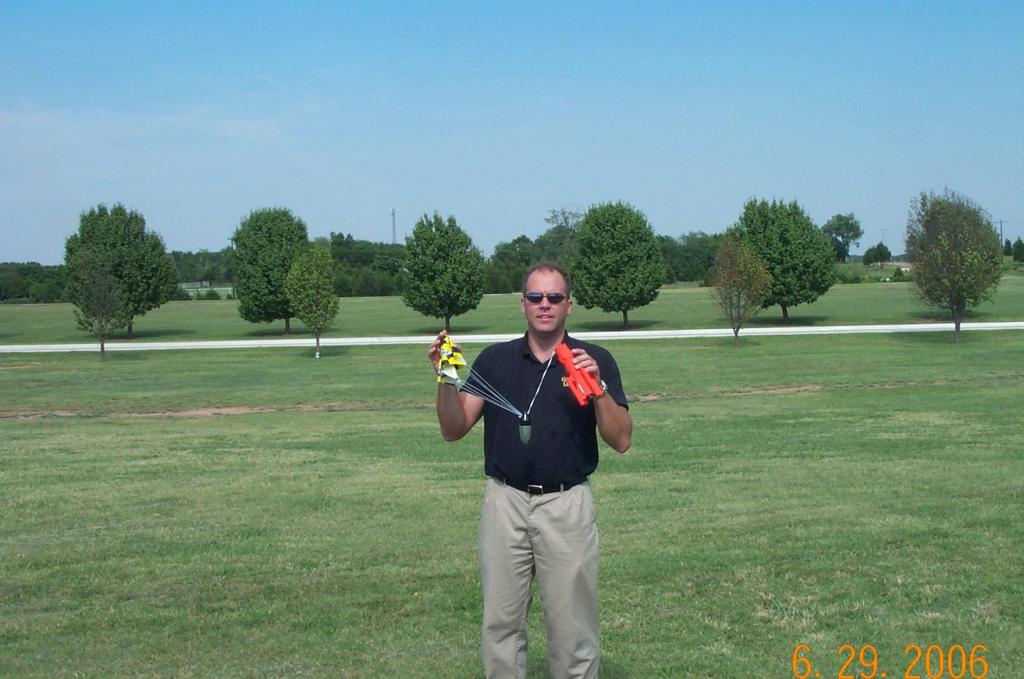
For the third launch, I have loaded a C6-4 engine, wadding, and 12" chute. Using my homemade tower and controller 3-2-1 LAUNCH!
 With the higher
winds, I tilted the launch rod into the wind about 20 degrees. The launch went
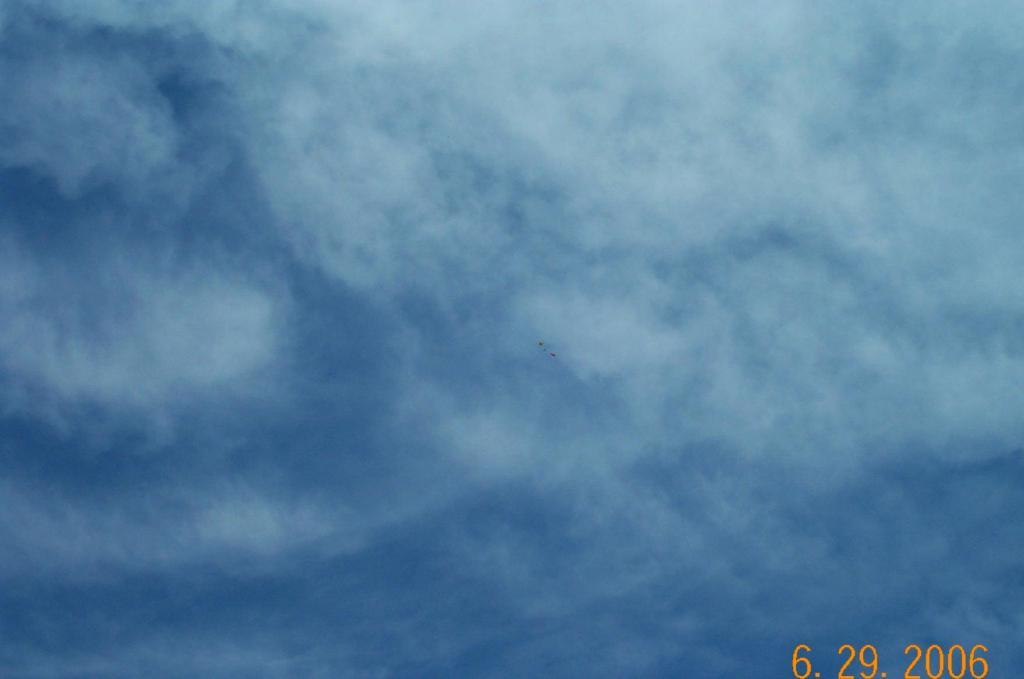
well, on the way up the rocket had a slight corkscrew effect. Apogee was close
to 500 feet. Ejection was just after apogee and the rocket landed about 100 ft
from the launch site on asphalt. A small dent on the lower end of one of the
nacelle, everything else was fine.
With the higher
winds, I tilted the launch rod into the wind about 20 degrees. The launch went
well, on the way up the rocket had a slight corkscrew effect. Apogee was close
to 500 feet. Ejection was just after apogee and the rocket landed about 100 ft
from the launch site on asphalt. A small dent on the lower end of one of the
nacelle, everything else was fine.
I planned to make a larger version of this rocket using four engines, but
the rules state only one rocket per design. I might try loading ½ A's in
the nacelles I have and still keep an 18 MM in the center. That will be a later
day. Now it's time to try and build one of the other rockets.


Sponsored Ads


 | Intermediate Rocket Kit | Step-by-Step Instructions | Science Education Kits | Great for Teachers, Youth Group Leaders and Birthdays,Blue")
, Launch Pad/ Controller, Glue, Four AA Batteries, and Two Engines")
 |
 |