| Construction Rating: | starstarstarstarstar_border |
| Flight Rating: | starstar_borderstar_borderstar_borderstar_border |
| Overall Rating: | starstarstar_borderstar_borderstar_border |
| Published: | 2012-11-02 |
| Length: | 17.75 inches |
| Manufacturer: | Estes  |
| Skill Level: | 3 |
| Style: | Futuristic/Exotic |
 Brief
Brief
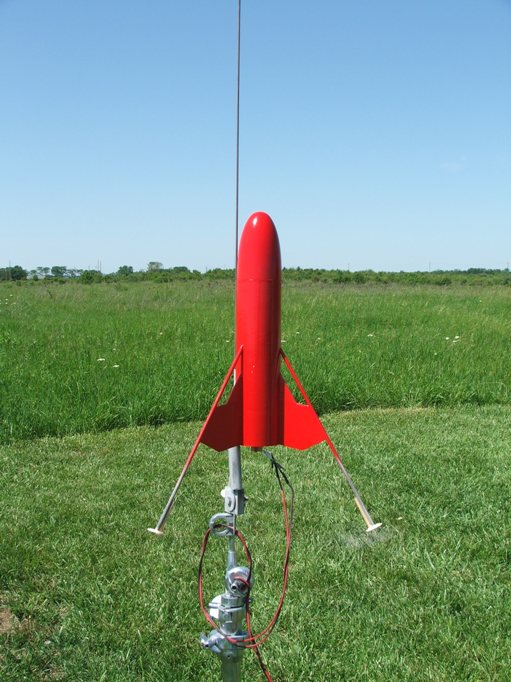
This was on my cloning list for several years after I bought a bunch of Fat Boy nose cones, but the white in the decal always discouraged me. OOP for years, this turned up as a "Buy It Now" on the Penn Valley Hobby Ebay page, and the price was right, so I availed myself of the opportunity to build an original for a change of pace. Similar in size and profile to the later Fat Boy, the Alien Space Probe always struck me as a cross between an upscaled Goony and a poor mans Mars Lander.
Components
- 9 15/32" BT-80
- PNC-80 (Fat Boy nose cone)
- 2.75" BT-20 motor tube
- 2.375" launch lug
- engine hook
- 3/16" x 13.25" wood dowels (3)
- 1/8" fin stock
- die cut card
- decal
- 18" parachute
- 36" Kevlar shock cord
- 36" length 1/4" sewing elastic shock cord
- 2 large snap swivels
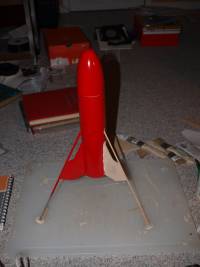
Construction
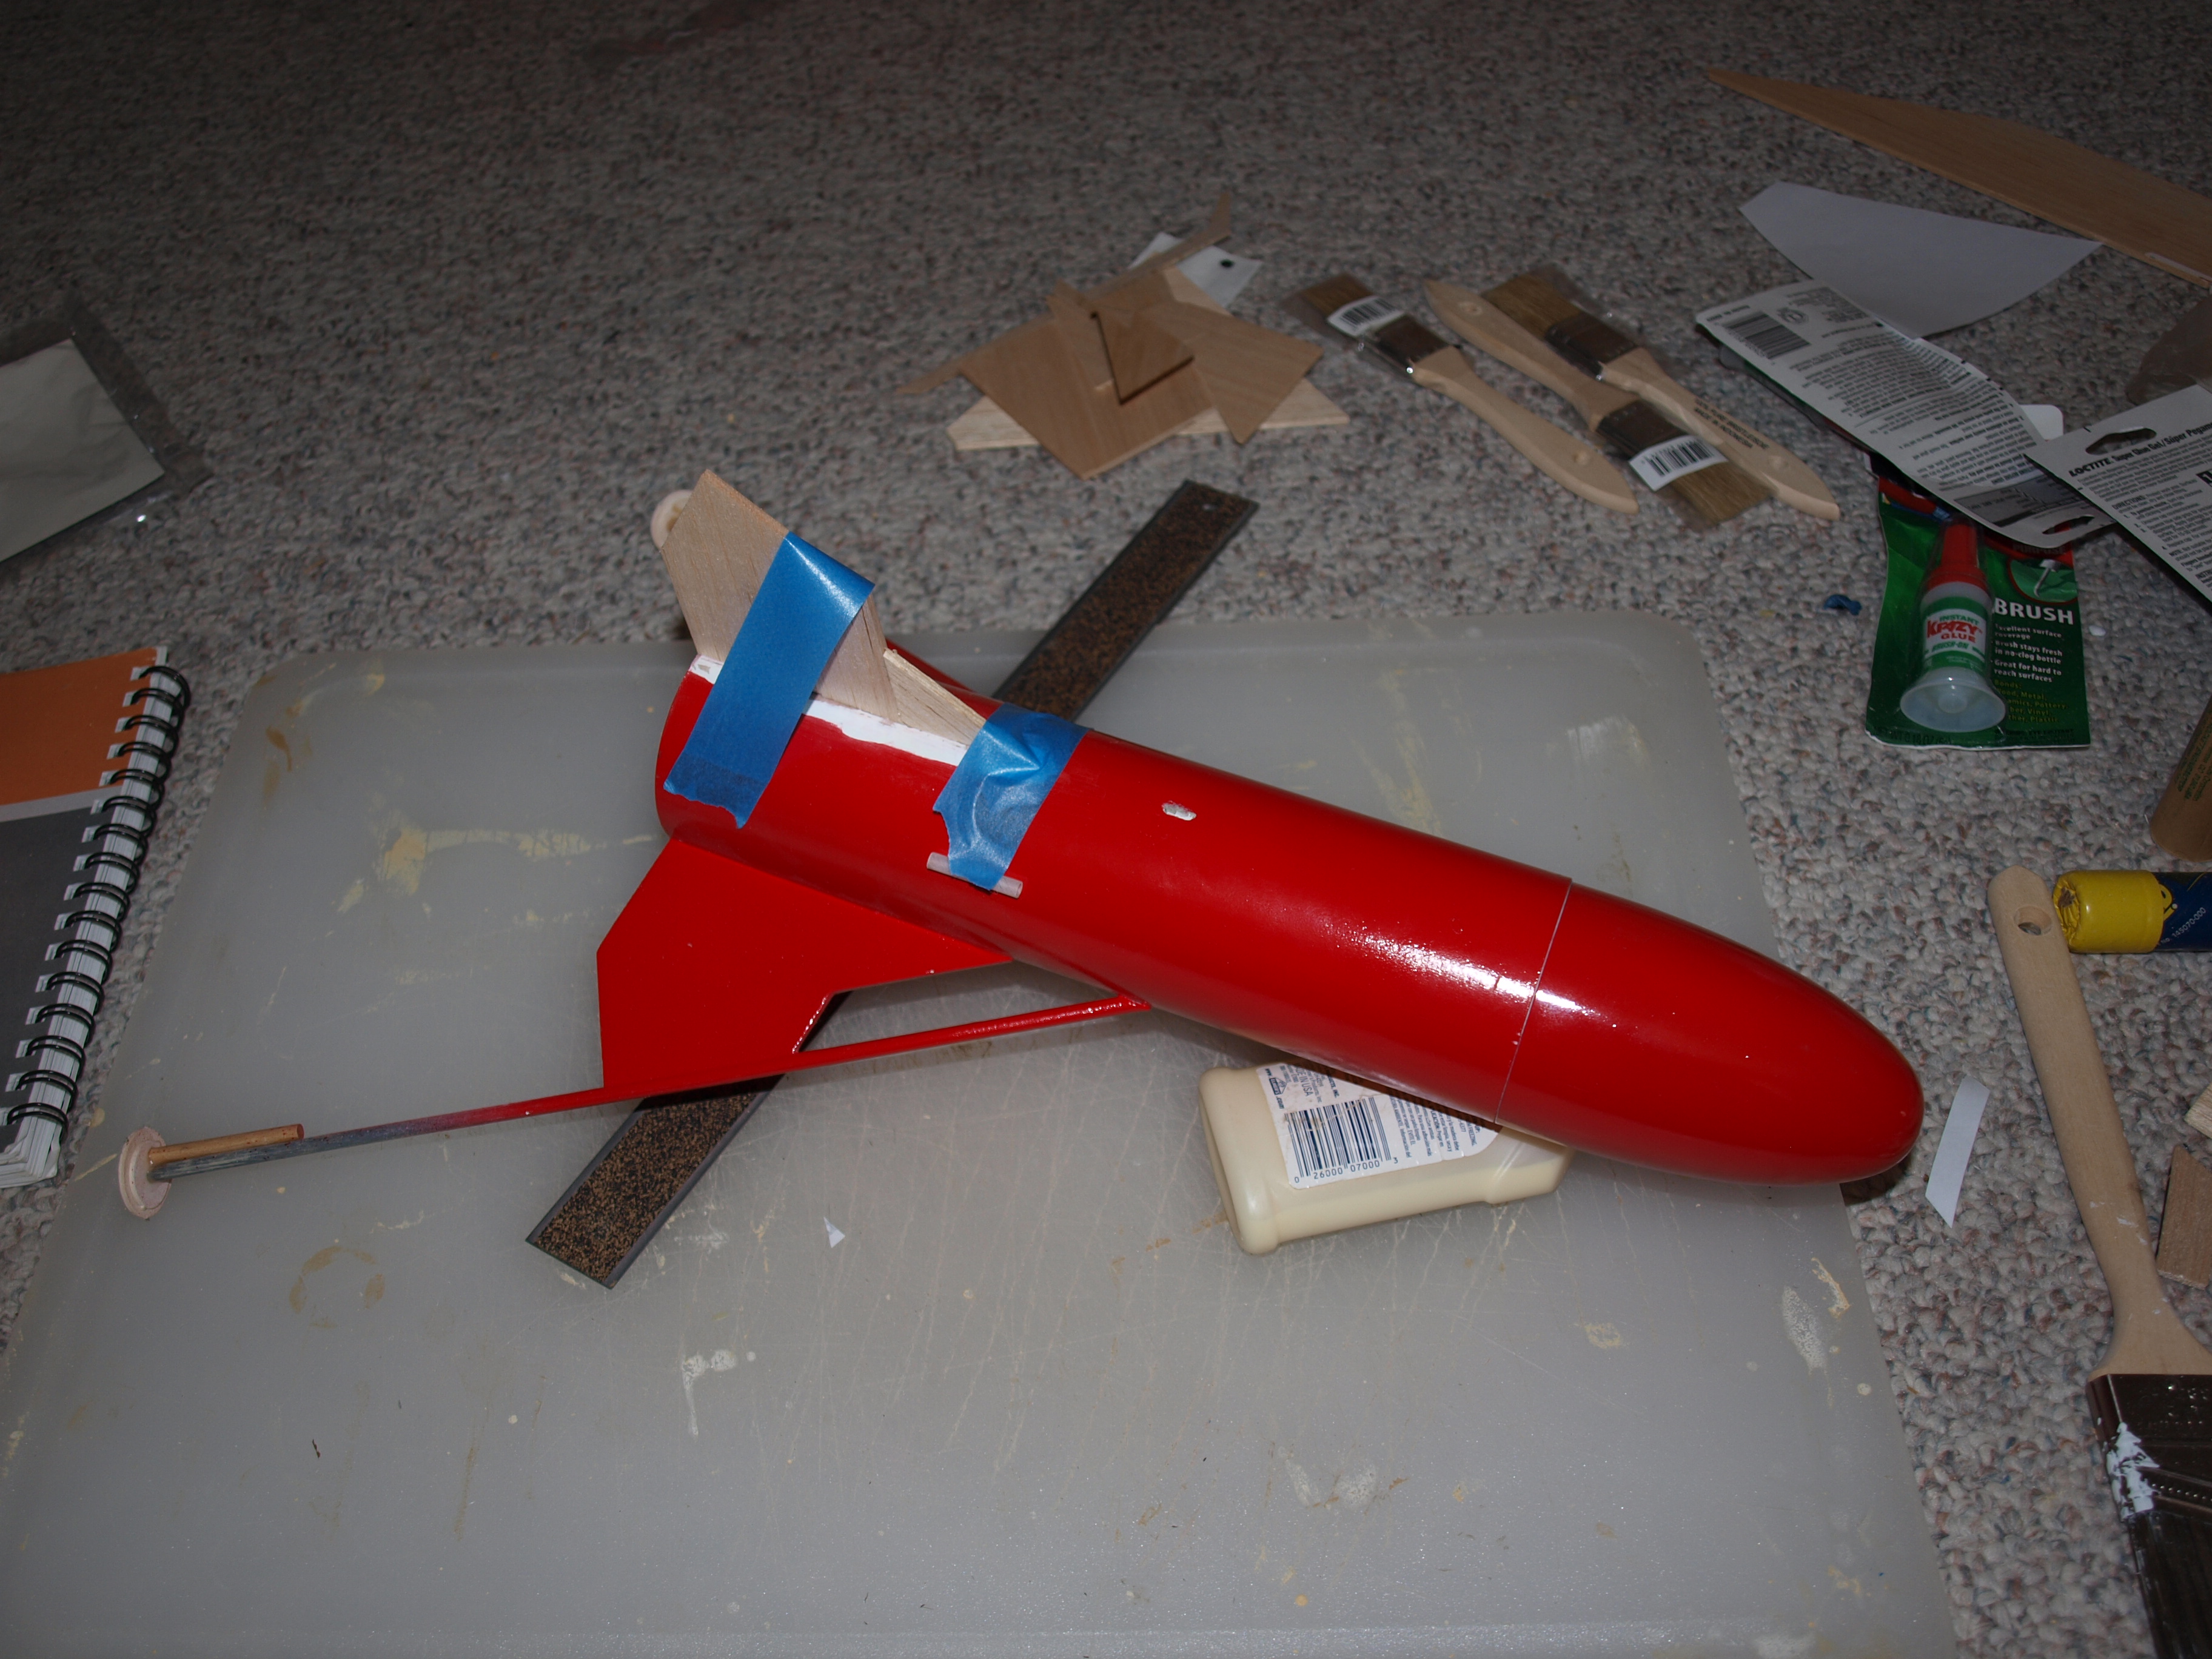
In general, BT-80 birds make for easy builds because of their sheer size. With no tight spaces to work with, things proceed smoothly, and the A.S.P. fits that description nicely. The balsa in this kit was exceptionally nice, with a tight grain and surprisingly crisp die-crunch stamping. Another surprise were the dead straight dowels, which would roll across the table with the slightest push without a trace of warp. I wasn't expecting this, especially with it being a vintage kit. Instructions were typical Estes.
As I said, despite the lander-style legs, this is little more than a large 3fnc build. Since the fins are meant to be left squared, there is little sanding other than to hide the balsa grain. I glued the two-piece fins together, then attached them to the rocket body. The legs required a bit more construction, with each requiring a two-piece paper disc foot and a support piece made of dowel scraps. They do a decent job of keeping the feet in place for display, but little when the shock of a landing hits them. You'll be forever searching for these and regluing them. The tops of each leg must be cut at an angle to be able to be glued to the body, but there's an illustration in the instructions to show the necessary angle. The finished legs are then glued to the leading edge of the fins and the body tube. The motor assembly was constructed using Elmer's white glue and the lone change I made from the instructions was in tying a 3' length of Kevlar around the motor tube and out through a slot in the forward centering ring.
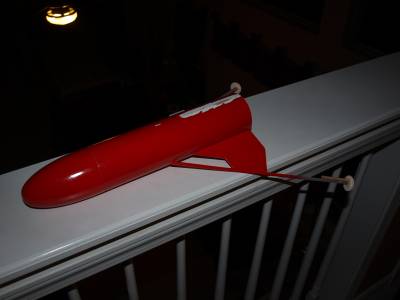
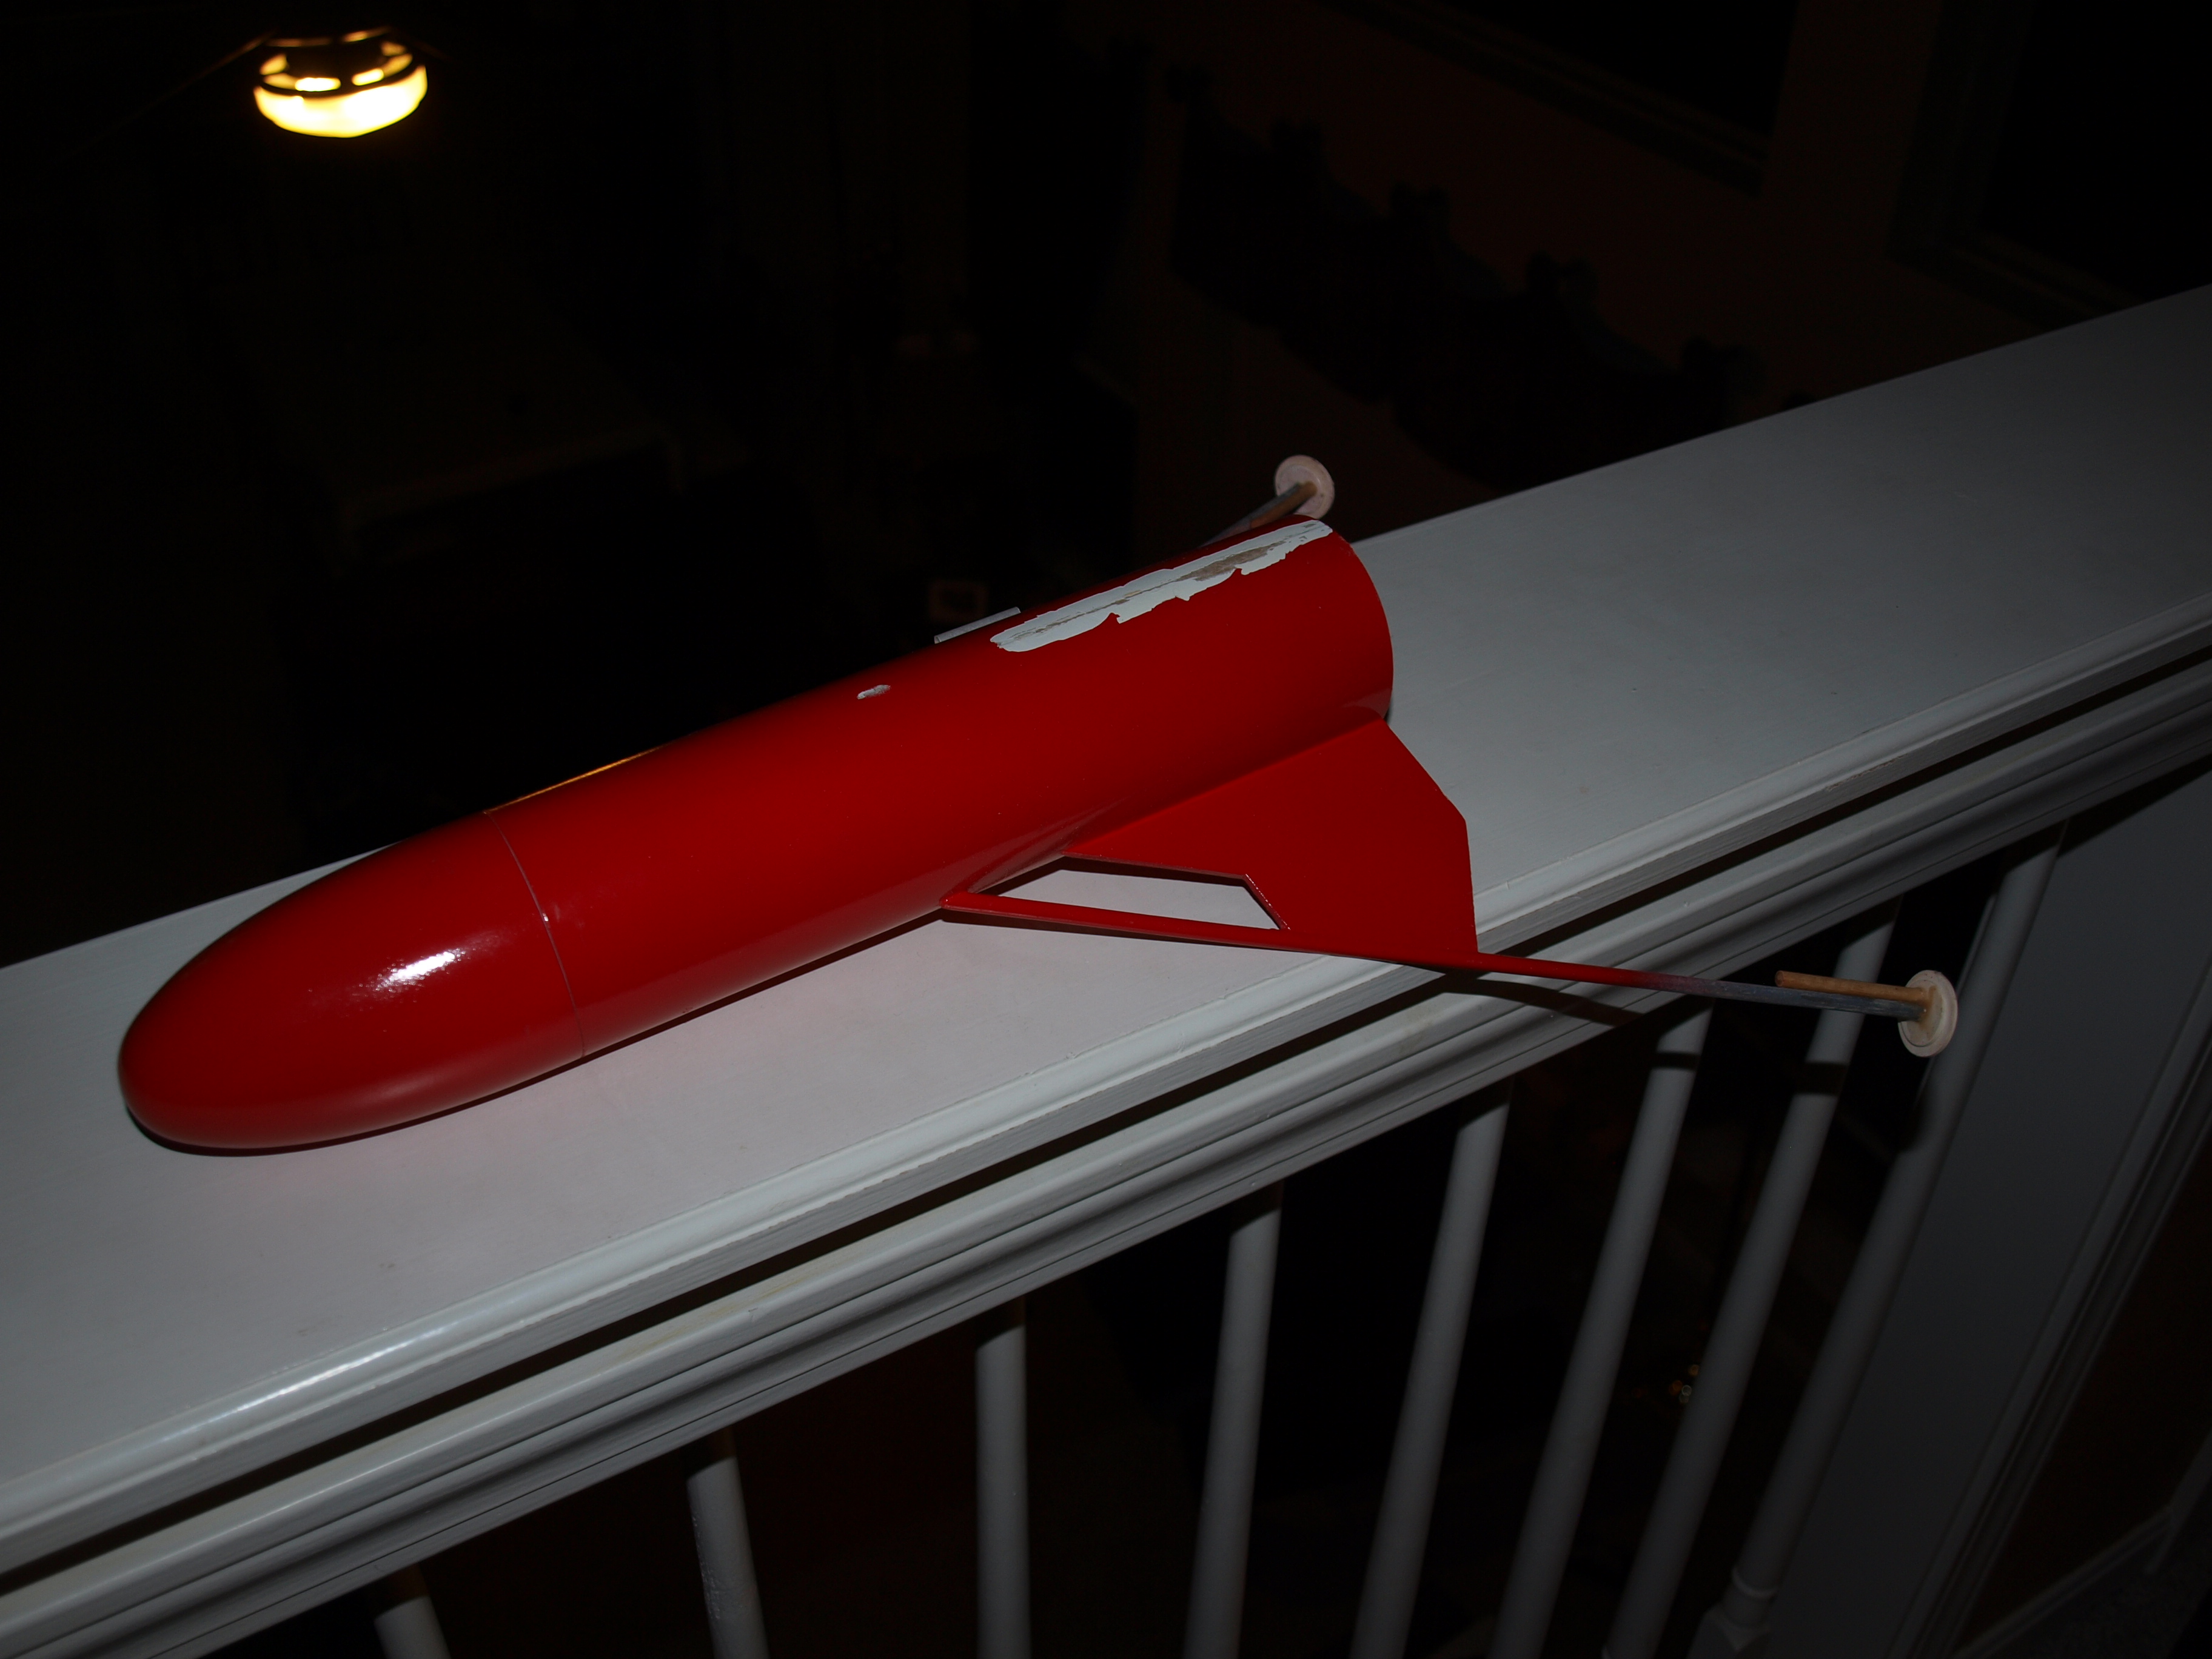
Finishing
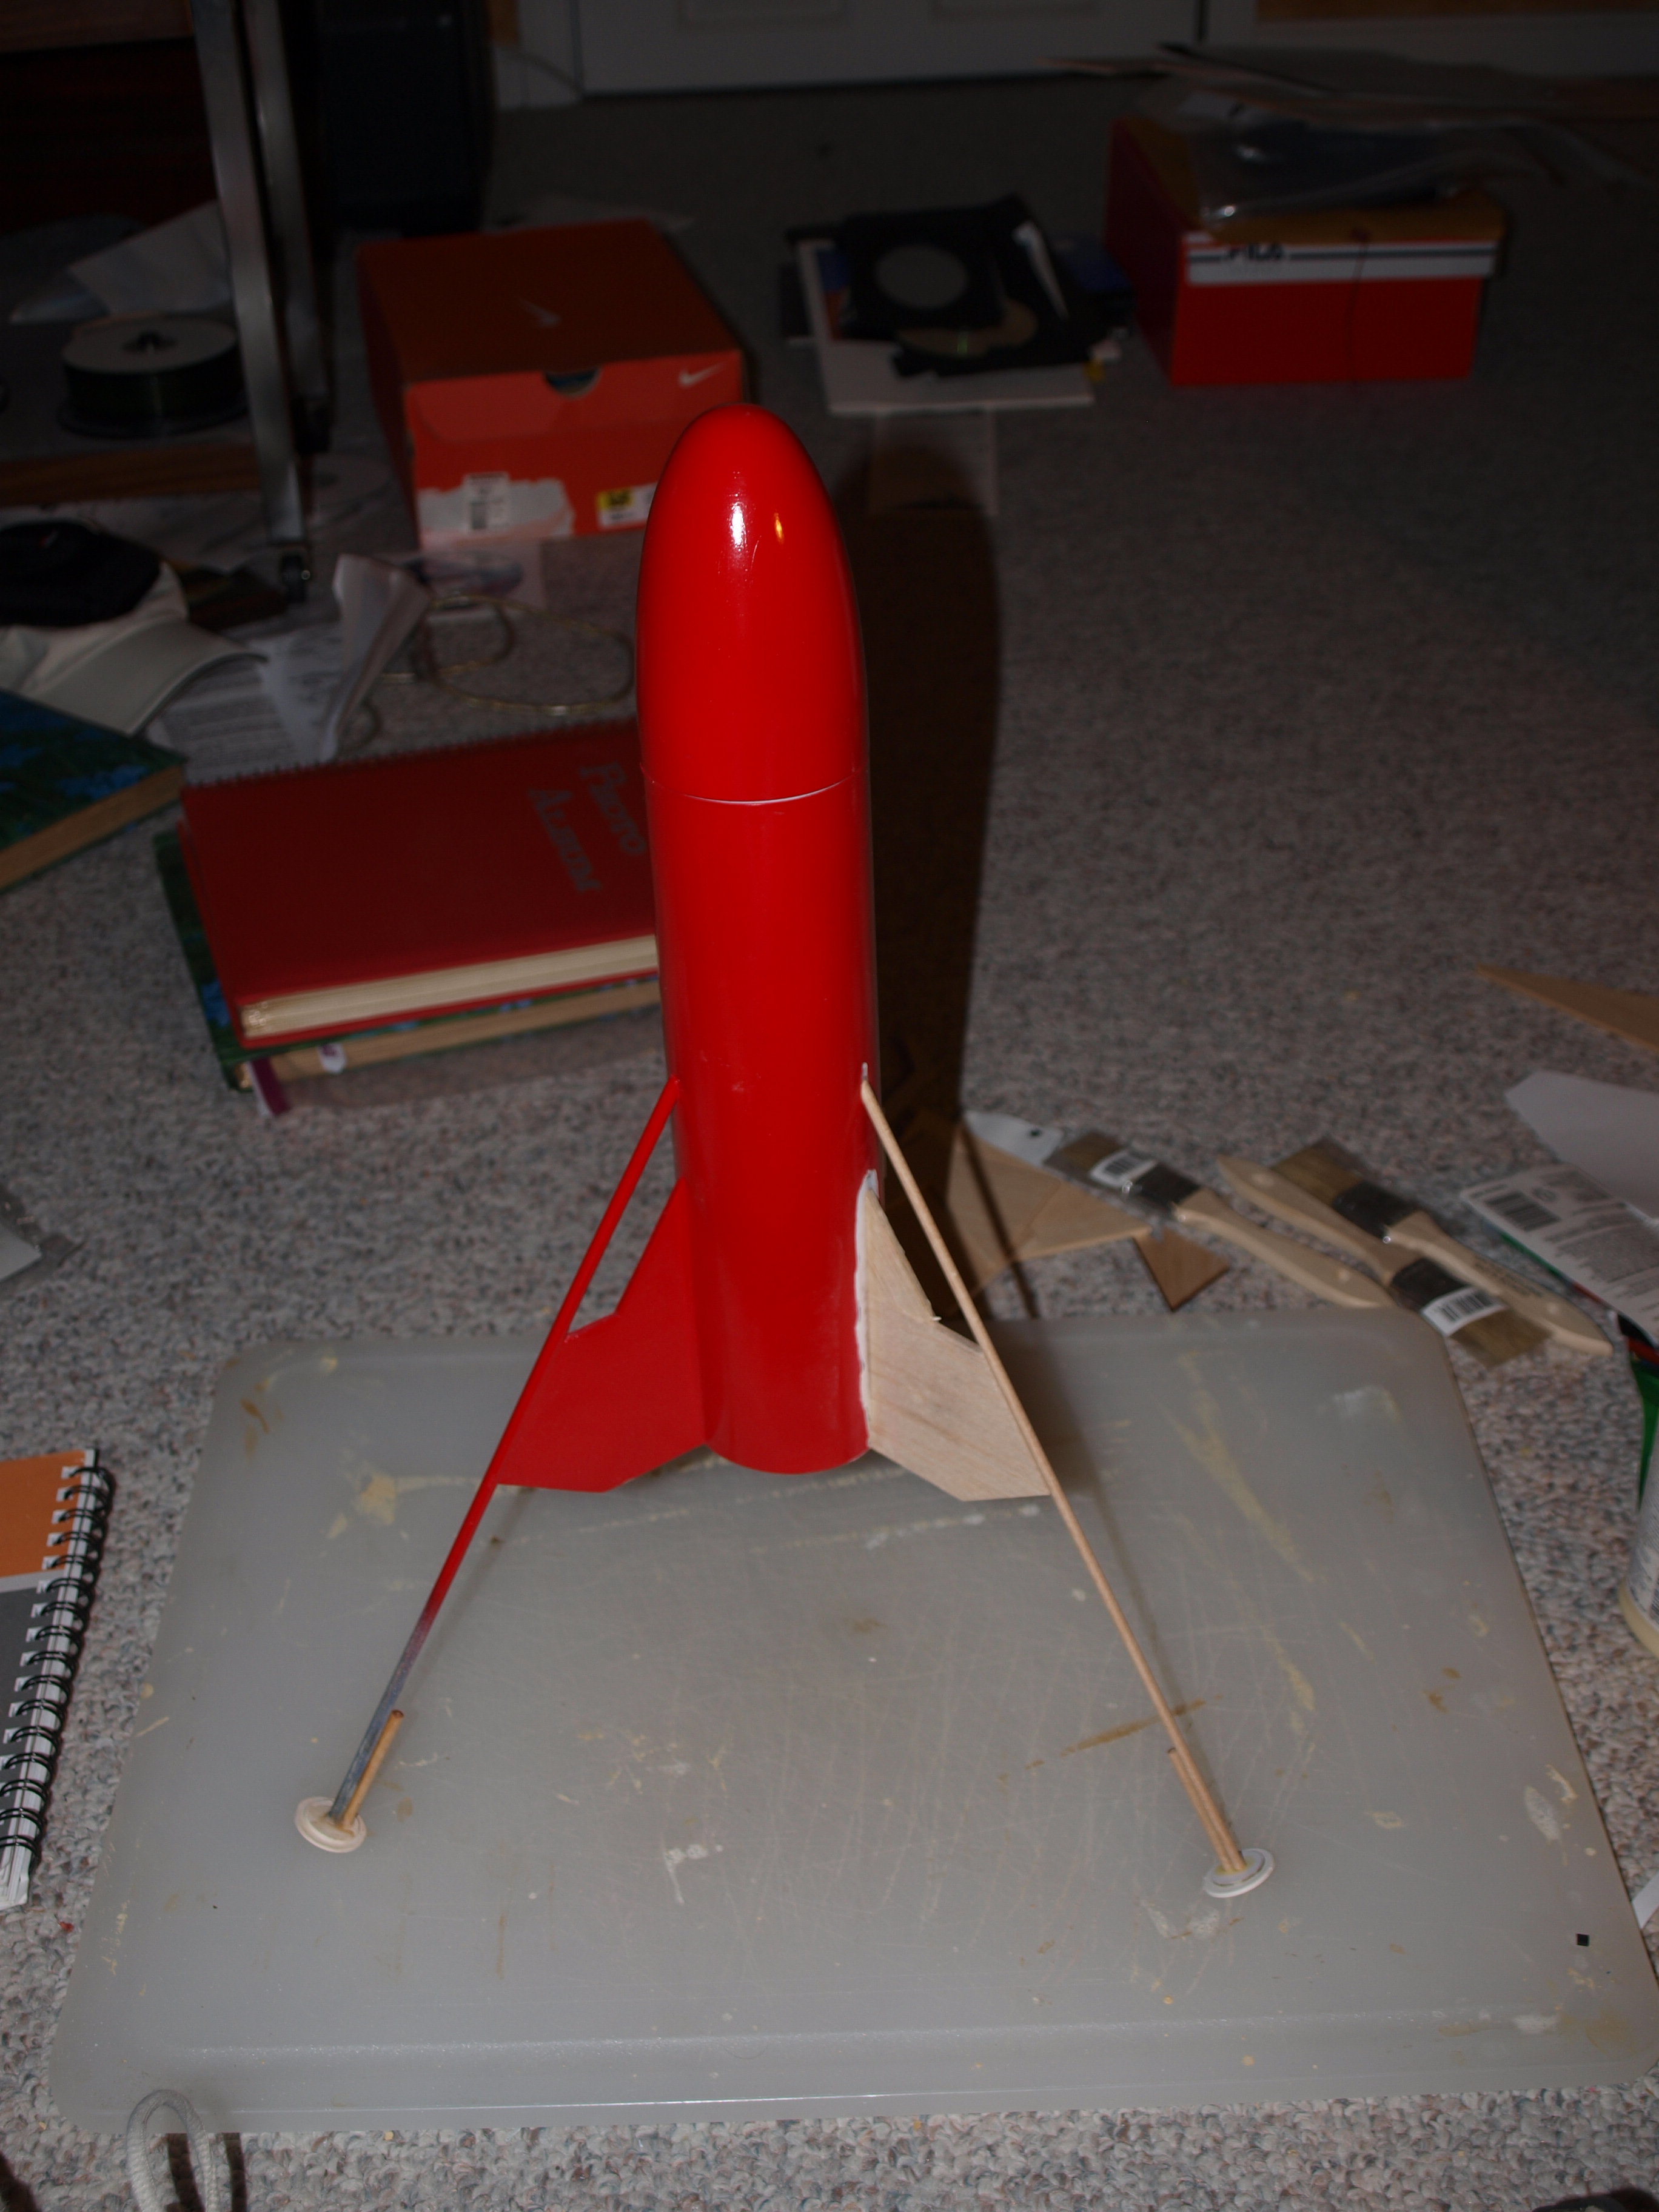
For the most part, this is an all red model. The legs call for silver, but my Probe never stayed in one piece long enough for me to get to the silver portion of the paint scheme. (This wouldn't have been a problem if I hadn't insisted on flying it a) before it was completely finished, and b) before it was completely repaired after the damage from the first flight.) Tube spirals were minimal, and were taken care of along with the balsa grain using two coats of thinned Elmer's Fill & Finish, followed by the dreaded sanding. The decals, while cool looking, hadn't aged well and cracked as they were put on, then peeled off in some spots. This is one of the risks you run with vintage kits, so I had just planned to order a set of decals from Excelsior. I still might if I decide to fix it again.
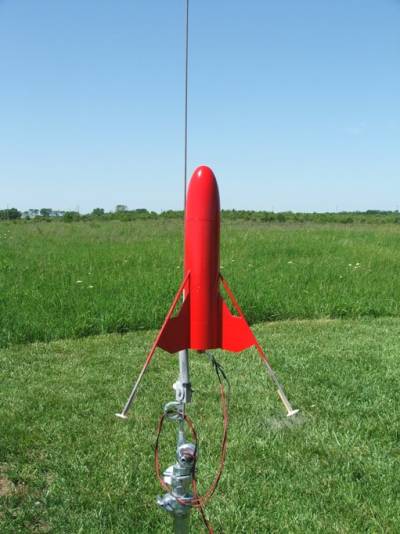
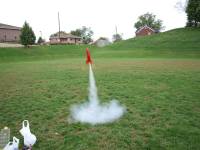
Flight
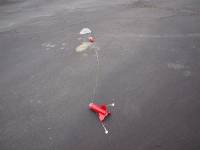
The Alien Space Probe might be a great performer, but I never got to see it. After two flights, each fraught with danger and damage of some sort, I have my doubts about flying it anymore. The first flight was on a C6-3 on a breezy May day back in 2009. The ASP windcocked badly off the pad and never attained a height greater than 150'. It was nose down when the ejection charge fired and the loud "CLUNK" as the nose cone rebounded back into the body was clearly audible on the flightline. No one saw anything fall as the rocket descended, but it was obviously short a leg. The actual landing zone was only a couple of hundred feet from the flightline, and I walked the whole flight path trying to find the missing leg. Somehow I managed not to find a bright red leg on a carpet of green. Damage was limited to one leg, but other than the upper portion of one of the fins, everything was gone down to the glue fillets, and the nose cone had a large scar from the impact.
The carcass sat gathering dust in my garage for over a year until I stumbled across the star-crossed decal and got the urge to make the repairs for the summer season at B6-4 Field. I bought a dowel and used some balsa and paper discs from shop scraps and built a new fin unit. After cleaning up the scarred body tube I attached the new unit, primed, filled, sanded and painted it. From ten feet it looked perfect, which was all I was hoping for. It was at this point that I tried to attach the vintage decals. Bleah.

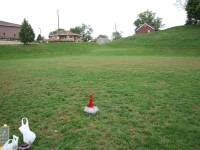
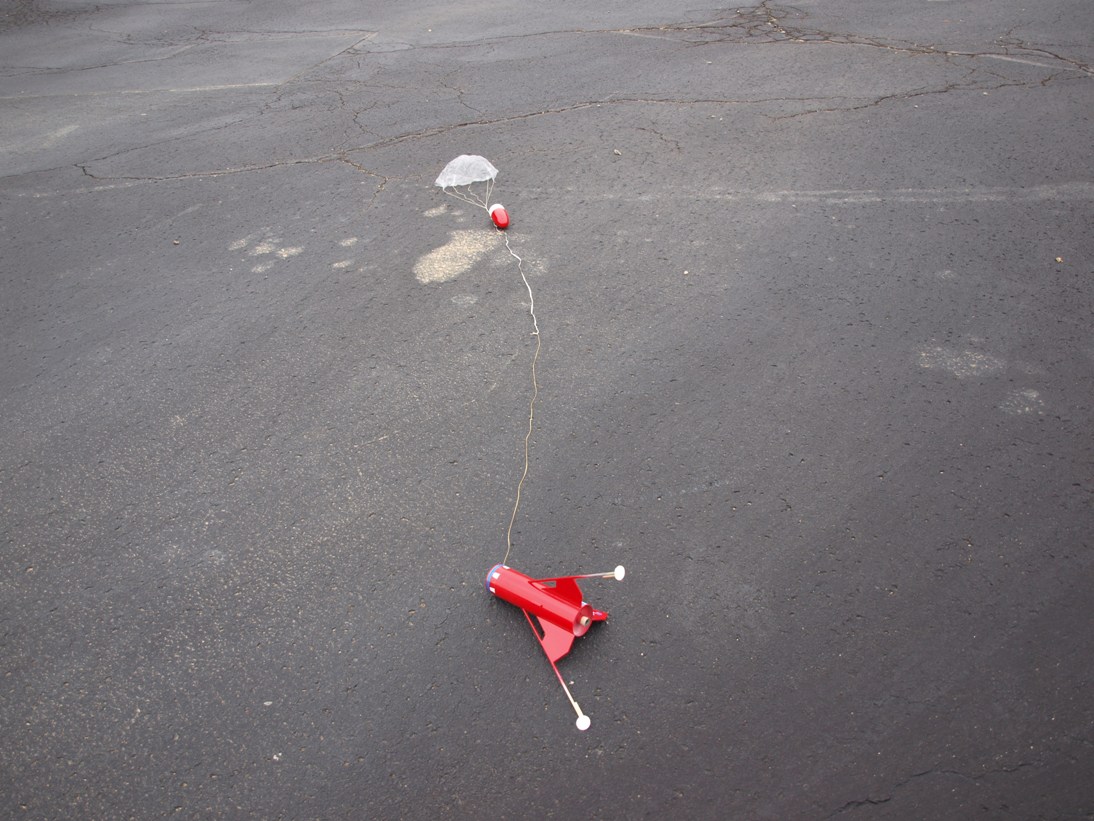
Flight number 2 came at B6-4 Fest in October, 2012 on another C6-3. Zog and I had been blessed with a virtually windless pre-Columbus Day Sunday and took advantage of it. The Alien Space Probe was the second flight of the day for me, and appeared to be in trouble almost from the start. Lift-off was picture perfect, but it immediately began angling toward the trees and US 27 behind us. It cleared the trees with ease, but the only things across the pike were roofs, a pool and a lot of asphalt parking lots. The trees obscured our view of the recovery portion of the flight, but the sound of the impact, on the asphalt parking lot, was again clearly audible. I was expecting some damage and when I reached the landing site I wasn't disappointed. Or rather I was. One leg had received a compound fracture, while the foot of one of the other legs was hanging by a tendon. I gathered up the remains. To date I haven't done anything to repair the damage. Maybe by 2015.
Summary
Pros: Good looking bird when finished. BT-80 size.
Cons: Underpowered for its size. Should have been 24mm powered and through the wall fins like the Fat Boy would have been a nice touch. Fragile legs are suceptible to breakage unless landing is perfect. Not a good rocket for anything other than calm conditions.
 |
 |
Flights


Sponsored Ads

 Model Rocket Kit sealed")
 Aerospace Specialty Products - Eggstravaganza 24 Dual - Model Rocket Kit")


|
|