| Construction Rating: | starstarstarstarstar_border |
| Flight Rating: | starstarstarstarstar |
| Overall Rating: | starstarstarstarstar |
| Published: | 2015-12-28 |
| Diameter: | 1.64 inches |
| Length: | 20.25 inches |
| Manufacturer: | Estes  |
| Skill Level: | 2 |
| Style: | Military |
Brief
The "Laser Lance" looks like a military styled guided missile. Estes started releasing this kit in the summer of 2011 and my decal sheet was stamped 12/09/11 making it one of the early kits. This rocket is 20.3" long with a dia. of 1.64" and an estimated wt. of 2.8 oz. Recommended engines are: C11-3 (1st flight), C11-5, D12-5, D12-7 with a predicted altitude of up to 925 ft. This was another rocket that I scored direct from Estes on there last clearance sale.


Components
Everything comes in a plastic bag and all parts are of standard Estes quality. The bag contains the following items:
* 1 - Sheet of instructions
* 1 - Sheet of balsa wood
* 1 - Molded piece of plastic making up the NC and transducer
* 2 - Body Tubes of different sizes.
* 1 - Engine mount tube
* 2 - Smaller plastic bags one of which contained the pre-assembled parachute and the other bag contains:
* 1 - Launch Lug
* 1 - Engine Hook
* 1 - Engine Hook Retainer Ring
* 2 - Adapter Rings (one of which is split)
* 1 - Engine Block
* 1 - Sheet of decals
* 1 - Rubber shock cord
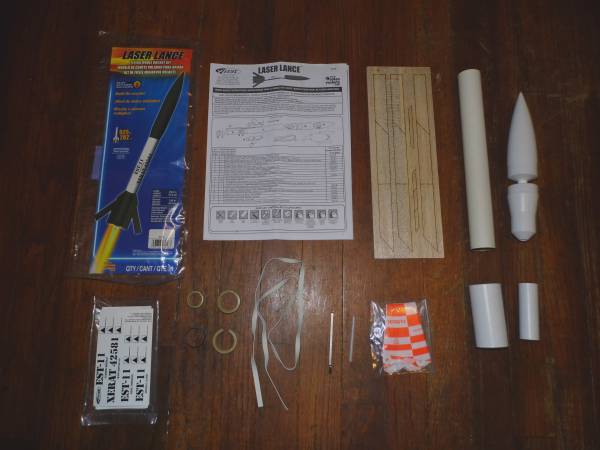
Laser Lance parts layout
Construction
Construction of this kit is well laid out and instructions are easy to follow. Unlike most Estes kits you do not start with the motor mount. It's not done until step 7. Instead you start with the fins and they are the most complex part of the build. There are 12 pieces that make up the 3 fins. When assembled there is a channel along the bottom edge of the fins. Because of the width of the assembled fins, you are instructed to sand the bottom edges in contour with the body tube by wrapping a piece of sandpaper around it and sanding the bottom edges of the fins to match. This allows the fins to sit flush with the BT when gluing them on.
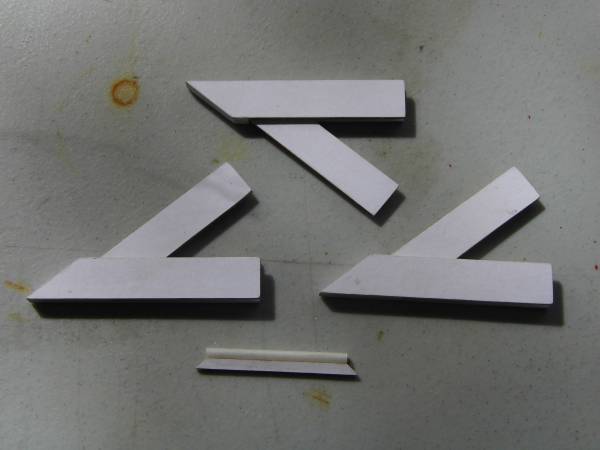
Assembled fins & Launch Lug
The main Con: After sanding them I knew these were going to be hard to paint so I decided to paint the channels before mounting them to the rocket. I also painted the corresponding strips on the BT.
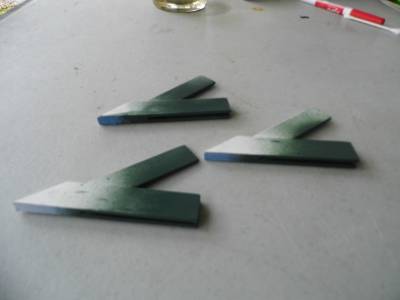
Channels Painted
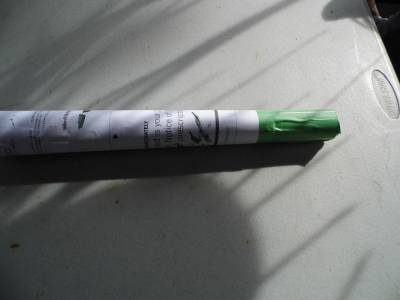
Masked for channel stripes on BT
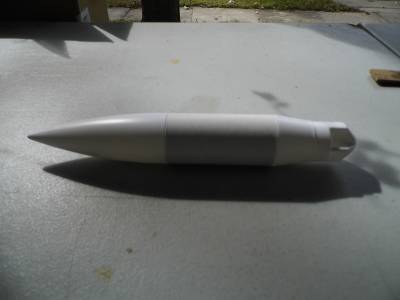
NC Assembly
Finishing
Finishing was a simple matter of painting nose cone assembly a matte green and body tube a flat white with matte green fins. I noticed one major difference between the catalog photo and the actual kit photo and instructions. The catalog photo shows the entire BT white and only the fins green whereas the kit shows the whole lower part of BT & fins in green. This is the way I painted mine only because the instructions showed it that way and I didn't notice the difference until after the rocket was finished and I had the decals on and clear coated. My only Con: Personally I wish I had gone the other way as I think it looks better.
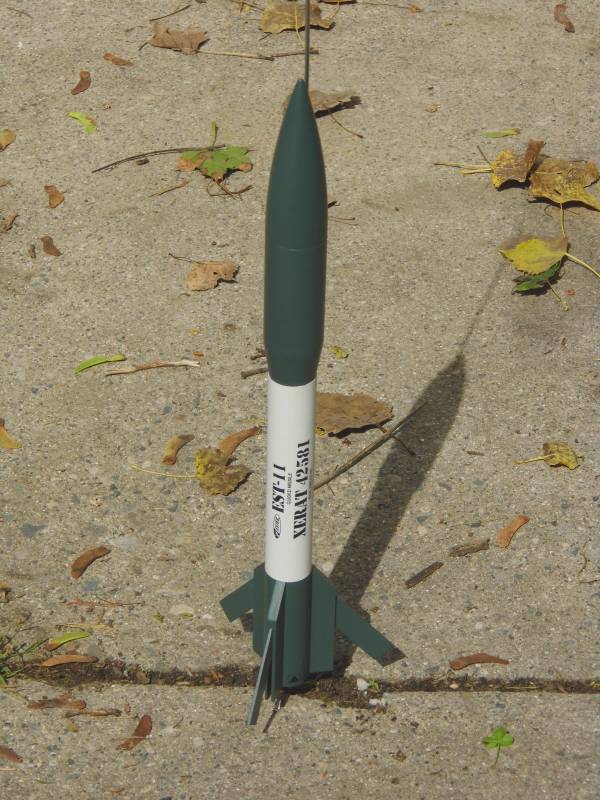
Finished Laser Lance
Flight
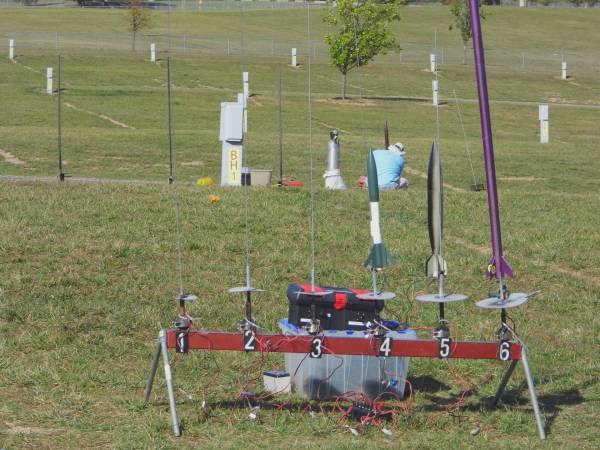
Maiden flight took place on 10-10-15 near Michigan International Speedway with the folks from J.M.R.C. Rocket was loaded with a C6-5 in my 18 x 24mm adaptor and taken out to its assigned pad. Once the rack was full and range was closed, the countdown was given. The rocket jumped off the pad straight up to somewhere around 400+'. Ejection charge fired after rocket tipped over. (Sorry, I missed the actual launch photo).
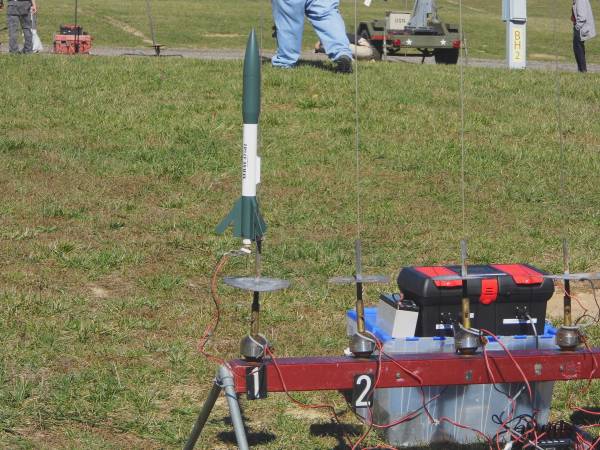
Laser Lance awaiting full rack
Recovery
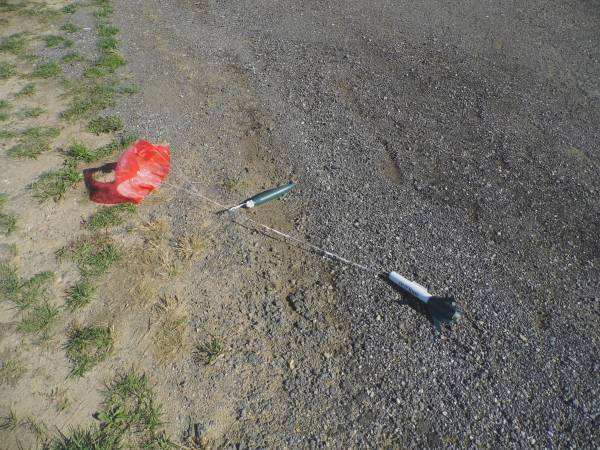
This was one of a dozen or so rockets that I took with me for the club launch. I had preloaded all the rockets with dog barf, chute powder, and motors the night before to save time at the field knowing it was going to be a busy day. This was the one rocket that I did not preload as I wasn't sure which motor I wanted to use for maiden flight until I got to the field. The recommended motors are the C11-3, C11-5, D12-3, and D12-5. I elected to use my 18x24mm adaptor and loaded it with a C6-5 as this rocket has the same weight as 2 of my other rockets that fly on B and C motors. With that in mind I took it out to the pad for its 1st flight totally forgetting to double check the parachute and wadding. Needless to say when ejection charge fired it melted the 'chute inside the tube and only about one inch came out of the tube. Fortunately the rocket came down in a flat spin and suffered no damage on landing. I then took it back to the car and replaced the parachute. Shock cord needed repairing as well as it was almost melted in too in four spots. Again this was my fault and not a manufacture one.
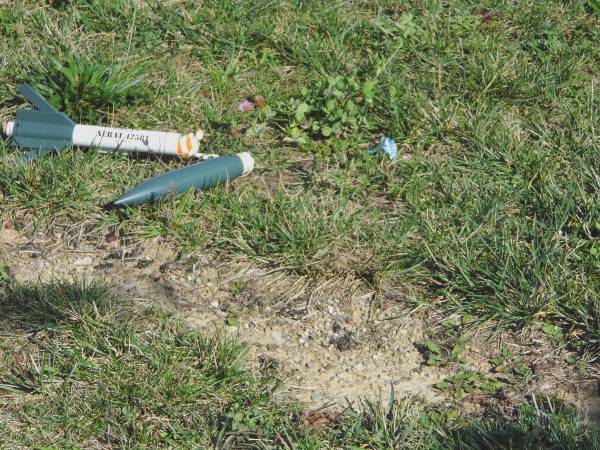
Laser Lance recovery
Second flight for this rocket was an hour later and under full power with a D12-5. Rocket absolutely screamed of the pad. This time everything worked as planned. Recovery was a very long walk and I ended up catching a ride with the "Mule" driver as rocket landed near the pond at the end of the campgrounds about a 1/2 mile down range. In spite of landing in gravel, the only damage was a couple of paint chips on 2 fins from impact. Super cool flight and one beautiful flyer.
Flight #2
2nd flight recovery
Summary
This is a great looking and outstanding performer and the "D" motors really make this thing scream off the pad. The NC assembly can easily be converted to a cargo bay making this a multi-purpose rocket. Although the fins are a bit of a challenge to paint they are nothing that a seasoned level 2 builder can't handle. My only con: is that I didn't buy more of these when I had the chance. At $3.79 direct from Estes, I should have bought half a dozen just for all the parts (Wife thinks I have enough rockets though at 120+). Just a thought Dear.
 |
 |
Flights
Sponsored Ads

 - 47776017535")

 | Intermediate Rocket Kit | Step-by-Step Instructions | Science Education Kits | Great for Teachers, Youth Group Leaders and Birthdays,Blue")

 Orange, 30 inches")
, Launch Pad/ Controller, Glue, Four AA Batteries, and Two Engines")


, 12.3 in. (31.1 cm)")


|
|