Scratch Scary Fast Original Design / Scratch Built
Scratch - Scary Fast {Scratch}
Contributed by Matt Gillard
| Manufacturer: | Scratch |
Brief:
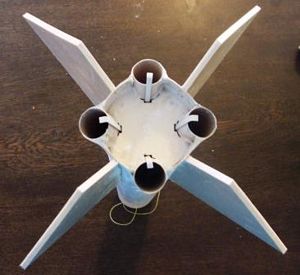
A scratch built rocket using Sunward's 4 canted motor mount.
Construction and Finishing:
To build this rocket I used:
- BT-70 tube
- BT-70 nosecone balsa
- Balsa fins
- launch lugs
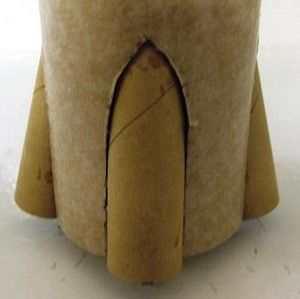
- Sunward's quad tilted motor mount
- 3 eye screws
- Kevlar® cord
- Elastic cord
- 15inch parachute
- Lead mass
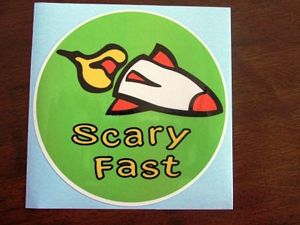
Whilst looking on a sticker site for a "William" sticker, for my son's first rocket, I came across the sticker below. Having bought the sticker, I thought I'd better build something to put it on. I'm not going to try and build a rocket like the one on the sticker.
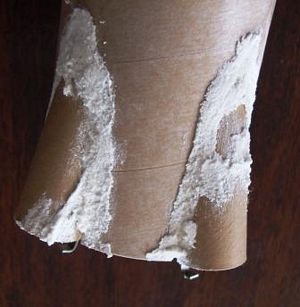
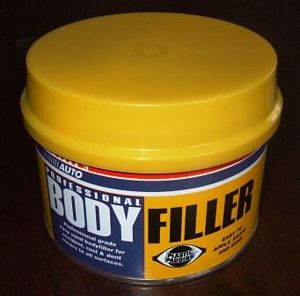
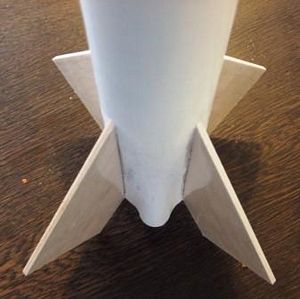
I've opted for a BT-70 rocket with a quad tilted motor mount from Sunward. I've already posted a review on the mount. Photos are from that that review just for completion. The mount was then fitted to the BT-70 and filled with car body filler, which was really easy to work with.
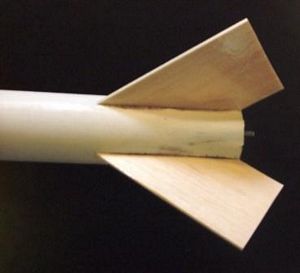
I decided to make the fins slightly swept back mainly because of the mass from the motors. The fins were laminated using Fablon, which was a first for me. The Fablon plastic went on well. The leading edge was not beveled and left square. The edges were sealed with white glue.
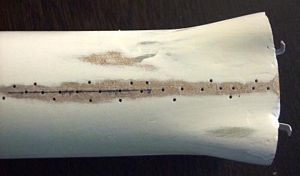
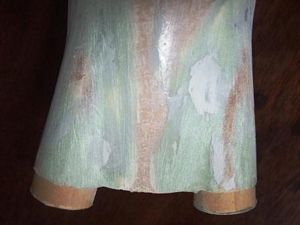
The body tube had some spiral grooves in it, which were filled with model filler, and then the BT was spray paint primed, sanded, primed, sanded, primed etc. As the fins are not TTW and with four C6 motors to power this rocket, it was going to move quite fast and I was a little concerned about the strength of the fins, coupled with the fact that swept back fins have a habit of meeting the ground first when landing. To overcome this, I put several holes along the area where the fins were going to be attached. The fins were then added using CA gel. Four glue fillets were then added over two days.
The shock cord was the normal Kevlar® and eleastic job, anchored to the motor mount. A swatch of Nomex® wadding was added.
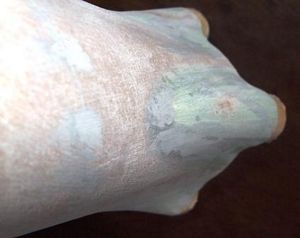
For the nose cone I used an eyelet for the shock cord anchor. I was not certain that it would not come out even though I had wicked CA into the base, so I went for three eyelets in the end as not all three can fail. A hole was drilled into the nose cone's base and a lump of lead was added. The nose cone was balsa and required 5 coats of sanding sealer, three coats of primer, and three coats of gloss black to finish.
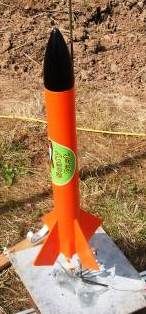
I was going for a two tone finish on the body, but after much swearing due to masking tape that continues to bleed paint, I went for orange on the whole rocket. The finish is not good, and I'm really disappointed with it. Sticker was then applied.

Flight and Recovery:
I finally flew her many many weeks after finishing her, mainly because of weather and my normal flying field being a
bit too small for this rocket. However, only three motors (C6-7) lit. The rocket went up straight with a slight kink in
the first 10 meters or so, probably as the clips were being yanked free from the unlit motor. Recovery was rather fast
on a 15 inch chute, and the ground was hard. On landing she popped a fin and suffered a lot of paint damage with flakes
coming off the Fablon laminate. I am now looking to remove all fins and sand her back to the body tube and redesign the
fins.
Summary:
PROs: The 4 canted motors seem to work. The flight was good even with one dud motor.
CONs: Four C motors cost a lot more than one D or E.
Sponsored Ads


 |
 |