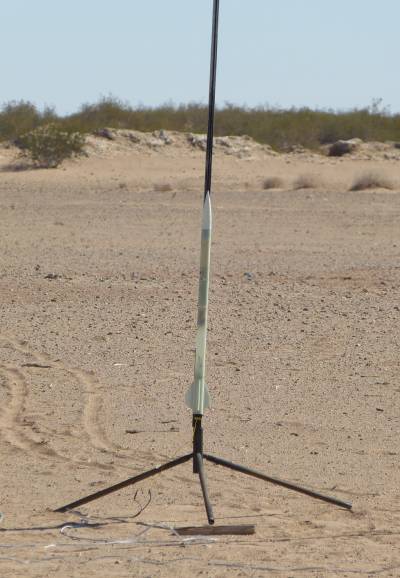
Madcow Rocketry Mini DX3
Madcow Rocketry - 1.6" Mini DX3 {Kit} (K-103) [?-]
Contributed by Mike Caplinger
| Construction Rating: | starstarstarstarstar_border |
| Flight Rating: | starstarstarstarstar_border |
| Overall Rating: | starstarstarstarstar_border |
| Published: | 2016-02-13 |
| Diameter: | 1.60 inches |
| Length: | 32.00 inches |
| Manufacturer: | Madcow Rocketry  |
| Skill Level: | 2 |
| Style: | Sport |
 Brief
Brief
(This is a review of the thin-wall fiberglass version of the Mini DX3. There is also a cardboard version.)
The Madcow Mini DX3 is the smallest version (38mm diameter) of the basic DX3 design, which is now available in a size spectrum ranging from this kit all the way up to an 8-inch diameter fiberglass version weighing in at nearly 50 pounds. My first mid-power rocket as a BAR was the 2.6-inch DX3 and I did my level 1 and level 2 cert flights with a 4-inch Super DX3, so I have a soft spot for the type, though it's basically just a simple 3FNC with a payload section.

Components
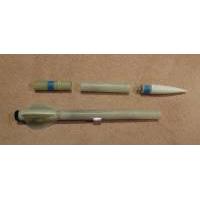
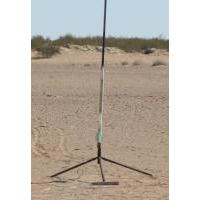
The Mini DX3 includes two sections of thin-wall fiberglass 38mm body tube (22 and 8 inches long), a 29mm fiberglass MMT, fiberglass centering rings, three 1/16" G10 fins, an 8-inch fiberglass coupler/avbay with one-piece stepped bulkplates and all hardware, a filament-wound fiberglass nose cone with coupler and bulkplate, 1/4" cardboard launch lugs, and two sets of kevlar/nylon shock cords 6 feet in length. Optionally you can order a recovery package with an 18" main, 10" drogue, and two Nomex chute protectors. I also added an Aeropack motor retainer and opted to use Acme conformal rail guides from Giant Leap instead of the lugs.
Construction
Having built many fiberglass rockets, I didn't spend a lot of time reading the instructions, which seemed adequate if a bit terse. I started by attaching the Aeropack to the MMT with JB Weld. After that cured I epoxied the centering rings on, leaving just enough space for the fin roots, and then epoxied a kevlar shock cord to the MMT, sanding all the bonding surfaces. I then installed the MMT in the airframe, making sure that the kevlar didn't get any epoxy on it where it exited the forward centering ring. The fin slots needed to be filed a bit for the fins to fit, and I beveled the fin leading and trailing edges lightly with a belt sander. Rather than inject internal fillets, I simply buttered the fin roots with epoxy, inserted the fins to deposit the epoxy on the MMT, and then pulled them out and added more epoxy. Finally I added external fin fillets using epoxy with microballoons.
The instructions indicate that the avbay switchband should be installed in the middle of the coupler, but I felt that the space in the payload bay was pretty tight as it was, so I only put about 1.5 inches of coupler in front of the switch band, and I also cut off about 1/2" from the nose cone shoulder to get a little more room. I left the nose cone coupler loose, held to the nose cone with two #2 metal screws, so that the nose cone volume could be accessed for a tracker.

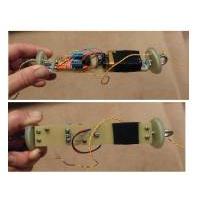
The kit includes two pieces of #10 all-thread for the avbay, but no sled or instructions for how to build one. To maximize space in the avbay, I chose not to use the all-thread, but instead made a structural sled using 1/16" G10 and aluminum brackets. This gave me enough space for a Perfectflite SL CF altimeter and 9V battery (I've had bad experiences with A23 batteries and the Perfectflite isn't rated to work with a 1S lipo), using a Featherweight screw switch for power control.
Finishing
I haven't painted the rocket yet, but am not expecting any problems because the fiberglass is smooth and requires no filling.
Flight
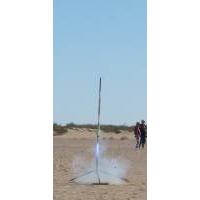
The rocket weighed in dry at about 1.5 pounds. There are no recommended motors listed, but any 29mm motor F or above with adequate thrust-to-weight ratio should work. I chose a Cesaroni G118 Blue Streak for the first flight, mostly because the delay was long enough that I could use motor ejection as a backup. I put a Com-spec radio beacon in the nose cone. Prep was otherwise a matter of folding the shock cords and chute, building and wiring up the apogee and main deployment charges, and attaching the payload section to the avbay with the supplied plastic rivets. The Aeropack made short work of retaining the motor, and then it was out to the pad and ready for launch. The boost was straight and fast to 3408 feet.

Recovery
The optional 18" chute seemed like it would be a bit small, so I went with a Top Flite thin-mill 24" chute with a Kevlar protector, and no drogue. Unfortunately, on the first flight the main deployed at apogee, probably because the apogee charge of 0.7g was a little too large or because the shock cord was a bit too short, or perhaps the motor backup fired at the same time as the altimeter. I hadn't used shear pins on the nose cone but will probably retrofit them for the next flight. Descent rate on the main was a little under 22 FPS, and the rocket drifted about 0.5 miles to the south; finding it was easy with the Com-spec.
Summary
This is a bulletproof fiberglass kit that's relatively light and should fly well on anything from an F to the biggest 29mm motor you can get. My only complaints are the stock shock cords are a bit too short, the optional parachute is likely a little too small, and the avbay is tight (though it's long enough, it wasn't clear to me how a conventional all-thread layout was supposed to work unless you were using batteries more compact than 9V.)
I really like the thin-wall tubing, it's a better compromise between weight and strength than more typical thick fiberglass tubes. The nose cone is well-made and provides usable tracker space, which you'll definitely need to find this on bigger motors!
 |
 |
Flights
Sponsored Ads
 |
 |
