| Construction Rating: | starstarstarstar_borderstar_border |
| Flight Rating: | starstarstarstarstar_border |
| Overall Rating: | starstarstarstarstar_border |
| Published: | 2015-02-04 |
| Diameter: | 6.00 inches |
| Manufacturer: | Tango Papa  |
 Brief
Brief
The Estes Mars Lander, designed by Wayne Kellner, was released in 1969. I remember getting the kit for Christmas in the early 70s and assembling it over the course of a year or more; it was easily the most complex build I had ever attempted. I think mine flew once on a B6-2, and as I recall it got about 50 feet up and barely managed to deploy the chute.
Tom Prestia of Tango Papa Decals first released his versions of the Mars Lander in 1998-1999, during the long drought between 1983 when the Estes kit ceased production and 2006, when Semroc's clone version became available. Tom developed a nearly-1:1 version, a 1.6x upscale, and a 2x upscale, but only the 1.6x upscale remains in production.
Components
The kit has been updated slightly since the original review. The internal rings for the shrouds are now all laser-cut 1/8" lite-ply. The more structural centering rings are 1/4" ply. The MMT is a length of 29mm tube, and the parachute tube is a rough U-line mailing tube. The legs and gear housings are basswood and there is an assortment of wooden dowels and aluminum rods for the landing gear. The landing gear hinges are formed from flexible plastic tubing and plastic beads. The main body is a section of PML 6" phenolic with some PML coupler rings, and there is a collection of thick posterboard for the shrouds and body details. The landing gear footpads, nose cone, and antenna details are balsa.
I ordered the kit without parachutes; the recovery harness is some thick kevlar twine and a length of 1/4" elastic.
Construction
As others have noted, the instructions are a little rough and hard to follow. The photos are minimal and in some cases seem to be out of sequence. There is an error in the photo for the gear housings; only the one on the bottom is correctly assembled. I can appreciate that diagrams are hard to produce, but even a simple side view indicating which rings went where and what was bonded to what would be extremely clarifying. I found the instructions for the Semroc kit to be helpful to get an overview of the assembly. The Rocksim file here on RocketReviews shows the approximate location of most of the components and may be of some use.
A fair amount of tube cutting is needed. Explicit callouts about the final lengths of the parachute tube and the MMT would be helpful here. The Rocksim file also has this information.
Perhaps it was intentional, but the thick centering rings that attach to the parachute tube were considerably oversized and loose on the ID. Most of the rings required a fair bit of sanding on the OD to fit in the main tube. The instructions show T-nuts, but my kit had screw-in inserts instead.
I decided to use pieces of 1/4" launch lug instead of the flexible plastic tubing for the details on the landing gear struts, out of concern for finishing problems on the plastic that other reviews mentioned. There are several places where wood glue is just as appropriate as epoxy and I substituted it when possible.
The posterboard used for the shrouds and detailing is too thick to easily bend. Perhaps someone might be able to form the shrouds without creasing, but not me! Using a lighter cardstock might be preferable, especially for the command module, which has a tighter bend radius. I also found it hard to get the shrouds aligned correctly, and ended up with a small gap on one side between the large shroud and the main body tube. Not gluing the coupler to the shroud until final assembly might work better.
The instructions indicate to use 29mm motor tube not supplied in the kit to make the landing leg footpads. I happened to have some spare 29mm tube but ended up with more than enough from the kit to make the footpads.
My kit was missing the shock-absorbing rubber bands. Fortunately these are easy to source, though the ones I found in a desk drawer could have been fresher, as we'll see later.
That said, the build was enjoyable and very accurately reproduced the challenges I had building the original Estes kit!
Make sure to read Tom's messages on rec.models.rockets for additional advice, errata in the instructions, etc. -- for example, https://groups.google.com/d/msg/rec.models.rockets/LOf8j51X734/Z_6t4ccRO8UJ
Finishing
The legs are fairly easily removable and this helps enormously in finishing. There's some controversy about exactly what shade of red or orange the legs should be. I ended up using Rustoleum 2X Painter's Touch "satin paprika" and that seemed like a close match to the "international orange" color called out in the original Estes instructions. The paprika went over white primer so as not to dull the color. The rest of the lander was primered in gray and then color-coated with semi-gloss white.
The earlier reviews described the process of using the supplied fabric paint to create raised panel lines. It works well enough but I was unable to come up with a way of making them other than freehanding and the resulting lines aren't very straight. If you're detail-oriented, you may want to leave off the lines, do something with additional cardstock panels, or perhaps draw panel lines on after painting. There are several amazing techniques from plastic modeling to do panel lines. I was satisfied with the fabric paint.
The decals are thin and have a tendency to fold under. Make sure to use warm water to ease sliding and placement. Several of the decals came with a spare, which was appreciated.
Flight
The instructions call out for 10 ounces of additional ballast, but don't describe where the CG of the model should be for stability. Tom's discussion on rec.models.rockets suggested to me that 10 oz was overkill, especially considering that I had no plans to fly the model on anything larger than a G64. An Openrocket simulation said that the CP was about 12.3 inches from the nose tip, about halfway down the main body tube. The general consensus is that the CG of a Mars Lander should be at about the front of the lander gear housings, which would give a CG-CP of about 2-2.5 inches. Any stabilizing effect of the footpads, base drag, etc. is not accounted for.
I ended up putting about 2 oz of lead in the command module and 6.5 oz in the nose cone. I dremeled a cavity in the nose cone and used lead shot fishing weights mixed with epoxy for the nose cone ballast. As built and painted but without a motor, the nose cone came out at 7.9 oz, and the rest of the lander 2 pounds, 4.2 oz, for an all-up dry mass of 2.76 pounds.
Based on this weight, Tom's recommendation of the G64-4 sounded dead on. I've flown 3-pound rockets on G64s many times and am very comfortable with it; it's a great small-field demo motor for rockets of this weight range.
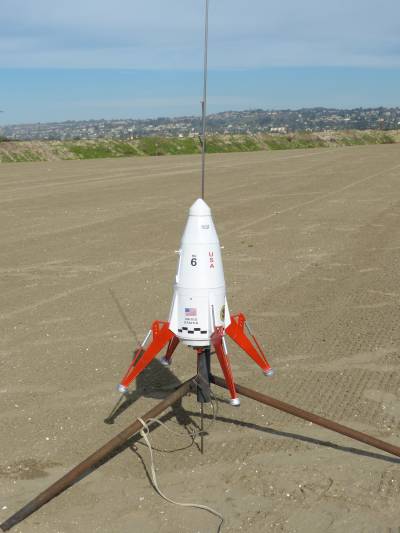
Prepping the rocket the day before the flight, I realized that the motor retention was a bit of an intelligence test I was in danger of failing. The supplied retention consists of 2 3" bolts, two nylock nuts and two mirror clips, which are supposed to replace the 1" bolts that hold the bottom plate of the lander on, but it took an hour of fiddling and some extra hardware to adjust everything, and even then it seemed tricky to get tight enough. Also, I found that the position of my bolt holes was such that I couldn't get the engine shroud on, and I question if there is any placement that will actually work. Or maybe I just failed the test. At any rate, I left the engine shroud off and was satisfied the retention would work.
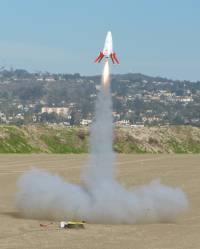
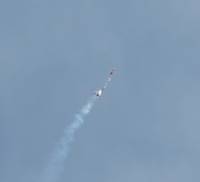
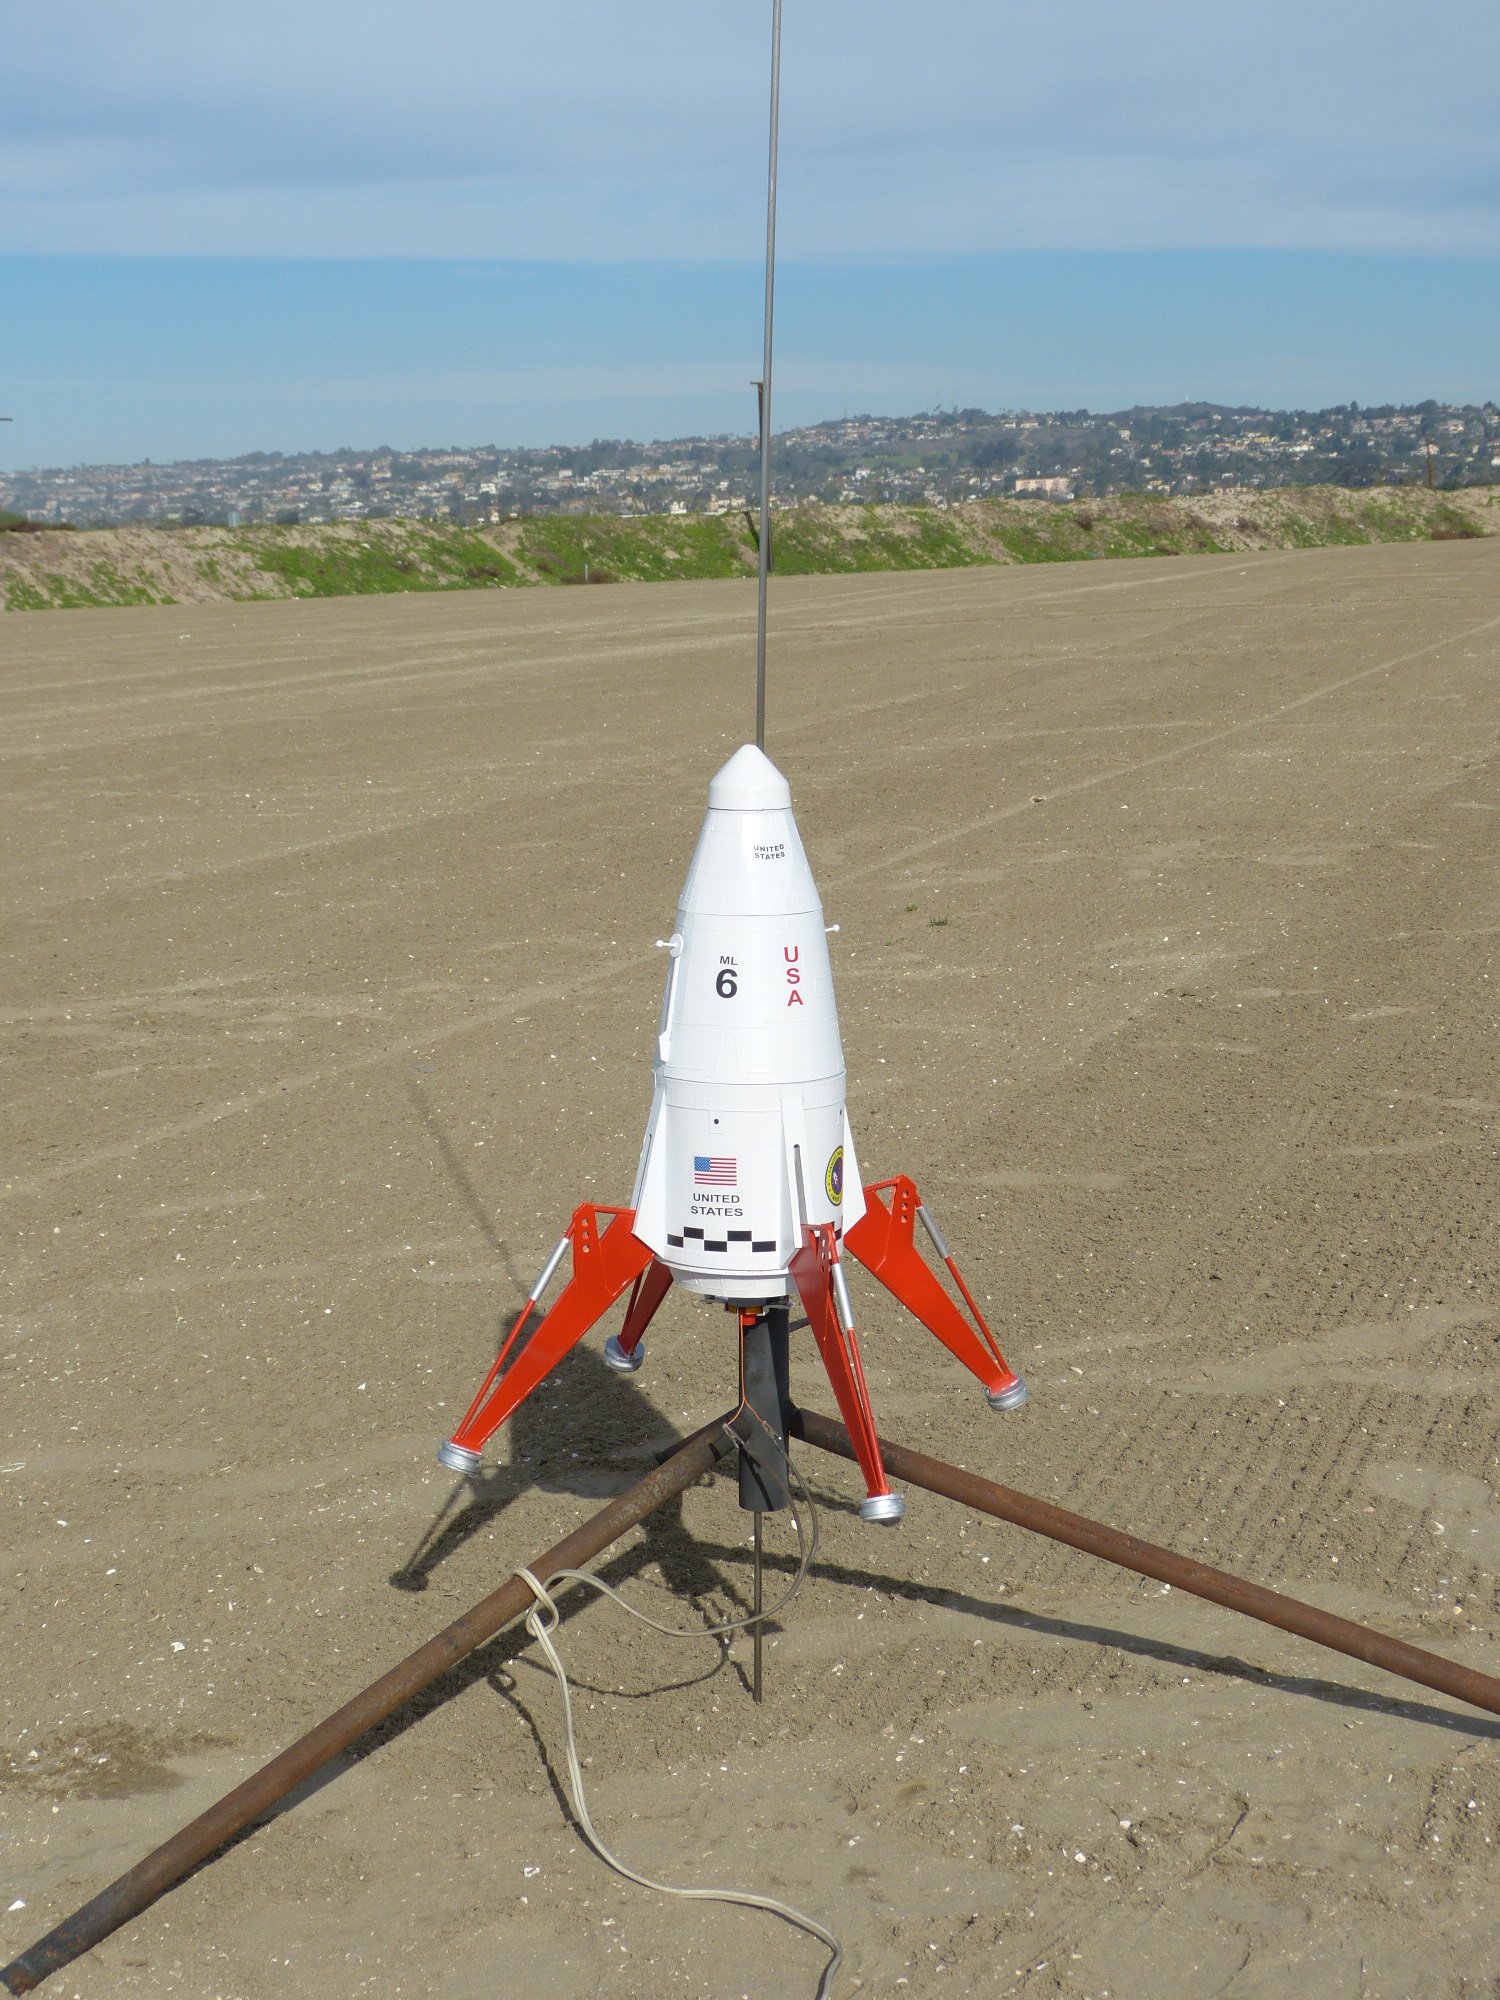
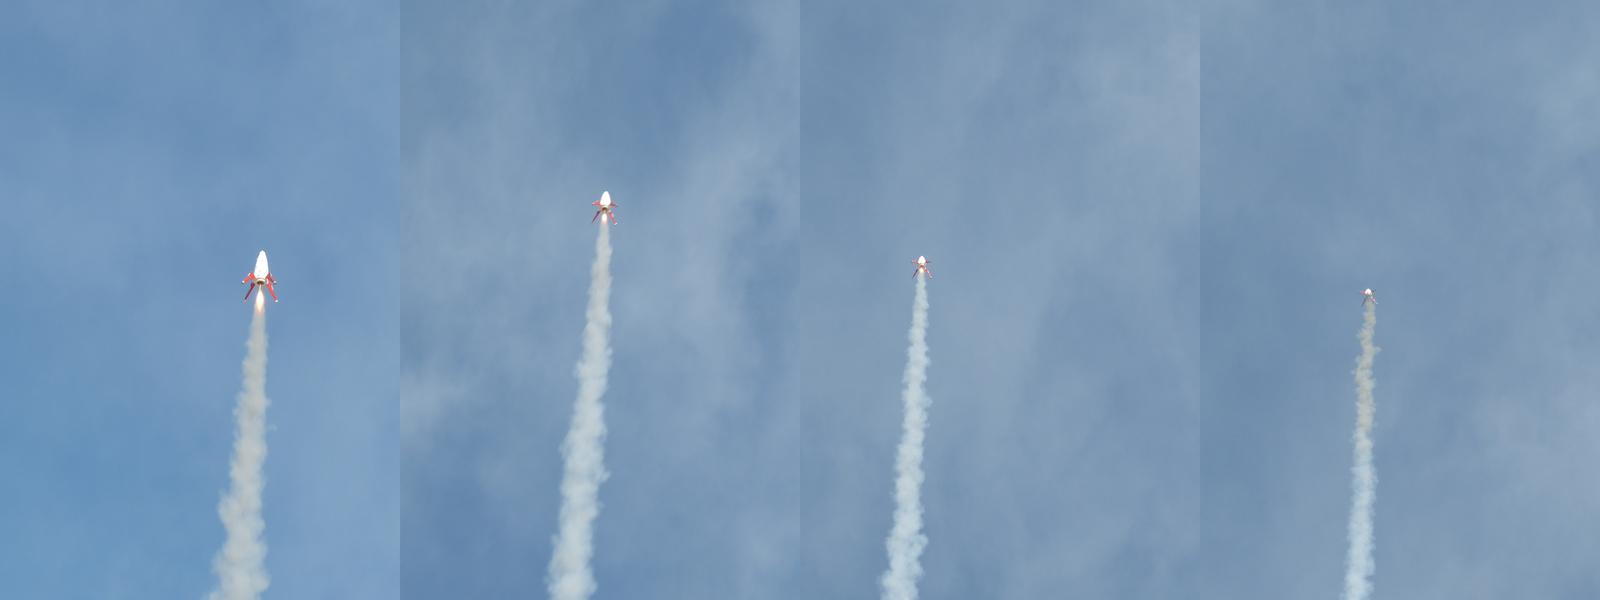
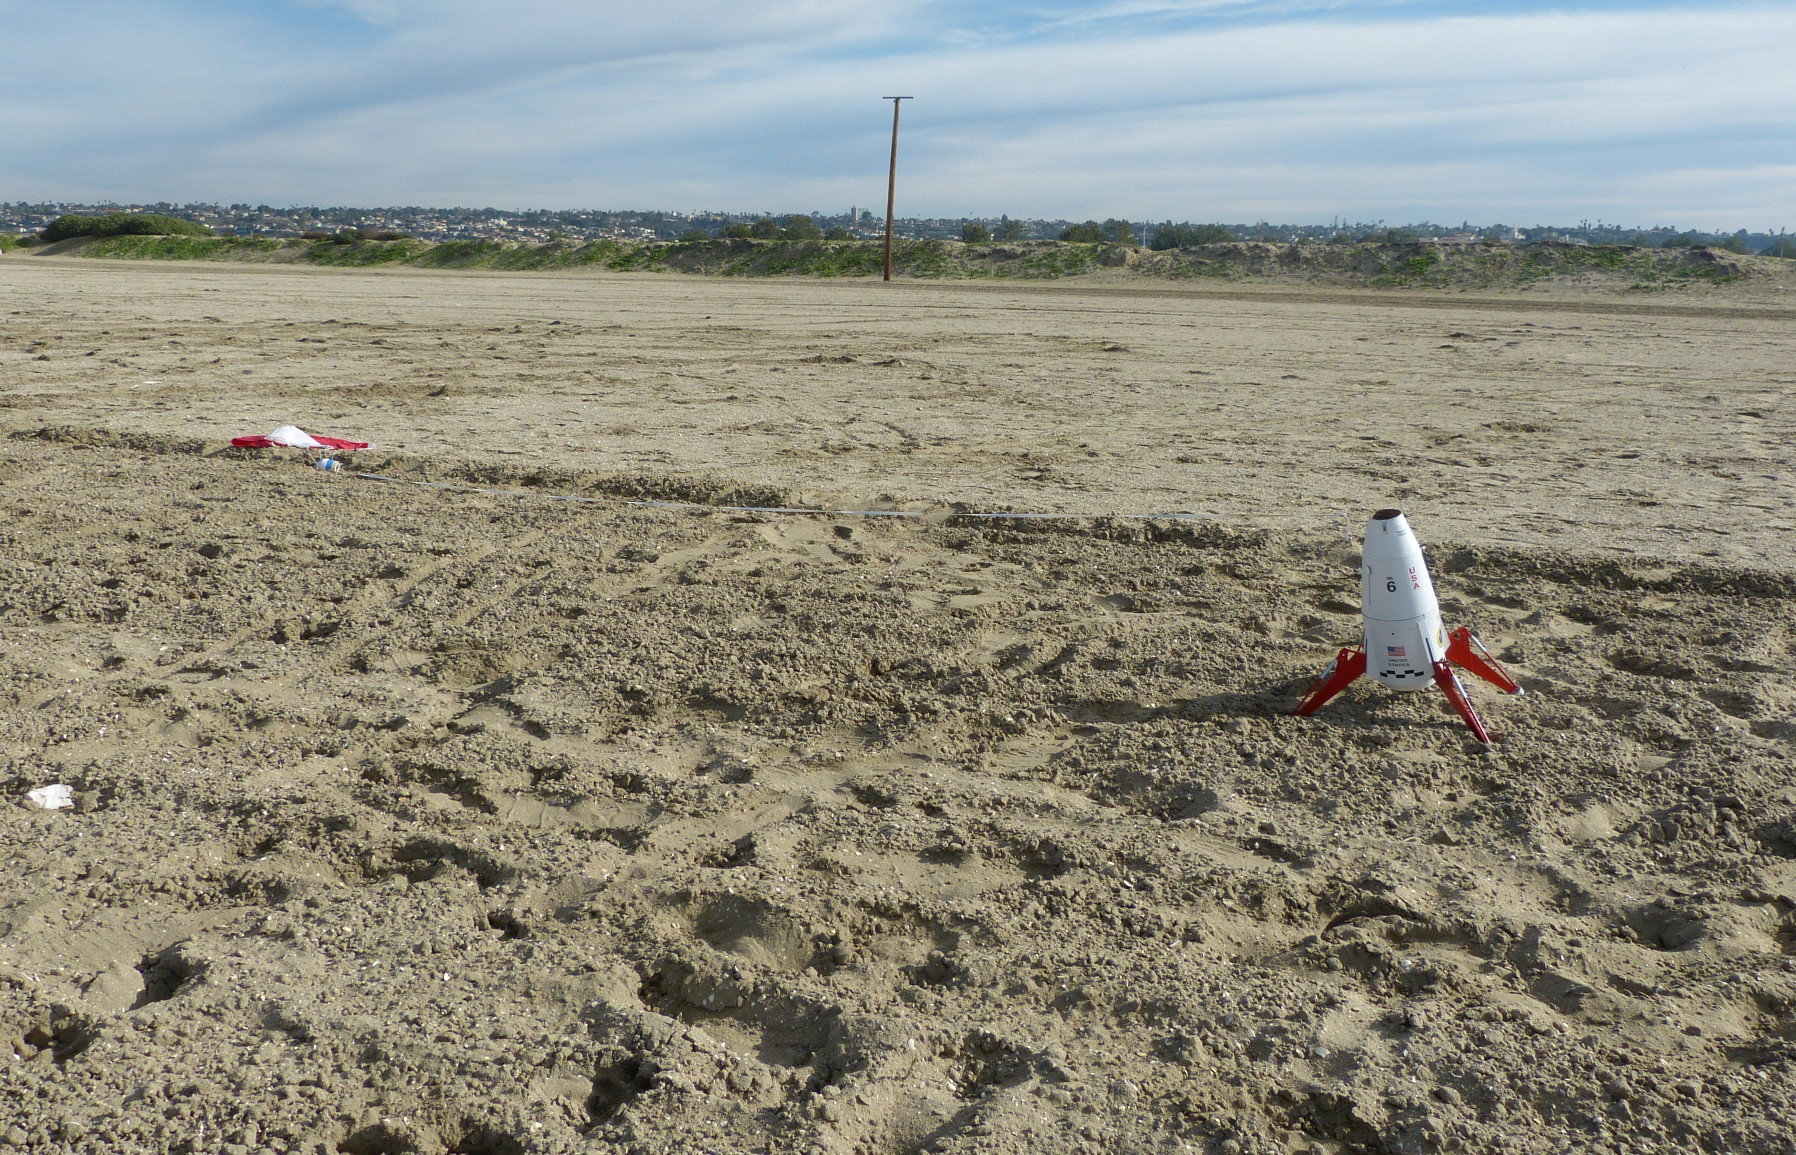
The flight was in dead calm conditions, the boost was impressive and quite straight, and the chute deployed precisely at apogee. I didn't have an altimeter on this flight, but the altitude seemed in line with my sims, which predicted 600-650 feet.

Recovery
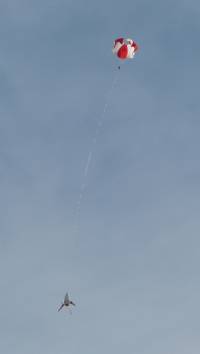
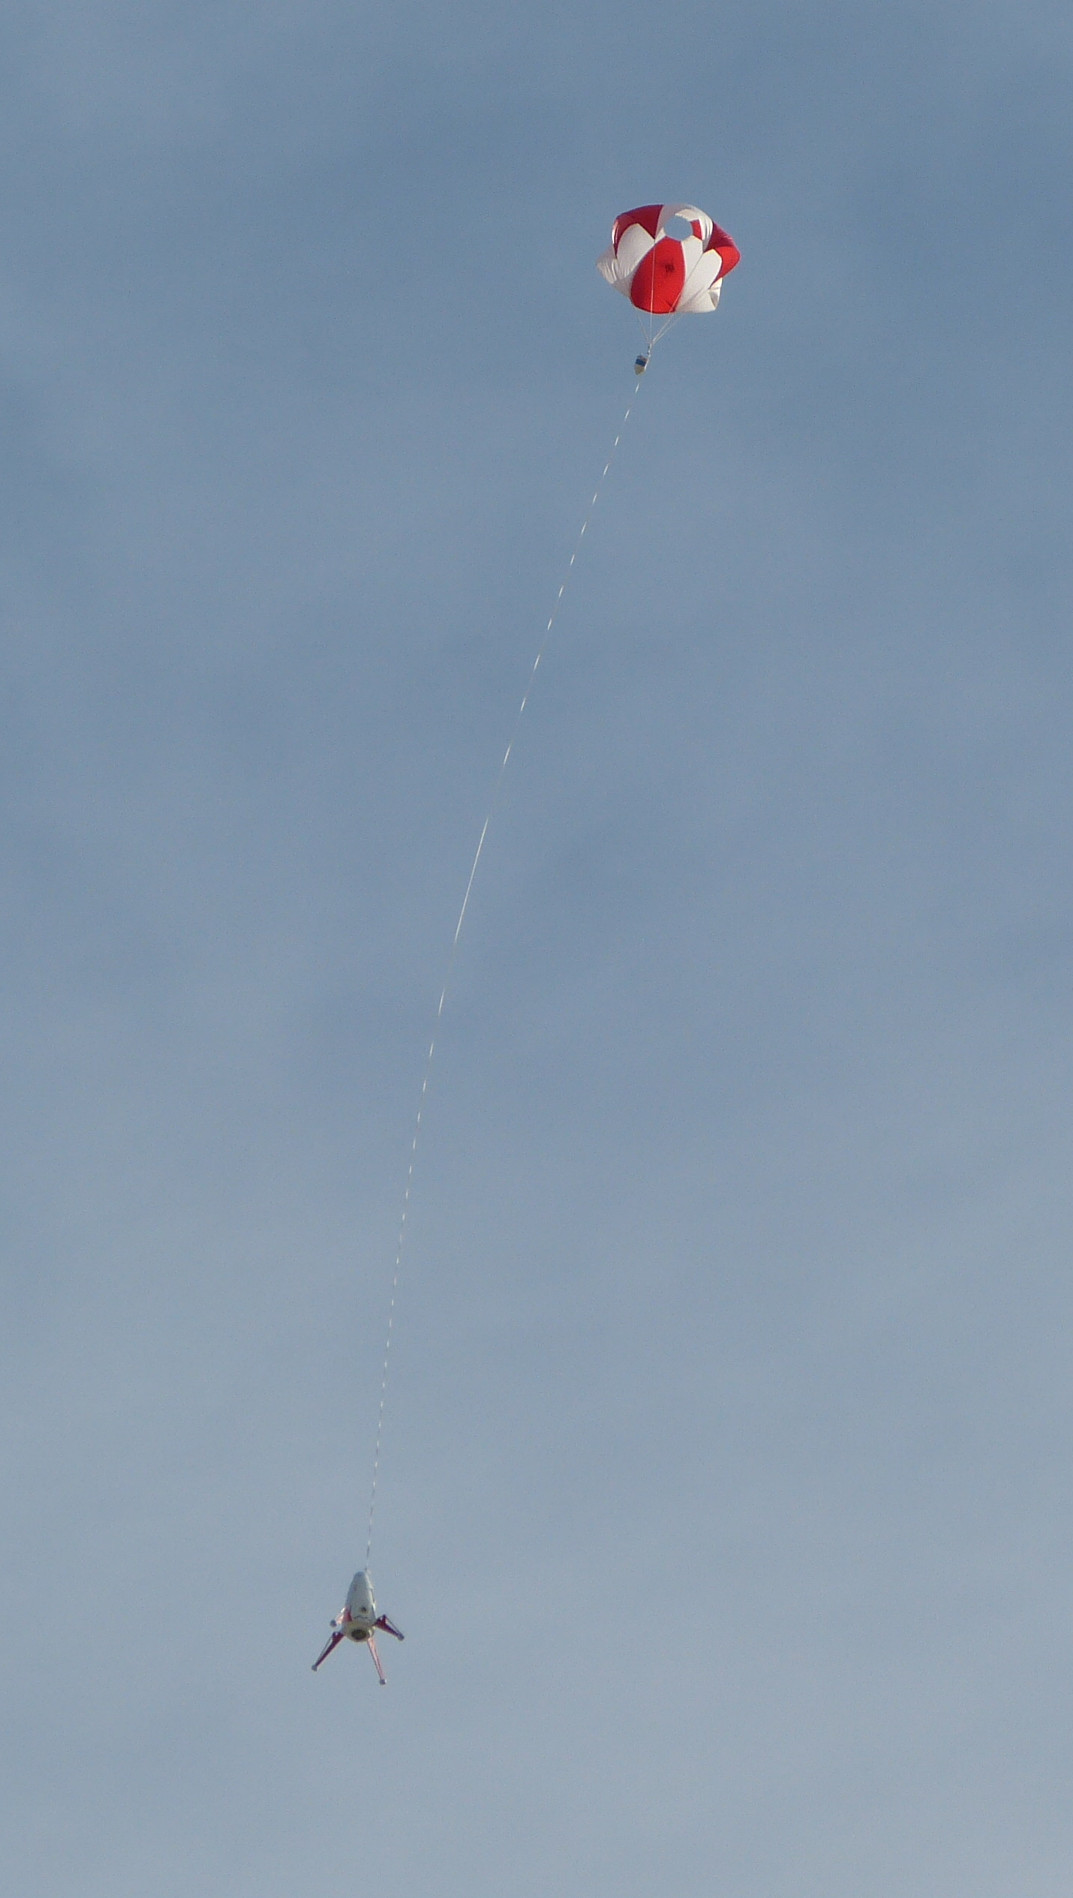
While the instructions describe attaching the nose cone to the shock cord and bringing everything down on dual chutes, Tom indicated on RMR back in 1999 that it was preferable to bring the nose cone down on a separate chute. I was initially planning to do this, but decided that a large enough chute for the heavy nose cone, along with a chute for the lander itself, might be a tight fit in the limited space. So I went with a single 48" PML chute attached with a quick-link at the nose cone screw eye (so that in case the nose cone screw eye ripped out, the lander would still be attached to the chute.) I added a second screw eye to the nose cone and tied the shock cord to both to reduce the chance of this.
The recovery harness is thin kevlar and a 15' long piece of 1/4" elastic. The kevlar attaches to a screw eye in the upper centering ring. Given the weight of the rocket, I'd have been happier with thicker kevlar wrapped around the MMT, but I decided that the screw eye was adequate and perhaps more serviceable. My kit didn't include the (nomex?) heat shield so I used some lettuce leaves and dog barf to protect everything.
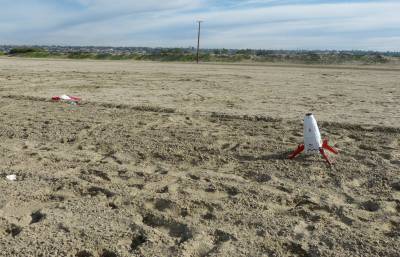
The chute deployed as expected and the long shock cord prevented any recontact of the nose cone with the rest of the rocket, a good thing since the heavy cone could do some real damage. Descent rate on the 48" chute was just a little fast (assuming an apogee of 600 feet, about 24 fps.) That stressed the landing gear at touchdown and several rubber bands snapped (on one leg I lost them all, but that could easily have been due to the rubber deteriorating), but there was no other damage (fortunately we fly on soft sand.)
Summary
Things I would change: the instructions could stand to be updated and clarified. Some of the shrouds would work better on thinner cardstock.
If you use a single parachute, I'm not sure how big it would have to be for a reasonable descent rate and still fit -- I may try the two-chute approach in the future. I'm sure something like a 36" Fruity Chutes Iris Ultra would work great, but it would cost more than the kit.
Just how much ballast is needed is still an open question. I suspect that 5 oz in the nose would be sufficient, but I became conservative late in the build and didn't try it. The rocket flies great as is on a G64.
I had some problems with the motor retention, which maybe is just due to me not understanding the instructions, but I may try a different retention style in the future so I can get the engine shroud on.
The rocket construction is beefy, which is both good and bad: good because it will hold up to landing stress, bad because there's more stress to begin with from the added weight. It would be interesting to see how light one could make a Mars Lander of this size -- it's impressive that Wayne Kellner was able to design the original to fly on 18mm BP motors (albeit not that well, perhaps). But that's a research project. For now, Tango Papa's kit is a solid performer, a great demo model on G motors, and an excellent upscale reproduction of the classic. I really enjoyed building and flying it.
Overall Rating: 4
Other Reviews
- Tango Papa 1.6x Mars Lander By Kevin Trojanowski
Tango Papa's 1.6x Mars Lander is a nice upscale of the vintage Estes Kit that fetches ungodly amounts of money in an auction. If you have the same fond memories of the Estes kit from your childhood that I do, then you need to look at this kit. The kit comes standard with a 29mm motor mount, and parachutes are optional. I believe the standard parachutes come from Top Flight , but I'm not certain. ...
 |
 |
Flights


|
|
Phil Bridges (May 3, 2022)
You're lucky to have gotten the kit, Tom and company at TangoPapa strung me along for years, replying to me in email to let me know I was in 'line' to get a kit, but never ever following through. Very disappointed. Hopefully someone somewhere at some point will offer an upscale Mars Lander, and I'll be there with my money.
|
|
Mike Caplinger (October 6, 2015)
There is a way to get the motor retention to work if you position the holes correctly. I suggest building the engine shroud and dry-fitting everything before you drill holes for the retention.