| Manufacturer: | Blackhawk R&D |

(Contributed - by Rory Jaffe - 04/10/02)
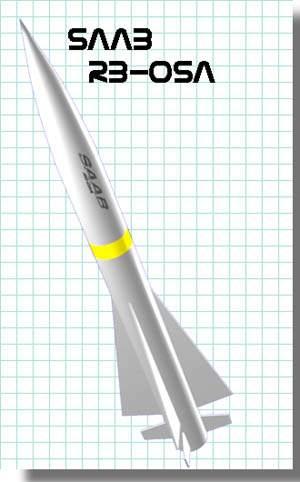
Picture Courtesy of Blackhawk
Brief:
Sport scale high power version of the SAAB
Construction:
The kit came with two glassine-covered body tubes, coupler, 8 nicely cut
1/4" plywood fins, 3 1/4" plywood centering rings, bulkhead plate,
U-bolts, 10' tubular nylon, parachute, launch lug, and nose cone. All around
high quality material. However, there was no provision to attach the nose cone
to the payload bay. You have to supply your own hardware for that. You also
have to supply motor retention hardware. On the other hand, the U-bolts came
securely attached to the appropriate rings.
The instructions seemed to be for a generic high power rocket. This was the third high power rocket I've built--the other two were from PML and BSD. As a result, I didn't have any problem. However, a beginner to high power could have trouble, as some steps weren't clear, and the third centering ring wasn't even mentioned.
The rings fit a bit loosely, so you have to be careful to keep them level. I beveled the leading and trailing fin edges 22.5 degrees using a router table and a panel-raising bit. I put a 1/4" slot in a piece of masonite with a 4" diameter arc at one end to align the main fins. The secondary fins were added later, and aligned by clamping wooden stakes between the main and secondary fins. The fin tabs were 1/16 to 3/32" too long, and so the fin roots were "elevated" off the body tube, requiring a fillet under them.
I added a PML modular baffle at the top of the motor mount, and T-nuts for motor retention at the aft centering ring. I also added T-nuts to retain rail buttons. I did this by not securing the aft centering ring until after the motor tube was glued in. This allowed me to get into the area between the middle and aft ring and glue (with thickened epoxy) the T-nuts.
There are 7 feet of fillets along the fins! It took four pumps of West epoxy (+ thickener) to finish those.
I got some removable white plastic rivets from Rocketmotion to secure the nose cone.
My rocket came in about 4 ounces lighter than the Blackhawk specs.
Finishing:
I didn't finish it. Considering what happened the first flight (see below),
that was a good idea.
Construction Rating: 4 out of 5
Flight:
Blackhawk R&D recommends the I300-10, I2110-10, I357-6, I161-6, I156-6. I
ended up using a Pro38 3-grain motor (384I205) with a 9-second delay.
There is very little space to place the chute and shock cord. You need to pack it carefully to fit.
There was a light wind.
Immediately after leaving the rail, the rocket went into skywriter mode, did about 4 full loops, and landsharked under full power. Ejection occurred after the landshark.
Recovery:
On impact, one fin ripped off. The payload bay had a slight crinkle. The damage
should be easily repairable, though I might just swap out the payload bay for a
PML replacement--it's less work than trying to patch the crinkle and
surprisingly cheap. I'll also be able to get more room for the chute by
shortening the coupler.
DEFINITELY ADD NOSE WEIGHT. This rocket is unstable if built according to the manufacturer's instructions. If anything, my CG was forward of standard, as I assume the only place I could have saved weight over the manufacturer's quoted weight was to use a little less epoxy on the fins.
Flight Rating: 2 out of 5
Summary:
Actually good value for the money. Pretty rocket. Lots of people were wondering
where I got it. If only the vendor would talk about nose weight in the
instructions, the flight rating would have been higher (e.g., about a 4, I
bet).
Overall Rating: 3 out of 5
 |
 |