Clone Centuri U.S.S. America Clone
Clone - Centuri U.S.S. America {Scratch}
Contributed by Bill Eichelberger
| Construction Rating: | starstarstarstarstar_border |
| Flight Rating: | starstarstarstarstar |
| Overall Rating: | starstarstarstarstar_border |
| Published: | 2012-05-13 |
| Manufacturer: | Clone |
 Brief
Brief
I've been a big fan of the Centuri Super Kits since I saw an E.S.S. Raven launched and treed back in 1977. I rescued the carcass of that unfortunate victim of "launch fever", but the month+ of tree living left it too much of a project for my then meager skills. In the years since, I've found myself planning Super Kit builds while poring over the kit instructions on JimZ's site, but the lack of a proper cone made thinking about building the E.S.S. Raven or U.S.S. America a moot point. That was before Moldin' Oldies began producing resin copies of classic nose cones, one of which happened to be the Raven/USS America cone. I lent Mike a plastic cone from a collection of oddball cones that I won on Ebay, and in return he sent me a couple of his early works. One was used to clone my first Orion, but it was neck and neck for this one between the ESS Raven and USS America.
Components
- 19.5" ST-16 main body tube
- 2 9.5" BT-50 (Semroc)
- Resin nose cone copy (Moldin' Oldies)
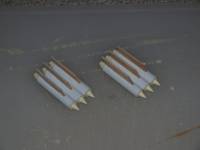
- 6 ramjet tubes (Semroc)
- 6 ramjet nose cones (Semroc)
- 6 ramjet tail cones (Semroc)
- 2 BNC-50AH pos cones (Semroc)
- 24mm, E-capable engine mount
- 36" length Kevlar shock cord
- 36" length 1/8" sewing elastic shock cord
- 3/32" balsa fin stock
- 1 launch lug (cut in two) (Semroc)
Construction
http://www.spacemodeling.org/JimZ/centuri/cen5310_USSAmerica/cen5310.pdf
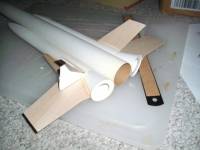
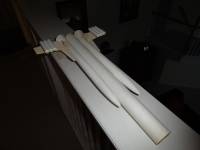
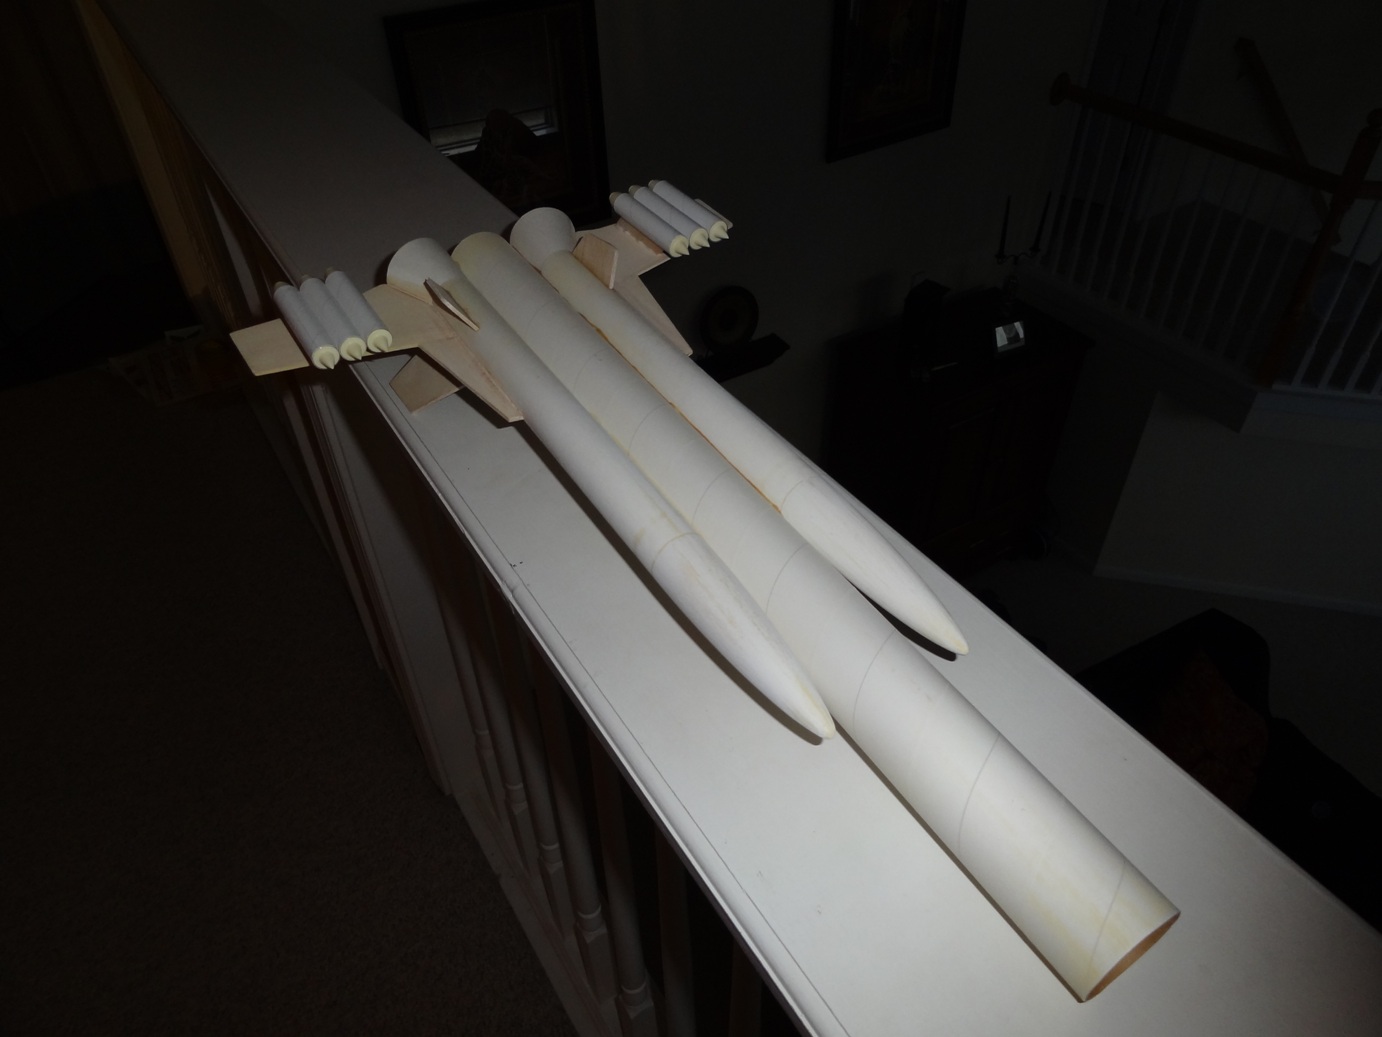
Construction on this project started back around 2005, so I may be a bit fuzzy on the details. Where the main body tube came from is a mystery to this day. It is definitely not a Semroc or BMS item as it really doesn't have the quality I'd expect from either of them. The spirals are raised and quite noticeable, and no amount of filling and sanding was able to get them to disappear. In the early days of the project, I managed to get the pod tubes built with the cardstock shrouds attached and oriented correctly. Once both pods were attached it became pretty clear what I was building, but the project stalled when I had problems with the resin ramjet parts and wound up collecting dust until I got reinterested in May of 2011, which was when I dug out the fins I'd cut years before, bought a new set of ramjet cones from Semroc, and restarted construction with an eye toward being finished for NARAM 53. I got the wings mounted, and sitting straight, then used the rudder brace to correctly mount the rudders. This brace was invaluable. It not only keeps the angle correct, but also keeps the root edge properly aligned. Things were looking good. Got distracted. Missed flying it at NARAM. I got another burst of energy as the 2012 flight season approached. I got the ramjet cones mounted in the tubes, then got them glued together and the vanes glued on straight. Once they were attached to the body of the wings, all that was left was paint, decals and.........choosing the engine mount.
If you're anything like me, once you actually hold this bird the suggested C6-3 engine just seems ridiculous. I considered a 3x18mm cluster, but I'd already walked that path and someone walked off with my clip whip, so I opted for a 24mm mount. More to the point, a mount that would let me fly it on C, D and E motors. The first engine mount was a failure. I used some centering rings I found in the shop and glued them in one night before I left for work. Thirty six hours later I went to pull the Kevlar through and the whole mount pulled out of the body tube. I pulled the whole mess out and bought a new set of rings from Semroc. Once they were in I was ready to paint.
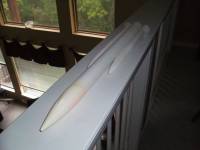
Finishing
Following the application of the standard thinned Fill & Finish, I sprayed the rocket with Valspar white primer. Paint on this bird is as good as it gets. It's white from nose to tail, wing to wing. The decals provide all the color. There are some tight spots that will demand some precision aiming, but it's still ALL WHITE!!! You'll manage. I used Valspar gloss white and was completely satisfied with the results. Decals were printed on my inkjet using Bel Decal paper and a redrawn scan from Kurt's Decal Page. http://www.rocketshoppe.com/decals.htm http://www.rocketshoppe.com/decals/Centuri_USS_America.pdf Kurt Schachner redrew a bunch of Estes and Centuri decals and has shared them with the world. Thank him if you see him. My craftsmanship might not be all that and a bag of chips, but the finished rocket looks incredible, all because of the decals.
Flight
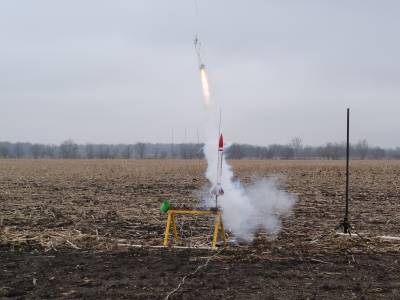
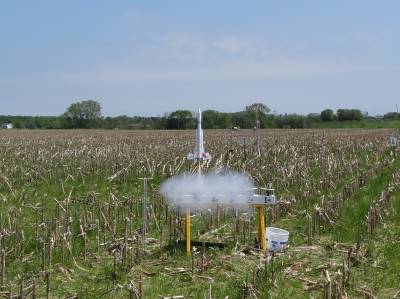
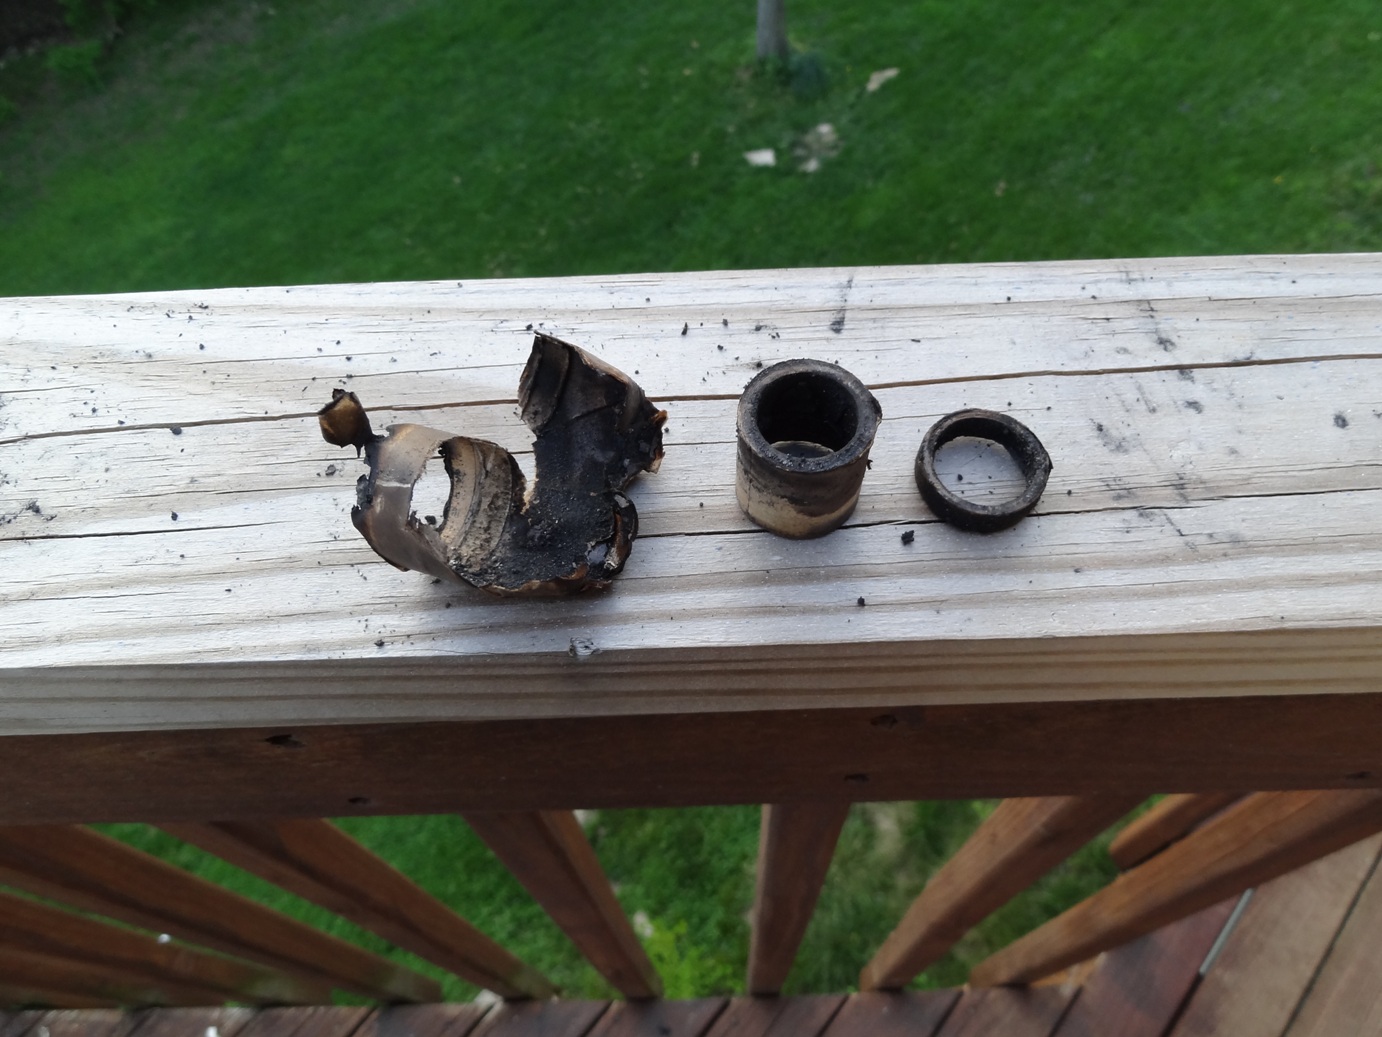
To this point in 2012, this rocket is batting .500. (Technically it got into the air on both flights, but I'm still sticking to the 1 for 2.) The first flight was at a TORC launch in March of 2012. The plan for the day was a leadoff flight on a C11-3, followed by a D12-3 flight, then an E9-4 finale. Didn't happen. I was ready with the camera on burst mode for the C11-3 flight, so I caught most of the "flight" as the C11-3 CATO'd and blew everything from the inside of the rocket to the outside. There was a hint of ignition and the rocket inched up the rod, only to have the forward motion suddenly accelerated by a loud bang and a fireball. The carcass of the rocket drifted to the right as the chute deployed, wrapping itself around one of the nearby high power pads. There was a moment of stunned silence as the parts and pieces settled, but in my head I was running a world record string of four-letter words. The post "flight" inspection revealed that all that was left of the motor mount was a shred of the motor tube, part of a centering ring, the engine block, and the spacer, all blown eight inches up into the body tube. The inside of the body tube was almost burnt through in some spots and the paint was bubbled. I wasn't sure if the rocket would stand up to another flight, but I figured the worst that could happen was that it would be totally destroyed instead of just halfway destroyed. Big whoop.
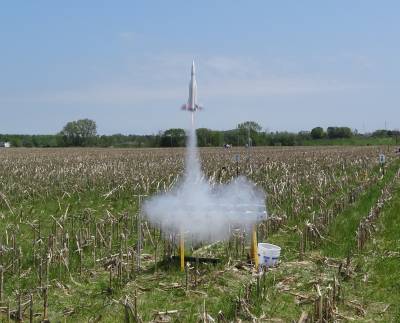
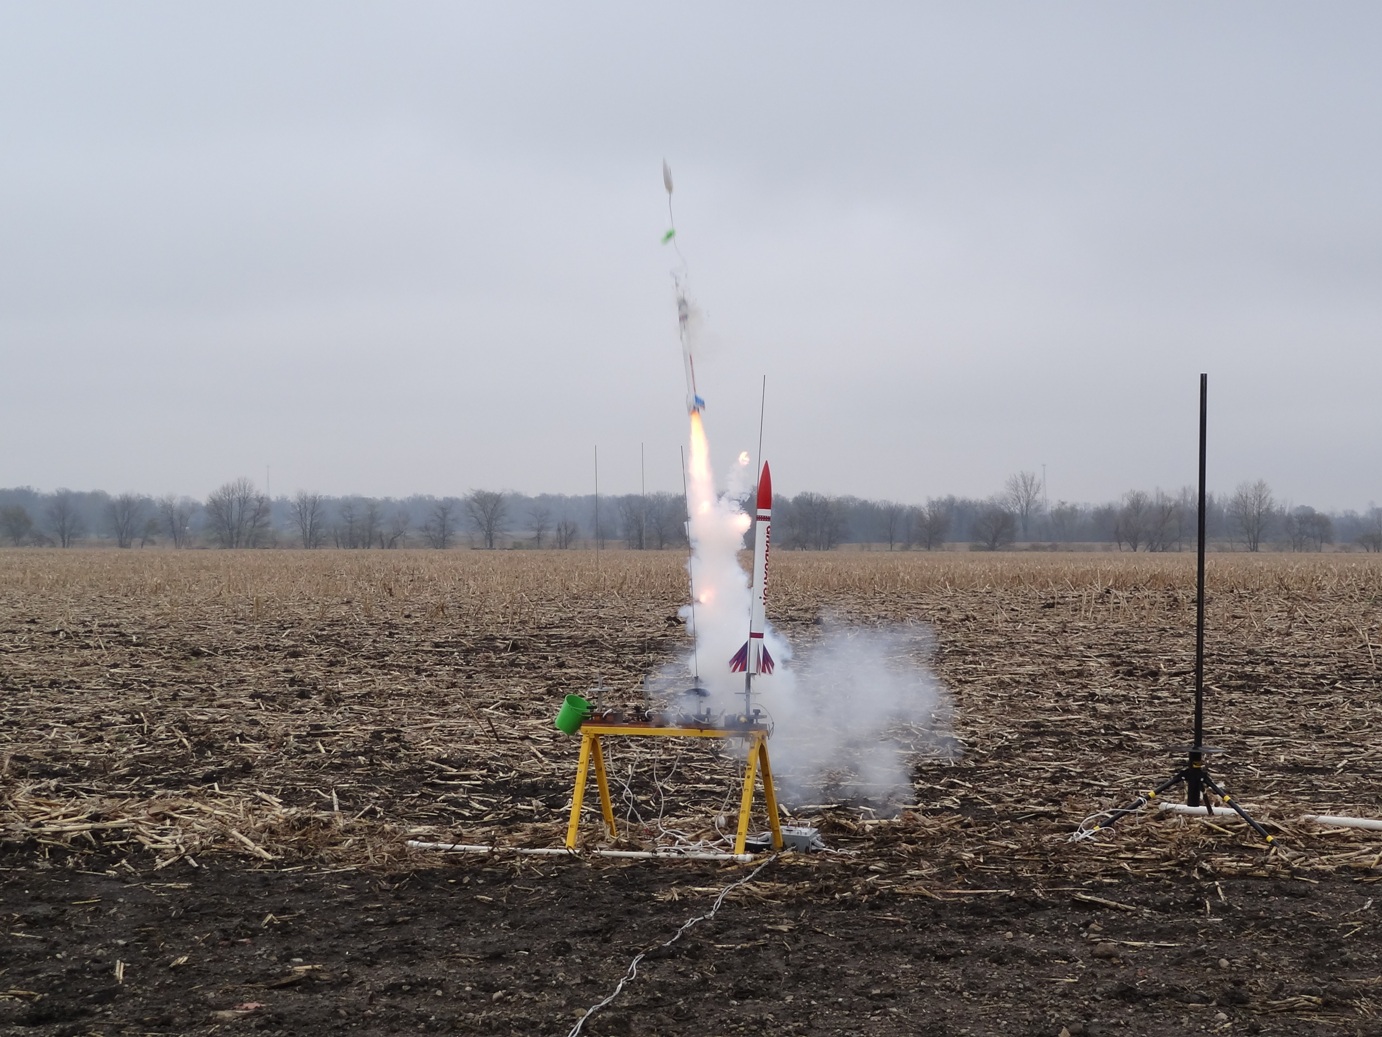
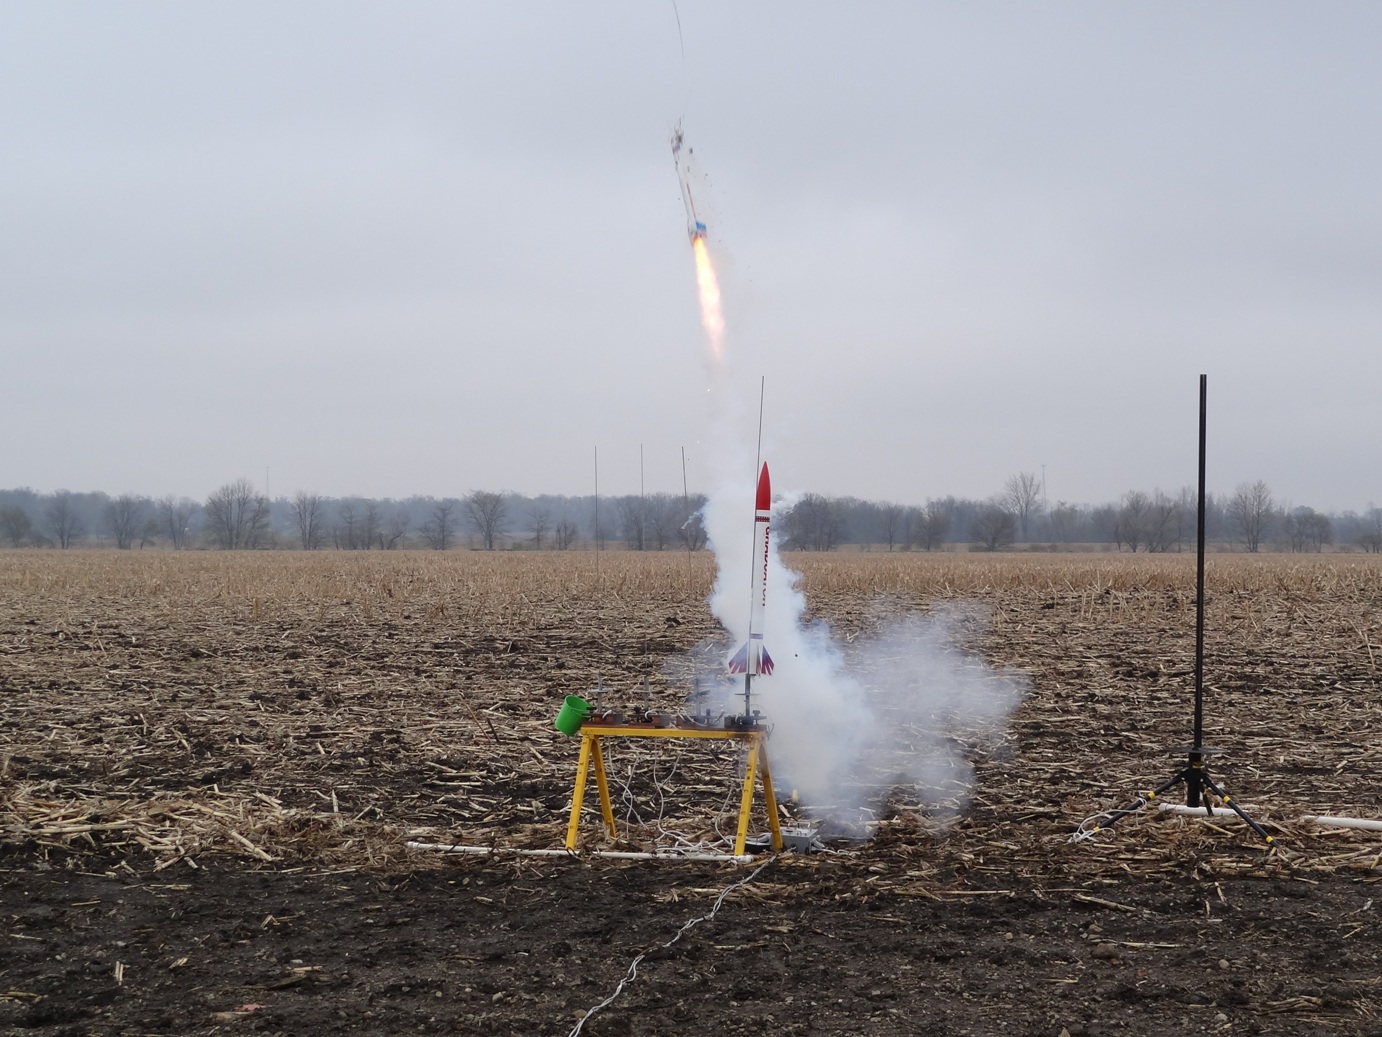
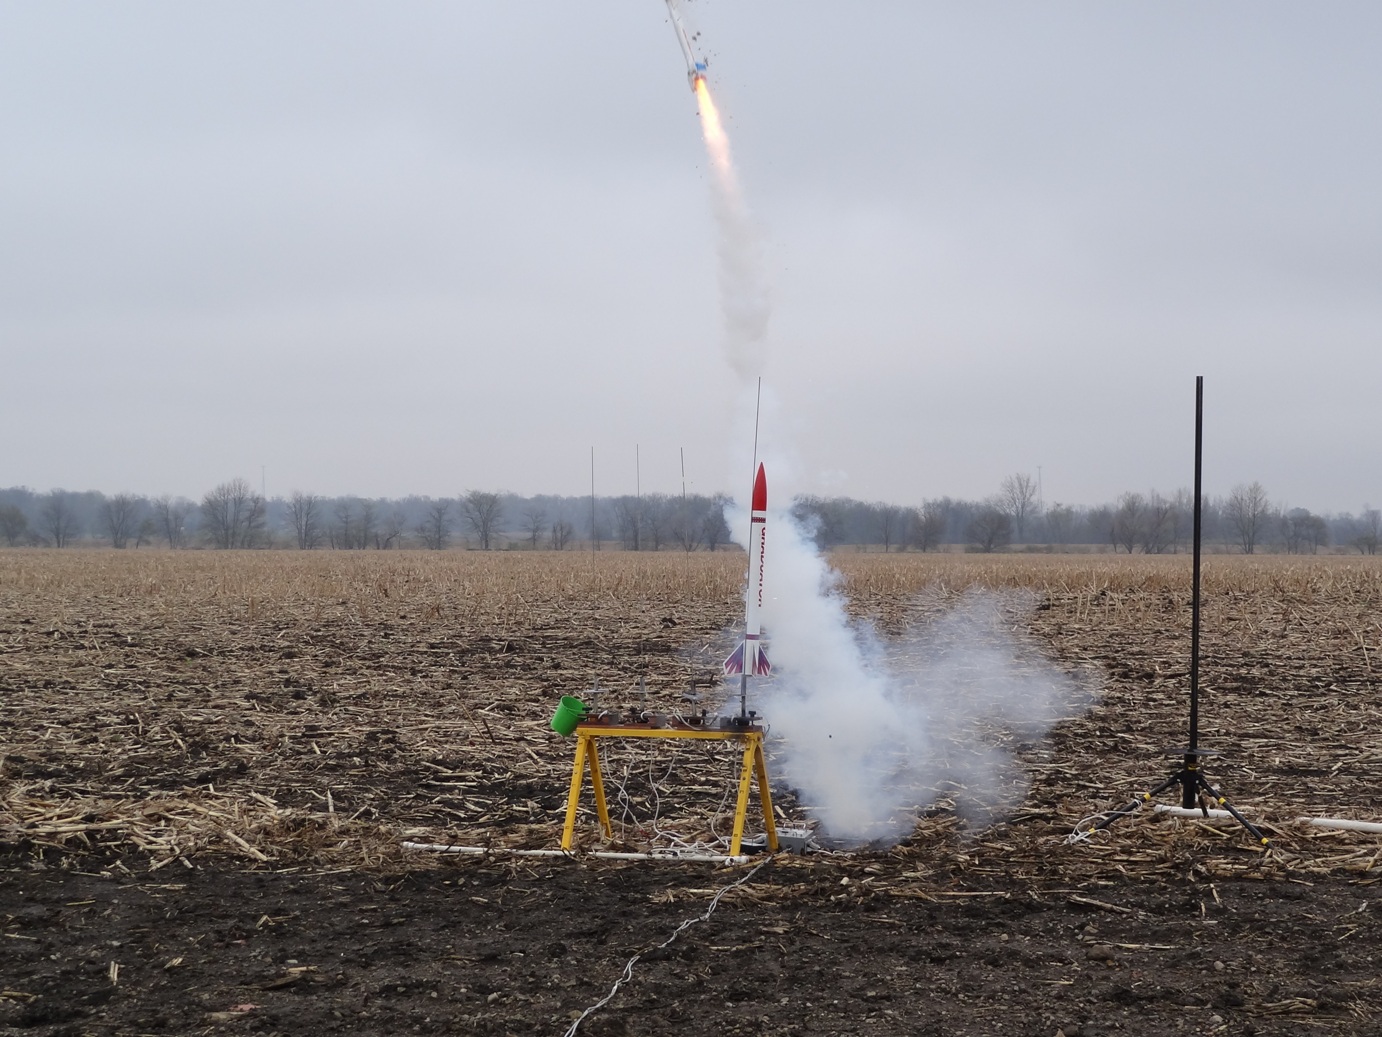
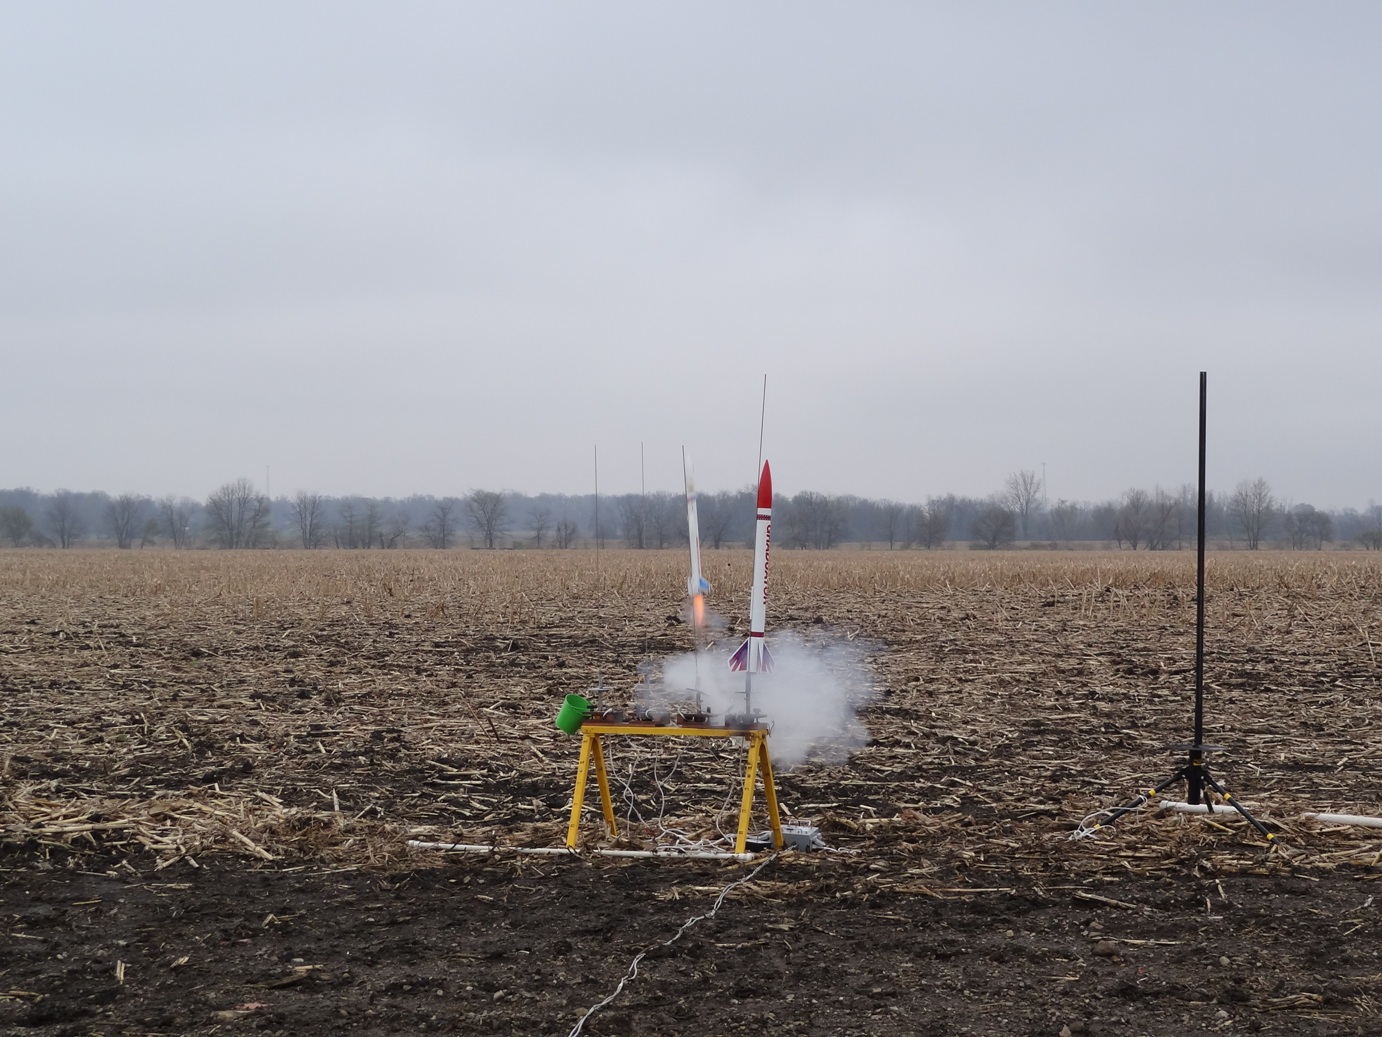
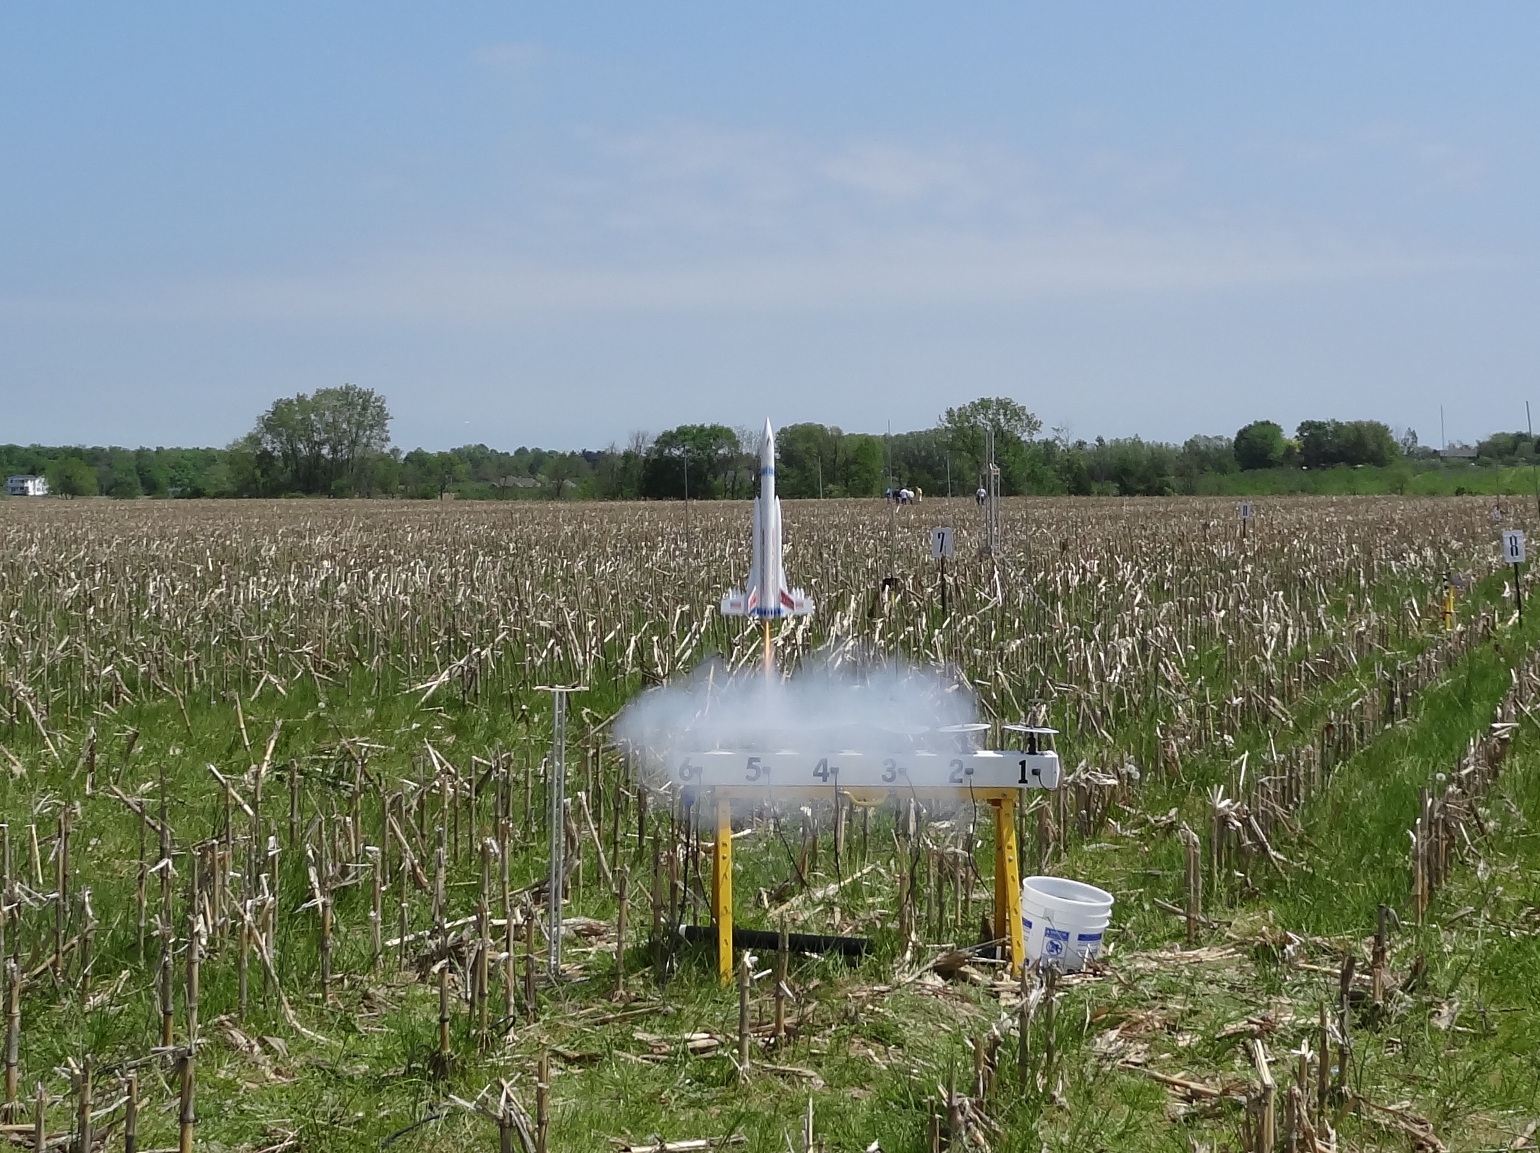
I cleaned out the remnants of the old motor mount and built another one identical to the first. Mother Nature conspired to keep me from flying all through April with two straight washouts, but in May I was invited to fly in Amherst, Ohio with my brother in law at the Tri-City Sky Busters Great Lakes Regional. After an iffy start with my Viking IV upscale and a nominal flight from my Goony Missile Toe upscale, I loaded the USS America with a D12-3, walked it halfway to the pad, returned to the car and replaced a launch lug that had been torn off, then took it apprehensively to the pad. I needn't worried. The flight was perfect for the conditions, windcocking to the south and ejecting just as the rocket tipped over. The same breeze that caused it to windcock now brought it racing back toward the flightline, and eventually brought it down just to our right. It bounced on the hard ground, but the only damage was a chip in a fin. The heat got to me before I could try the E9-4 flight, but now I have something to look forward to at the next TORC launch.
Summary
Pros: Great looking bird. Semroc parts are top quality. The cone is available from Moldin' Oldies. Top quality decal scans are available.
Cons: Estes motors are hit and miss lately.
Related Products
 |
 |
Flights


|
|
Bill Eichelberger (May 30, 2013)
Actually it wasn't too bad. The biggest thing was that I didn't rush any one step. There came a time when it was really starting to take shape and the temptation to rush to get it in the air was pretty bad, but not having a field locally that could handle it helped quite a bit. 
|
|
Mark Kulka (May 24, 2012)
I am amazed and impressed that not only did you build a reproduction this design, you went on to rebuilt it after the cato. It's an ambitious project and doesn't appear to be an easy build by any means!