| Manufacturer: | Scratch |

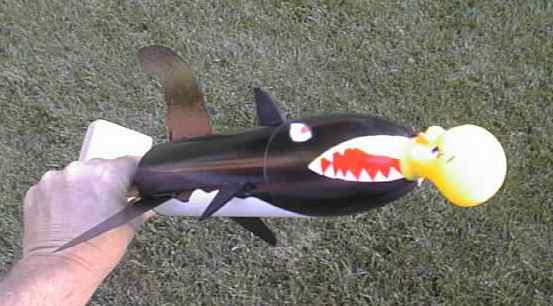
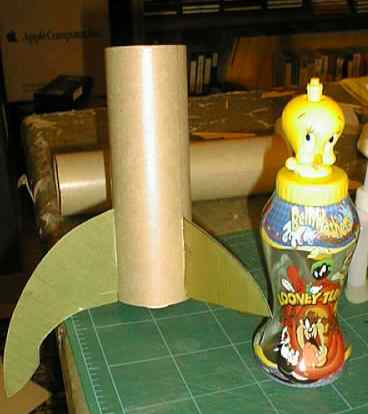
It all started innocently enough when I dropped into the local 7-11 to get something to drink. There in the cooler was a product called "Belly Washers" which is some pseudo fruit juice concoction with a cute little plastic head - perfect for this carnivorous cartoon shark I had been kicking around in my brain.
Originally the shark was supposed to have a Der Wienerschnitzel Antenna Hot Dog for dinner but the silly thing got lost in my garage somewhere. For those of you who have seen my garage you know what I'm talking about.
One can almost imagine Sylvester saying "Thufferin' Thuccotash - that wath thupossed to be MY dinner!" and smacking the fish with an oar.
Parts list:
1 BellyWasher Beverage plastic head (Tweety, Sylvester, Tasmanian Devil,
whatever)
36" shock cord (your choice)
1 Fat Boy Estes Rocket
2 BT50 to BT80 centering rings
1 BT50 motor mount 6" long
.020 G10 (or balsa in your choice of thickness)
24" Parachute
Construction:
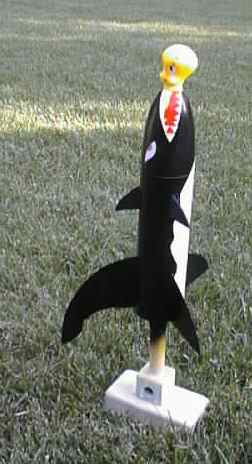
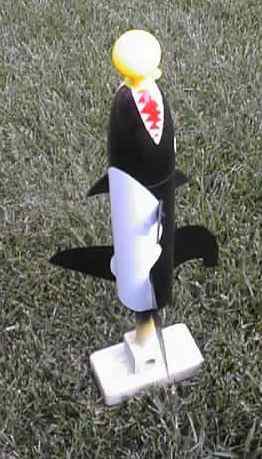
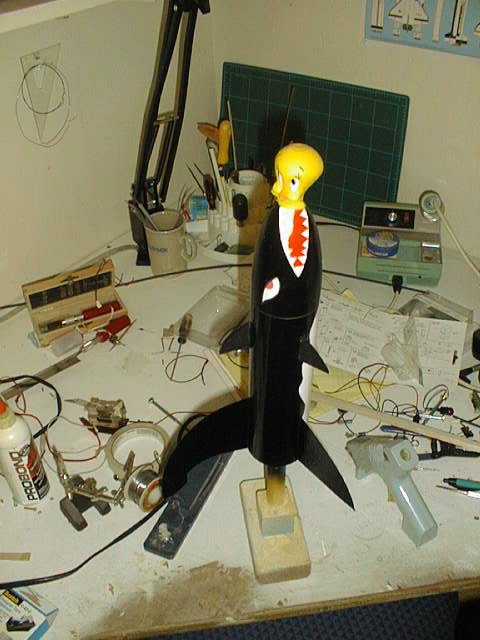
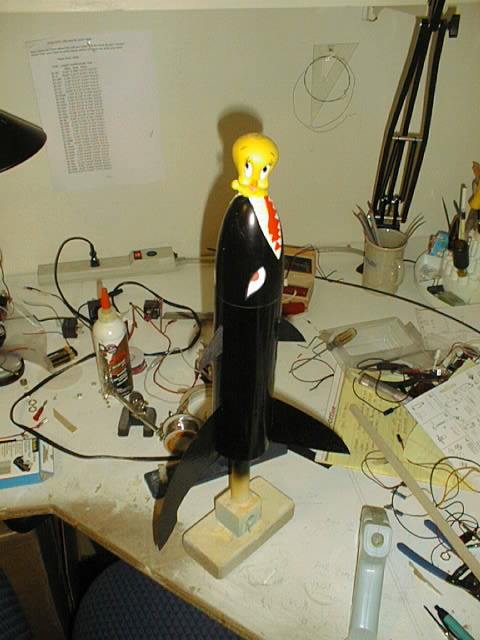
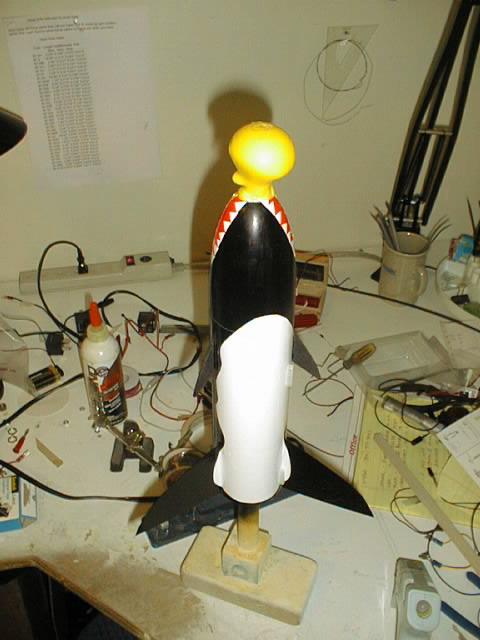
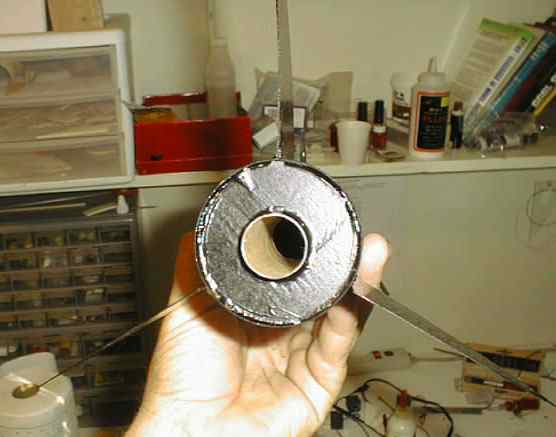
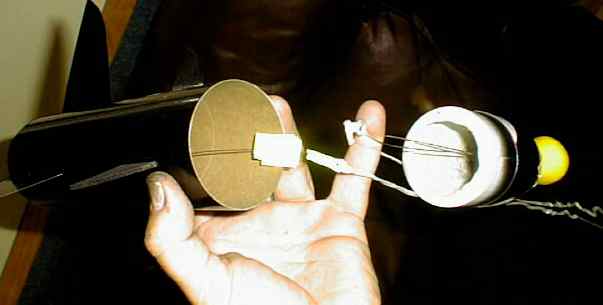
| Building the rocket is pretty straightforward, it's really just a Fat Boy with big fins. You can print out the template for the fins here. If you don't have the G10, balsa would work fine but basswood might be better. You might also use the stock fins from the Fat Boy kit as the dorsal and ventral fins shown. These are just simple shapes and they just need to look right as they don't affect the aerodynamics of the rocket that much. Replace the centering rings and motor mount with the set up shown below in the parts list. I was concerned about the noseweight so I built it for 24mm just in case. Motor is friction fit and the thrust ring is a couple of wraps of masking tape. The BT is preslotted so just epoxy the fins in place and install a fillet of your choice. Tack with CA till the epoxy sets. The forward fins are simply butt glued to the airframe with CA. The airframe, fins and nosecone is painted with Rustoleum black lacquer but I forgot to clean and sand the G10 so it looks pretty horrible due to the residue on the surface which caused the lacquer to cat's eye and separate. The Tweety head needs a bit of carving with an x-acto to fit properly. Trim and fit, repeat as necessary. Attach with hot melt glue. The drinking spout needs to be dealt with but a bit of trimming with the x-acto, a hot knife to melt the plastic took care of it. To fill in the hole you can heat up the spout in a clean flame till it's malleable then smear it into the hole. If you have ever repaired your ski bottoms you know the drill. The graphics are made from 1 mil vinyl available at sign shops everywhere. White for the belly and teeth, red for the tongue and a yellow to match Tweety and represent his torso in the sharks mouth. : ) They were mostly cut, fit, peel and install so be creative adn develop your own scheme. I cut sections of yellow vinyl to represent the mouth, overlaid it with the tongue vinyl in red then overlaid that with the triangular teeth. The eyes are ellipses and lines done in a simple graphic program, printed on my color printer, cut out and glued in place with a glue stick. |
|
Flight Report:
I live on a golf course so it's a snap to sneak out after the golfers are gone and pop off a couple of rockets. The trick is, like in golf, to get the thing to land on the fairway. First motor was a C6-3 in an adapter, the altitude was about 500 feet. Nose weight, the big Tweety head, monster fins all contributed to the lack of altitude.
I'll try it on a D later on when I get some more space to lose it in.
To see additional pictures (and my messy work area) click here:
 |
 |