Descon Easter Egg Rocket Original Design / Scratch Built
Scratch - Easter Egg Rocket {Scratch}
Contributed by Dan Major
| Published: | 2012-11-04 |
| Manufacturer: | Scratch |
I get a big kick out of the challenge of making rockets from "found objects". I tend to walk through stores in a kind of a daze sometimes, wondering what sort of adapter or how much thrust it will take to "fly" certain objects on the store shelves. This is one of my recent attempts. Everything is found or made from scratch except the engine mount tube, centering ring, and thrust ring in the "nose cone" (launch lug was hand-rolled).
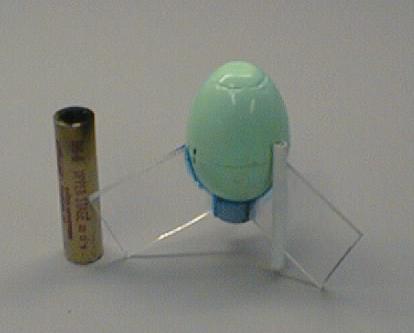
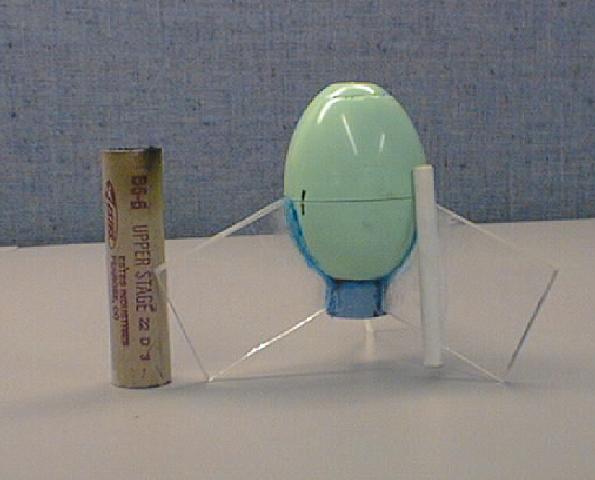
This is the completed rocket next to an 18mm engine casing

A shot with the nose cone off...
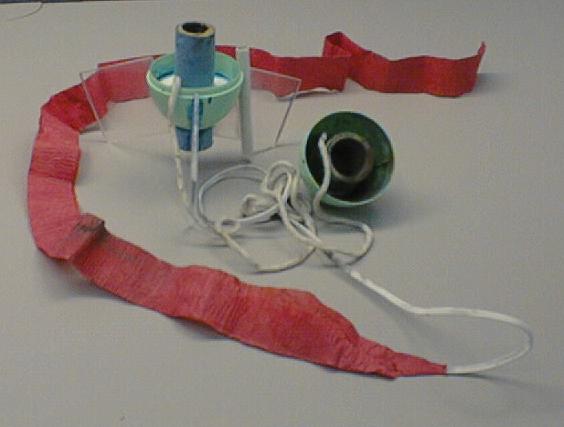
Showing the streamer...
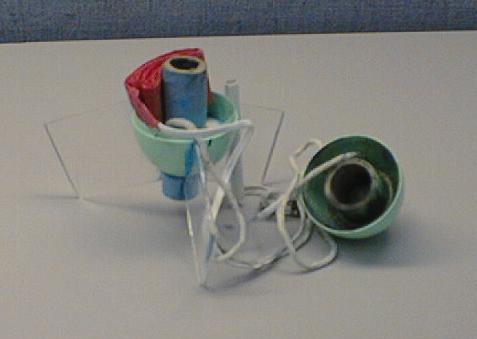
And with the streamer folded and packed into place.
The egg gives interesting and fun flights from 200-300 feet. The streamer recovery can bring the rocket down a bit fast, esp. if it lands on concrete, so the construction needs to be robust (either that or you need to take a big bottle of CA glue to the range). Short delays work best as this thing has enough drag that it stops going up when the engine gives out.
Engines I've flown it on: first flight was on an A8-3. Just wanted to make sure it would fly. Then followed with B6- and C6-3 engines. The B engines really scoot off the pad, but I think the egg goes higher on a C. Be sure to tape the engine because this is a serious dart if the engine is spit out rather than the streamer.
Parts List: Plastic Easter Egg (mine is about 3" long by about 1 3/4 dia.), engine mount tube and thrust ring, paper centering ring, external coupling tube, 1/8" plexiglass (fins), launch lug, and streamer. The engine mount, centering ring, and green external coupler tube came from an Estes parts kit (engine mount kit?). Fins are 1 1/2" wide at the root, and have a span of 2" long. I just guessed at the curve aroung the egg and sanded until they fit. They are swept at about 30 degrees.
Construction note: the front half of the nose cone, forward of the thrust ring is filled with epoxy (you can see the ring left in the first picture where the epoxy heated and slightly melted the nosecone as it cured. This was done for several reasons. First to mount the green coupling ring. Since the area forward of the engine was so small, I thought that something was needed here to prevent the rocket from splitting rather than seperating at the seam. Second, it adds strength in case it lands on the tip of the nose. And third, to add weight to move the CG forward. The lips where the two halves snap together need to be sanded down so they pop apart easily.
any questions or comments? mail to: major@tensor.nssl.noaa.gov
 |
 |