Descon 12 Tom Servo Original Design / Scratch Built
Scratch - Tom Servo {Scratch}
Contributed by Bob Cox
| Manufacturer: | Scratch |
Tom Servo
Robot from
Mystery Science Theatre 3000

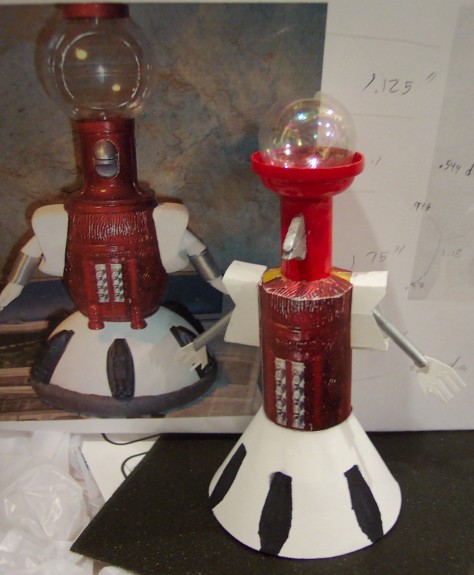
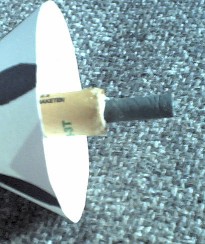
Tom Servo is one of the wise-cracking robots from the TV show Mystery Science Theater 3000 . Shown here is my flying model next to a same-scale photo of the non-flying original. My model flies on either a 13mm or MicroMaxx engine.
The fans at MST3K.org have complete instructions for building your own life-size 3D non-flying robots.
Construction
|
Material |
Dimensions |
Purpose |
|
BT-5 tube |
2.75” |
Neck, motor mount |
|
BT-50 tube |
1.75” |
Torso |
|
Vending Machine Capsule |
1” dia |
Original Head |
|
Clear ball ornament |
1” dia |
Replacement Head |
|
Balsa scrap |
½” x ½” x 3/32” |
Beak |
|
Dowels |
1.25” x 5/32” |
Arms |
|
Card stock Transition |
0.976” Dia1 2.375” Dia2 1.250” Length |
Skirt Printed using VCP |
|
Kevlar String |
8” x 1/32” |
Shock cord |
|
Card stock |
3.1” wide 2.0” tall |
Torso Wrap |
|
Empty 13mm engine casing |
0.2” |
Thrust Ring |
|
Heavy Card stock Centering Rings |
0.54” ID 0.97” OD |
Centering Rings (2) |
|
Empty 13mm engine casing |
13mm x 1.75” |
MicroMaxx engine adapter |
|
Launch Lug |
1/8” x 1” |
Launch Lug |
A BT-5 tube is the core of the airframe, and all other components attach to it. Heavy card stock centering rings at both ends of a 1.75” length of BT-50 tube hold it in place, leaving a 1“ neck exposed.
Next, the bottom cover of the vending machine capsule is glued to the neck using contact cement. The neck and capsule cover are then painted red.
Torso
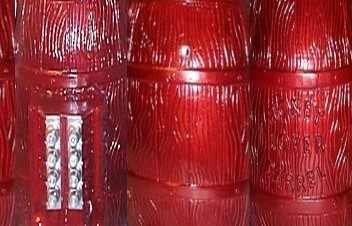
This torso pattern shown below is printed 3.1” wide by 2.0” high on light cardstock. When cutting this out, leave a white strip about ½” high across the bottom to attach the skirt. The printed pattern is ¼” taller than the exposed torso tube. The top ¼” and bottom ½” should be notched every ¼” or so to allow for later folding. After wrapping the cardstock around the BT-50, the notched top is folded over to cover the top centering ring.
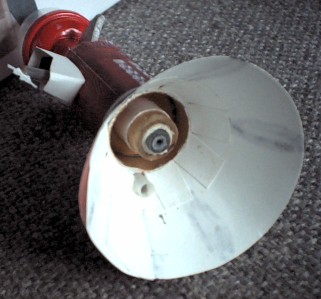
Skirt
The skirt is printed on light cardstock using the transition tool in the VCP program. Using a crude template cut from scrap card stock, a Sharpie marker makes the black wedges on the skirt. Finally, the skirt is mounted on the torso and the ½” white notched area is fanned out and glued to the inside of the skirt.
Punch a small hole through the back of the skirt, and glue a launch lug along the back of the torso. Angle it outward if necessary to clear the bottom of the head.
Carve a piece of scrap balsa to look like a beak. Paint it silver and glue it to the neck.
Glue the engine block into the BT-5 at a depth of 1.5”.
Cut the dowels 1.25” long. Paint them silver. Poke them through the torso and glue in place. Cut the shoulders from thin cardstock and glue to the torso over the arms. Cut two hands from thin cardstock. Cut a notch in the end of each arm and insert the hands.
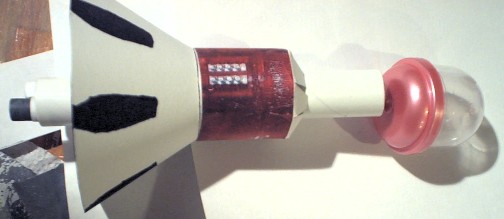
Spray the entire body with clear coat to protect the cardstock from water. Finally, attach the clear top of the vending machine capsule for the head.
MicroMaxx Engine Adapter
Wrap a MicroMaxx engine with two wraps of plain copier paper. Then wrap 1” masking tape around that until it fits snugly inside a burned-out 13mm engine. Glue in place.
Alternate Head
Shortly after taking the first set of pre-flight photos, my fat clumsy fingers managed to shatter the clear capsule. After searching the local Hobby Lobby store, the best replacement I could find was a 1” clear Christmas ornament. I drilled a hole in the capsule base, tied on an 8” Kevlar shock cord, and anchored it through a hole near the base of the neck.

Flights
MicroMaxx Flight
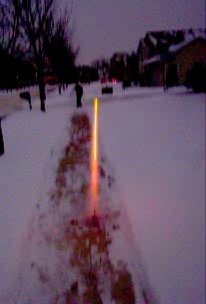
For the first flight, I loaded a MicroMaxx engine into the MMX engine adapter, disassembled an MMX igniter, and loaded the rocket onto a standard Quest launch pad on my front sidewalk. Several mini clothes-pins were used to clamp the wiring to prevent yanking the igniter out.
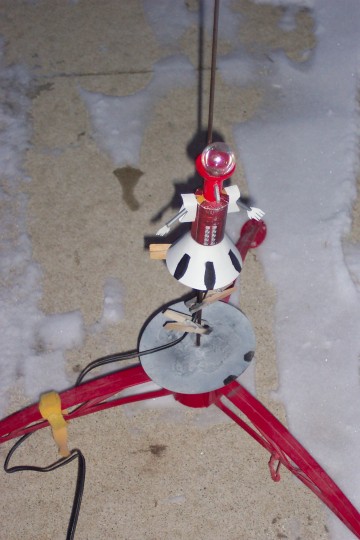
MMX engines aren‘t very powerful, but they do look quite impressive at twilight. (Frames 1 2 below)
 1
1 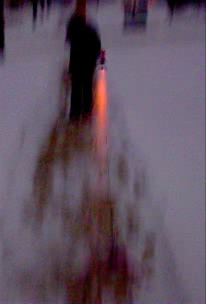 2
2
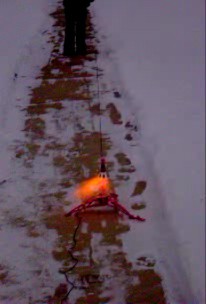
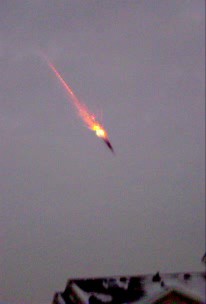
Takeoff was fast and straight, but about 4 feet off the rod it fishtailed and veered to the right (Frame 3). After burnout it continued to coast in a straight line (Frame 4) to a maximum altitude of about 15 feet.
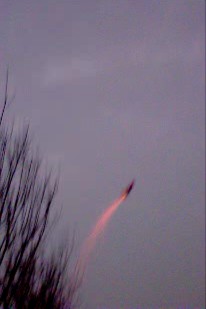 3
3 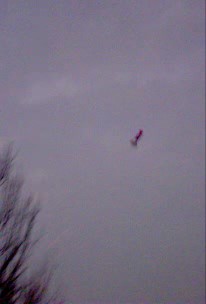 4
4
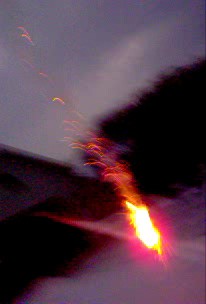
Ejection (Frame 5) ejected the engine casing, and Tom plunged into a snow bank for a safe landing.
 5
5 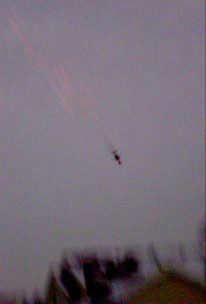 6
6
13 mm Flight
After inspecting for flight damage and blowing the snow out of the model, I loaded a 1/4A3-3T engine. This time it went about 4o feet high.
A three second delay is too long for a 1/4A engine. The engine ejected at belly-button height, launching the still-burning casing over my head and landing about 2 feet away from me. I don’t think I want to witness ejection quite so close-up ever again.
 |
 |
|
|
Bill Eichelberger (June 27, 2013)
Hands down the best DESCON bird EVER!!!! And you can quote me.