| Construction Rating: | starstarstarstarstar |
| Flight Rating: | starstarstarstarstar_border |
| Overall Rating: | starstarstarstarstar |
| Manufacturer: | DynaStar  |
 Brief:
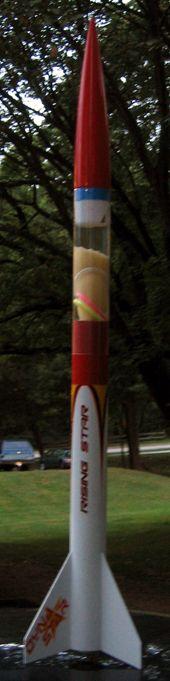
Single stage LMR with a large clear payload bay.
Construction:
The bagged kit arrived from Apogee packed firmly in a box as part of an order
of tubes. I got 2 extra canopies as part of a special when I ordered.
The parts include:
- 1 2.217" body tube, 18" long
- 1 2.217" clear plastic payload tube, 10" long
- 1 coupler tube, 4" long
- 1 fiberboard payload bulkhead disk
- 1 5:1 ogive plastic nose cone, 11" long
- 3 die cut balsa fins
- 2 fiberboard centering rings
- 1 24mm motor tube, 4" long
- 1 engine block
- 1 Kevlar® shock cord, 60" long
- 1 1/4" launch lug
- 1 32" diameter, octagon plastic parachute with heavy thread lines and tape reinforcement rings
- 1 sheet of press on decals
- There was also a nice instruction booklet with illustrations and a copy of the fin template.
The instructions (several pages on 8.5" x 11" sized paper) were very well written and illustrated to show all construction steps. Tools needed in construction included a hobby knife, a pencil, a ruler, masking tape, sandpaper, yellow glue, CA glue, and paint.
This kit is rated as a level 2 build and I'd have to agree. It was very quick to assemble following the directions, all parts were called out in an order that made sense. You are directed to notch the engine block to allow the Kevlar® shock cord to fit and you need to pay attention to where you mount the engine block depending on what size motors you plan on using. I had a little trouble at first getting the coupler to fit in the payload tube, but you want this connection to be nice and tight anyway. It just took a little bit of patience to get it to slide. The coupler and bulkhead attachment is very neat, using a section of Kevlar® glued along the inside of the coupler to act as an anchor and shock cord mount.
I built the rocket over the course of an evening using TiteBond II yellow glue.
Finishing:
Painting is easy...spray the fins and lower body tube one color, then spray the
nose cone another. The peel and stick decals are nicely done with clearly
marked cut lines. The one wrap around is the right size to make it around the
tube with a 1/4" overlap. It would have been nice to have one more
"DynaStar" for the 3rd fin, but I'll live.
Construction Rating: 5 out of 5
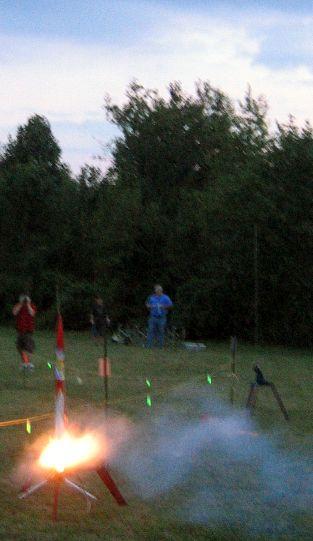
Flight:
I had plans for this rocket to be used as a carrier for a night launch payload.
I knew I'd have to have the oomph to carry a small strobe light and batteries
so for the 1st flight I used a D12-3. I didn't use a spacer for the motor
(having built the rocket for the longer E9 and F21 motors), so I just used a
wrap of tape around the motor and the tube to secure it. The Rising Star got
off the pad nice and straight but made some small oscillations as the motor
burned out. Ejection was at apogee and the chute (protected by 5-6 sheets of
Quest wadding) opened and filled very nicely. The bright yellow and black
pattern was very visible. Touchdown was very soft on the short grass.
For the second flight of the day I used an F21-4 (not a recommended motor) because I wanted to get the strobe light higher and I was concerned that an E9 might not get the model going fast enough. Again I prepped with 5-6 sheets of wadding, wrapped the exposed motor and mount with tape for retention, and let it loose. The F21 got the model moving very quickly and the altitude was much higher than the D12 flight. The ejection charge fired and the parachute, payload and strobe light went on a long ride without the body tube. Every thing came down safely without damage. I had a nice long walk, probably about 1/2 mile, to where the payload came down. Thankfully the strobe was flashing to give me a beacon since it had started to get dark.
Recovery:
I had thought that maybe the ejection charge had burned the Kevlar®,
but on finding the payload and examining the cord I found that the Kevlar®
was still tied in a loop where it had been attached to the motor mount. It had
broken the engine block, most likely caused by me picking too short of a delay.
Since it was already fully dark by the time I got back to the range and I didn't have anything to effectively perform a field repair (I will use epoxy and a section of body tube to make an Estes style shock cord mount on the inside of the airframe), I was unable to make a 3rd flight on an E9.
Flight Rating: 4 out of 5
Summary:
This is a great mid power kit. It builds a lightweight rocket that can be flown
on a wide range of D-F motors (especially when you add in 24mm reloads.. this
rocket would kick on an F39!). The DynaStar line has some exciting looking
models, maybe a cluster mount would be a good addition to this line.
Overall Rating: 5 out of 5
 |
 |
Flights
|
|
|
|
A.K.S. (November 2, 2004)