Estes Galactic Taxi
Estes - Galactic Taxi {Kit} (1914) [1983-1984]
Contributed by Charlaine Cadence Nordin
| Construction Rating: | starstarstarstarstar_border |
| Flight Rating: | starstarstarstarstar_border |
| Overall Rating: | starstarstarstarstar |
| Diameter: | 0.98 inches |
| Length: | 13.00 inches |
| Manufacturer: | Estes  |
| Skill Level: | 3 |
| Style: | Futuristic/Exotic |
 Brief:
This is an Estes exotic rocket from 1983 with a 12" parachute recovery.
Construction:
Materials are:
- BT-50 body tube
- Plastic Alpha style nose cone
- 12" Parachute
- BT-20 x 3 for motor mount
- engine hook
- (3) toothpicks
- (2) sheets cardstock for printed templates
- Launch lug
- 24" 1/8 shock cord
- (2) sheets balsa
Instructions are rather easy to follow well worded and the illustrations are great. The cardstock templates are decent just remember to score the fold lines with a razor and ruler for a nice clean fold. The fins are decent and different. But can be tricky to cut out.
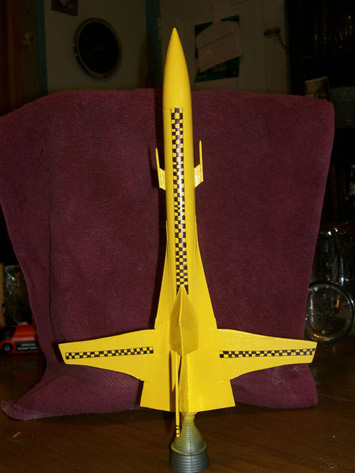
The wings and fins need to be done in two stages. Build the wings and fairing's first then the rudder and ventral fins. A fin alignment guide is strongly suggested due to the wings needing a decent fit for the fairings. Good strong glue joints and fillets are a must for this bird as once the fairings are in place you will not have access to them again. Be careful when cutting out the slots for the wings in the fairings for an exact fit. Expect to find some means to cover the holes if you like me cut the entire area out. Small card stock rectangles make great “access panels” for this. When glue the rudder and ventral fins in place you may or may not need to adjust the fins to accept the fairings; as this was a slight issue with mine.
Once the glue is dry, this is one sturdy gird as mine has taken some hard falls with no damage. There are two cardstock pieces that enclose the fairings. The instructions say they should be flush but I reversed them to give them more of an outer space feel or recessed engines.
 Finishing:
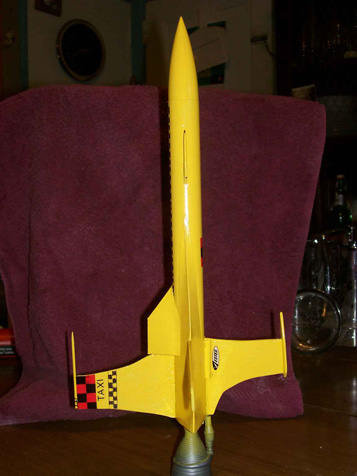
Finishing this model is one of the simplest of many I have done. Two coats of white epoxy paint and then several
coats of canary yellow. I decided I would do what I could to give her a more taxi like feel as I found the original
decals to be rather lacking for the feel the rocket was trying to give. The checkered pattern was hand drawn with a
ruler and fine sharpie. And the taxi was cut from a generic Estes decal sheet. When I order the decals from Tango Papa,
I’ll add some.
Construction Rating: 4 out of 5
Flight:
Getting ready for the first flight was easy first I placed a good handful of wadding (dog barf) then packed a powder
coated chute with snap swivel. I chose a A8-4 for the first flight being rather cautious as always. Using a standard
36” 1’8th launch rod angled 15 degrees into the wind due to 5-10 mph winds with 15mph gusts. The rocket
cleared the pad with a arrow straight flight. I was able to track her to apogee at 200+ feet and with a soft landing
100ft from the pad.
The second flight was a repeat of the first for setup with a B6-4 for the next flight. I changed the angle of the rod to 10 degrees for the stronger motor. The flight was great except for a slight weathercock due to a strong wind gust. The rocket corrected and flew to about 450ft.
Third flight is still in the works.
Recovery:
Recovery with the 12” chute was great. And the longer shock cord helped to keep from having any damage from the
nose hitting the body. Dog barf works best for the wadding.
Flight Rating: 4 out of 5
Summary:
All in all, this is one of the best rockets I believe Estes to have put out. It is to bad it was not re released.
Also by using the epoxy paint, it brings up the waight to 2 oz.
Overall Rating: 5 out of 5
Other:
The nozzle in the photos is part of the stand.
 |
 |
Flights
|
|