| Construction Rating: | starstarstarstarstar |
| Flight Rating: | starstarstarstarstar |
| Overall Rating: | starstarstarstarstar |
| Published: | 2013-02-07 |
| Manufacturer: | Clone |
 Brief
Brief
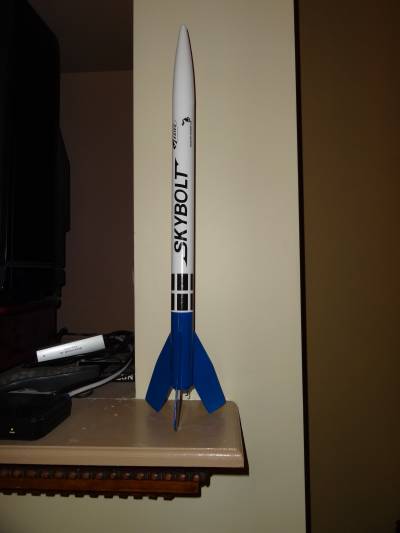
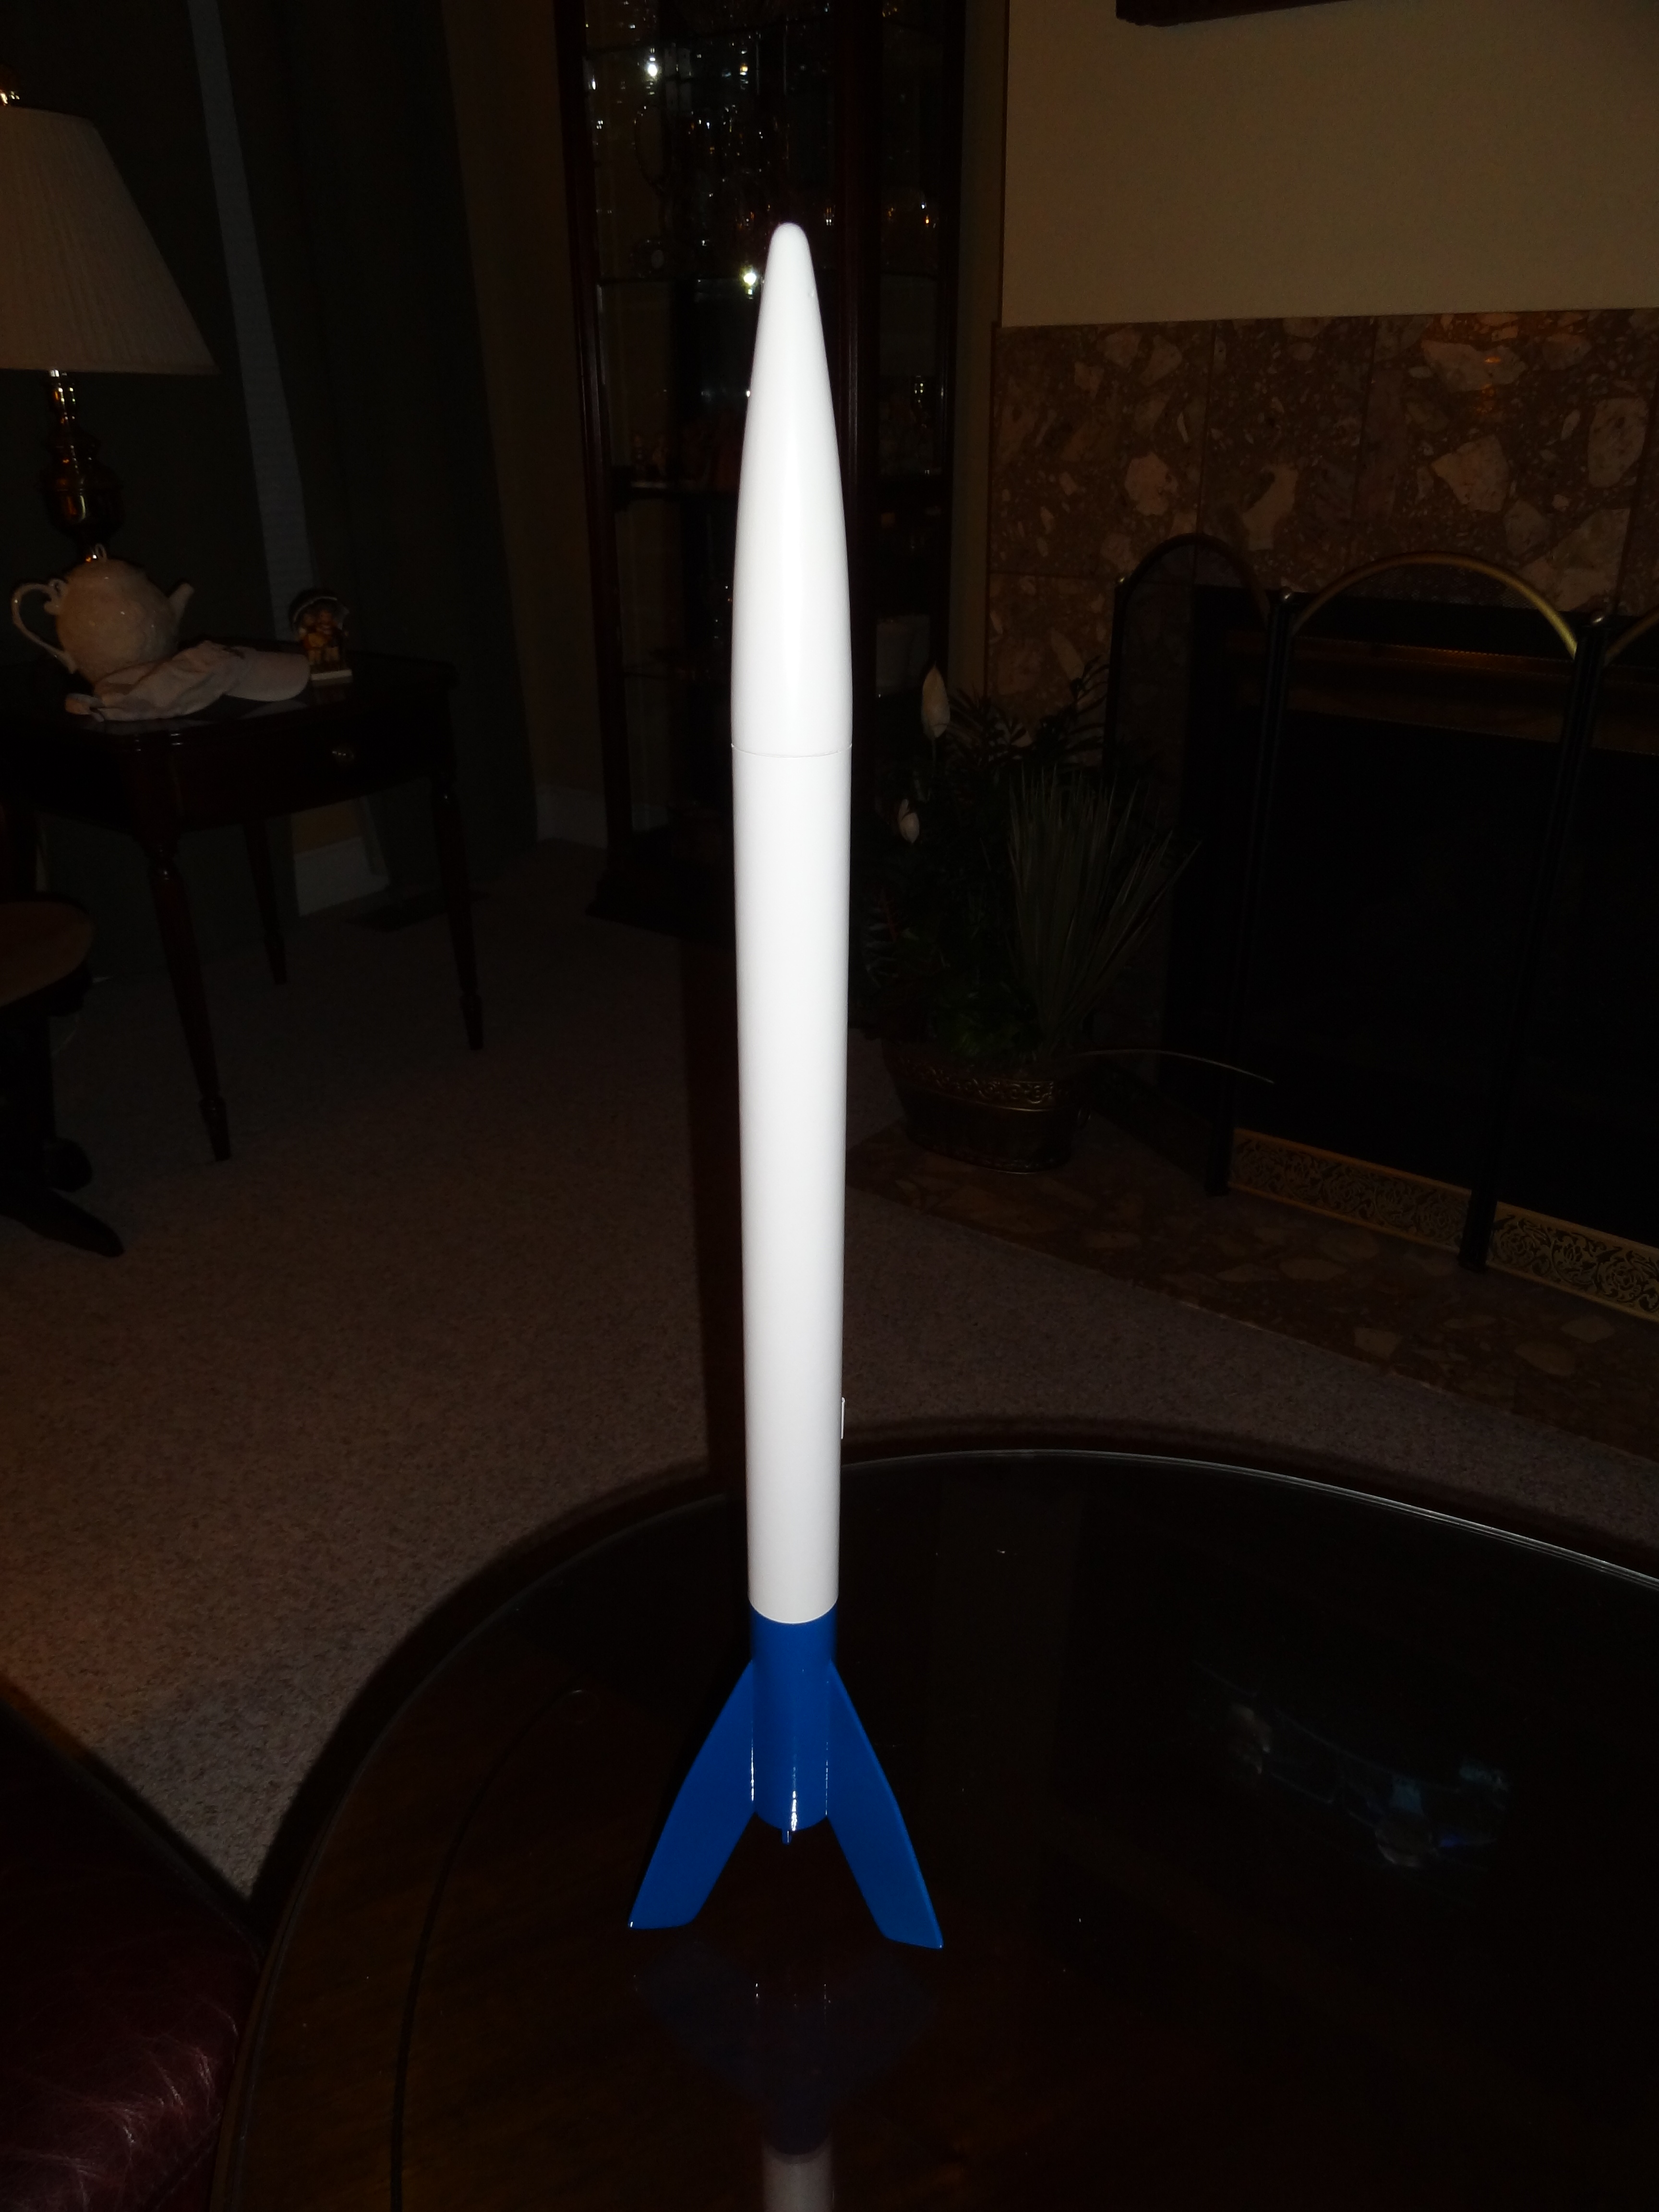
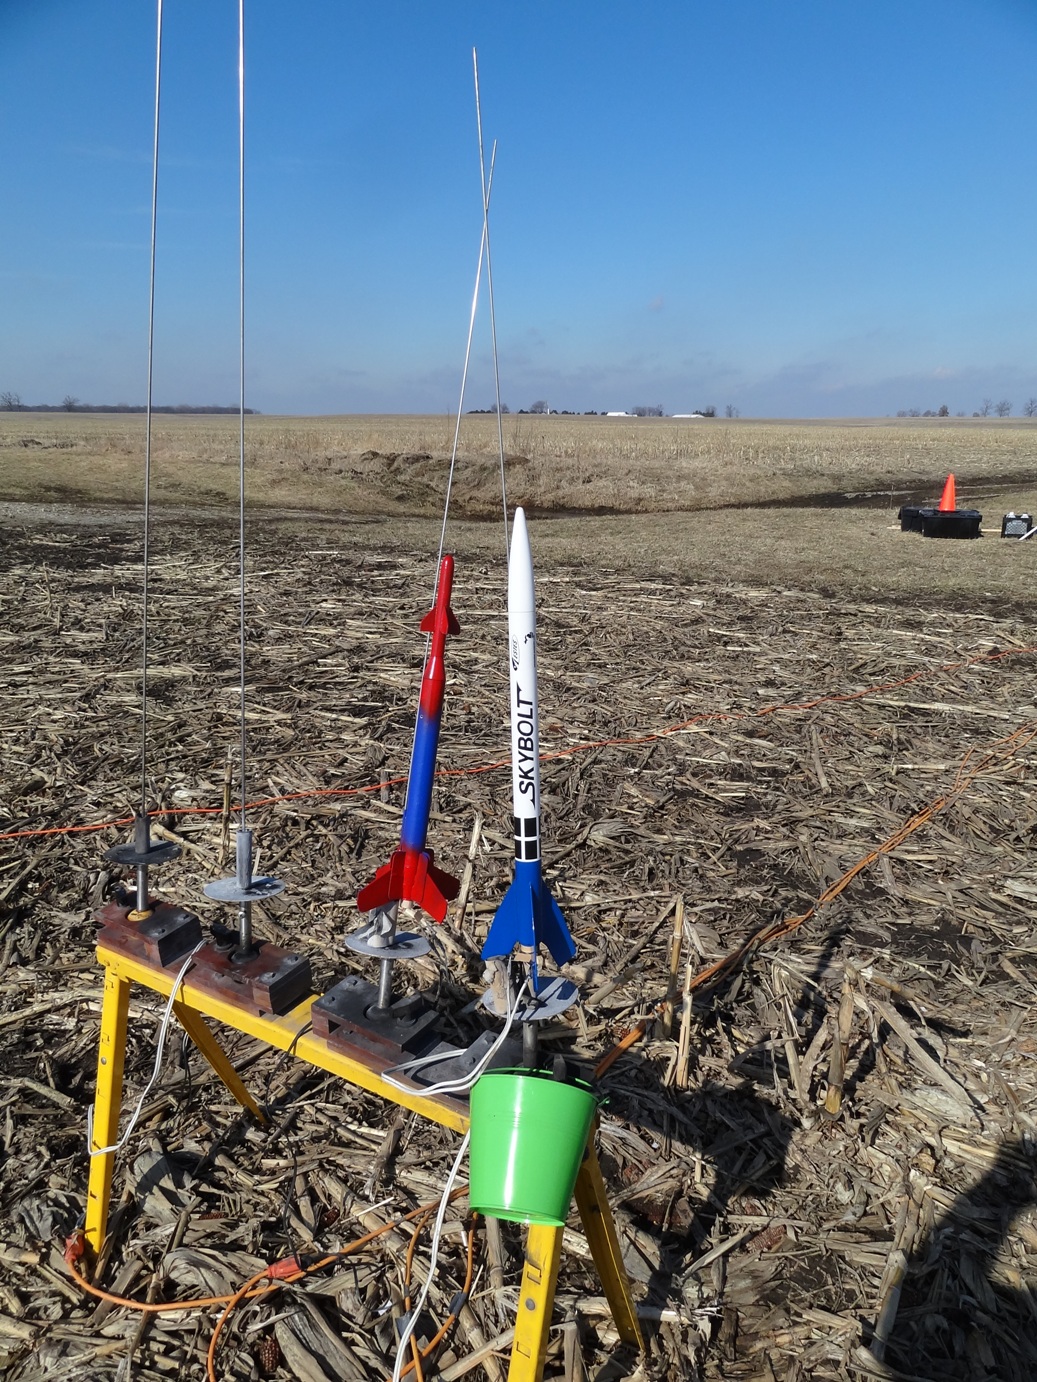
The Skybolt was a 3fnc rocket from Estes that still managed to look good despite its simplicity. Produced from 1980 to 1984, I remember giving serious thought to picking up a Skybolt at a Kay Bee Toy and Hobby at the ragged tail end of my first dalliance with the hobby in the early 80's. The simplicity appealed to me, as did the fact that it flew on D engines, something I'd always wanted to try but never got around to in those early days. I've always had a soft spot for rockets like this; two colors, one of them white, with simple black decals. The first I remember was the Wizard, but the current Vagabond also falls into this category, as well as the mid-80's Stinger, all three of which currently reside in my fleet. When a PNC-55AO nose cone showed up in a group of cones that I won on Ebay, I checked the nose cone reference http://www.rocketshoppe.com/info/Estes_Nose_Cone_Reference_10.1.pdf at YORF to help me decide on a likely project. Several of the rockets on the list were tempting, but the Skybolt had the advantage of early-80's nostalgia working for it.
Components
- PNC-55AO nose cone
- BT-55V body tube (16.35")
- BT-50J engine tube
- 5055 centering rings (2)
- 2050 engine block
- Estes standard 18mm motor hook
- 2 launch lugs
- 3/32" basswood fin stock
- 36" Kevlar shock cord (150#)
- 36" sewing elastic shock cord (1/8")
Construction
This was literally a one evening build. I substituted 3/32" basswood for the fins in the interest of extra strength (however minimal,) and easier finishing. I marked the tube for 3 fins, spread Elmer's Wood Glue on the root edge of one fin, placed it on the line on the body tube, and removed it. A minute or so later I placed it back on the spot and let it dry. I repeated the process for the other two fins and had this part of the construction done within a half hour. Fillets were done using Elmer's white glue because it seems to dry less brittle. I built the motor mount as shown in the instructions, but tied the Kevlar behind the front centering ring, glued it in place, then notched the ring to allow the cord to pass through. The sewing elastic was tied to this, giving me a full six feet of shock cord. Overkill, I know, but there's enough space in the body tube for the added shock cord, and this method doesn't fail me.
Finishing
Once construction was finished and the glue dried, I primed the rocket with Valspar white primer. Fin grain and tube spirals were battled with the standard thinned Elmer's Carpenter's Wood Filler, but since I used basswood, I was able to get away with only one coat on the fins. I put a thick coat on the tube spirals, sanded, then reapplied. After the second round of sanding I felt that I'd done my share in the war against the demons of wood grain and tube spirals, so I once again sprayed the rocket with Valspar primer. The next day I sprayed the entire rocket with Valspar gloss white, let it bake in the sun on the back deck for several hours, then masked the top of the rocket and sprayed the bottom with Valspar Gloss Royal Blue. Since the Skybolt plan on YORF is done as a PDF, I had planned to make my own decal using the scan on the PDF, but something went wrong. When I printed it out, it came out roughly twice the size it was supposed to be. I fiddled with everything I could think of on the printer, but nothing made a difference. This hiccup caused the project to get moved to the back of the line while I figured out a solution to the problem. That solution turned out to be http://excelsiorrocketry.com. I got the decals just after NARAM 53, but circumstances delayed their application until February. They look great, as expected.
Flight
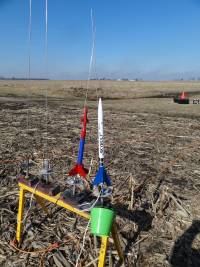
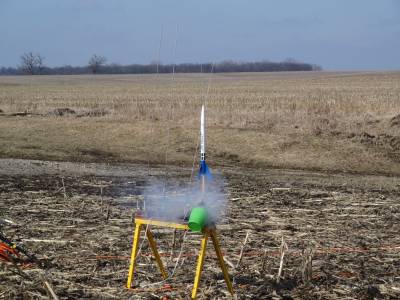
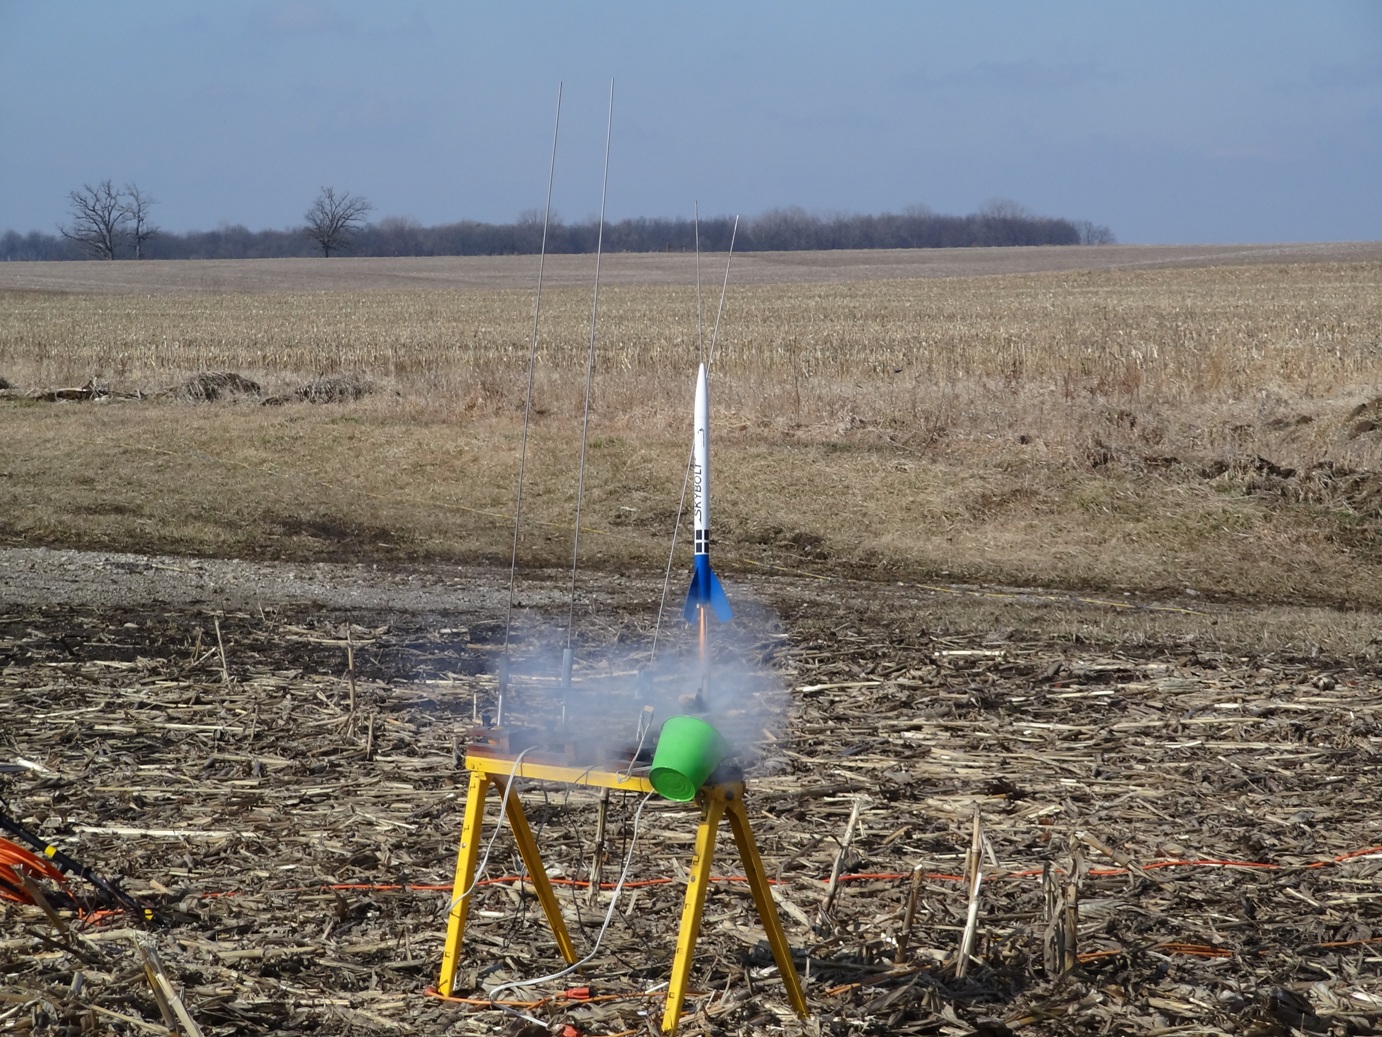
To date I've only managed one flight with the Skybolt, but only because it's a 90 minute drive to the field big enough to hold it. (No way this one could go at B6-4 Field except on a perfectly still day, and then it'd be a matter of luck.) Back in 1980, the Skybolt called for a D12-7 motor for the first flight, but also had the D11-9 listed as an option. I struck out on both counts. (To be honest, I've never seen a D11.) I did have a C11-7, so that was what flight #1 flew on. It was a fairly breezy day, so the Skybolt left the pad and immediately windcocked. This was expected, as every rocket I flew that day did the exact same thing. The altitude suffered, but not terribly, and the ejection occurred just after apogee. The original Skybolt recovered via a 90" streamer, but I couldn't see my clone surviving too many flights that way, so I substituted a heavily reefed 18" parachute, which performed admirably. Recovery was deep in the stalks, but not deep enough to ever be out of sight. I've since picked up a couple of packs of D12-7's on a Hobby Lobby 40% coupon run, so I'm ready for my next trip north.
Summary
Pros: Seldom seen classic with real 80's fret buzz. Can be cloned using the currently Photon Probe or Photon Disruptor kits.
Cons: Short supply of D11-9's.
Related Products
 |
 |
Flights

|
|