Mega Der Red Max build 2021
By Scott Johnson
2021-07-28

Estes Mega Der Red Max
Brief Description
I’m about to start my Mega Der Red Max build.
Changes I’m thinking of implementing.
- Make Your Own Anti-Zipper Harness https://www.apogeerockets.com/education/downloads/Newsletter282.pdf
- Was going to paper, but everything I read says it’s to add strength, which this build does not need and papering can have issues (like more money more problems, perhaps bigger fins more issues). Going old school on this one… CWF.
- Planning to add launch lugs and 1" button rails; hopping this does not mess with decals too much. Will try and plot the decals and lugs and buttons before adding.
Builds I’m reading (Other suggestions welcome).
Mega Der Red Max By Steve Lindeman https://www.rocketreviews.com/mega-der-red-max-180703114933.html
Steve Lindeman, "Next up was taking the NC and the green centering ring and pushing it over the NC to try and stretch it. Yea right, that barely worked but after a couple three four tries I finally got it to fit over the motor tube. This is where at first I failed to refer to said mental note. Fortunately I only used 3 tack welds of wood glue on the bottom centering ring to glue it in place. It was when I got to step 7 that I realized that I didn't want the bottom one glued on yet."
Steve Lindeman, "As I said earlier mine are going to be paper coated making them 5 layers total. I am experimenting with yet another paper coating on this rocket in my quest to find the perfect paper for covering my fins. The paper that I'm using this time is photo copy paper".
Steve finished his Nose cone with Dupli-Color Clear Effex which I think looks cool.
Ken E. Coyote at http://www.rocketreviews.com/mega-der-red-max-estes-mega-der-red-max.html.
Ken E. Coyote, “I would also suggest you leave out the last centering ring off the bottom until after you glue the fins so that you can apply internal fillets”.
Ken E. Coyote, “I thought about using self-adhesive label paper over them during construction, but due to time constraints, the added cost of so much label paper (6 entire sheets) along with not wanting to screw around with the weight made me skip what is normally part of my standard fin treatment in favor of following the instructions fully”.
Ken E. Coyote, “I used a dish bucket with warm water and just a bit of liquid soap (I know some people say you shouldn't, but I've done this for years with good results). Do yourself a favor and make sure you get a large flat pan/bucket like I did for decalling. Lay the decals in the water face down and this helps prevent them from curling up. Then pull them out of the water (don't wait too long or pull out too quickly) and check them by trying to gently slide the decal. For the largest decal, I made sure to wet the body tube first and did a combination of lifting and gentle sliding along with re-positioning until I was happy with the placement*. Afterwards I realized that having the seam where the launch lugs are usually makes sense, but in this case the skull and crossbones are then not aligned with anything”. *EDIT: Thinking more about the large decal, I would now suggest that you cut it in half (between the skulls) to make handling easier.
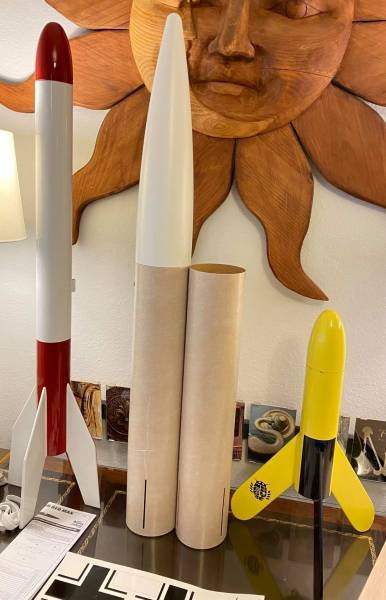
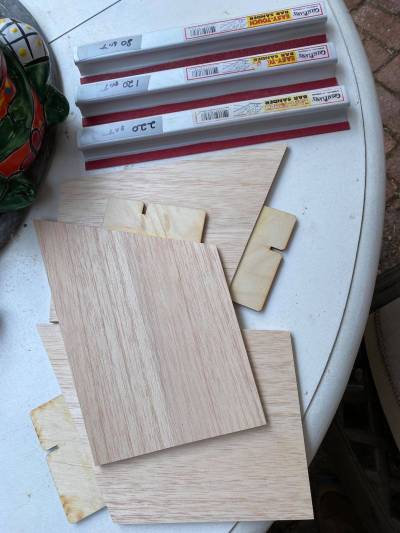
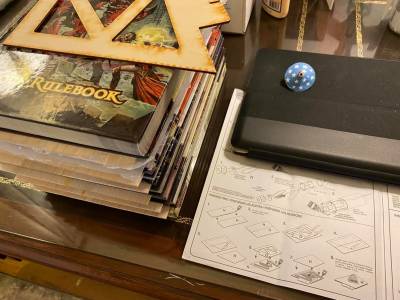
Close-ups of parts in files section
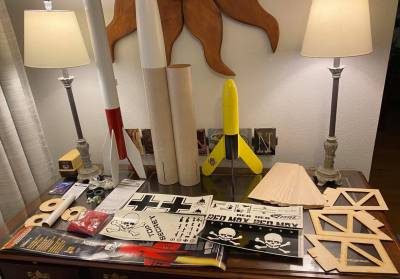
MDRM Parts
2021-07-28
Note: The MDRM has three centering rings in the motor mount. The posted Rocksim only has two.
The tube came crimped from e-bay a few years ago (got the MDRM for $25 because of that), I ordered new slotted tube from Estes a while back.
Included is the Super Big Bertha, going into paint so it will look like the 1969 Big Bertha. Also included is the Mega Mosquito decaled as the Mega Brute – decals by Chris Michielssen - Model Rocket Building: Mega Mosquito Finished. The Mega Brute is a work horse and has faded and chipped paint. It even survived several launches at LUNAR where rockets land on pavement at NASA Ames. I included these as all the fins were laminated with Titebond II, which I'm open to being convinced otherwise, but I'm planning to do the same with the Mega Der Red Max…
MDRM Nose Cone Paint
2021-08-03
To try and avoid paint winkles on such a big nose cone I sanded the nosecone with 220 grit sandpaper, sanded down the mold seam and wiped it down after sanding. That should clean out any mold release and prepare the nose cone for primer. I primed the nosecone and sanded it with 400 grit sandpaper till I could see the plastic underneath. Now for the paint…
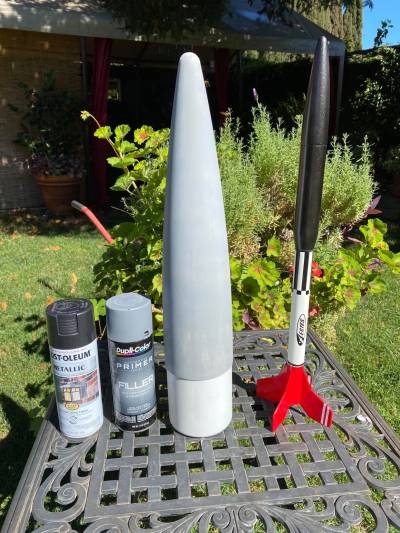
Just choose gloss black paint was going though my head, it will look great… But no, I painted a rocket with Rust-olleum Black Night Metallic 5-7 years ago. I pulled the Estes Reflector off the ceiling to check it out. I think it’s been so long the paint is beginning to fade. Just choose gloss black, it will look great! You know what !@#$ it, I’m going to hit this baby with Rust-olleum Black Night Metallic and I really hope I should not have just chosen gloss black, because it would look great. *I never liked the fact that Estes only gave white stripes for one side of each fin, it would look better with stripes on both sides.

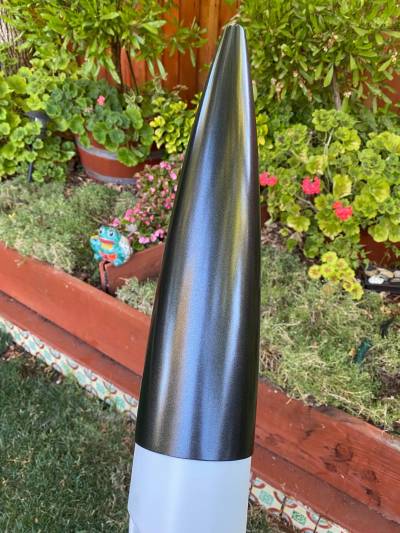
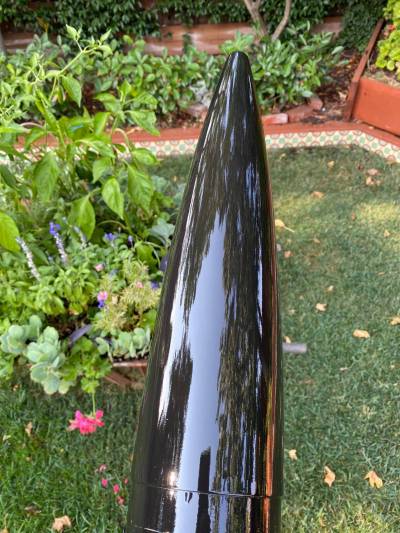
Well, what do you think (why would I ask that on-line...) I kind of like it.……………………………………… I repainted it gloss black... 
I wipe the nozzle of my spray can immediately after each use with a rag or wet-nap.
I wipe it down so next time I use it the spay does not build on old paint and start shooting blobs at my work.
This can of paint may be that same can from 5-7 years ago. 

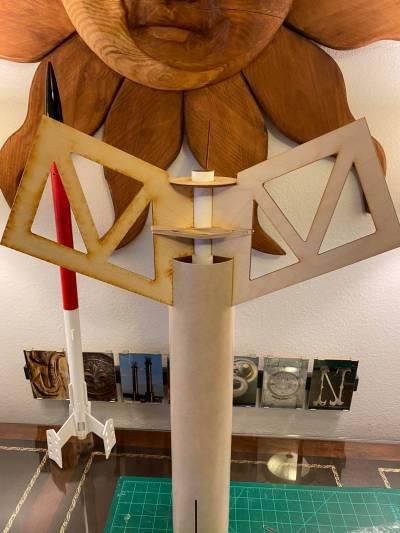
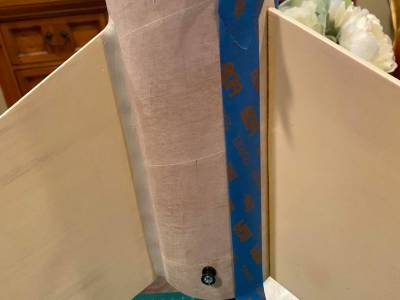
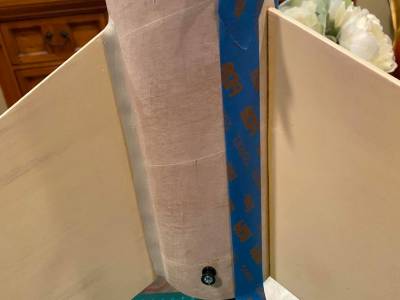
MDRM Centering Rings
2021-08-03
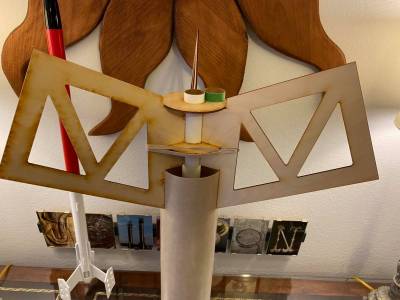
I’ve already attached the bottom centering ring (top of images), which was spaced using the green spacer ring, in the image to the left. I’ve created a rig (which flipped everything upside down to gain the aid of gravity) to properly space the middle centering ring. You may need squint to see the two long rubber and safety pin looped through the fins to provide tension and holding everything in place. I’ve tacked the bottom (previously) and middle centering ring with 5-minute epoxy. After it’s set, I’ll do the upper centering ring which is also spaced and held in place by the green spacer ring. to permanently attach the centering rings I'll use Fix-It epoxy which is like iron when it dries. I plan on flying up to H engines in this bird.

*Just a little more paint and I can apply decals to the Apogee Slo-Mo.
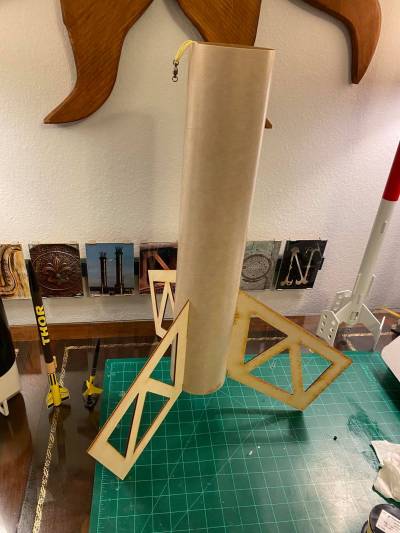
This is the completed engine mount with Anti-Zipper Harness. The engine mount was finished in BSI Mid-Cure 15 minute epoxy, the green spacer ring also received Titebond II just before sliding the ring on. The second image is dry fitting the fins – Perfect!
For the knots I use a bowline with stopper knot and used Titebond II to lock them in place. I think it would be fairly easy to replace this Kevlar line if I ever needed too.
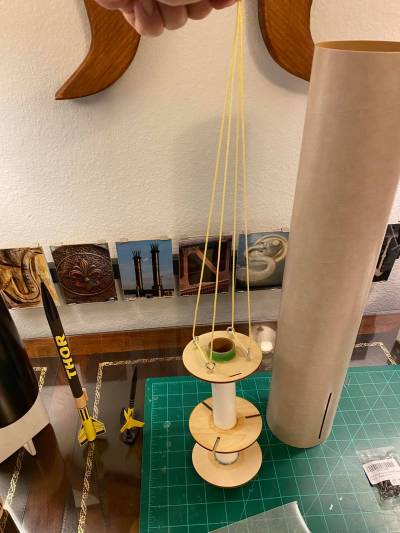
* Next to the motor mount is a carded THOR and Chris M. Carded Yellow Jacket, reduced to a BT2.5 (0.281" OD) tube - minimum diameter for MMX engines.
** Look to Steve Lindeman's build. I should not have added the bottom centering ring until later - https://www.rocketreviews.com/mega-der-red-max-180703114933.html
The MDRM Fins
2021-08-10
·
The MDRM Fins:
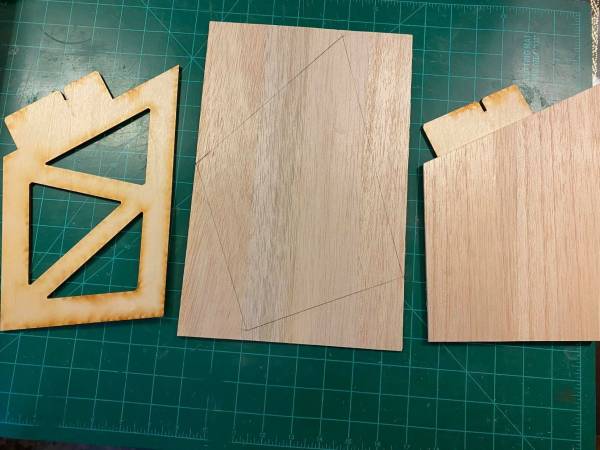
You get twelve sheets of wood and must attach two length wise, so at the end you have six sheets of wood to cover your three fins (one sheet per side). I just used Titebond II and pressed them together for a bit. Now I have them stacked under some flat books overnight.

*The blue with white stars flying saucer is an Art Applewhite Delta Flying Saucer, reduced for MMX, that I colored in MS Paint. I have all the shapes (colored like this one, or painted); over the Forth of July we have a block party and I let the kids launch them then hand them out to the kids in our court when done. They are made of paper so who cares if they land on pavement. And they are not fireworks, which are illegal here, so it's win win.
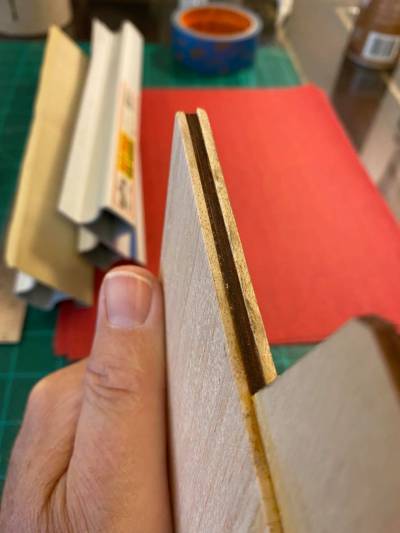
Fin Prep: The wood was bound with Titebond II using a quick double glue joint with a very light application of glue.
You barley notice where the planks were bound together and they hold up well when cutting (all fins have been cut and non broke along the glue joint or anywhere else).
Titebond sands about as easily as the wood, no blobs of epoxy that have to be sanded out which can impact the wood around the blob.
The wood is also laminated with Titebond II as well.
Unlike epoxy Titebond II contains some water which penetrates into the wood and then hardens.
Wood was pressed under weight over night and remains flat.
I left a very very small over hang on the tab end which I then sanded with sandpaper draped over my crimped tube to shape the root end so it would have a better form fit when attached to the body tube.
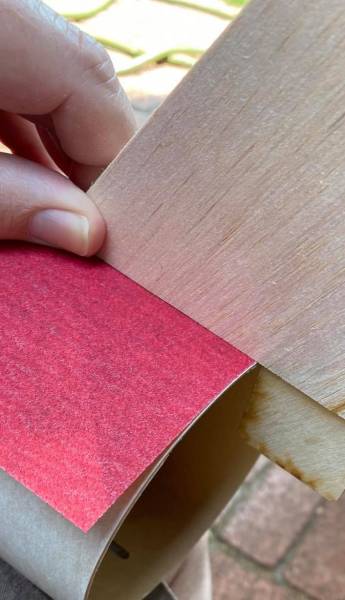
Then sanded everything ready for papering or wood filler.

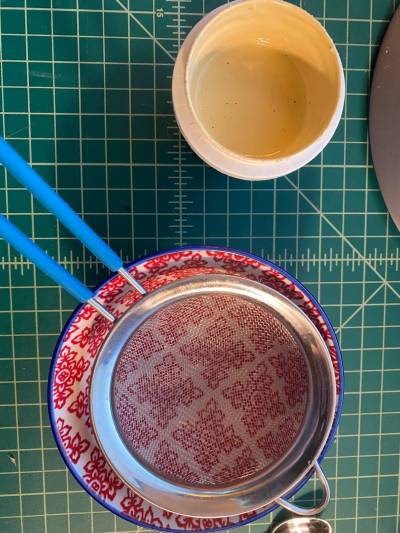
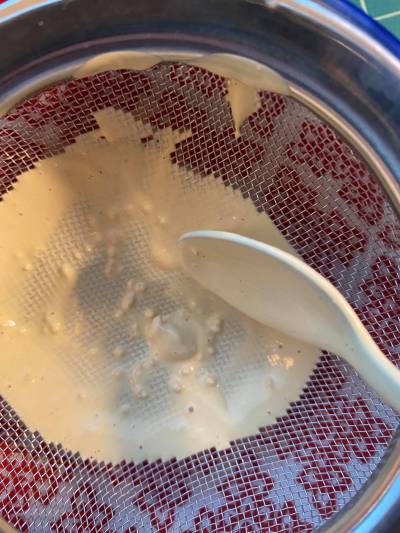
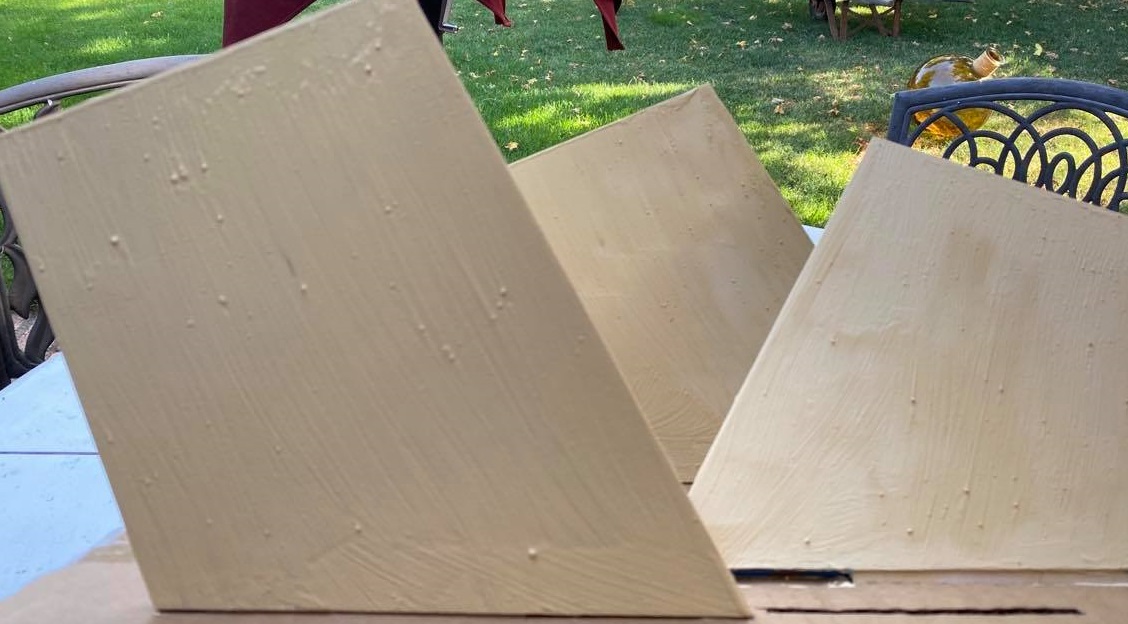
I went with Carpenter's Wood Filler for the fins. Interesting I found blobs (not uncommon) when brushing on the filler. So I decided to filter the filler through a mesh kitchen sieve and eventhough I was able to filter out balls of CWF, when I burshed on the filtered stuff I still got little CWF balls. Perhaps a bit less and a bit smaller then before... The first fin painted with unfiltered CWF is in the front of the picture. I know they will easily sand out, perhaps it's not worth worrying bout it.
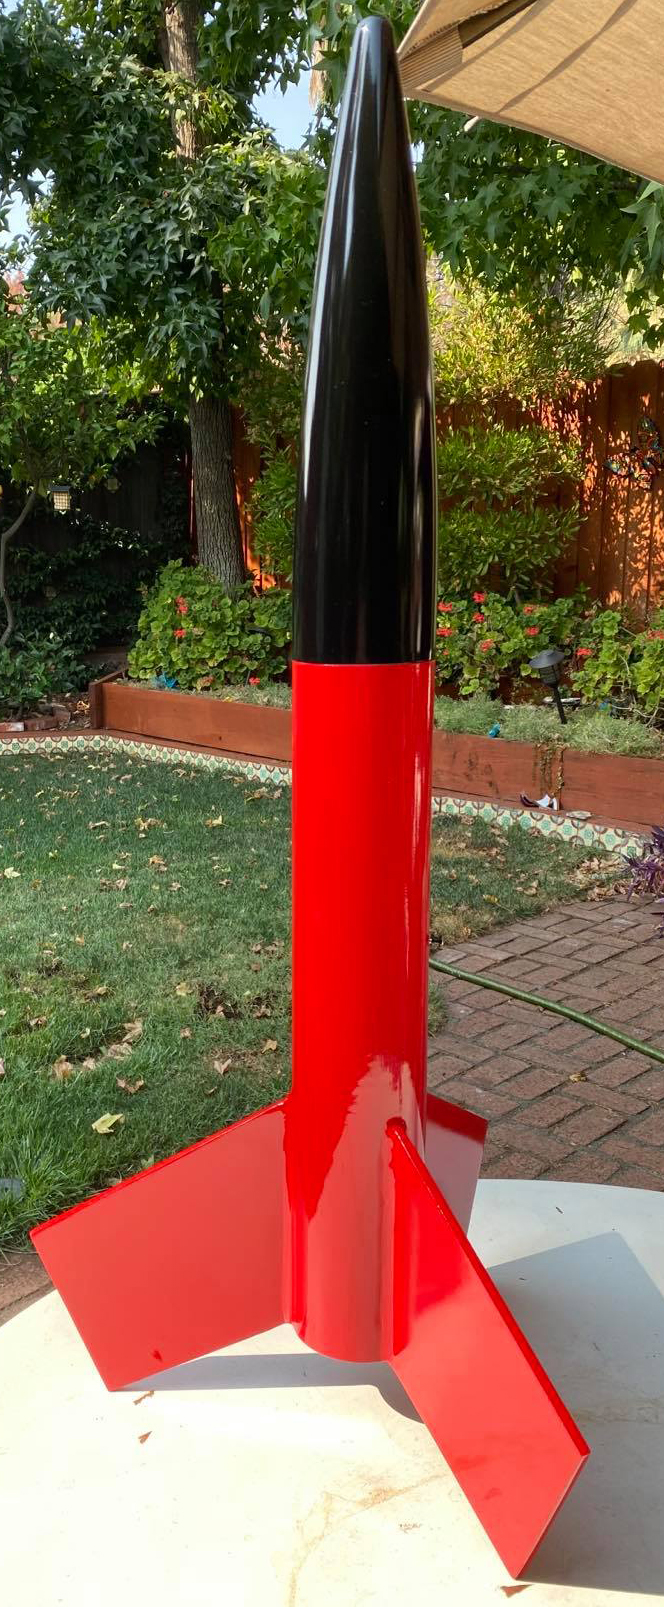
Putting the MDRM together
2021-08-31
I attached the fins to the body tube using Titebond II; then I applied fillets using Fix-it epoxy.
No need to worry about Titebond bubbles or wells when they are covered up and help Fix-it epoxy adhere better.
Paint is done!
I used Rust-Oleum Gloss Protective Enamel Sunrise Red.
 |
 |