Modification Aura (L1) Modification
Modification - Aura (L1) {Modification}
Contributed by Larry Rudd
| Manufacturer: | Modification |
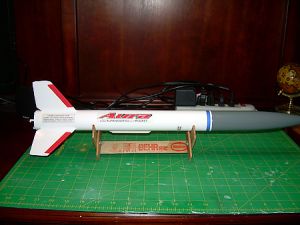
Brief:
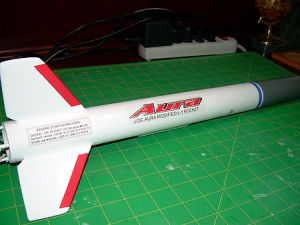
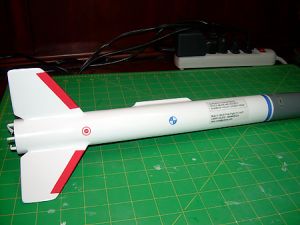
The LOC Aura kit was modified for an L1 attempt with an H engine and an altimeter bay added.
Modifications:
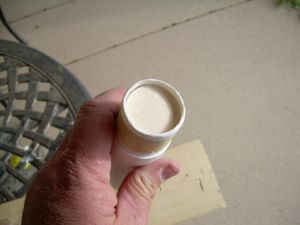
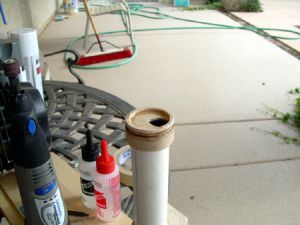
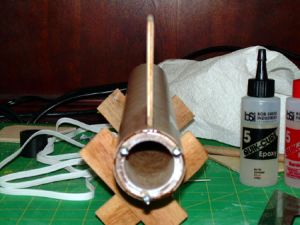
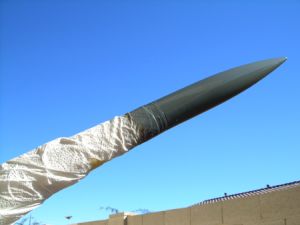
Nose cone and electronics bay modifications:
I cut 1" off the body tube to create the small electronics bay for the Pico-P1 altimeter. I then cut the sleeve on the nose cone and glued the 1" cut section of body tube to create an extended nose cone with a compartment for the small altimeter. I put a bulkhead on the bottom with an eye bolt and epoxied a bolt offset through the compartment to secure it.
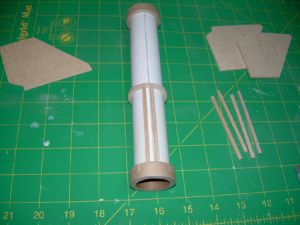
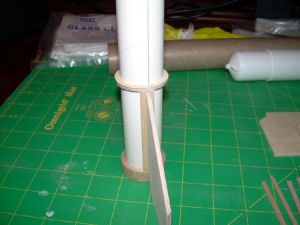
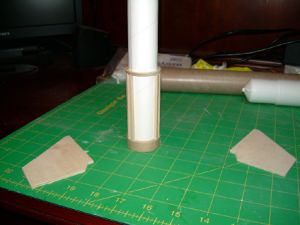
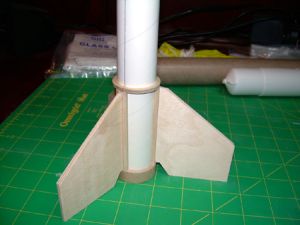
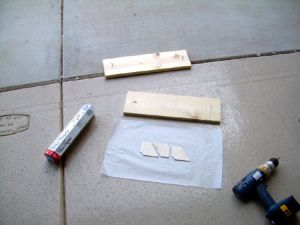
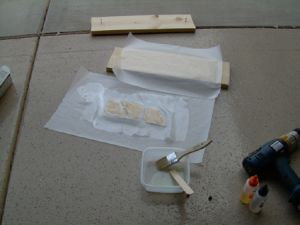
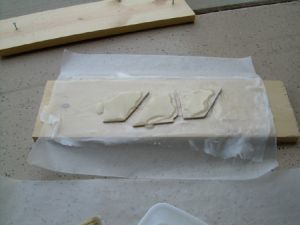
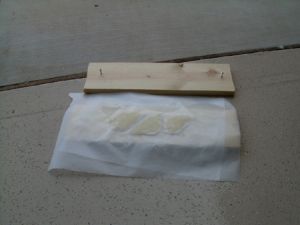
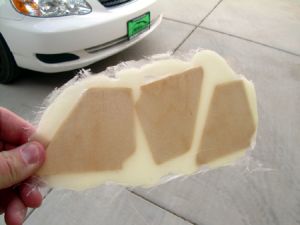
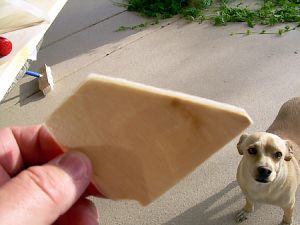
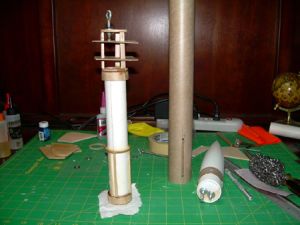
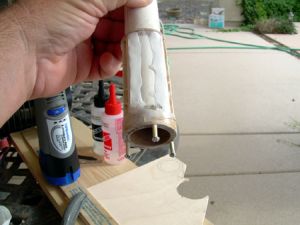
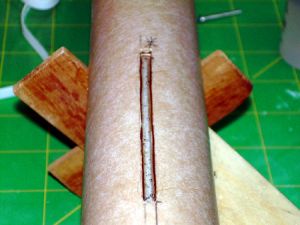
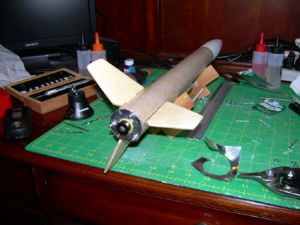
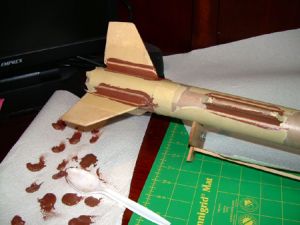
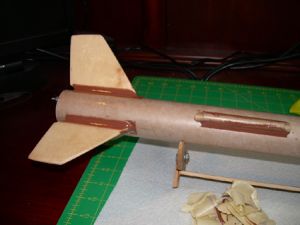
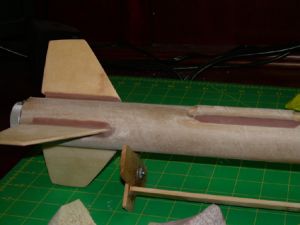
Through the wall (TTW) fins:
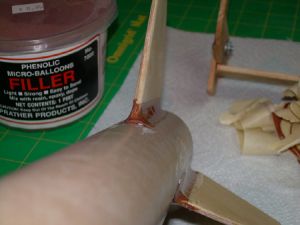
I cut new fins with TTW tabs and glassed them with epoxy to strengthen them. I added a centering ring and small balsa strips on the outside of the engine tube that would hold the TTW fin tabs. After attaching the added centering ring and balsa strips on the engine tube, I inserted the whole assembly in the body tube aligning the strips with the slits I cut in the body tube. Everything was epoxied in place.
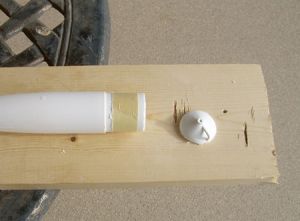
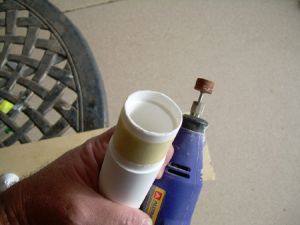
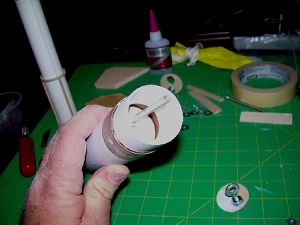
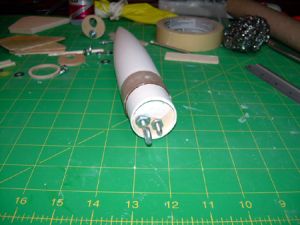
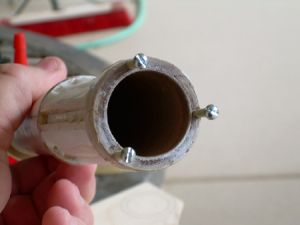
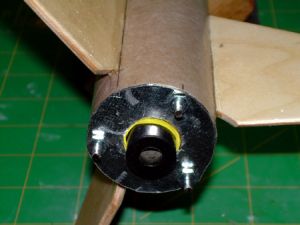
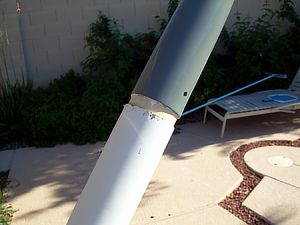
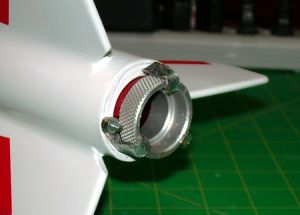
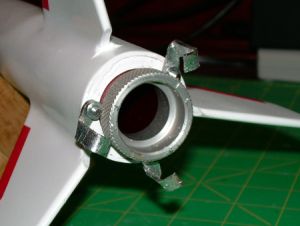
Engine retention:
Before inserting the engine tube, I placed 3 small #4 bolts through the back of the aft retaining ring. These bolts should stick out at least 1/2" to stick out above the aft engine casing cap to accommodate nuts and retainer later.
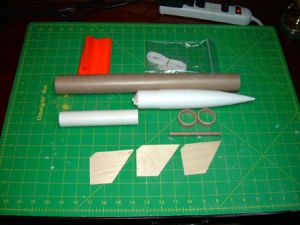
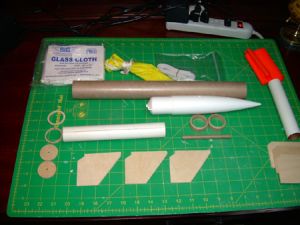
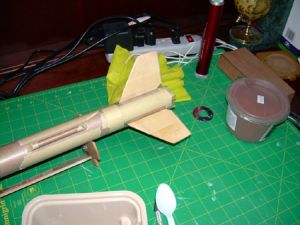
Construction:
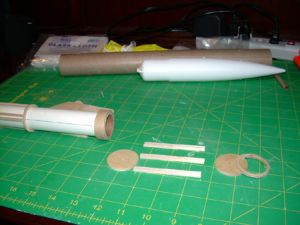
Kit included a thick wall body tube three 1/8" plywood fins and a thick plastic nose cone. I replaced the engine tube for a longer one to accommodate a 29/180 engine casing. I also cut new fins out of 1/8" ply of the same shape but added tabs for through the wall mounting. In short the extra parts were:
- New engine mount tube
- New fins with TTW tabs
- Extra centering rings
- Extra bulkheads with offset holes (for baffle)
- Nuts, bolts and eye bolts
- 12" parachute to replace the streamer
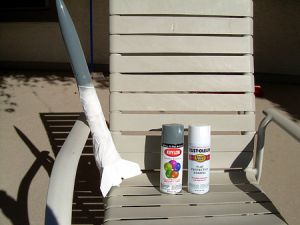
Finishing:
I used a simple paint scheme with custom decals.
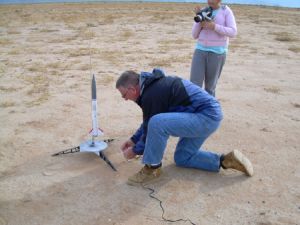
Flight:
I used an AeroTech RMS H238-L for this rocket. Because of the airframe's small size, it makes the rocket almost all engine! This thing will take off of the pad like it was shot out of a rail gun. Because of it's higher than normal descent rate, it won't be too far of a walk to retrieve it as long as it's not too windy.
Pros: It's not the most challenging modification build, but it's fun because you know you're pushing the flight envelope. The modifications I made included a baffle which helped because the space was cramped with the parachute. This, along with fashioning engine retention makes it a very rewarding and complete rocket build.
Cons: The possibility that you will lose this rocket and never ever see it again is very high! You're out an expensive engine casing and something you put a lot of time and care into building.
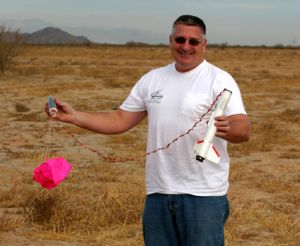
Recovery:
I used the stock shock cord. For recovery, you must load it up with colored talc our you'll never see it at deployment.
No zipper, broken fins or ejected engine casing. Here's some of the lessons I learned:
- I would not recommend this unless it's totally clear. The high cloud cover we had made it almost impossible to track. The thin white tracking smoke blends into the clouds.
- The less wind the better but if there is any you'll want it coming from the opposite direction (or any other direction) of the sun. It will weathercock into the sun and you'll probably lose it.
- You must use colored talc powder (the kind used to fill line levels.) This was the only reason someone spotted this rocket at ejection.
- I'd suggest at least three people dedicated to tracking it with binoculars.
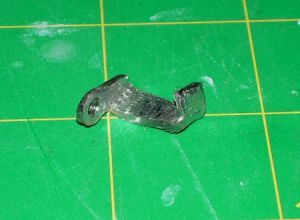
I forgot to sand the launch rod and a little sticky from some masking tape was on it. The rocket tore the rod off the pad. It broke the plastic mount and basically tried to take of with the pad still attached to it. When it took off it shot off the pad like a cannon and weathercocked into the wind probably 1/4 mile down range. Everybody gave it up for lost until my Dad spotted the puff of blue talc we loaded in prior to the chute. He kept his eye on it all the way down. It landed about 250yds downwind of the pad.
The Pico altimeter measured 5,289ft. It may have been higher but when I put the batteries back in the Pico I had the microscopic thing flipped over the wrong way. I quickly flipped it over to count the flashes. It could have been 6,000+ but because of my mistake I'll go with what I saw. Even with the accuracy range of the small Pico, I'm pretty sure it was over a mile (because I probably missed a flash that would have added another 1,000.) At any rate, with the trying to take off with the pad and weathercocking downrange I'll stick with the 5,289ft even though it RockSim'ed at over 6,000ft for this set-up.
I'm happy it worked out. I'll be waiting until the conditions are exactly right until I launch it again with any H size engine. Clear skies, low wind and lots of eyes on it.
Summary:
Drag race any other HPR level 1 rocket with this thing and it will be no contest! It's sturdy and will last for many flights. However, the odd are that someday you may lose it and never see it again.
  |
  |
  |
  |
  |
  |
  |
  |
  |
  |
  |
  |
  |
  |
  |
  |
  |
  |
  |
  |
  |
  |
  |
#Related Reviews
Related Products
 |
 |