| Construction Rating: | starstarstarstarstar_border |
| Flight Rating: | starstarstarstarstar |
| Overall Rating: | starstarstarstarstar_border |
| Published: | 2011-12-21 |
| Diameter: | 3.75 inches |
| Length: | 5.00 inches |
| Manufacturer: | Odd'l Rockets  |
| Skill Level: | 2 |
| Style: | Odd-Roc |
 Brief
Brief
If you're tired of fins or sanding/filling balsa, consider this simple odd roc from Odd'l Rockets. Consider it an extreme downscale of the Fliskits Espresso, it's a flying single foam cup. Not only is it capable of entertaining flights, but it can hold about 16 ounces of your favorite beverage as well, though you might notice a slight aftertaste of black powder  .
.
Components
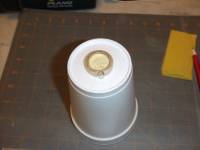
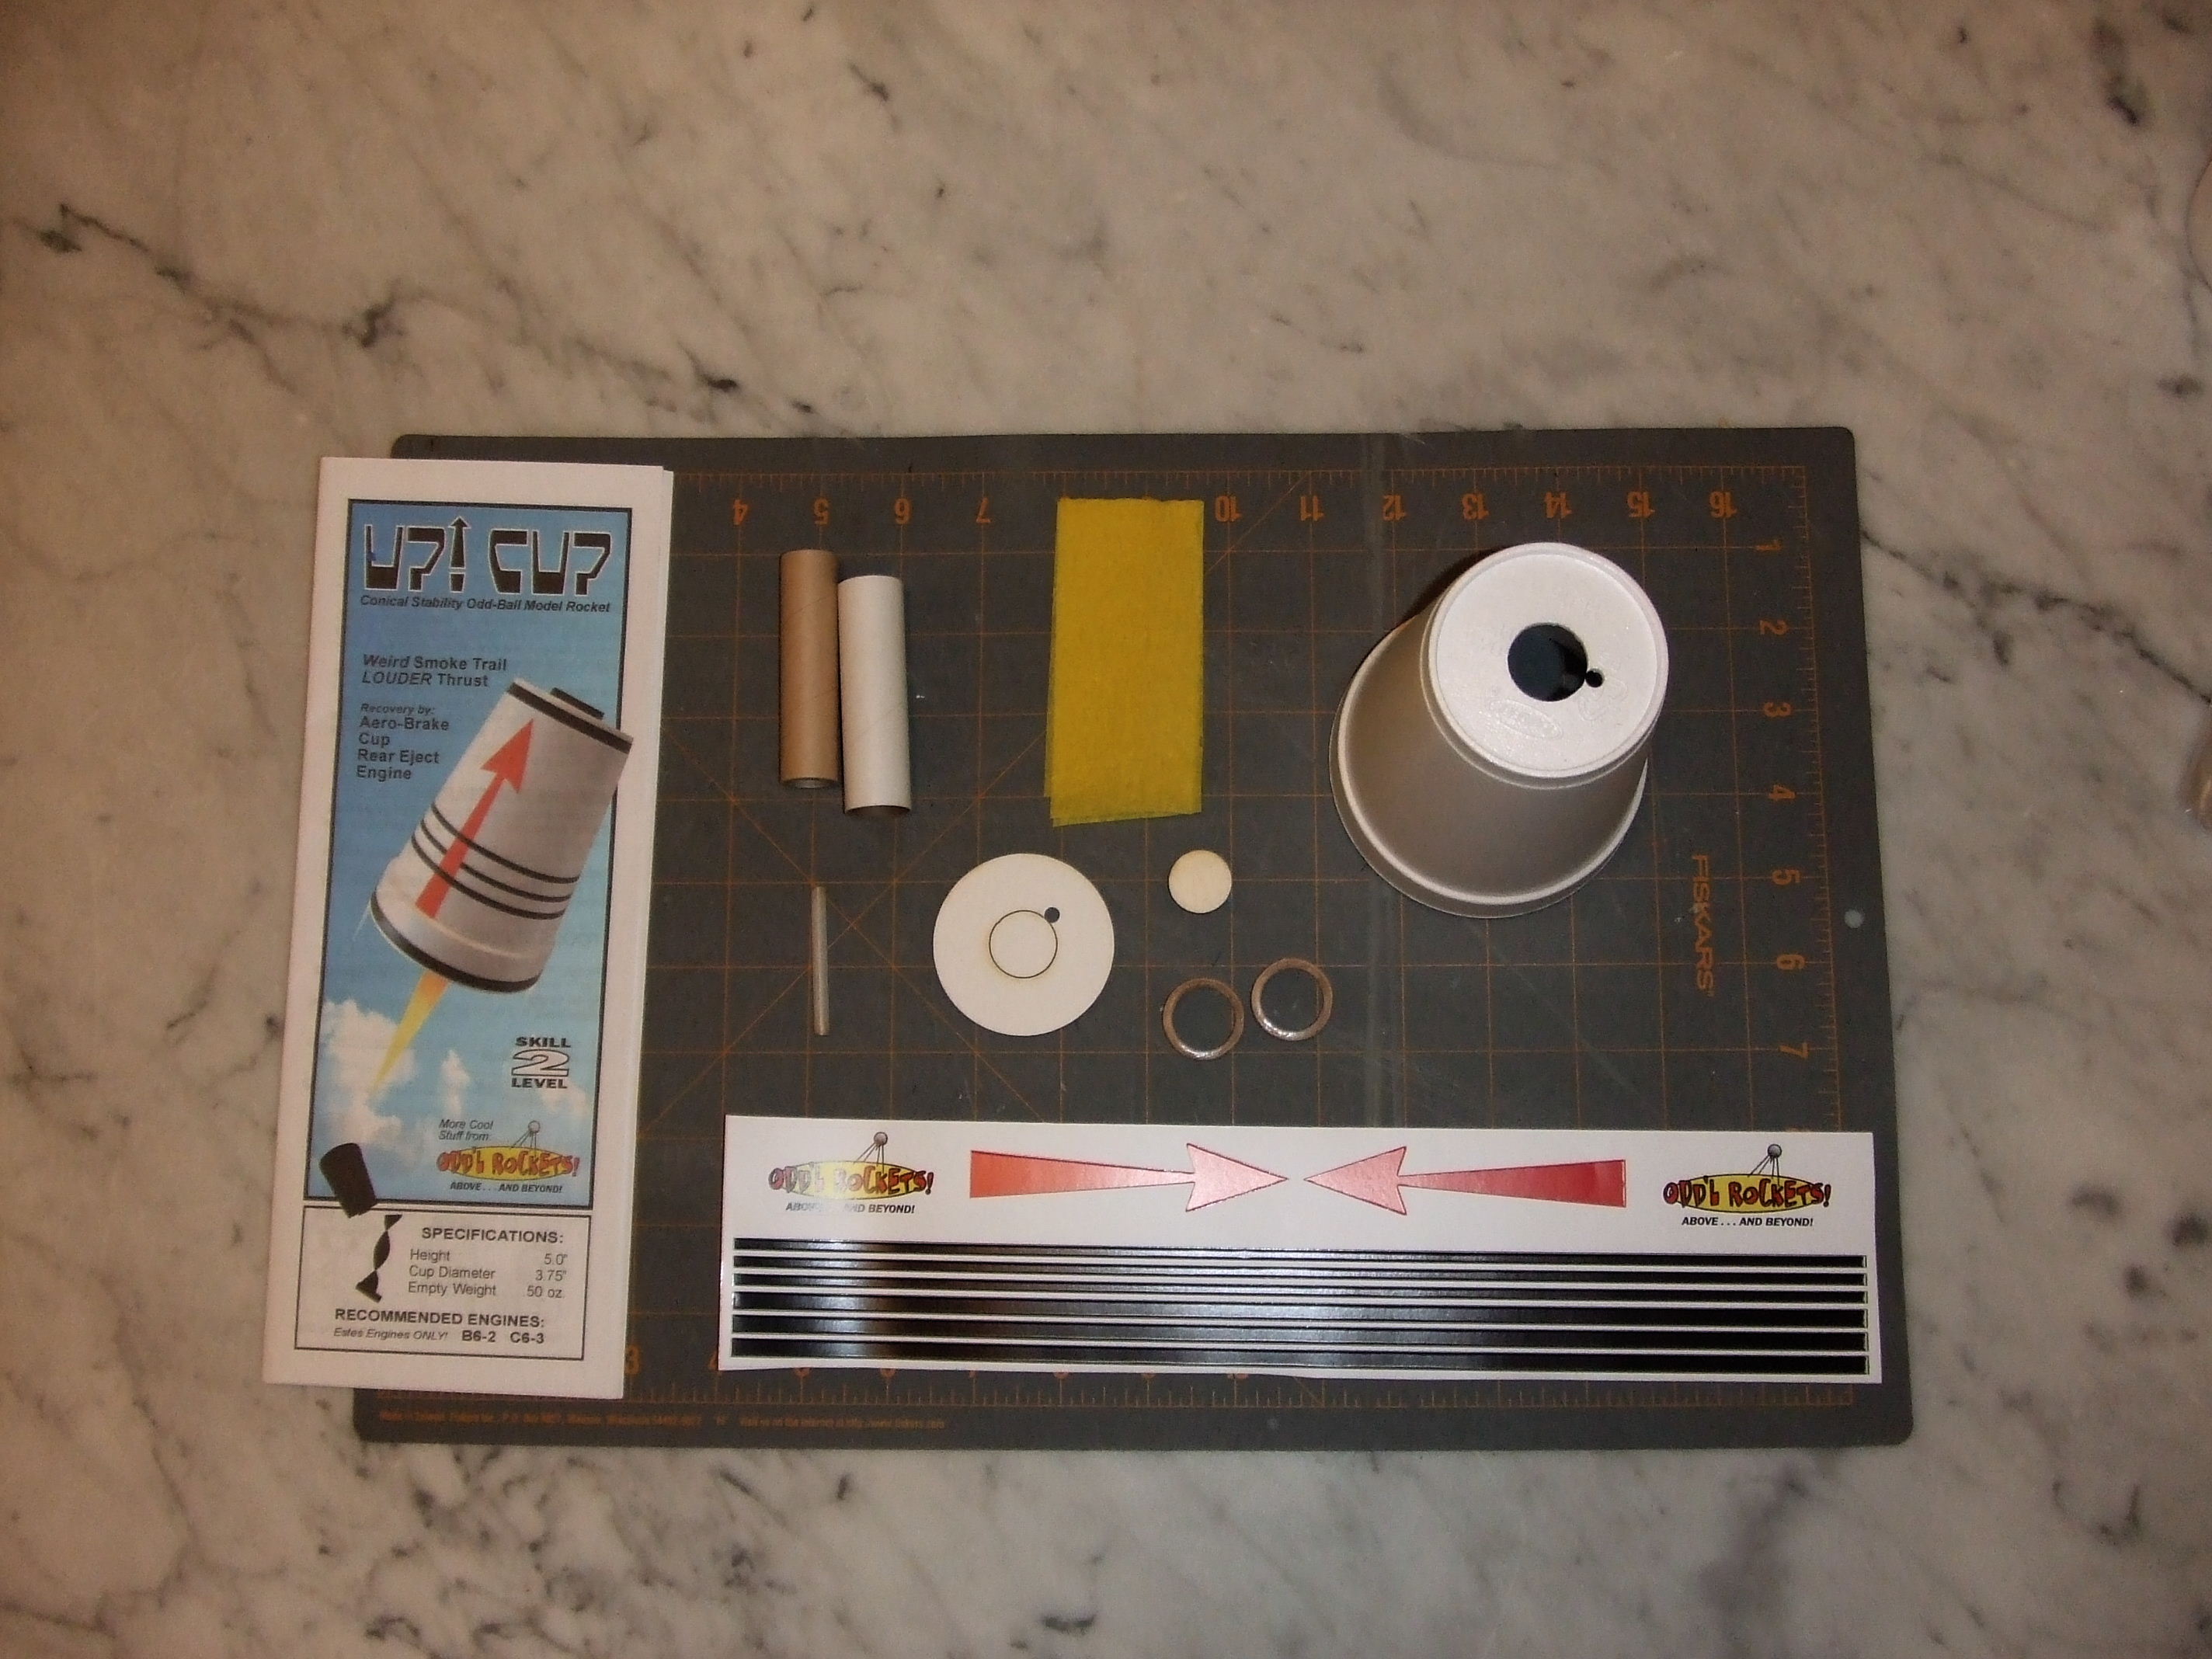
I purchased one of the very first of these kits from Jonrocket.com, and when first opening the bag I have to admit I felt a little silly to have spent ($7.75 retail) on basically a cup and a motor tube. The kit actually came with two cups, one stuffed inside the other to protect it, and an inflated baloon to offer more inner support. That's pretty impressive care and concern for a part I don't think anyone would have much trouble finding a replacement for without much expense. After I'd built this, Hans Michielssen contacted me directly, offering a new/improved version that included a very nice set of vinyl decals. I believe the standard kits available now all include the vinyl decals at the same $7.75 price, and I've got to say those decals are a great upgrade to the kit and make it a much more appealing value.
Construction
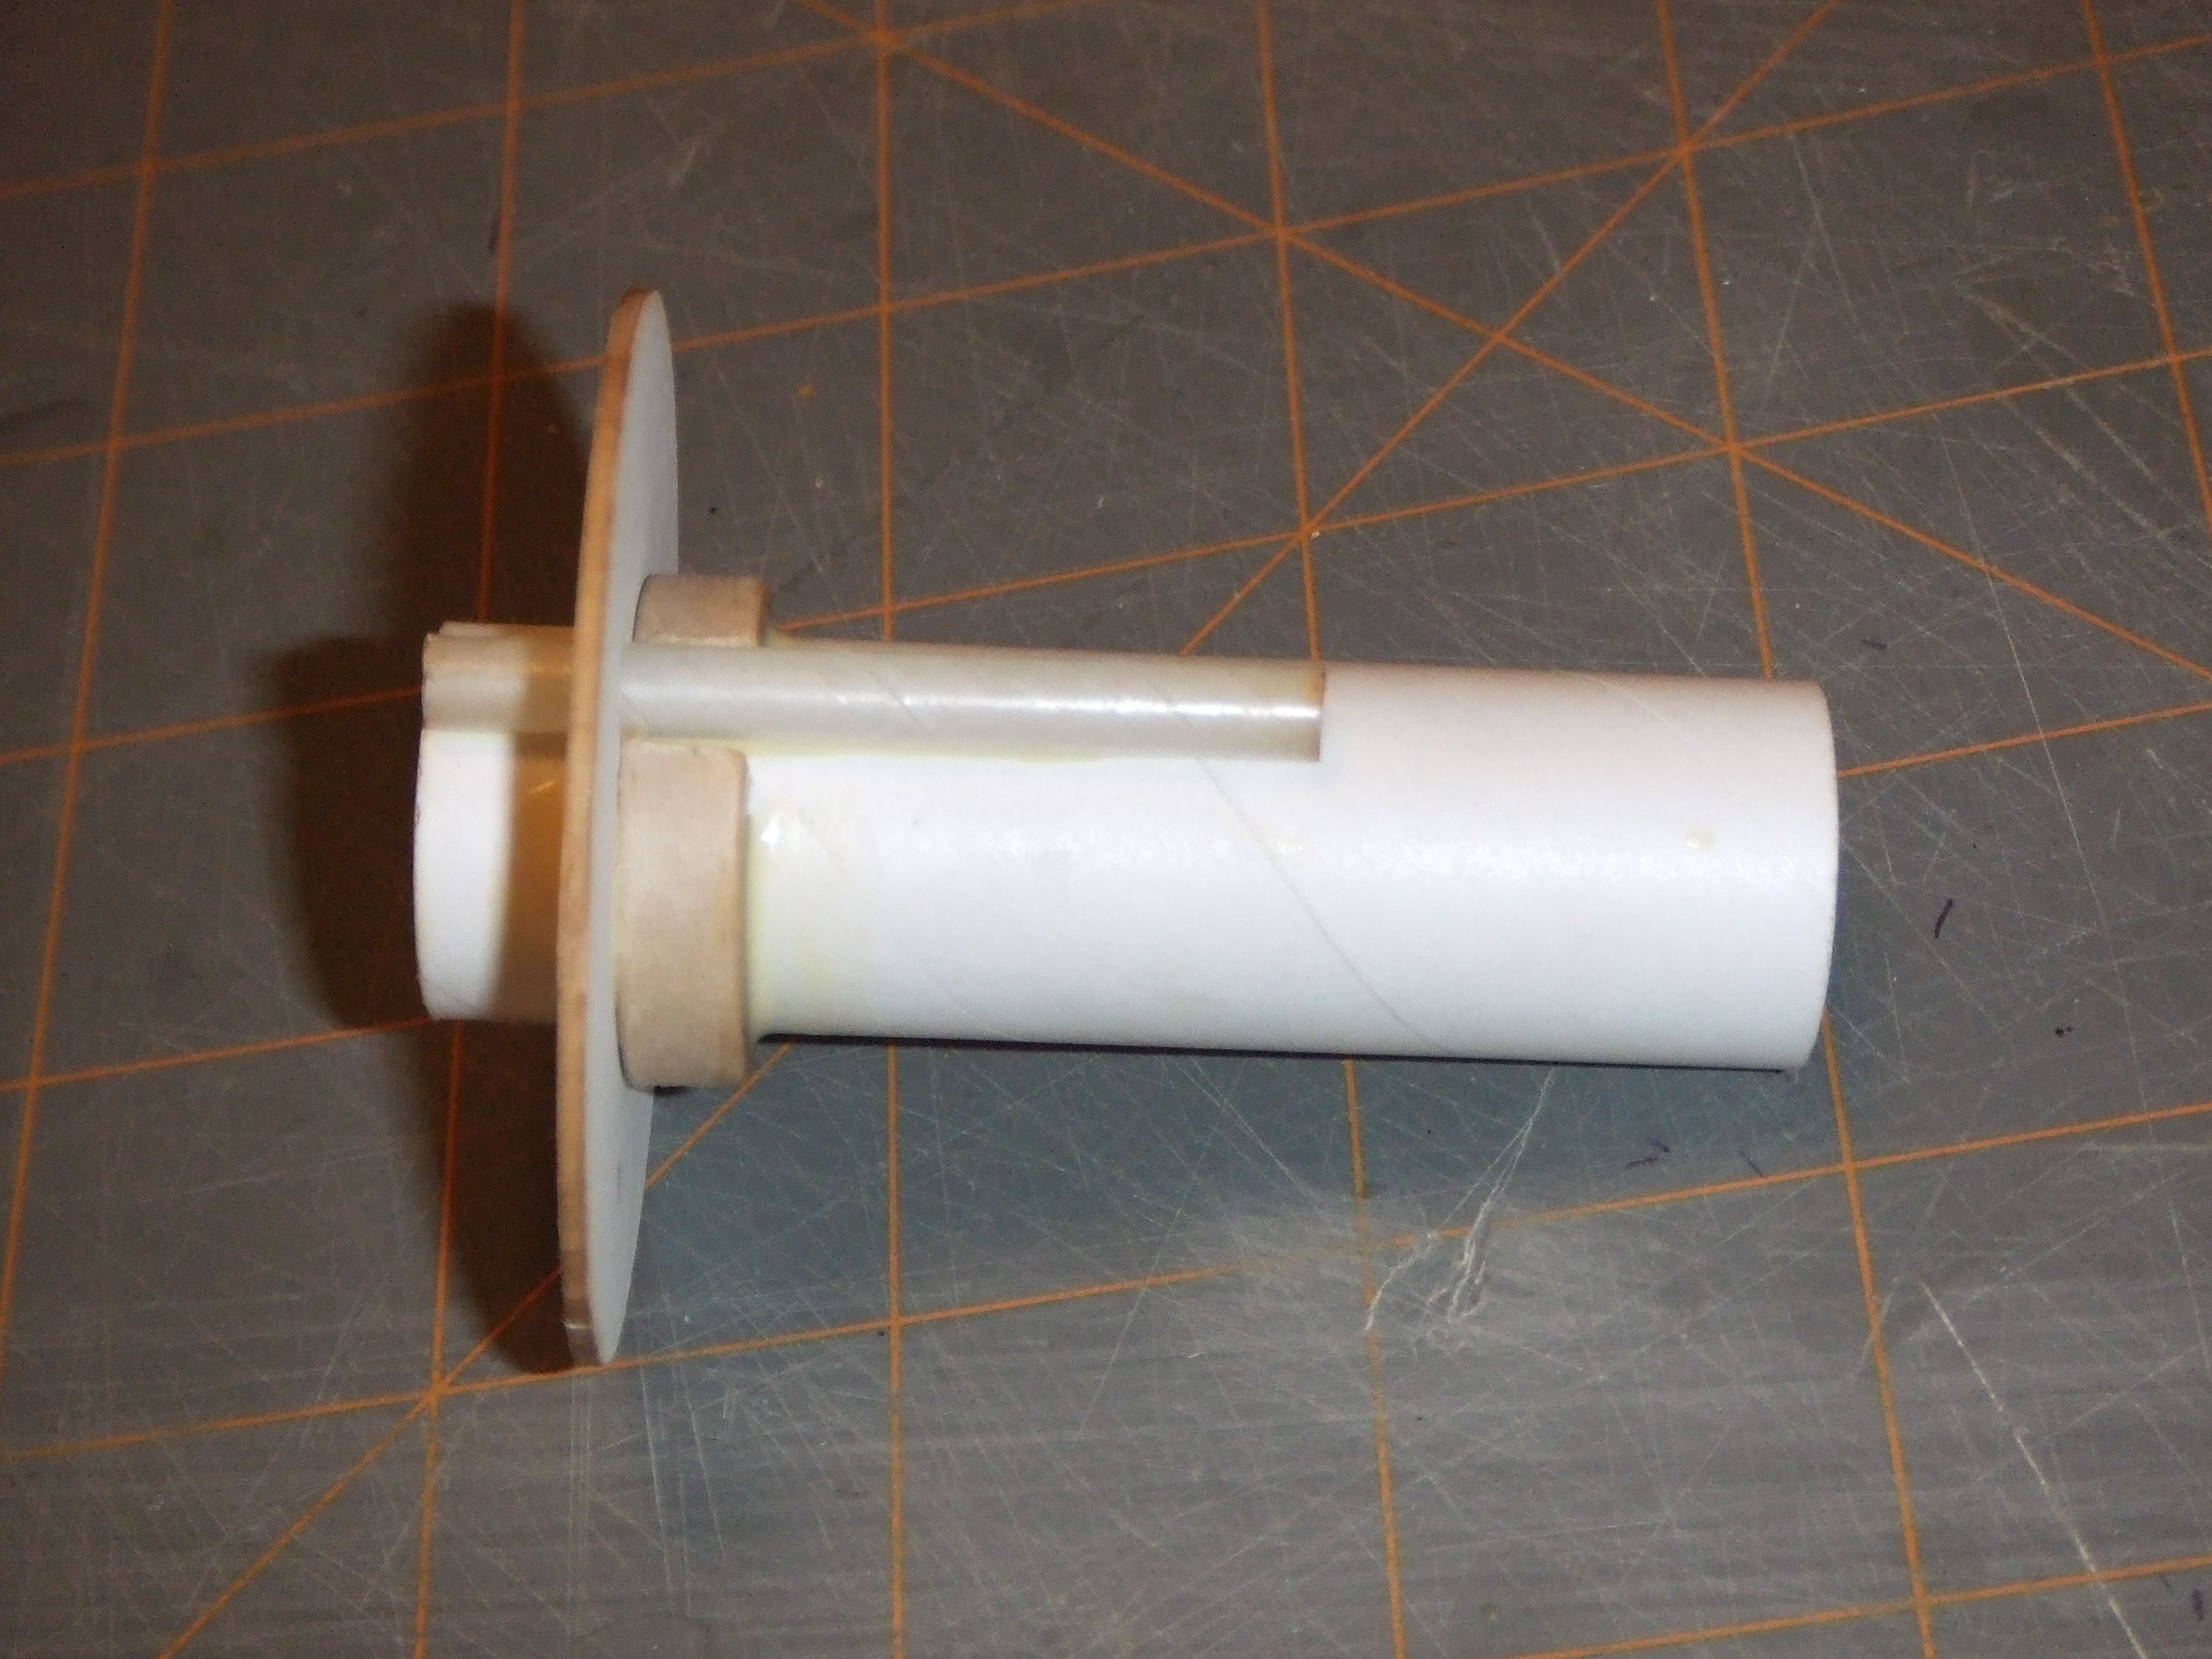
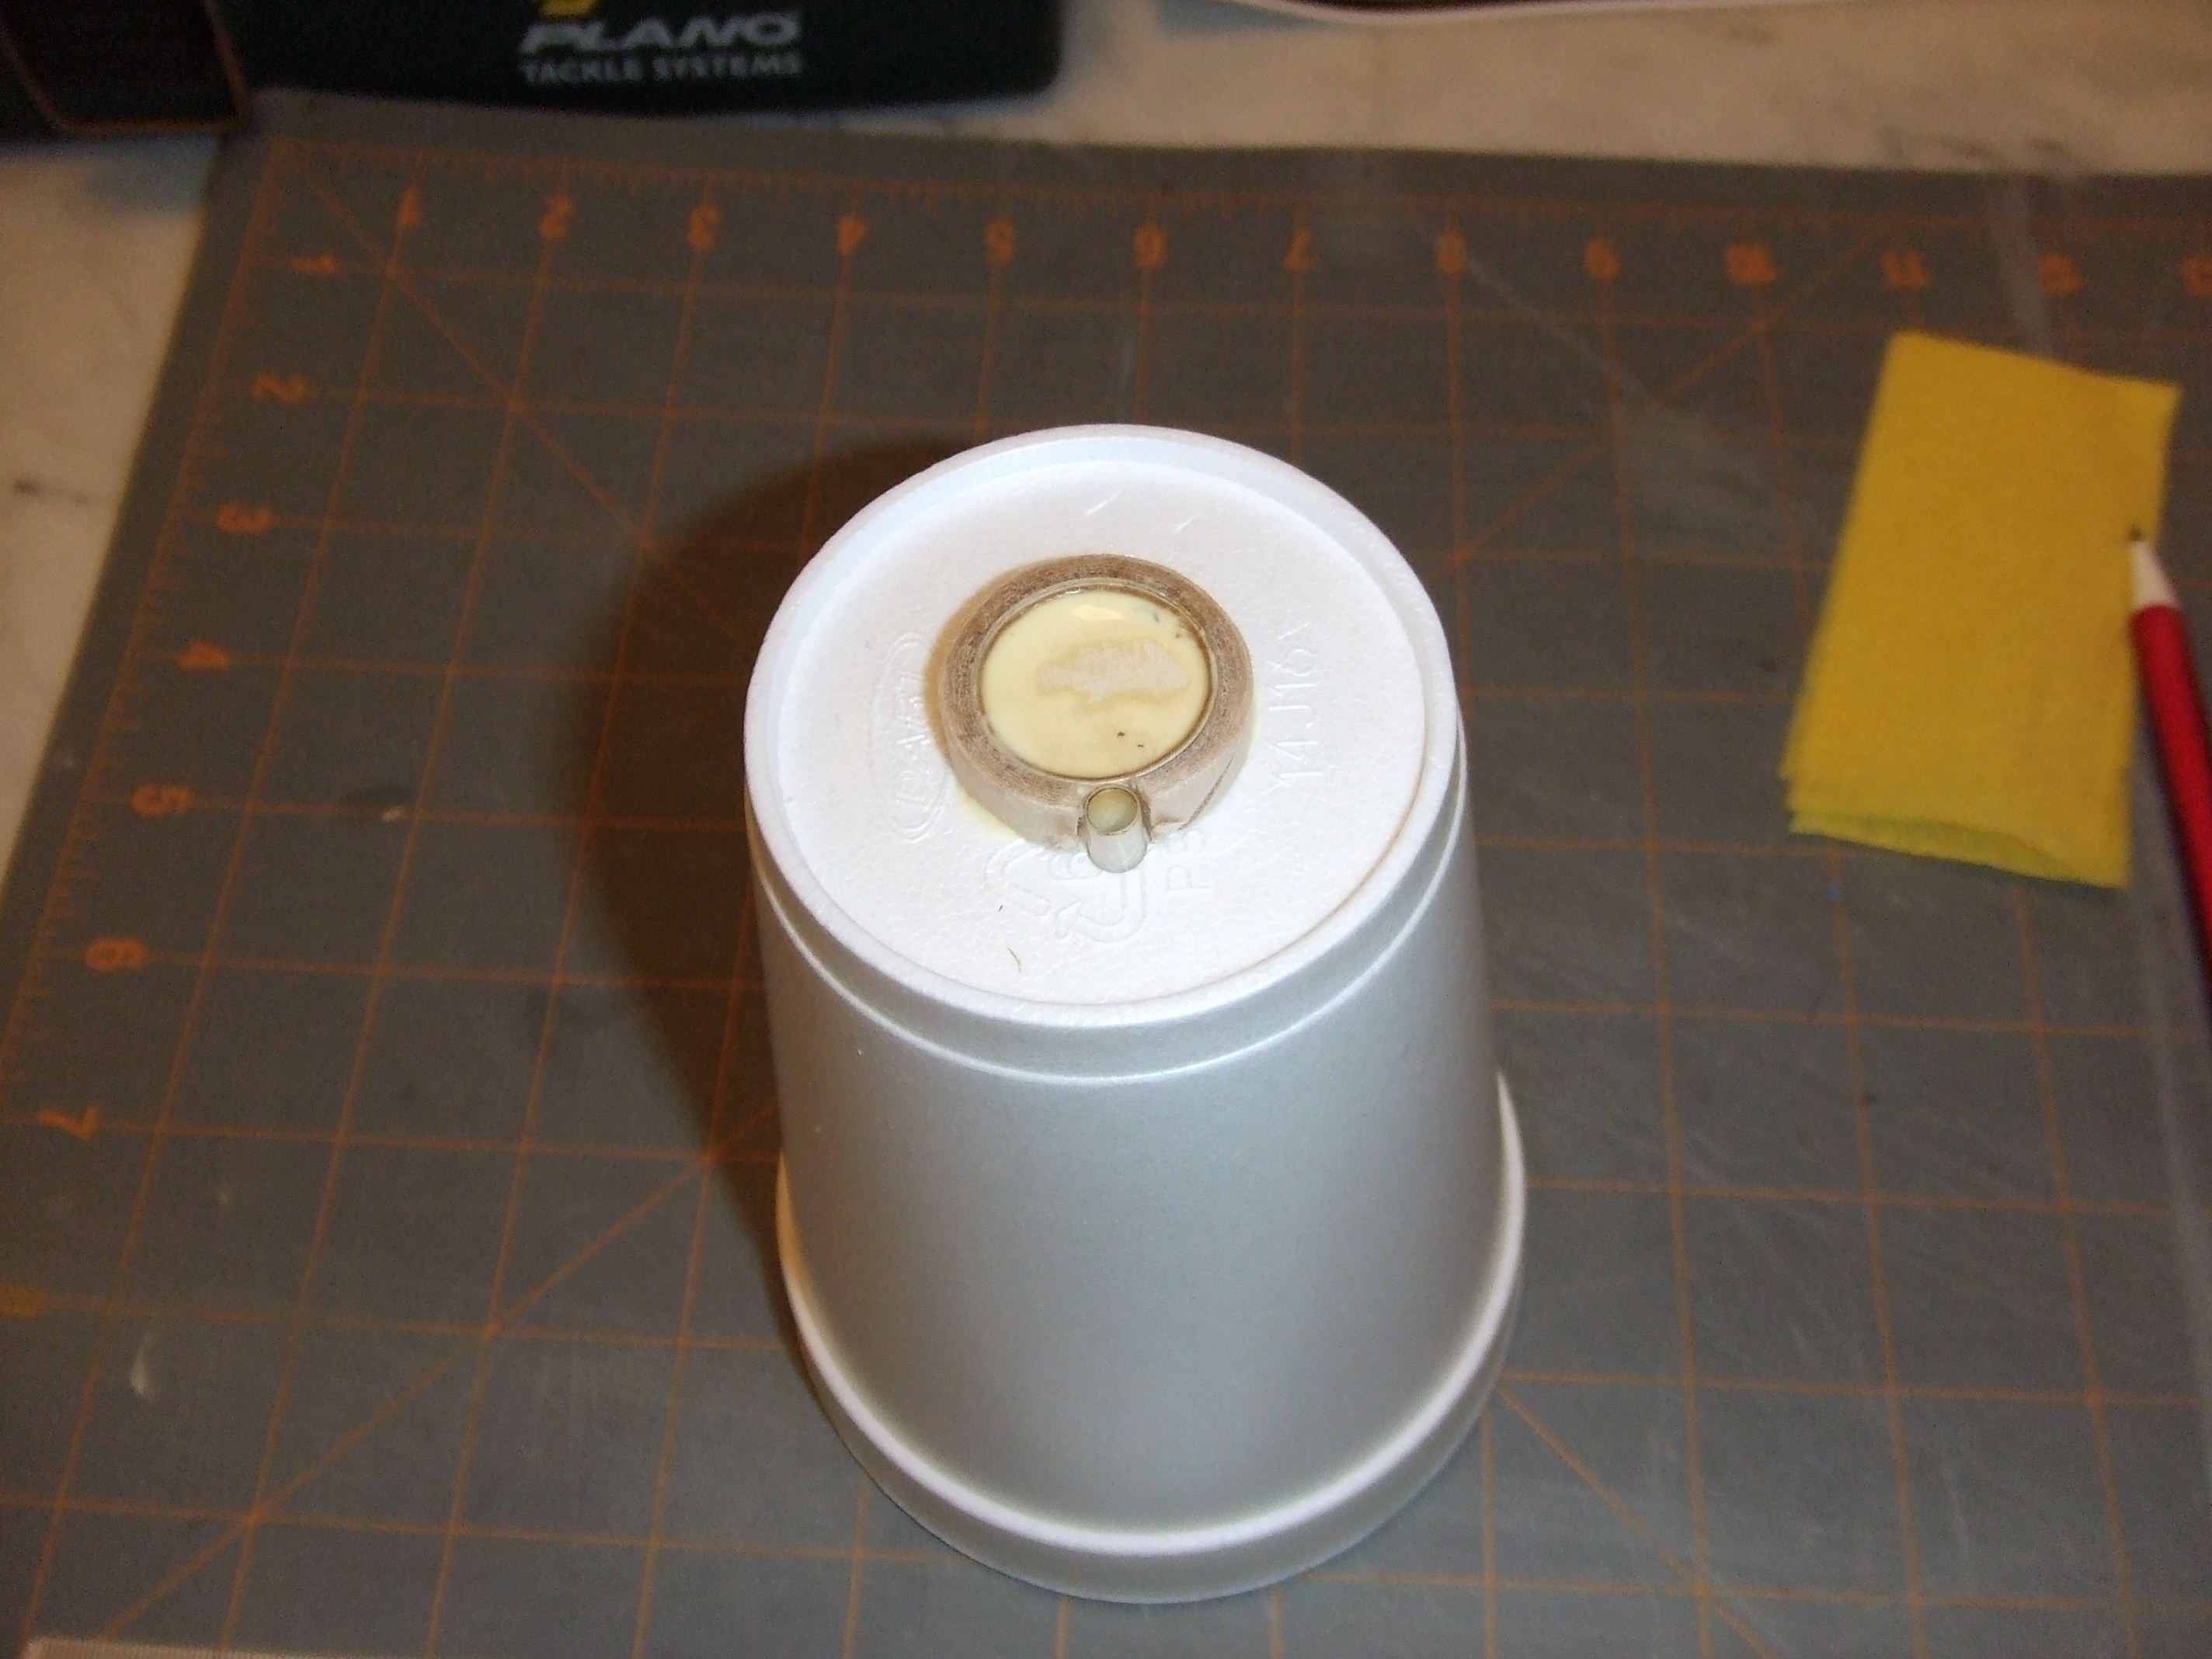
This is rated as a skill level 2 kit, probably a bit higher than I'd have pegged it. Construction was quick and easy, taking about 15 minutes thanks to the precut cup. You begin by installing a plywood disk into the forward end of the motor tube. Line the inside with glue and apply a generous fillet--this is a motor-spitting design and that disk gets all the ejection charges. Next, cut a section out of one centering ring to accomodate a launch lug, glue it to the tube, then glue the lug to the tube. Once those are in place, glue a larger centering ring to the forward end. This assembly is then glued to the inside of the cup. Rubber cement is recommended, though I went with white glue. The motor tube will stick out the front (bottom) of the cup a bit, and you'll glue a centering ring over this exposed section, locking the tube in place.

Once everything's dried, line the inside of the cup with a generous wipe of glue or epoxy to deal with the exhaust plume.
Finishing
For the original kit, I was left on my own to decorate, so I found some assorted colored vinyl tape and applied a couple stripes to my cup. I then patched a couple pieces together and cut out a red arrow, matching the cover art. It looked OK, but not exactly my finest work.
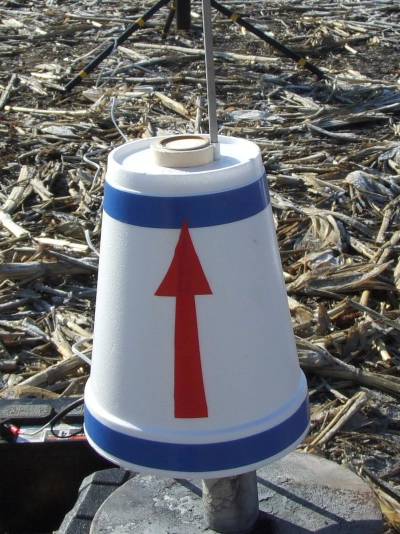
For the second kit, I used a number of the decals provided (you get more than you'll probably want to use), and the finished appearance was much better in my opinion.
I would definitely not waste any time painting this, though if you're artistically inclined I'm sure you could do some interesting work with markers.
Flight
Recommended motors are B6-2 and C6-3, though -0's in each class might be worth considering too. Since I was flying a pair of them, I loaded one with a B6-2 and the other with the C6-3 and sent them each up. The B6-2 flew perfectly fine, maybe 150 feet up. The C6-3 was definitely pushing this up a lot harder, and it was noticeably wiggling on its way up. The B6-2 ejected while still coasting up, and I forgot to record the C6-3 ejection.
Recovery
This is designed to spit the motor and tumble down. Each cup came down safe and sound within very short recovery trek distance. Note that the motor tube is actually a TT-20, not a BT-20, which means it's 20mm ID and a regular 18mm motor fits too loosely to stay in on its own. This is on purpose--you attach a crepe paper streamer (included in the kit) to the motor, wrap it around, then wedge the streamer/motor into the tube. This way, you can also track the motor as it falls and make sure no one gets hit in the head with it. You'll obviously need to recover the motor to reuse the streamer, though, which tends to go in the opposite direction of the cup and therefore extends the recovery walk.
Summary
This is another cute offering by Odd'l--cheap, easy to build, flies great on even the smallest fields, and entertaining. The decals make it worth buying versus cloning.

 |
 |
Flights
.JPG)
.JPG)
|
|