 (Contributed - by Ray King - 11/28/09)
Brief:
I designed and built this rocket for #3 Challange of the 2009 EMRR Challenge – Kit bash 2 kits and build a
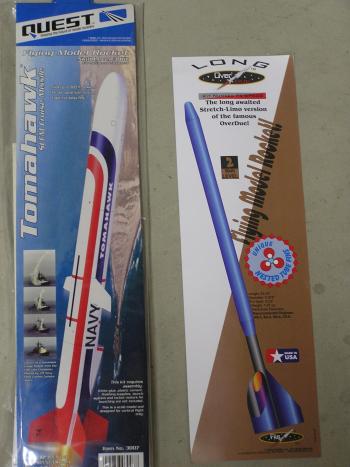
multi-stage rocket. I chose to kit bash Flis’ Long OverDue and Quest’s Tomahawk SLCM Cruise Missile. I really
liked the look of the Long Over Due so I decided to keep the basic design and use the component from the Tomahawk to
build a booster that had very similar appearance. So here it is the “Turbo Charged Long OverDue”.
Modifications:
My plan was to use the body tube from the Tomhawk to create a booster that complimented the design of the Long
OverDue. I cut the body tube from the Tomahawk using the same template provided for the tube fins of Long OverDue and
glued them to a 2.75” section of motor tube from the Tomahawk (see picture of booster). I noticed that Tomahawk
body tube was slightly smaller than the Long OverDue so I made them interlock. Other than adding the necessary nose
weight to make it stable; I followed the Flis Kit Directions to build the Long OverDue. I did shorten the inner tube
(BT-20) for the tube fins by .25” to allow the fins to interlock.
Construction:
Here is the list of components as well as the rocket kit they can from:
- Nose Cone – Long OverDue
- BT-20 Body Tube – 8.62” – Long OverDue
- BT-20 Body Tube – 1.2” – Long OverDue
- BT-60 Body Tube – 8.5” – Long OverDue
- BT-50 Body Tube – 14.75” – Long OverDue
- BT-60 Body Tube – 8.5” – Tomahawk
- BT-20 Body Tube – 5.0” – Tomahawk
- Launch Lug - 2 - Long OverDue
- Parachute – 16” – Long OverDue
- Centering Ring 20/50 – 2 – Long OverDue
- Shock Cord – 30” Long OverDue
- Kelvar Cord – 30” Tomahawk
- Nose Cone Weight – From my Bench
PROS - Pretty nice build - the Flis kit goes together just as you would expect for one of their kits – nice quality components and well written instructions. Nice surprise was the slightly smaller BT-60 tube from the Tomahawk which allowed me to interlock the booster and main body tube fins providing extra support during launch.
CONS – I had planned to attach the shock cord to the motor centering ring, but forgot when gluing it in place so the shock cord loops around the engine and creates a pretty tight fitting engine. No big deal, just need to remember this when preparing the motors.
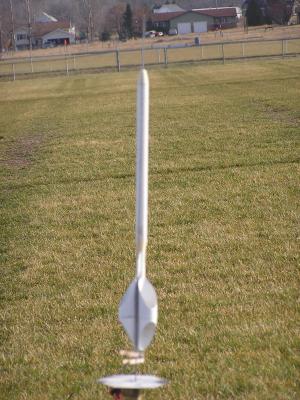
Flight:
I always like to fly a scratch or modified design naked so I can easily fix any damage from stability issues, etc. In
this case, I flew the rocket on a day with 10-15mph winds and although I was flying on a farm I was a little worried
about recovery. The rocket leaped of the pad and started to weather cock into the wind at about 100 feet. It staged
nicely continuing to fly into the wind until ejection. Parachute opened and the rocket descended; however, with a
10-15mph wind, I walked and walked and walked. I finally found the rocket about a mile down wind – thankful it
weather cocked into the wind otherwise it would have been gone. I decided to wait for a calm day for flight #2 and #3.


After a coat of primer, I decided to go fly it again. The second flight was the day after Thanksgiving; the wind
was much calmer (maybe 5 mph). It was a great boost, quickly off the pad, it staged nicely and was out of sight. The
booster landed right near the pad; however, the main section was lost in the deep woods. After hiking around the woods
for an hour I decided to let the local deer hunters find it before they shot me.
Other:
Staged kit bash turned out very nice. Thanks EMRR for challenging me with this year's challenge and expanding my
knowledge on how to build multi-stage rockets.
 |
 |