| Construction Rating: | starstarstarstarstar_border |
| Flight Rating: | starstarstarstarstar_border |
| Overall Rating: | starstarstarstarstar_border |
| Published: | 2020-12-30 |
| Diameter: | 0.86 inches |
| Length: | 10.20 inches |
| Manufacturer: | Estes  |
| Skill Level: | 1 |
| Style: | Sport |
 Brief
Brief
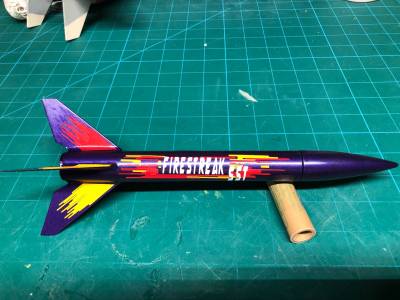
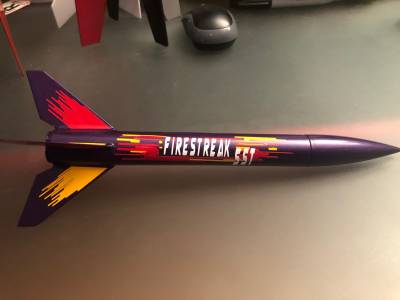
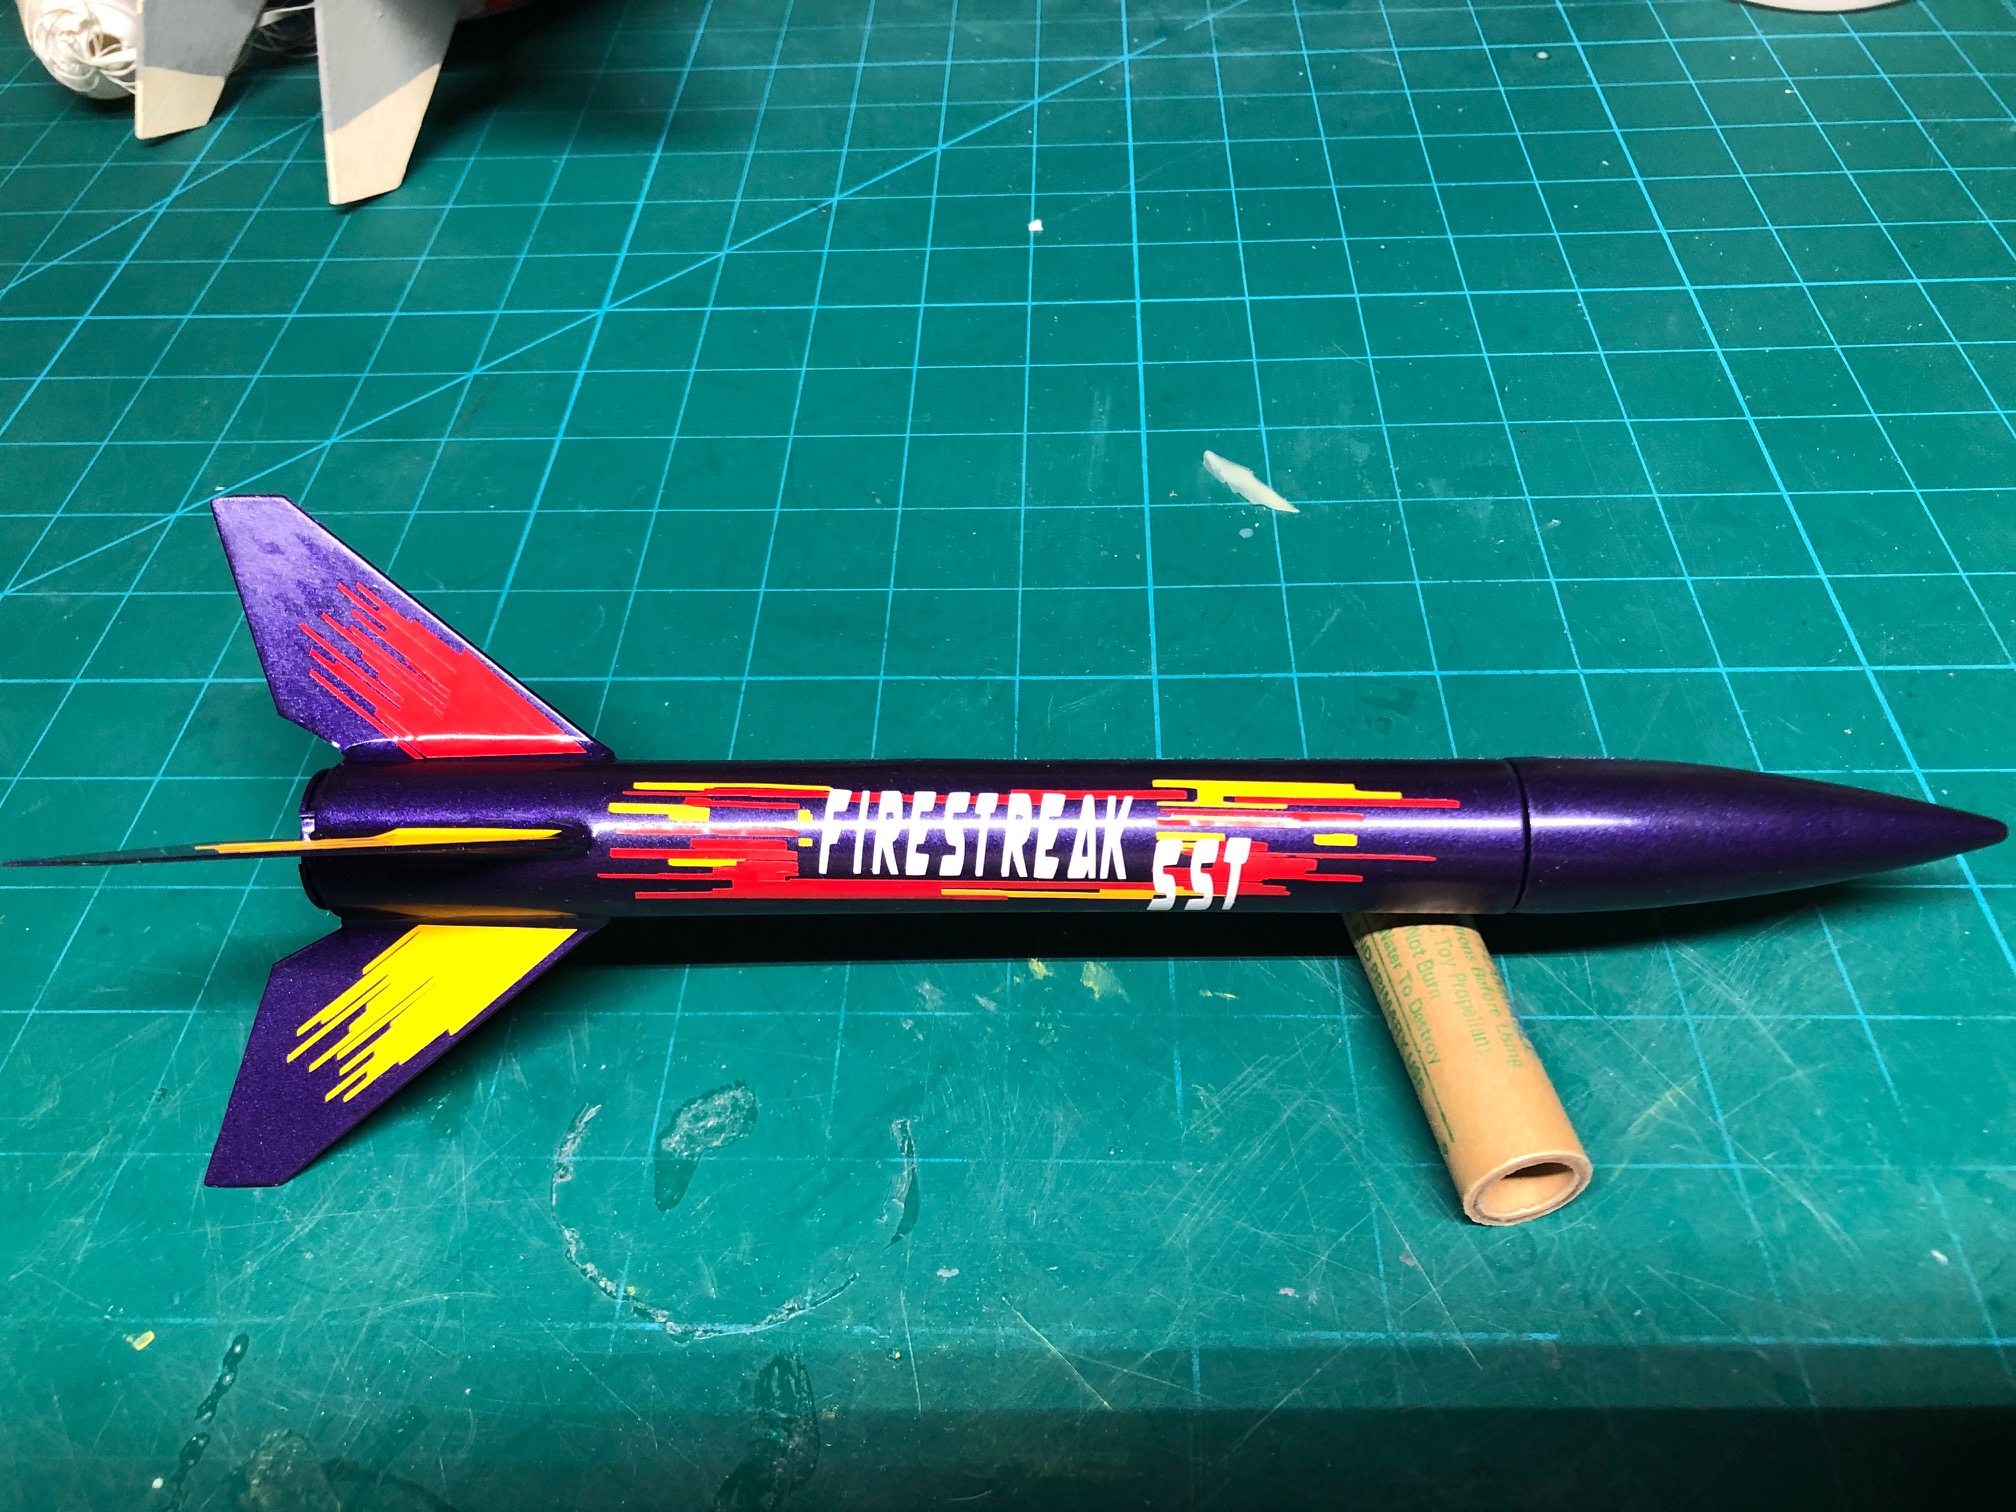
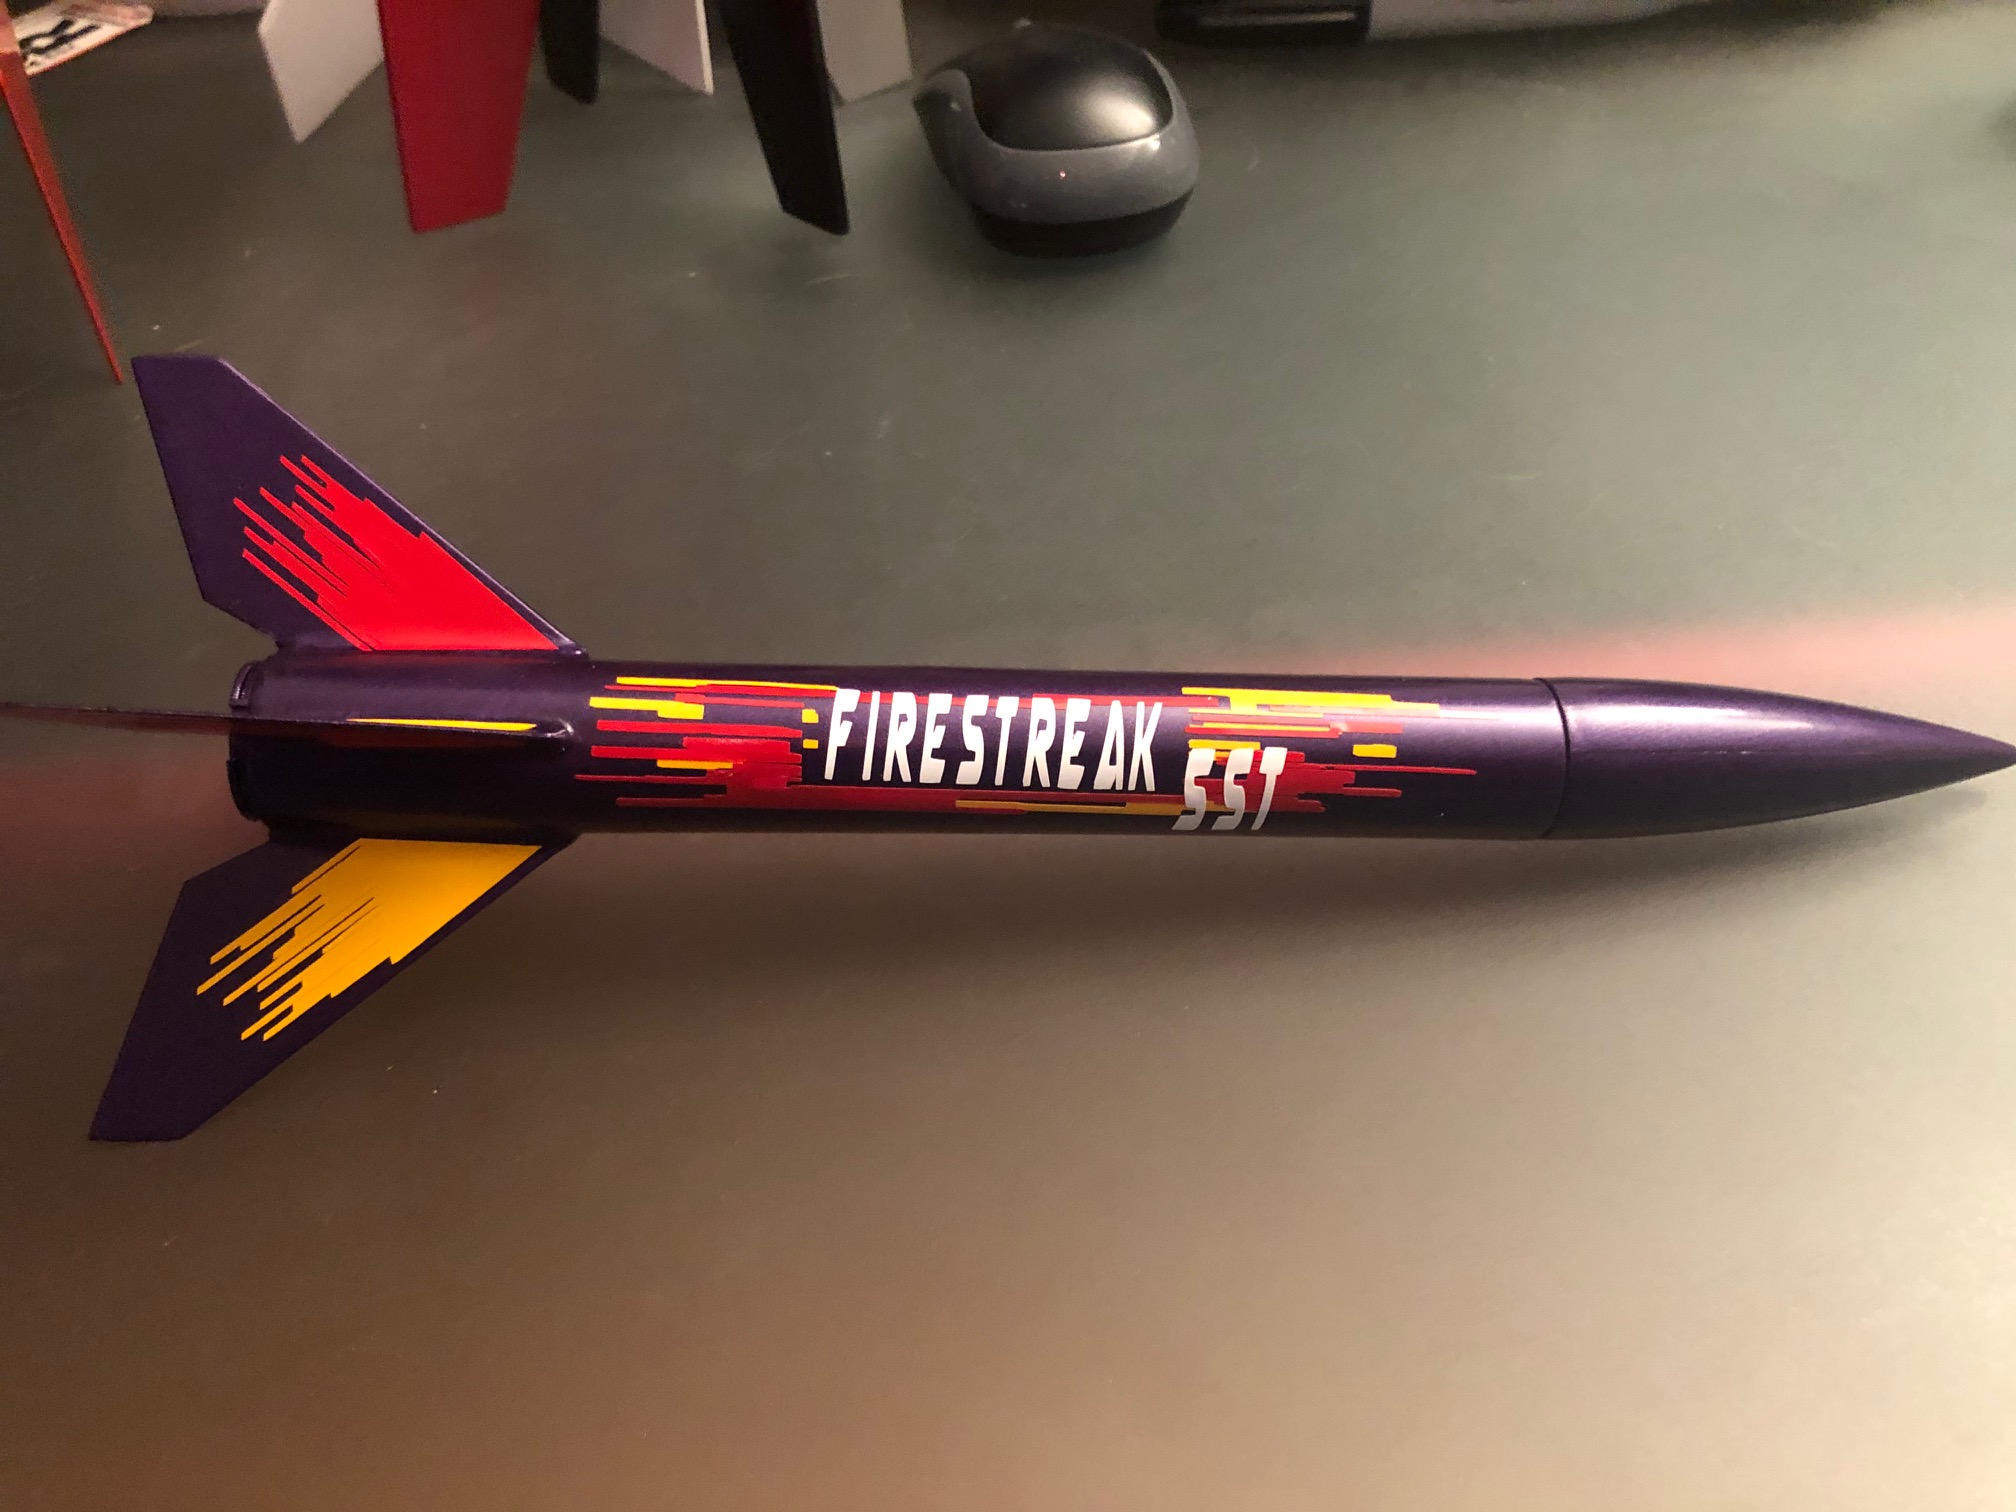
Estes Firestreak SST is part of Estes snap together line. These are simple plastic body, plastic fin and nose cone rockets that are designed to go together in a matter of minutes and get you out on the field flying. Overall it is a pretty nice kit. I can't leave anything alone so I went ahead and made some tweaks during assembly. While this kit isn't perfect, it will get newcomers into the hobby and get them out flying quickly.
Components
Not a whole lot of components in this kit. You get two plastic outer body tube halves, two nose cone halves, four plastic fins, a motor retainer, streamer, shock cord and a paper inner tube. The single decal that is included is pretty nice. It's a large peel and stick piece and I feel like it's purpose is to keep the body tube halves together. Worth mentioning that my fins came with the decals applied. Not sure if all kits are that way as I got mine opened from a garage sale.
Construction
The instructions are clear and simple. As stated this is designed to be a snap together kit without any special glue, knifes, tools etc.
If built by the instructions.
Assembly starts with snapping the nose cone together.
Next you tie a knot in the shock cord and slide it through the slit in the upper part of the paper tube and pull it through.
Next insert the paper tube into one side of the plastic body tube halves making sure to place the tab from the plastic tub into the slot in the paper tube.
Insert two of the fins into the slots then snap the other plastic body tub half in place and squeeze HARD. It will snap together.
Next add the other two fins by sliding them into the slots.
Screw on the motor retainer to hold the fins in place.
Attach the shock cord to the nose cone then attached the streamer to the shock cord.
Finished. Total assembly time 5 mins.
How I make things complicated. Now unsnap everything and lets get to work.
First issue. The paper body tube should be about 1/8 of an inch longer. At it's current length it does not reach from the upper to the lower part of the plastic body tube so it falls down inside the plastic tube. This makes getting the motor inserted difficult as the paper tube isn't lined up with the plastic. To fix this I needed to extend the body tube. This seemed like a good time to add a real thrust ring for the motor so we can snap off that little plastic alignment tab in the outer body that also serves as the motor stop. I cut the tube in half just above the motor mount. and slide a 1" coupler inside the tube. This will keep the motor in place and allow me to extend the body tube the needed 1/8 inch.
Next I added a BT-5/20 centering ring around the motor tube just below where one of the supporting ribs in the plastic tube was located. This gives me a solid place to glue the tube into the plastic body tube. Also gave me a solid place to attach my Kevlar. shock cord.
Next I replaced the shock cord with 4ft of 100# Kevlar line. I won't be using elastic in this rocket as there just isn't space. The Kevlar was run down the inside of the paper tube then out the factory slot and down the body tube to the 5/20 centering ring and tied off.
Next I roughed up the ribs on the inside of the plastic and test fit my paper inner tube. I only had to remove two pieces of plastic that were protruding and it was a perfect fit. I used thick CA and laid beads along all of the plastic ribs inside the one half of the plastic tube. The paper tube was laid in place and the alignment was checked at the top and bottom. Glue was added to the other half of the plastic and along the outside edges and everything was snapped together.
Next I turned my attention to the nose cone. This is actually a nice piece. Plastic is well formed and the halves fit together well. Only one issue. The stock loop where the shock cord is to connect is way too thin and will not survive many ejections if any at all so the first thing I did was snap that off. Next I looked in my pile of scrap wood for a dowel rod. I found that 3/8 dowel fits in the lower portion of the nose cone so I cut a piece approx. 1/2 long and used epoxy to glue it into place inside the lower part of the nosecone that gets inserted into the rocket body. The two halves of the nose cone were then joined with the excess epoxy and let cure.
From there I drilled a small hole in the base of the nose cone and screwed in a small screw eye. This gets passed through the plastic and into that dowel rod that was placed in the nose cone. The shock cord will connect to this later.
Next I sanded the mating surfaces of the fins. Two of the fins needed minor trimming as I did not insert them before connecting the two halves of the main plastic body. No harm done. A little trimming and they fit right in.
The fins were attached using 30 min. epoxy so I had a good amount of time to get them all inserted and a very small fillet was done on each fin.
After painting the Kevlar will be attached to the nose cone.
The stock streamer was tossed in the trash and a silver foil type was added for a slower decent.
Finishing
Out of the box this rocket is designed to be a quick build and not require any kind of paint. The Fins, body tube and nose cone are finished in a sort of metallic Purple finish that doesn't look bad. A little dull but some clear coat or polish would brighten it up nicely.
The stock decal looks ok as well and I'm on the fence but I might use it.
Again, making things more complicated than they need to be. The rocket was sanded with 400 grit and given one coat of SEM high build primer. THe high build was left to cure for a day them sanded with 400 then 800 grit.
I applied two coats of Duplicolor Plum Crazy. Yes the Challenger color. The rocket was then sanded with 2000 grit and clear coated with Duplicolor clear.
I decided that I liked the stock decal design but wanted it in vinyl so I didn't have to worry about it peeling off later. I cut my own version of the name and design from 651 Vinyl and applied.
Flight
Prepped the rocket with 1 sheet of wadding torn into three small pieces then crumpled and inserted into the body tube. The Kevlar line went in next with the streamer folded neatly and inserted last.
For the first flight we simply took it out to the local part. The park was small so we I grabbed a couple of 1/2A3-2T motors. While this is a recommended motor I was a bit skeptical as I'm was sure my mods added weight.
The rocket left the pad quickly but ran out of steam almost instantly. I'm guessing that we didn't get 100ft out of either flight on this motor. Ejection was right at apogee and the rocket landed almost at the pad both flights.
A couple of weeks went by and we had a chance to head out again. This time to our normal spot. First up was an A3-4T. Good punch off the pad and a good long burn. Estimated about 300ft on this flight. Ejection was a tad late as the rocket was heading down at a pretty good clip when it popped but the streamer brought it down safe about 100ft from the pad.
The third flight was on an A10-3T. Hit the button and the little Fire Streak was gone off the pad. Apogee was a little less than the A3 but ejection was perfectly timed. Streamer again landed it safely about 100ft from the pad.
In my opinion this is the perfect small park flier on the 1/2A3-2T but the A10-3T is the perfect motor when you have more room. I prefer it over the A3-4T and will use it going forward.
Recovery
The stock recovery gear is typical Estes. Meaning it works just fine but there are better options. Mine was built with 4ft of 100# Kevlar line attached to a centering ring and an eye hook in the nose cone. With a 1 inch wide by 24" long crinkled foil streamer, every landing was safe and secure.
Summary
To date I have flown this little guy 4 times. All 4 times were great flights. With my change in recovery gear I've had no issues and the rocket has survived every time without a scratch. Keep in mind that every landing was in grass.
Other Reviews
- Estes Firestreak SST By Karl Kalbaugh (February 11, 2007)
A very simple ARF rocket. Plastic snap together construction. This would make an excellent first rocket for younger rocketeers or for a low altitude demo. Inner body tube: Paper. External airframe is plastic. Fins: four pre-screen printed with art. Motor mount: intnerior small paper tube. Also houses the streamer and engine. Nose cone: also plastic. Snaps together like the rest ...
- Estes Firestreak SST By Chris Tarpley
This rocket from Estes is a "Simple Snap Together" kit that can be quickly assembled and flown. It is a single stage, streamer recovery rocket. There are few pieces to this rocket. There are two body tube halves, one motor tube, four fins, nose cone, shock cord, motor retainer and streamer. I purchased this rocket one Saturday morning to cure boredom. I was looking for a small, ...
- Estes Fire Streak By Spinal
(Reprinted, with permission from Spinal's Fun & Hobbies Page---http://www.geocities.com/TimesSquare/3913) ---------------------------------------------------------------------------- Company: Estes Price: $11.89 Series: BETA Rating: (*)(*)(*)(*)(*) Engines: 1/2A6-2, A8-3, A8-5, B4-4, B4-6, B6-4, B6-6, B8-5, C5-3, C6-3, C6-5 Nosecone: Plastic ...
 |
 |
Flights


|
|