SBR High Powered Model Rockets L3 Fusion
SBR High Powered Model Rockets - L3 Fusion
Contributed by Jason Vennard
| Construction Rating: | starstarstarstar_borderstar_border |
| Flight Rating: | starstar_borderstar_borderstar_borderstar_border |
| Overall Rating: | starstarstar_borderstar_borderstar_border |
| Published: | 2021-04-11 |
| Manufacturer: | SBR High Powered Model Rockets |
Brief
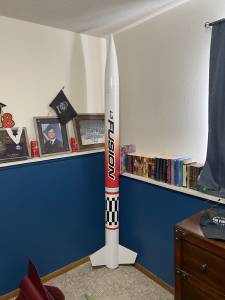
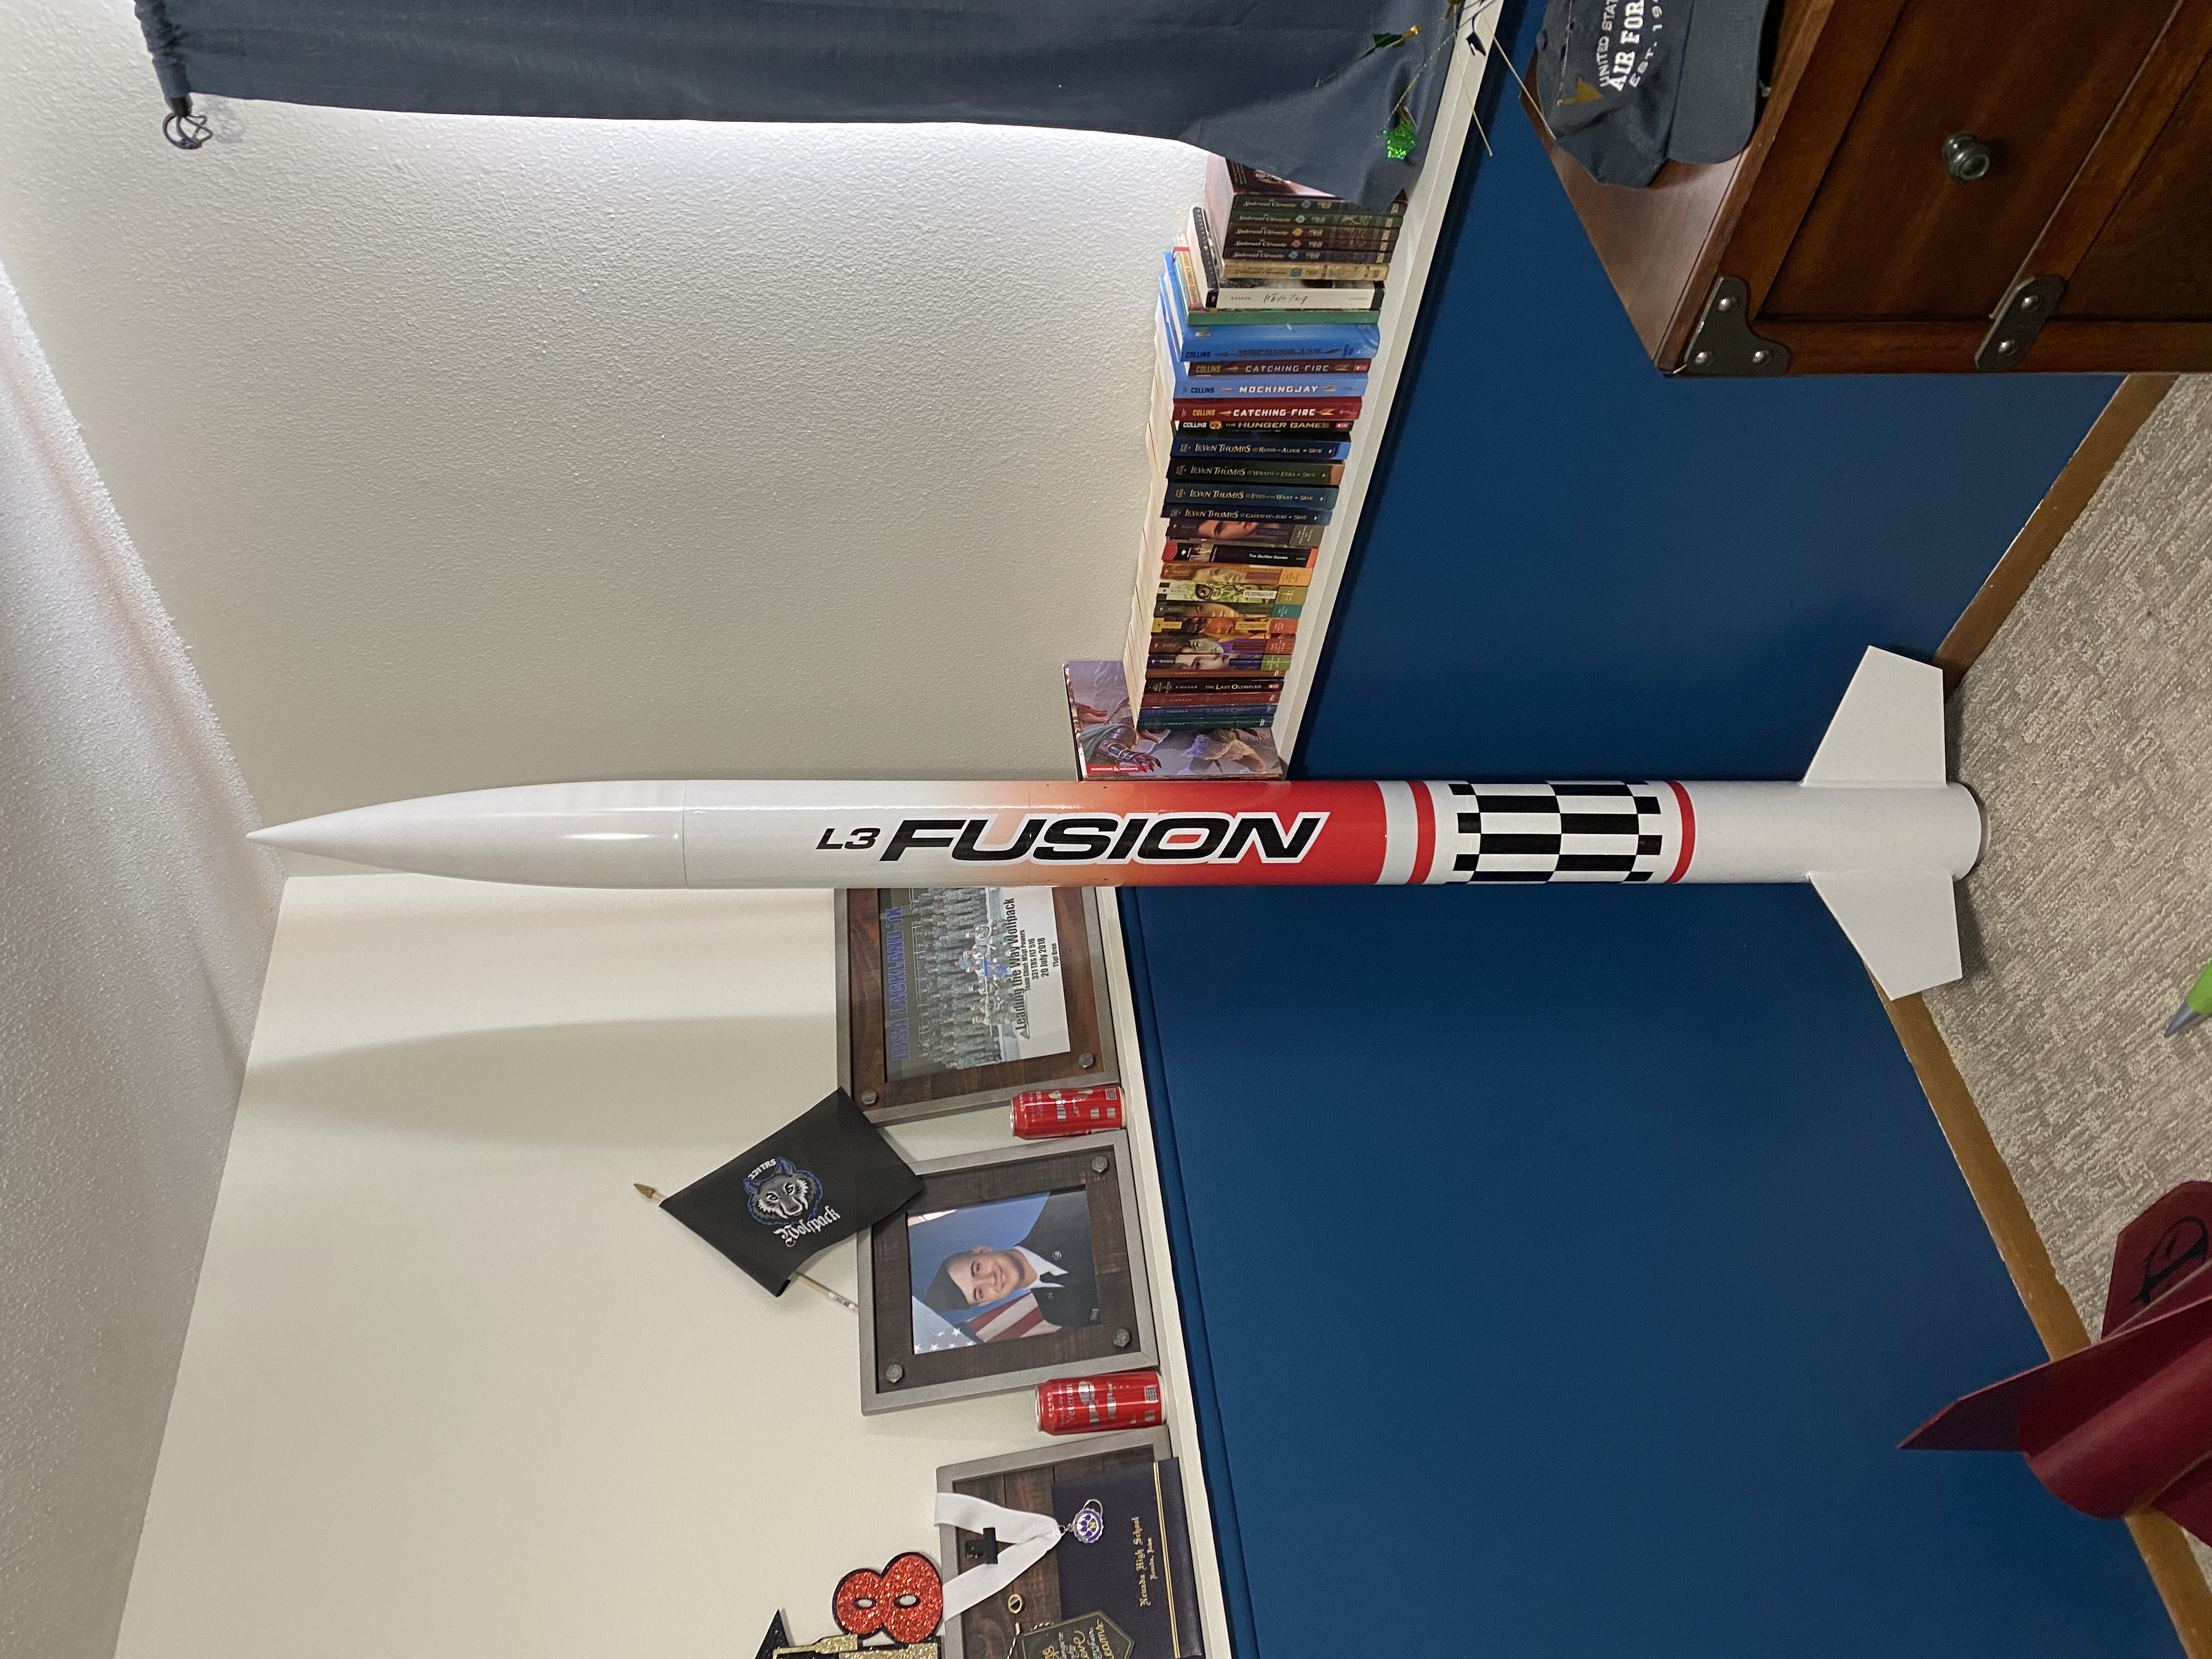
This is a 5.5" by 90" cardboard and plywood rocket kit. 3FNC. It is advertised as a one-stop level 3 rocket kit with everything needed included to get your level 3 certification. Recommended M motors are the M1297, M1315, and M1350DMS.
Components
For the most part the components are good quality paper/cardboard body tubes and couplers, plywood fins and centering rings and a plastic nosecone. Nosecone fit was very lacking and may have begun the demise of this kit when it flew.
Construction
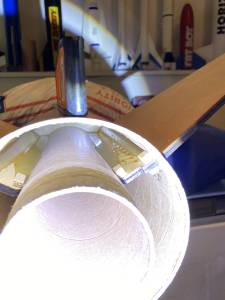
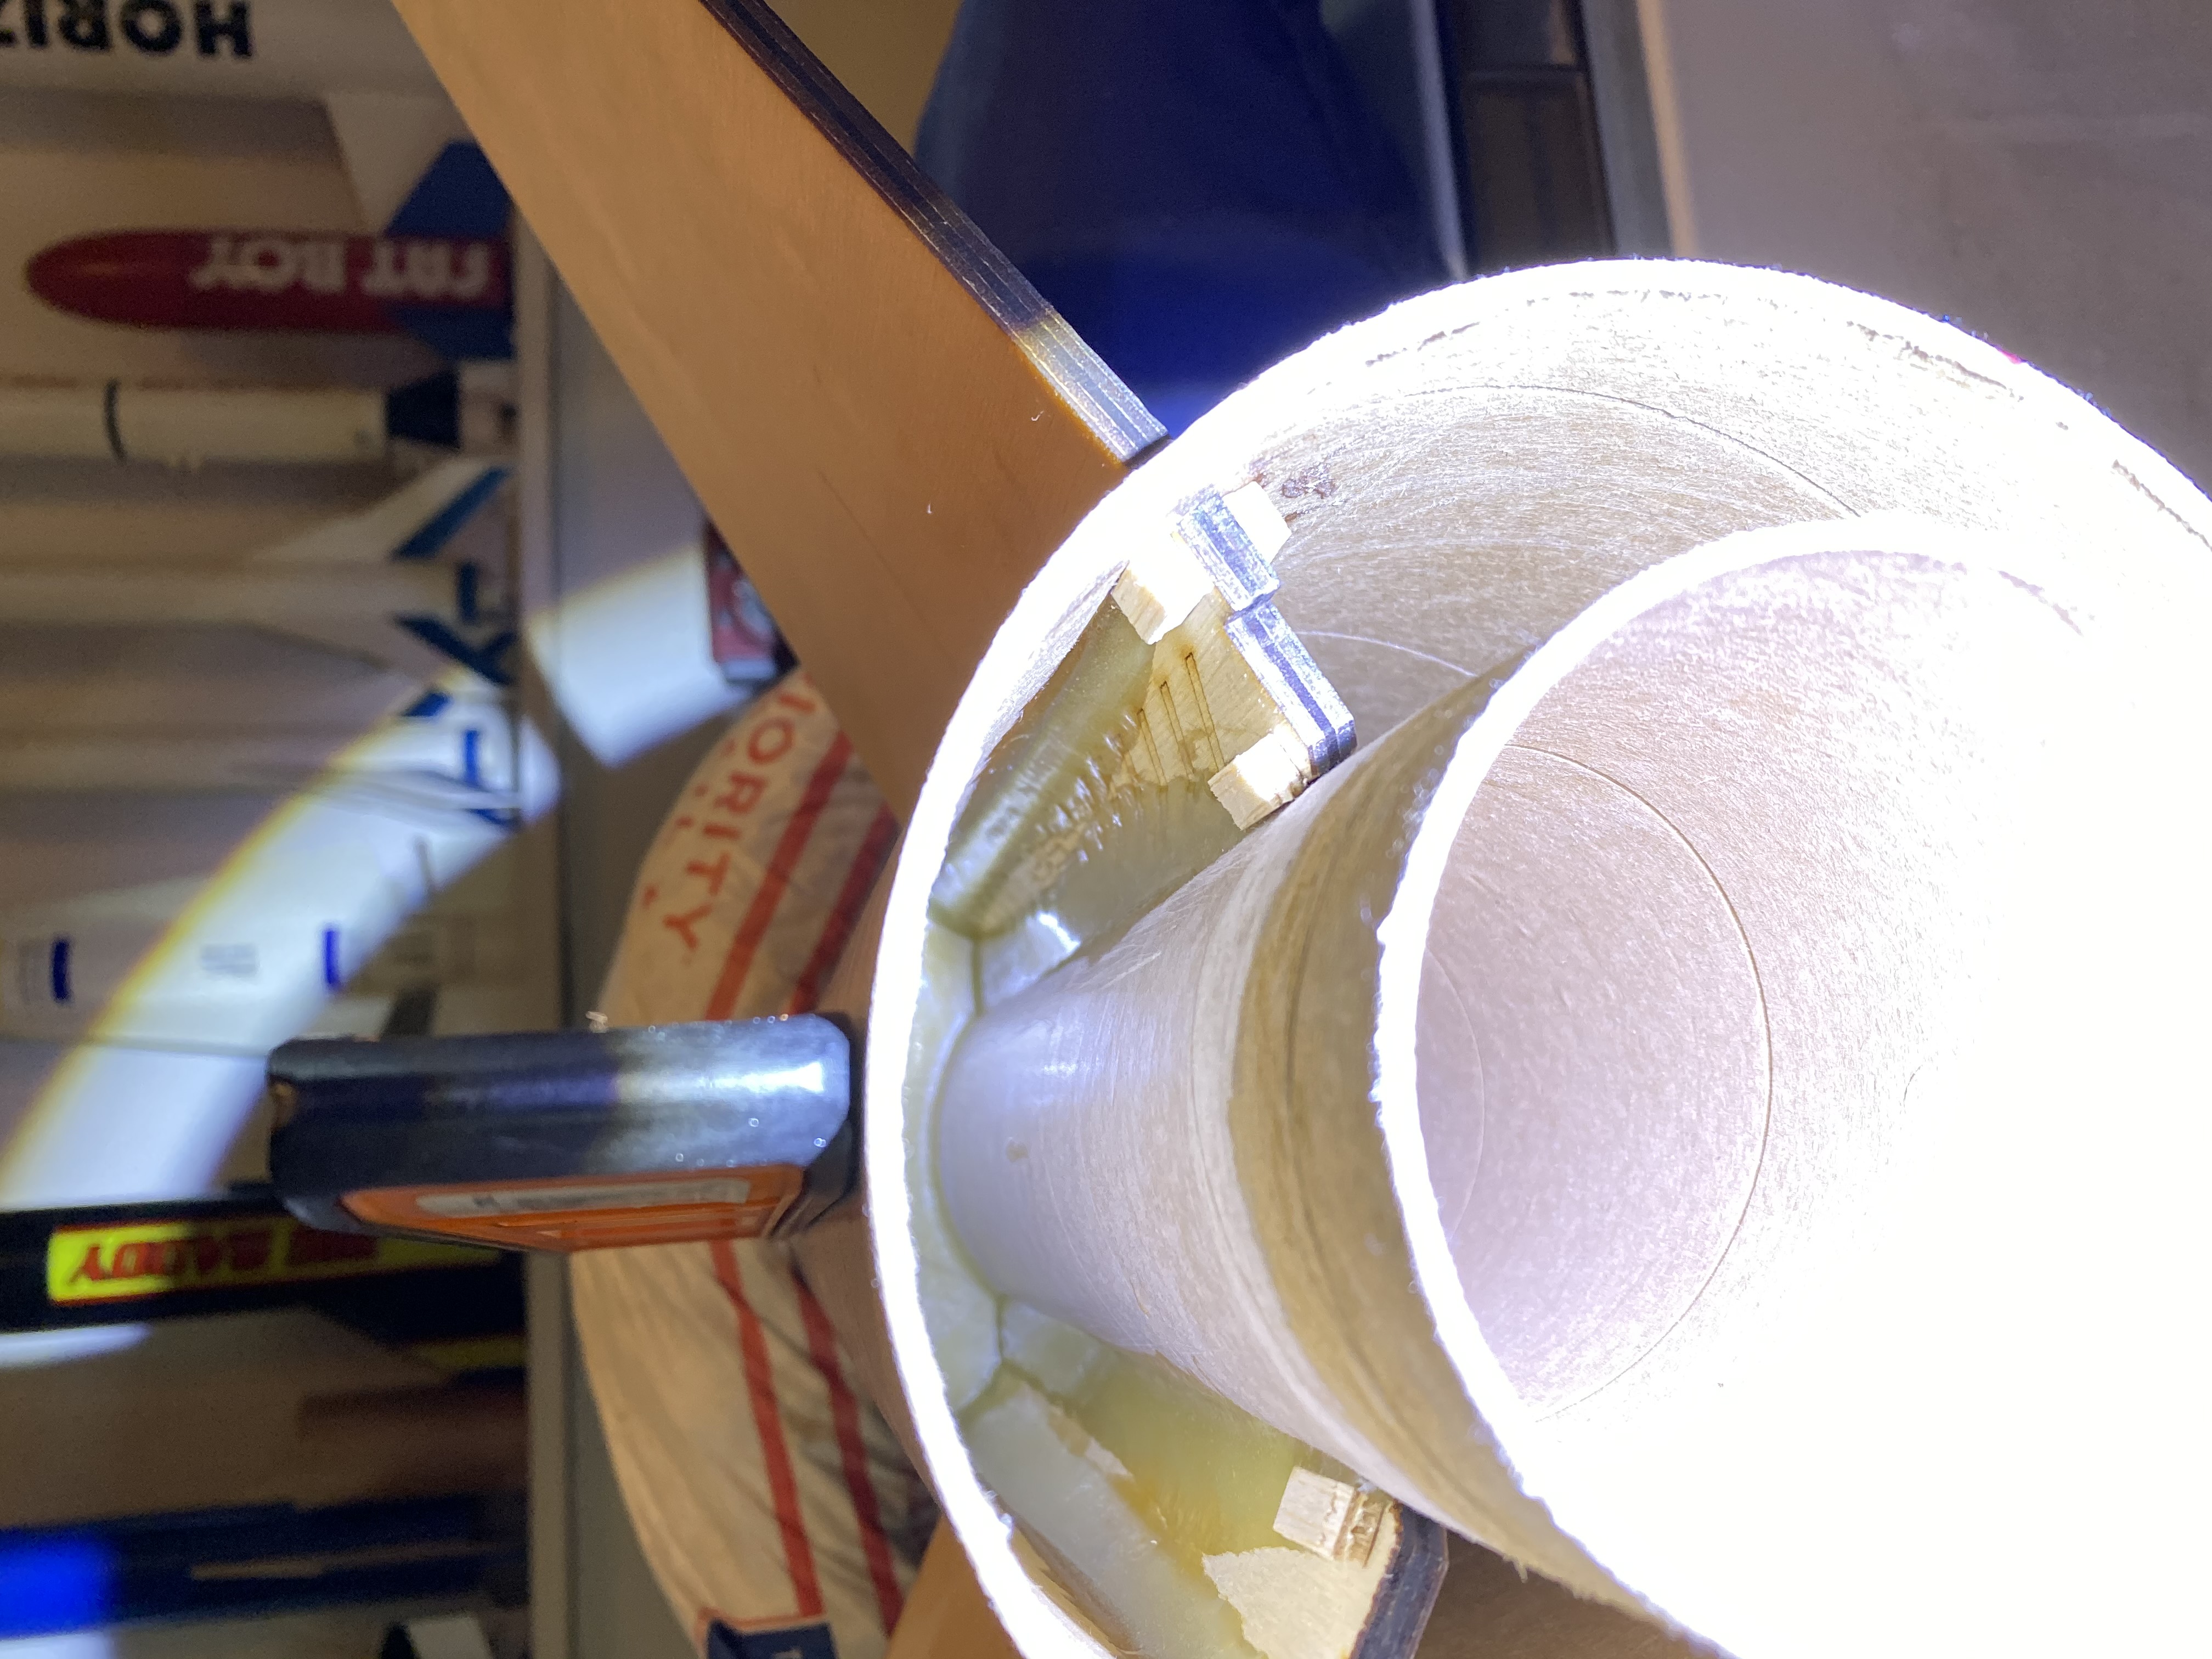
Instruction books are the what Binder kits are known for, you won't find better, this kit came with a detailed 14 page instruction booklet to include color photos and cut away views. It's a pretty straight forward build and then every thing gets double walled with the provided couplers to add strength.
I deviated slightly from the kit directions in the build of the booster section, in that I built it without the rear centering ring on so that i could apply ample interior fillets to the motor mount tube as well as the inside of the air frame. My directions have no mention of fiber glassing any parts. The directions call for double walling the airframe and then coating the inside of those couplers through out the air frame with epoxy to strengthen them. Directions also call for coating the outside of the actual joining couplers with epoxy as well.
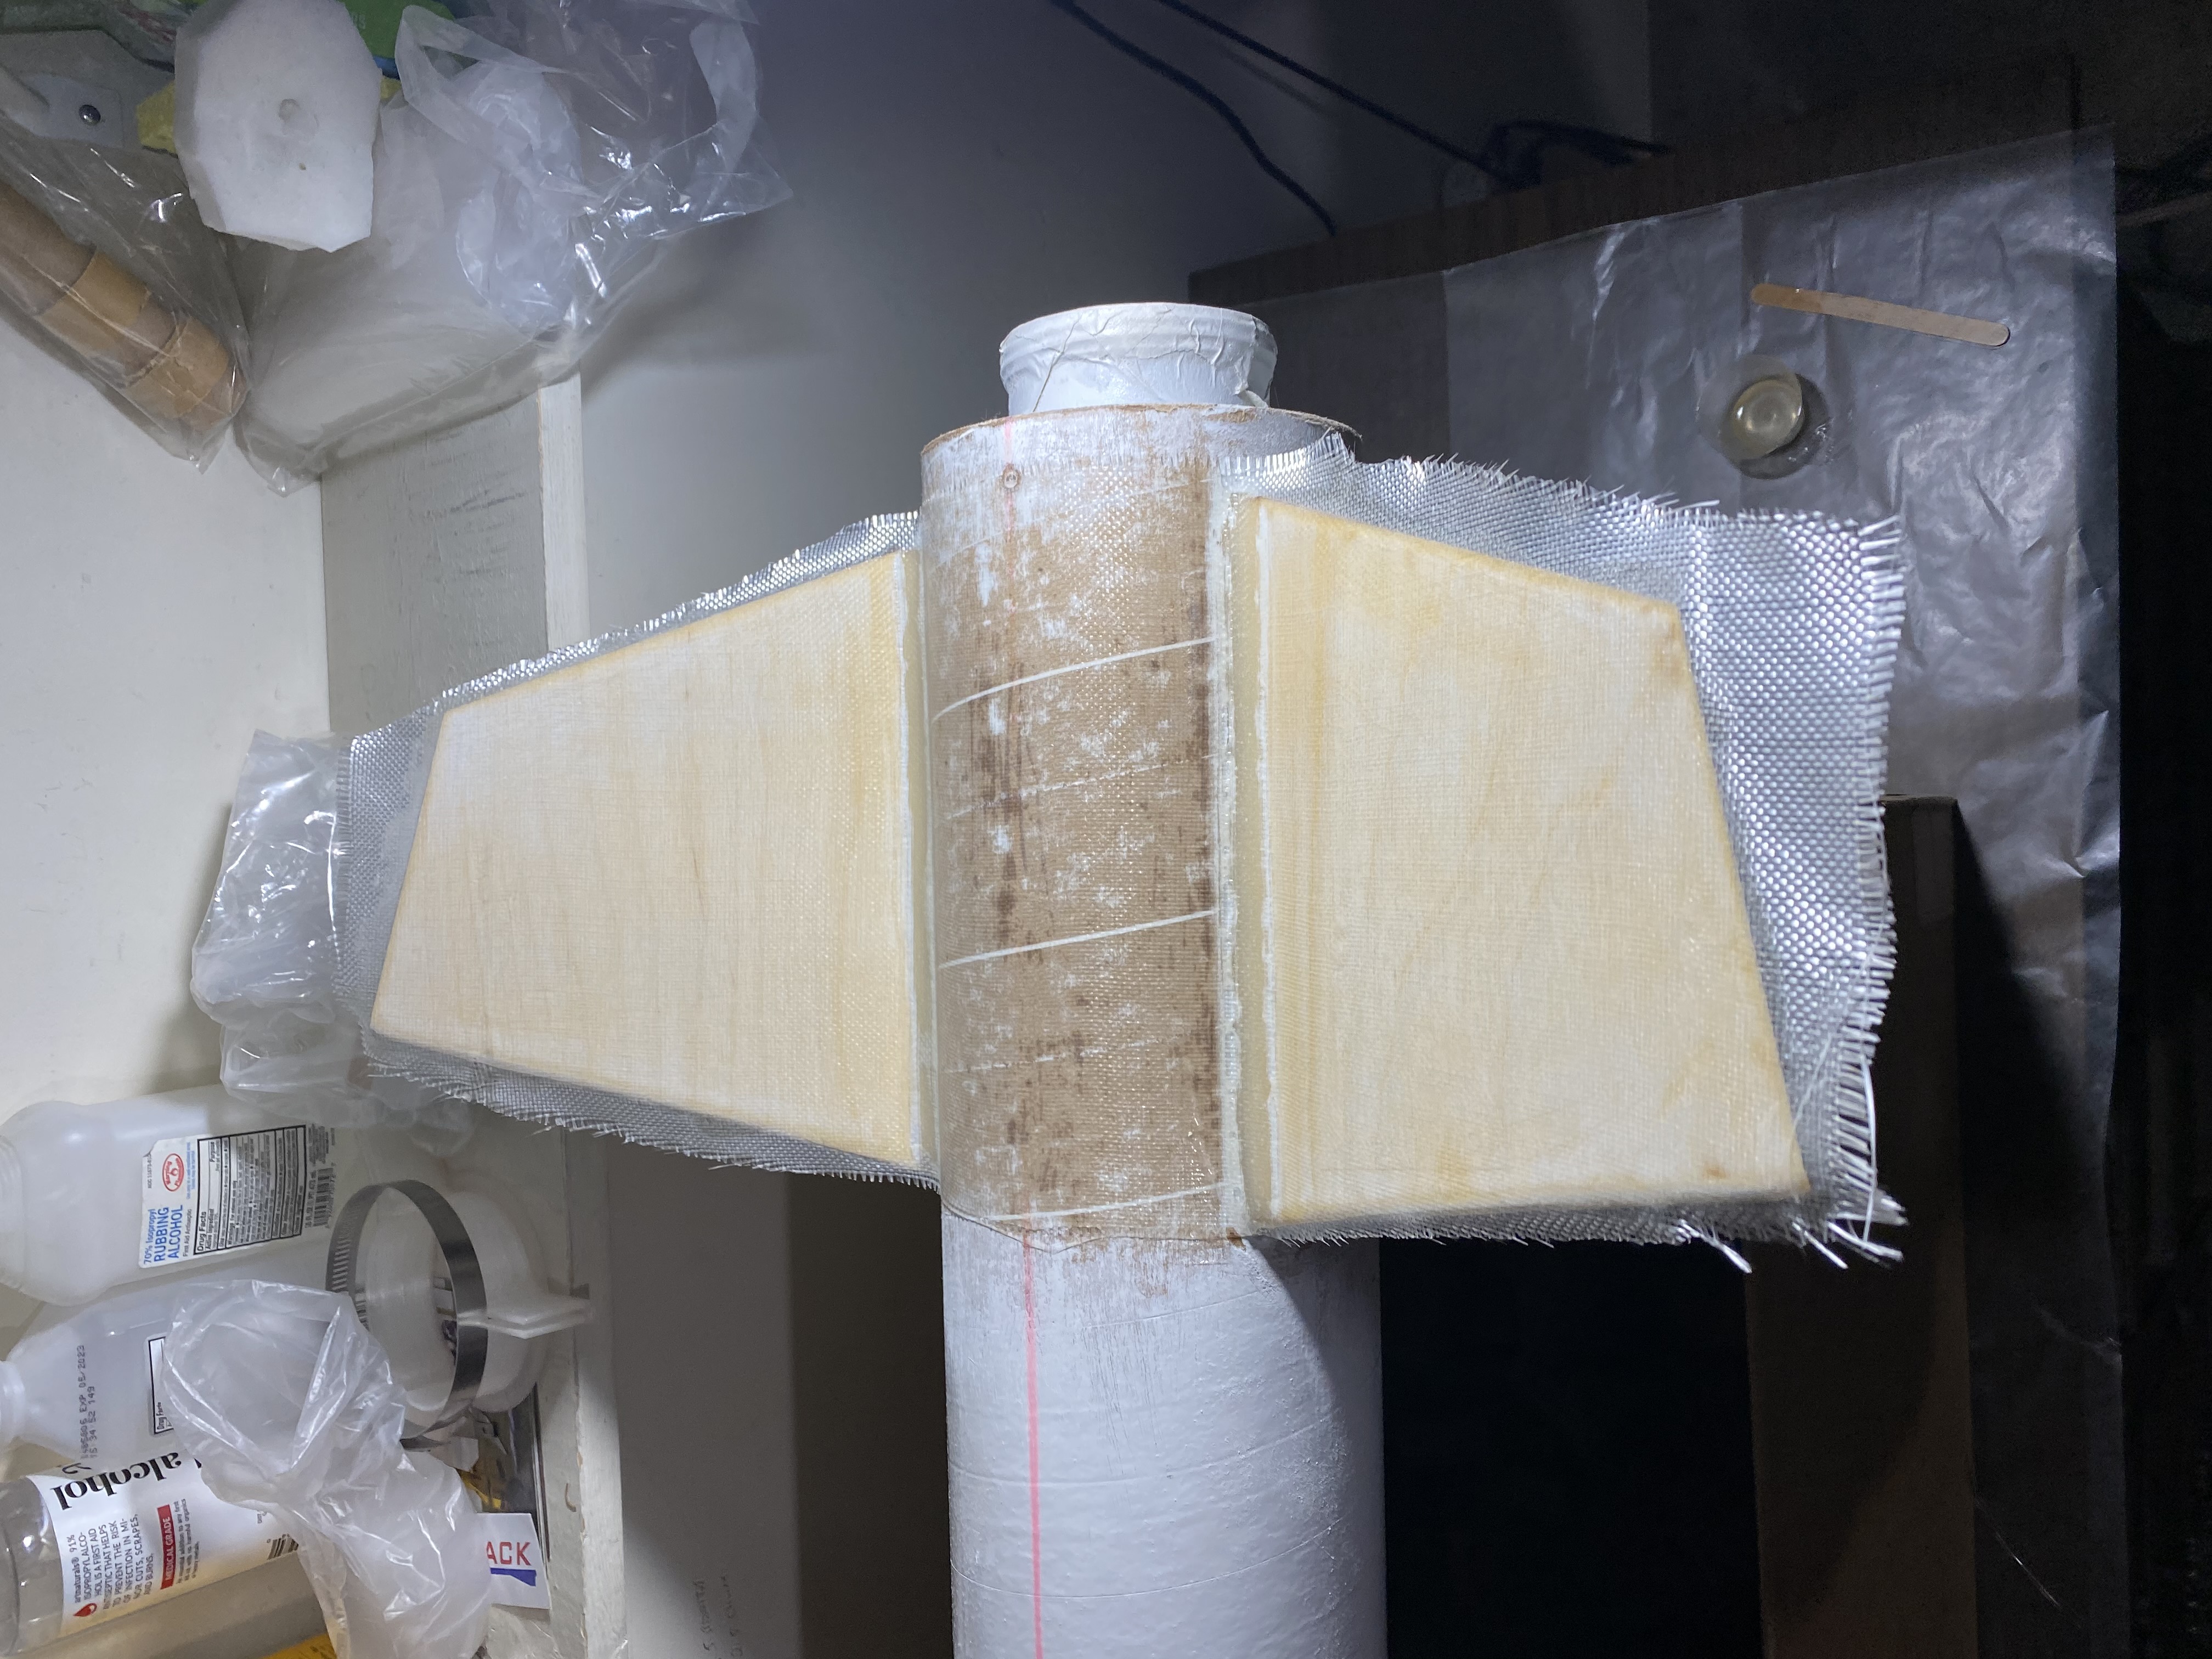
I added to by tip to tip fiberglassing the fins, and then fiberglassing the inside of the actual joining couplers, payload to av bay coupler, and av bay to booster coupler.
Finishing
Finishing is very simple in theory and if you are good at applying complete vinyl wraps it's pretty easy. Paint the nosecone and bottom of the booster section white, then apply the one piece wrap over the entire rest of the rocket all at once.
I am not good at applying vinyl wraps, applying the wrap took over 90 minutes and i was never happy with how it went on, nothing was wrong with the wrap, it's just not something i'm good at, I would much rather paint and apply decals.
Flight
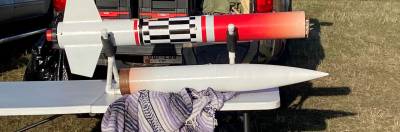
Kit flew it's maiden flight at Kloudburst 29 in Argonia Ks with Kloudbusters. Beautiful sunny morning with lots of space so I started her off with what she was intended for, a cardboard rocket on an M motor. I had 2 M motors in stock, the M650 and the M1297. Was saving the M650 for a 4" bird so I went with the M1297 on this flight. I was aware that this kit had been shredded previously on this motor, however I was confident in my build and the strengthening additions i made, and having communicated with the kit designer several times during the build he appeared confident as well.
Flight went up, and toward the end of the boost she came apart, if you watch the video at about 23 seconds there is a shimmy in the smoke, watch it on a full size screen and slow it down to 1/4 speed and you notice over the next couple seconds something white flickering in the sun to the left side of the smoke trail, initially thought this was the nosecone, but it flickers, the cone is big and from any direction has ample mass to be visible the same, i'm now pretty certain that what is being seen is the wrap floating in the air, as it rotates you are bound to get the thin side pointed at you making it appear to disappear when it's that far away and hence flicker...
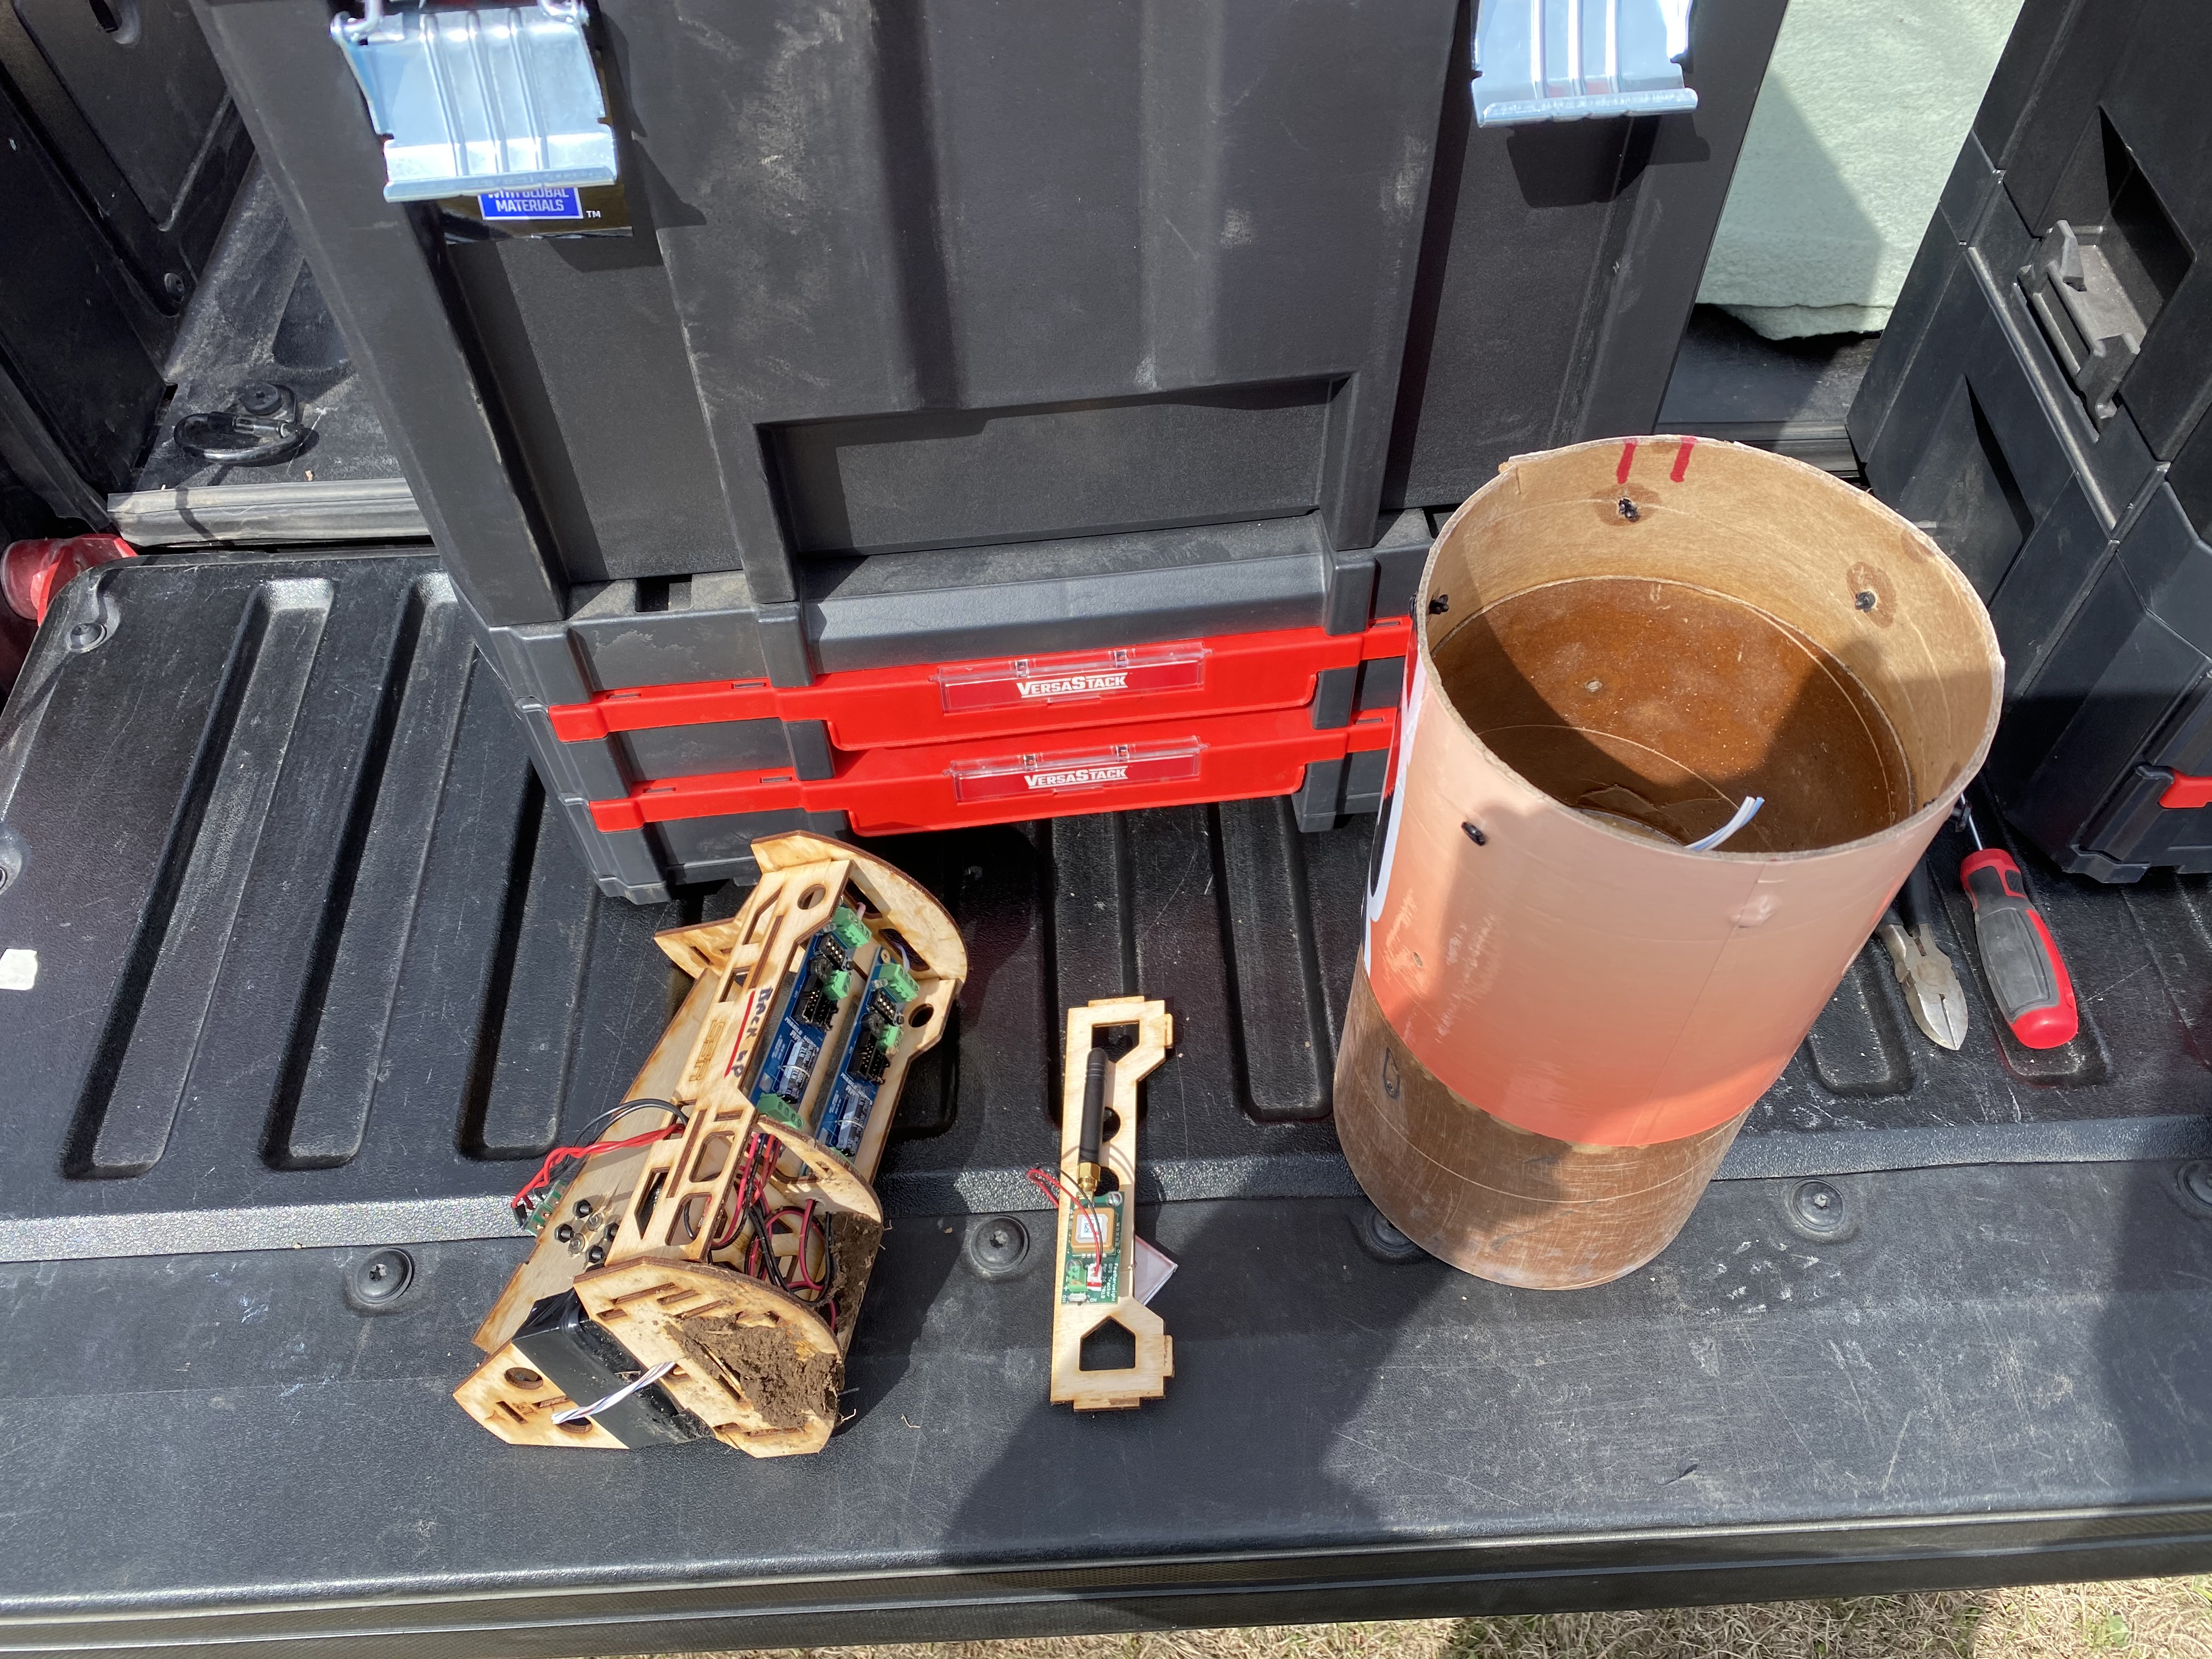
Recovered the booster section intact with only a broken fin due to a 5300 foot free fall, av bay damaged, and nosecone damaged, the payload bay, main recovery harness, and main chute were never found.
Flight Video here as well as some pictures of build and aftermath. https://youtu.be/4dOtJH7Nljo
Recovery
Never got this far.
Summary
In summary not very happy. When a kit is designed to be a L3 rocket and touted as such, when built per instructions it should be able to do just that, when the kit has multiple failures the cause needs to be determined instead of continuing to market and sell the kit as something it might not be.
I spent a significant amount of money on this kit, i spend a VERY significant amount of my time on this kit, and significant money on the motor, I didn't do that for this end result.
I was very fortunate that I didn't lose the 2 altimeters and tracker that were on board as well.
I did lose an expensive kit, a parachute, recovery harness, and Aeropack retainer that is now affixed to a booster I can't use, though I may be able to salvage it.


 |
 |
John Eric Thompson (May 13, 2021)
How was your upper section designed? Was there an on-board video camera?
I'm curious if you took any photos of the parts as they laid on the ground during recovery 🤔
Jason Vennard (May 31, 2021)
Its a kit that was designed by SBR, the upper was designed typical except the short coupler that was described above. Here is another L3 Fusion that flew on an M1297 2 days ag at Mini MidwestPower. Same result however this time the payload section was recovered and it appears it folded over at the short coupler. This rocket had twice the venting as mine. https://youtu.be/rJc98btwR7Y
|
|
Jason Vennard (April 11, 2021)
Correct link for video is here... https://youtu.be/NC3LvH8yjEE