LOC/Precision Lil' Ninja Modification
Modification - Lil' Ninja {Modification}
Contributed by Bill Eichelberger
| Construction Rating: | starstarstarstarstar |
| Flight Rating: | starstarstarstarstar |
| Overall Rating: | starstarstarstarstar |
| Published: | 2012-05-11 |
| Manufacturer: | Modification |
 Brief
Brief
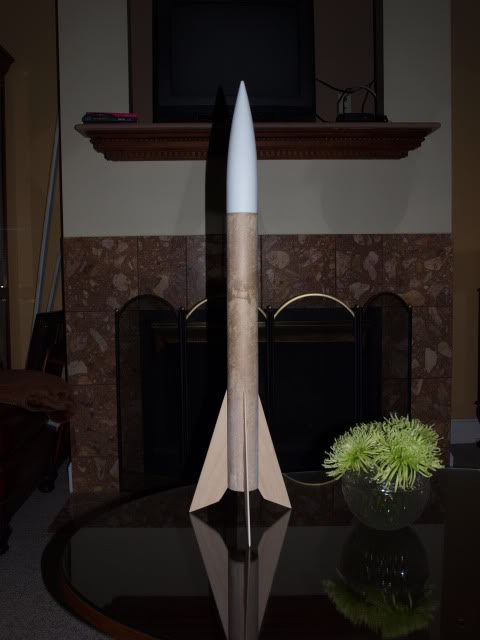
Several years ago, my brother-in-law built a Der Red Max upscale using an LOC Lil' Nuke as a donor. That Christmas he drew my name in the family gift exchange, so I asked for a Lil' Nuke kit of my own with which to do my own conversion. Not wanting to do something that was frequently seen, I started the project with the idea of building a Centuri Magnum Hornet upscale that I planned to call the Hemi Hornet. The project got as far as having the fins attached and was looking great, but when I went to do the sanding and sealing, the fins just peeled away from the body tube like stickers off of the backing paper. I never figured out what the problem was, but it was definitely a bucket of cold water on the project for me, so much so that it languished in the corner of my shop for the next eight or nine years. In that time Semroc released their own version of the Magnum Hornet, so I started thinking of another kit to upscale. As it turned out, the Estes Ninja had been the rocket that had made a BAR out of me back in 1994, and it happened to match up nicely with the dimensions of the Lil' Nuke kit.
Components
- L.O.C./Precision Lil' Nuke kit
- 1/8" basswood fin stock
- Upscaled Ninja decal
Construction
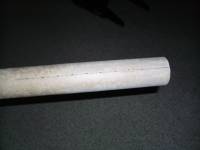
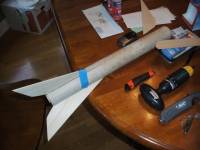
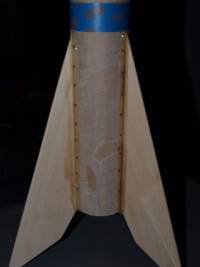
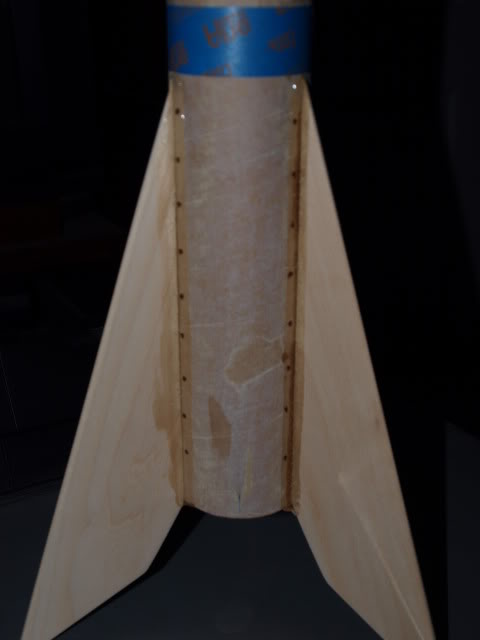
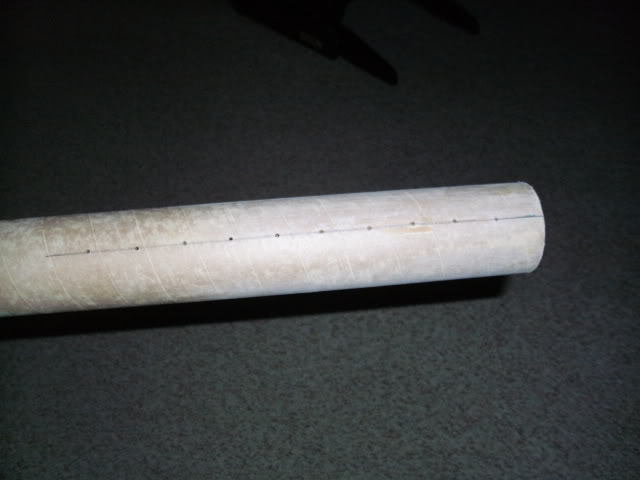
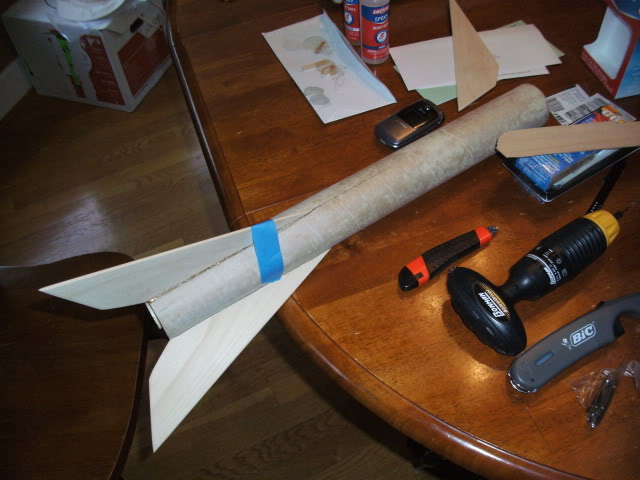
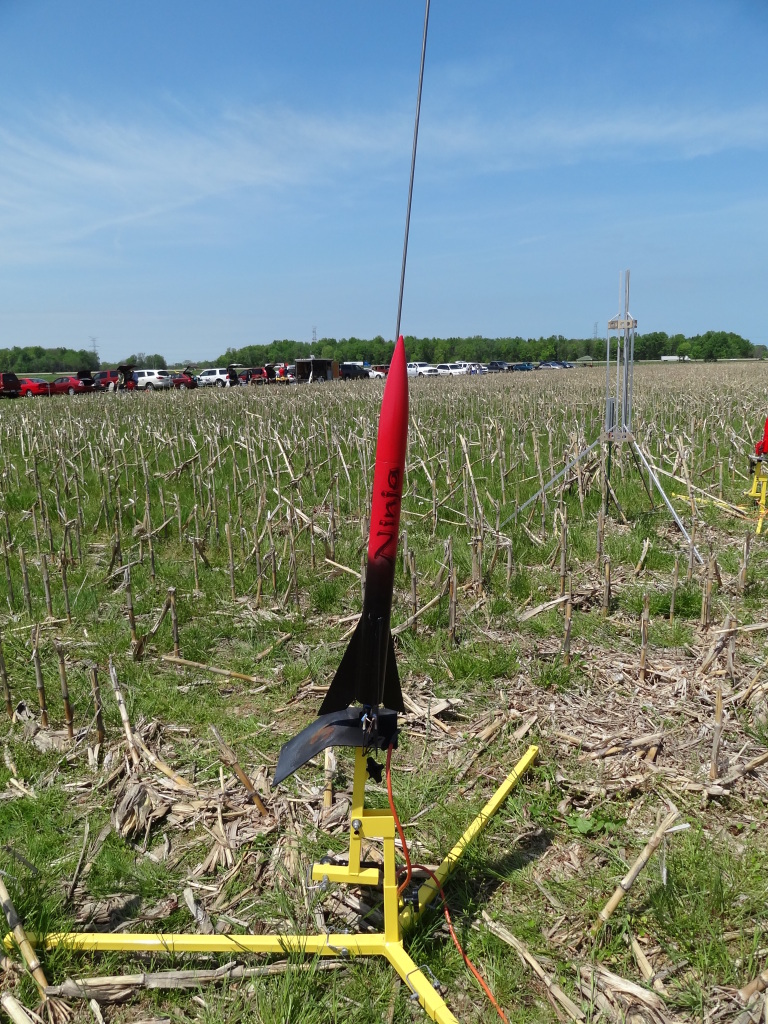
Very little glue was left on the body tube from the aborted Hemi Hornet attempt, and what little there was sanded away easily. I shaped and sanded the basswood fins, then used a pin drill to make a series of holes along the lines where the fins would mount. These would serve as glue rivets and hopefully keep the Ninja fins from suffering the same fate as the Hornet fins. Never comfortable around epoxy, I chose to go with 30 Minute Epoxy for this project. It served me well when installing the motor mount and shock cord anchor, but might bave been a bit long for the fins. The first two went on without incident, with me mixing a small batch of epoxy, slathering on a decently thick coating, then lining up the fins with the lines on the body tube, making sure to keep them straight while also getting a good amount of epoxy to flow into the rivet holes. I held them in place until the epoxy had set enough to allow them to stand on their own. On the third one I thought the glue was firmed up enough to stand on its own, so I went downstairs. Big mistake. When I came back up, the fin had fallen over. THEN the epoxy had set up. I reset it with fresh epoxy, but got the tip slightly higher than the other two in my haste. It was only noticeable if you really looked close, but as the week dragged on I realized that it was just going to bother me if I didn't fix it, so I worked a utility knife blade under the fin and slid if down through the glue joint. It came off so nicely that it now stands on my computer at work, and the rocket stands straight and tall as it was meant to stand.
The fillets were quite a bit easier than the actual attachment of the fins, so I decided to use LocTite 5 Minute Epoxy. First I put masking tape on the body tube and fins 1/4" away from the root of the fin to keep the epoxy from flowing past where I wanted it. Then I drilled more rivet holes on both sides of the fins and let the epoxy rip. After letting the fillet set up for a minute, and while it was still liquid, I peeled away the tape, which just left a neat line of glue along the body tube. (Thanks to whomever suggested this technique to me back in 2001. It's been a lifesaver because I'm notoriously sloppy with my glue.)


Finishing
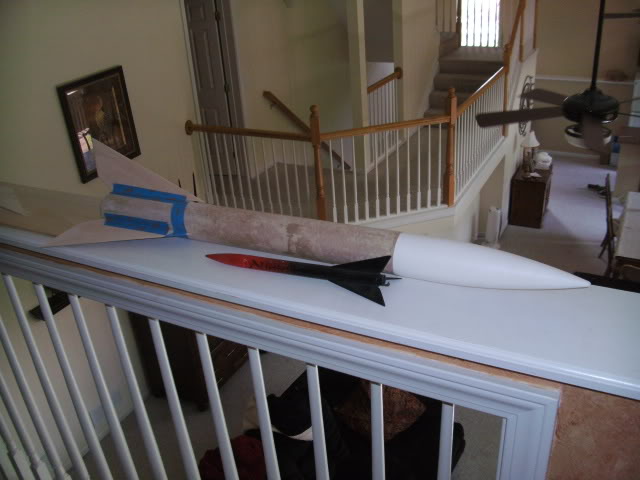
The basswood cleaned up nicely, as expected, but several coats of thinned Fill & Finish were needed to eliminate the tube spirals. With that done, the whole thing was sprayed with Valspar white primer, then with a coat of Valspar Cherry Red. Since the bottom of the rocket is solid black, but fades into the red of the upper tube and nose cone, I did the black without masking tape, hoping to mimic the paint scheme of the second generation Ninja. It came out imperfect, which was just what I'd been hoping for.
The decal was a bit more difficult and was what kept the rocket from flying at NARAM or at one of the TORC launches I attended in the spring. I tried upscaling the whole wrap decal and printing it out on Bel Inkjet decal paper, but it came out noticeably lighter in color in both the black and red. Then I had the idea of just cleaning up the "NINJA" script and having it as a stand-alone decal. This worked very well, and I was able to apply it the night before the launch in my brother-in-law's kitchen while we had pre-launch adult beverages.
Flight
For the first flight, Tony offered me an old Aerotech F20-7 that he had found with the rest of his mystery stash earlier in the week. It had a Copperhead igniter, which I decided to use because I'd never had a problem with them in my limited AP engine experience. Well, now I have. The Ninja sat on the pad for almost a half hour while people wandered around on the range, preventing anything but modrocs from flying. When my turn finally came, the igniter farted audibly, leaving the rocket sitting on the pad. I changed it out with a guaranteed NCR igniter that Tony had and it did the trick nicely. The rocket left the pad with authority, arcing into the wind to the southeast, ejecting just as it tipped over, and recovering back behind us deep in the veggies. An army of kids was swarming around the field and one gathered up the Lil' Ninja and reduced my walk by half. I tipped handsomely.
Recovery
I have a 12" nylon chute that is perfect for flights like this. Big enough to slow things down, but small enough to allow the recovery walk to be lessened considerably. The Lil' Nuke is a pretty bullet-proof bird, as is this hybrid, so unless I'm flying over concrete, it should continue to work nicely.
Summary
Pros: The LOC Lil' Nuke is a great bird for this kind of project. Virtually idiot proof, as to which the fact that I've built two of them can attest. IrfanView was indispensible in upscaling and uncluttering the Ninja decal.
Cons: None. This project was enjoyable from start to flight to recovery.
Related Products

Sponsored Ads


")


 |
 |