| Manufacturer: | Scratch |
| Sprinkles, the Fire Hydrant by Bob Ellis |
|
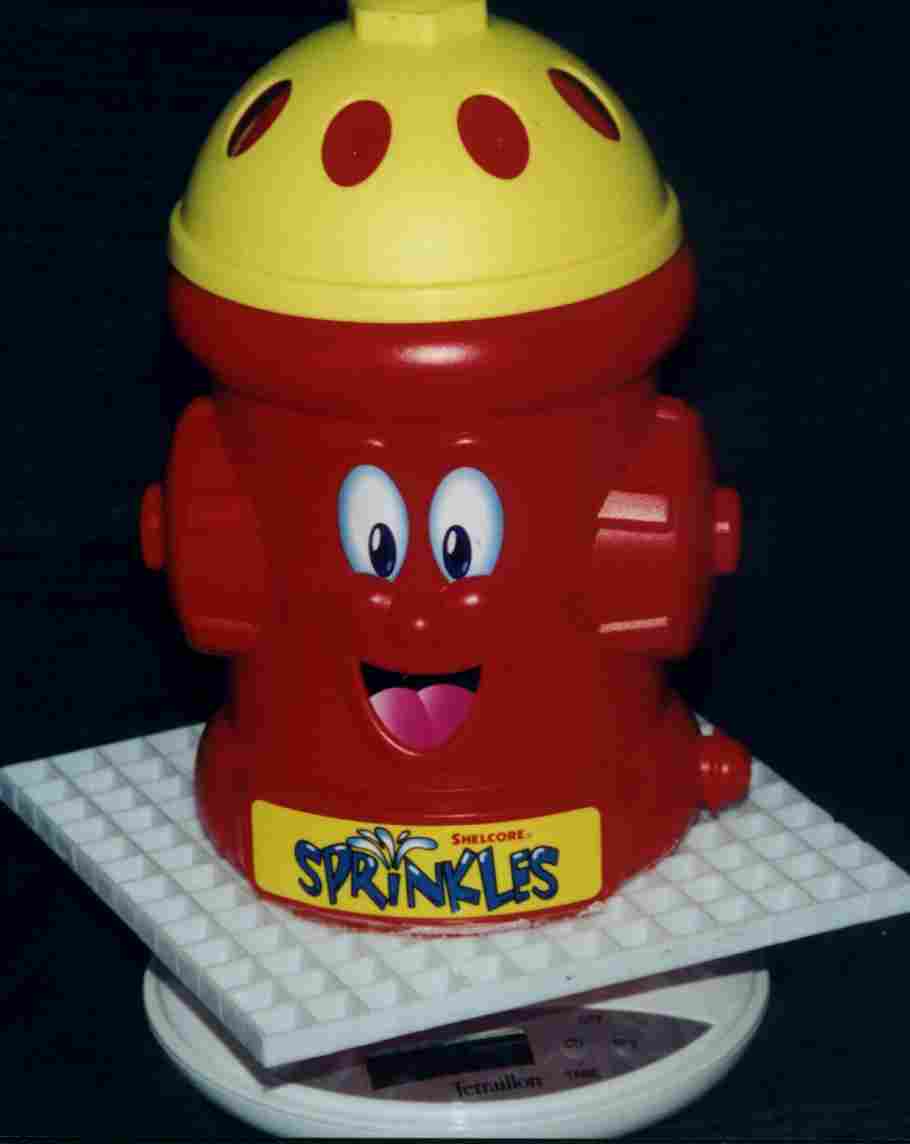
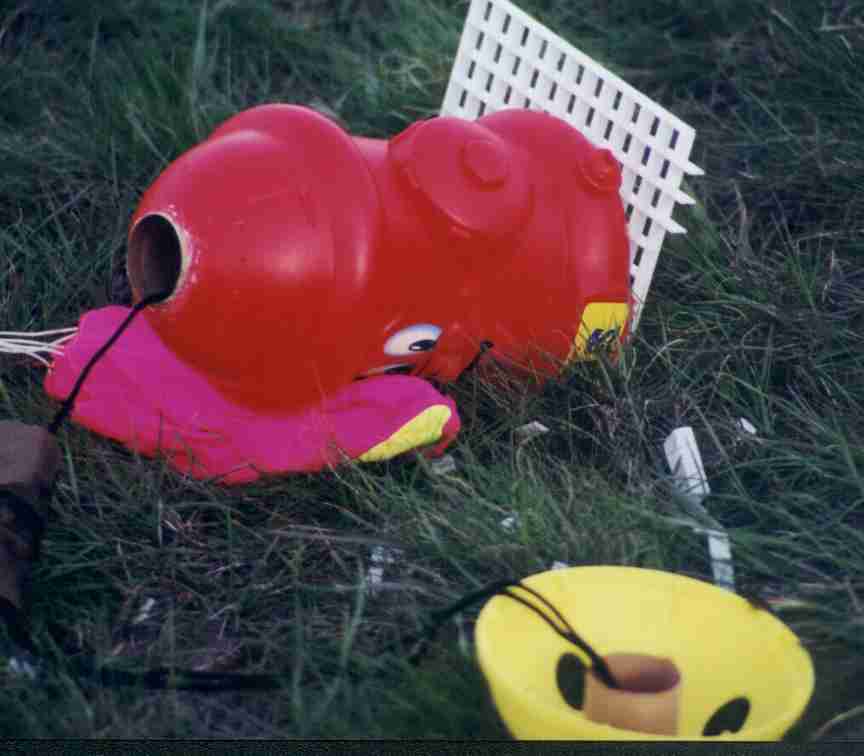
| While walking through Wal-Mart, trying to find out where they'd moved the rocket stuff, I saw Sprinkles, the Fire Hydrant sitting on the top shelf of the kids water toys area. He is supposed to "provide hours of fun in the back yard with spinning action". The instruction card did not include any directions, other than to use it on a soft level lawn for safety. This sounded like it had to be intended for a rocket! | 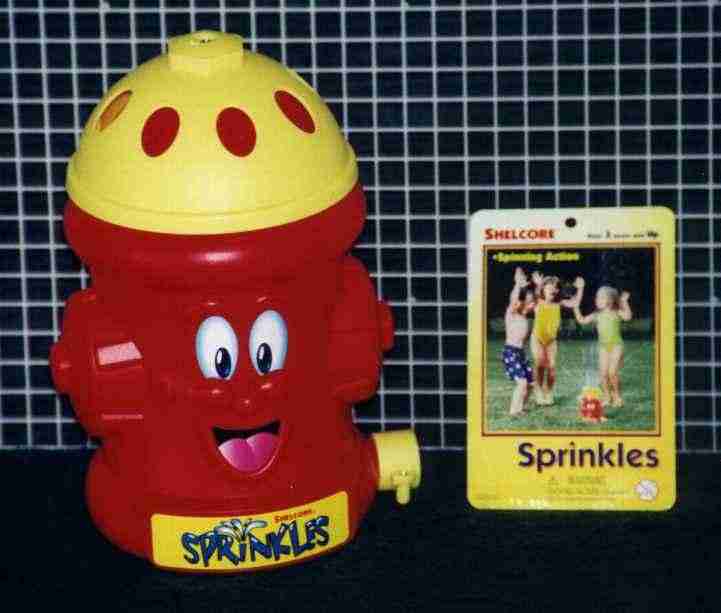 |
| I went through several days of drawing fins and trying to get a
good sim run, but all the usual ideas for fins changed Sprinkles from a Fire
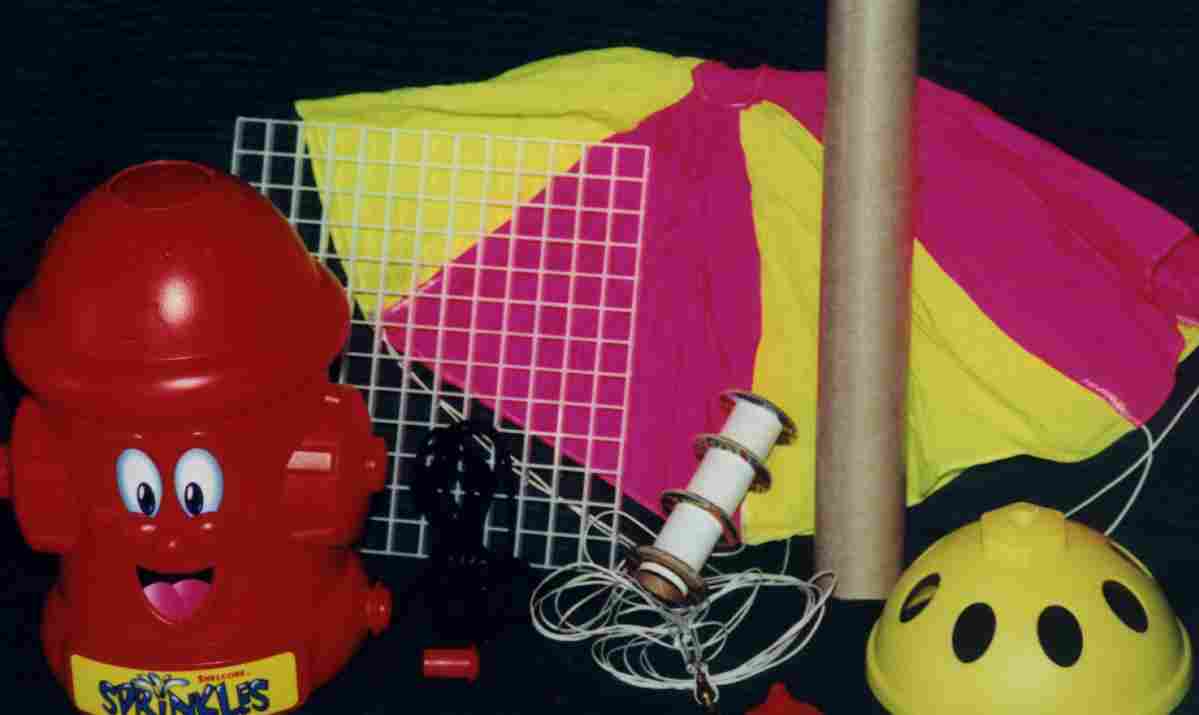
Hydrant to something strange. Finally, while wandering through a hardware
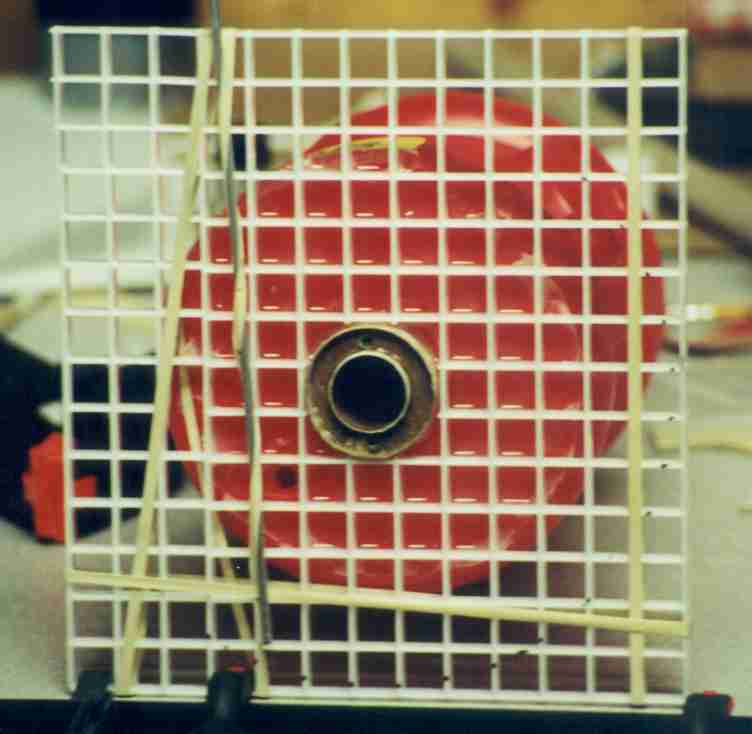
store my attention was caught by the Egg Crate Light Diffusers for fluorescent
lights. A bell went off, remembering discussions of grid fins, but never
having tried them because of the work involved. A couple of quick
calculations and the grid looked like the way to go. The calculations
showed that for a 1/2 inch grid extending two squares (one inch) from the body
I would get the equivalent of a 1/2 inch high fin with a seven inch span.
A quick sim run said that this brought the CP back to almost ? caliber
stability, more than enough for a very stubby fire hydrant. The best
thing was that it wouldn't change Sprinkles looks; he could just sit on top of
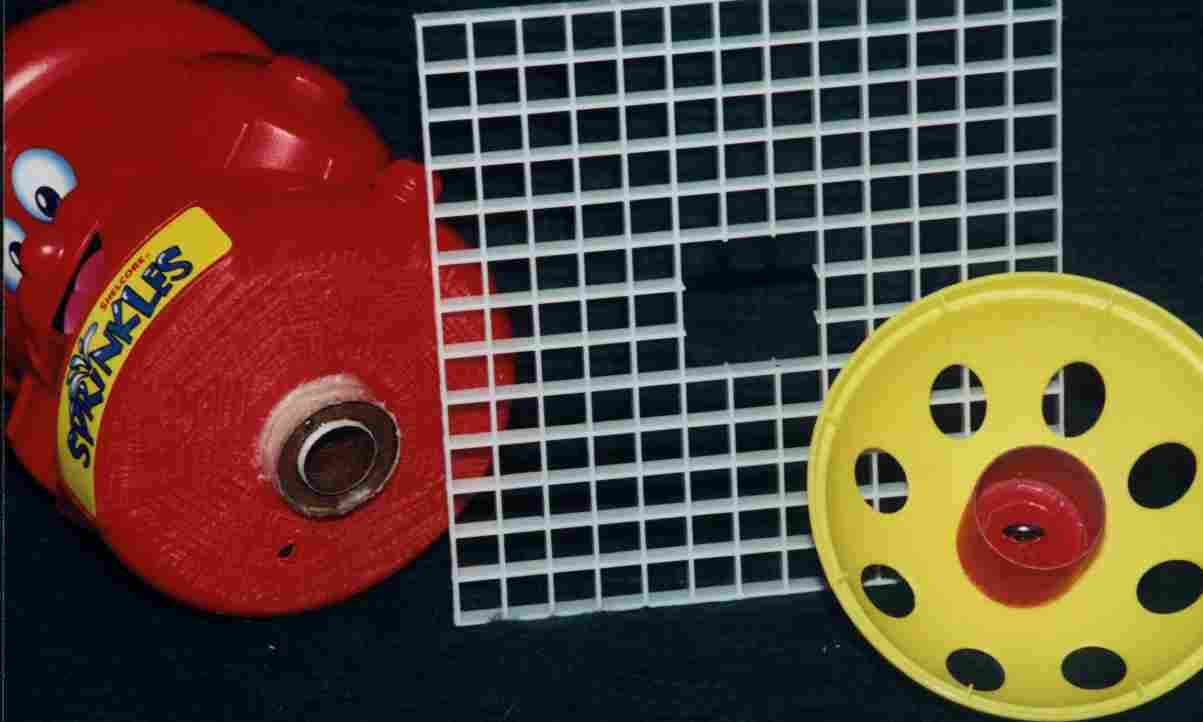
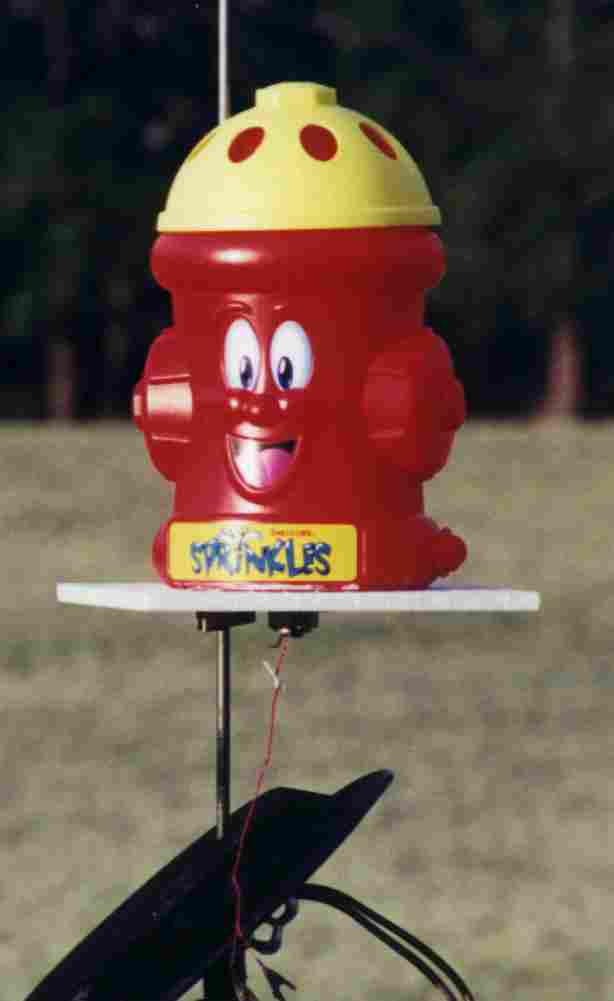
the grid. Sprinkles is manufactured in China for Shelcore, a U.K. company. They have a web site at http://www.shelcore.com. The part number is 02650 Sprinkles. The light grid doesn't even have a manufactures name on it, just an Ace Hardware price tag. The only obvious modification to Sprinkles to get him ready for flight was to remove the hose fitting on the side, this left a hole which was filled with a red plastic whistle salvaged from a Foxtail (a soft baseball with 4 whistles and a long nylon tail. It whistles when swung by the tail or thrown). |
|
| At last a true use for singing fish |
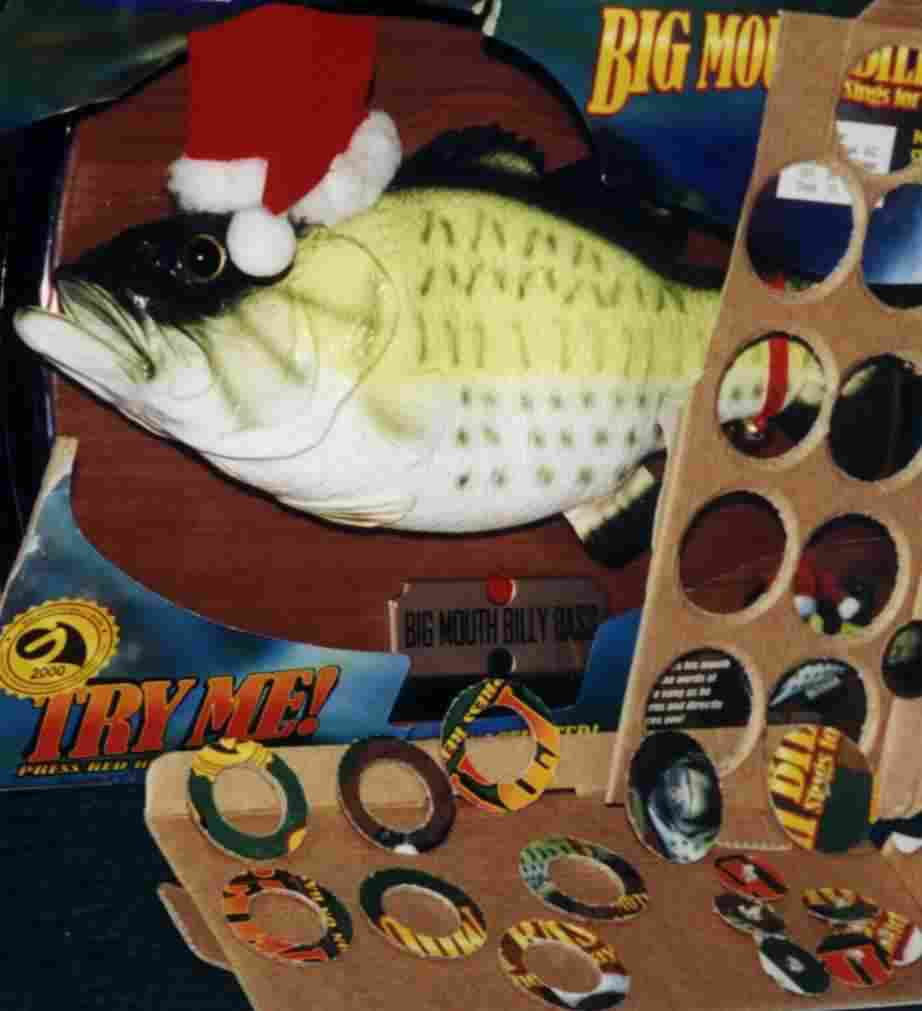 |
| Several design decisions now had to be made. The six inch diameter main body was rigid enough, but was definitely not straight enough anywhere to allow internal braces for engine mounts or couplers for separation joints. In addition, the six inch diameter would be difficult to pressurize with the small powder cup on a 24mm RMS. Therefore, the decision was made to use the outer body as a shell and provide a center core for the motor mounts and parachute, no fin attachment was required since the grid fin would simply be glued to the bottom of the body. For simplicity I decided to use a standard BT-60 tube with a 24mm motor tube. In keeping with the Flounder Parts spirit, I figured that I should use some truly Flounder centering rings. I cut them from the box for a "Big Mouth Billy Bass" singing fish that I received for Christmas. (The fish may eventually fly, if I can figure out how to compensate for the CP changes when the head and tail start moving.) | |
|
Parts layout, the T-nuts and bolts are not visible
|
 |
| The non-visible modifications that had to be made were still
fairly simple. 1. The Yellow cap was removed (one screw) to allow access to
Sprinkles main body. |
|
|
Major parts after assembly, before the grid fin is attached,
the eyebolt can be seen in the nose cone/coupler |
 |
|
Sprinkles weighs in at 435 Grams after
his swing test, no nose weight was needed. |
 |
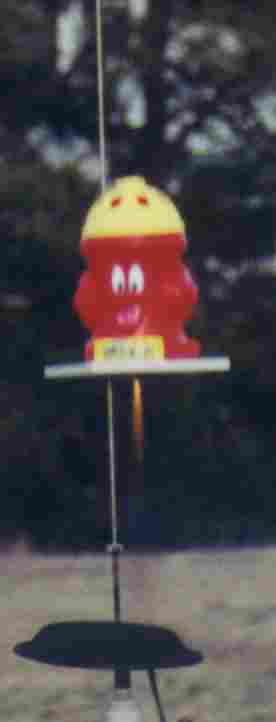
| Sprinkles last step before being certified for flight was a
swing test out in the backyard. He passed that test with flying colors,
transitioning quickly into forward flight, even when started backwards or
spinning and with a F39 RMS load in place. Sprinkles was now ready to fly. I really liked building Sprinkles, no spirals to fill, no launch lugs or fins to line up, no filling and sanding, no painting and best of all the decals were already on. |
|
|
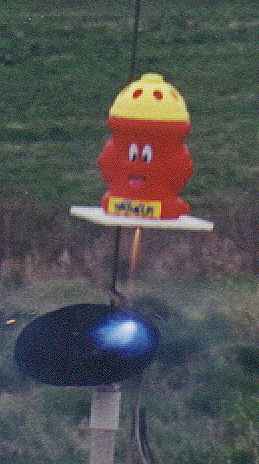
Sprinkles sitting on the pad, ready for his first flight
|
 |
| Sprinkles first flight on a D24-4, 18mm reload in the backyard was a "qualified" success. He made a great takeoff, straight up for a simulated 120 feet, arced over and headed back down. Unfortunately, the four-second delay was too long. The parachute came out and un-rolled but was still not fully deployed when Sprinkles hit the ground. He almost had enough time, in fact he hit fins first, indicating that the parachute was almost open. In Sprinkles defense, the parachute was an old heavy one that I no longer use; it just barely fit into the BT-60, and had to be rolled tightly. This was my fault, not Sprinkles. The grid fin took some heavy damage, breaking off almost all the grid on two sides, but Sprinkles showed no other signs of damage. | |
|
Just after ignition for Sprinkles first flight
|
|
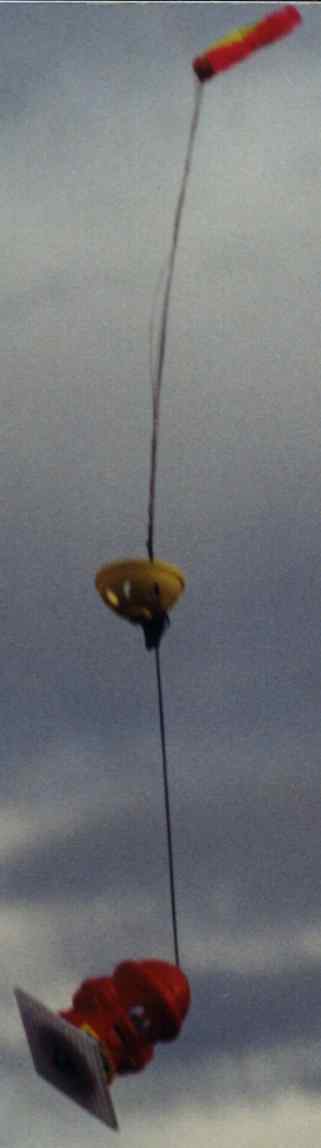 |
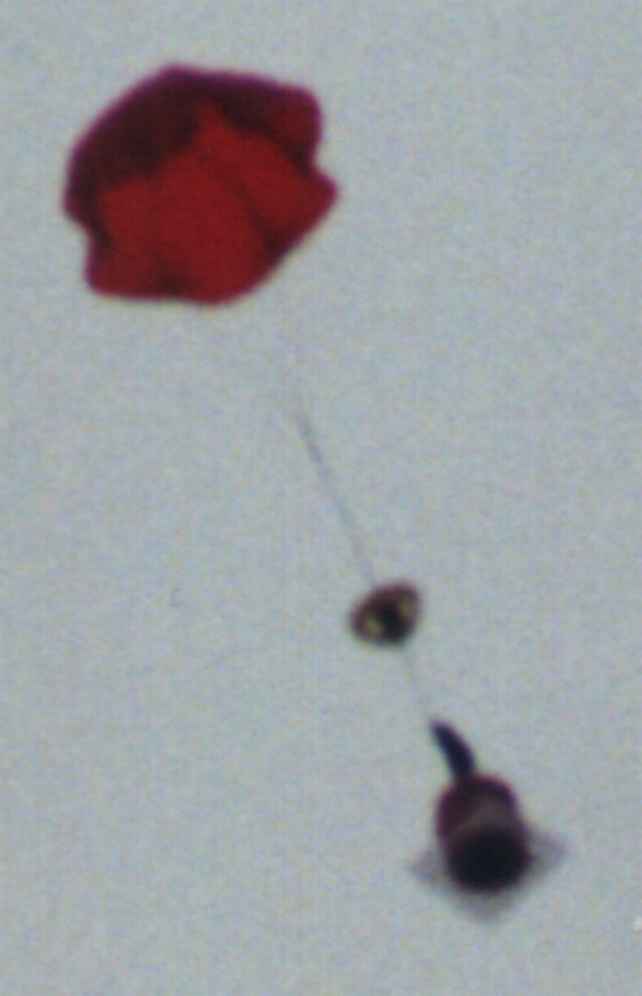
Sprinkles coming down on a streaming parachute |
|
The aftermath of using the wrong parachute.
|
 |
| Sprinkles went back to the work bench. The grid fin proved very easy to repair, just cut out some pieces of grid, sand everything flush and use PVC cement to glue the new pieces in place. Some extra thin strips were cut and used to beef up the break lines and the fin feels as good as new. | |
|
Sprinkles on the work bench, I found a use for Estes aluminum launch rods, they
can be used to adjust tension on a rubber band.
|
 |
| Sprinkles next flight was on an E28-4, 24mm reload, at a C.R.A.S.H. club launch during our Ninth Annual Colorado Aerial Rocket Circus (CARCIS IX) NAR Regional contest. He had a new parachute, thinner rip-stop nylon that took up much less space and did not have to be rolled tightly. Sprinkles launched into a momentary lull in the high winds that had just postponed the contest. He had a good liftoff with only slight weathercocking. Ejection was well after apogee, but this time he had a good parachute deployment and a fast drift downwind. He did have minor damage to the same parts of the grid that had been repaired from the first flight. It looks like the PVC glue didnÇt bond to the grid; it just held it in place. I'll have to try some other solvents to see if I can get a good repair. | |
 |
Just after ignition for Sprinkles second flite, who says you can't see the Blue in a 24mm Blue Thunder reload. |
|
Sprinkles under a good chute, the grid fin is
intact at this point, but broke again on landing. |
 |
| Sprinkles does seem to be quite happy in his new role as a
rocket instead of his previous life as a lawn toy. In fact, that grin
never leaves his face. For my part, I like the reactions, starting with "Where's the fins?" and "That can't be stable!", then changing to "That was a great flight!" and "I don"t believe it flew that well in this wind" after the launch. We still need a good day with no wind noise to see if the whistle works. I have one other rocket with two of the whistles and they can be heard at apogee but require an underpowered flite. I'm hoping that Sprinkles lower speed and altitude will make the whistles easier to hear. |
|
 |
 |