Richard Evans's Page
AKA: Rocketman 2812, KI6LZO
Location: Antioch, California
Certification Level: L2 NAR
Club Memberships: Lunar Rocket Club #534
Favorite Rockets: LOC 5.5 R2/Arrow
Club Home Page: http://www.lunar.org/
Facebook Page: https://www.facebook.com/richard.evans.5458?ref=tn_tnmn
2013-05-17
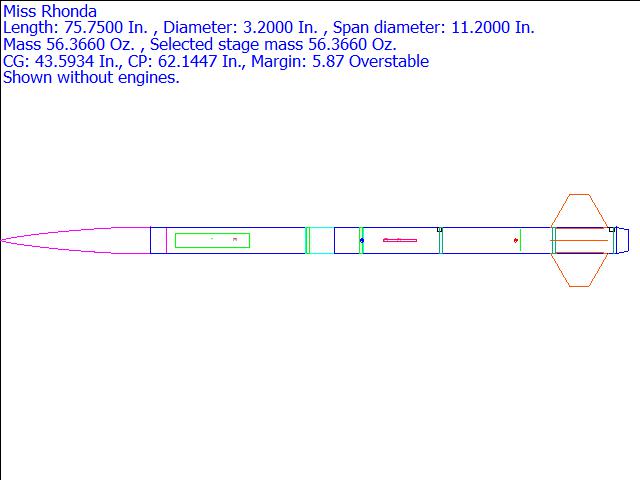
Badd Azz Rocketry - Mizz Rhonda
Rocksim Design
[More]
2013-05-13
Badd Azz Rocketry Mizz Rhonda - Building review

Build Entry
This is the finest manufactured kit I have built so far (40+ kits).
Everything fit together nicely, all the machine cut holes lined up perfectly.
There are no directions for this kit but if you follow my build there should be no issues. I did have to contact Eric on where the ... [More]
2013-05-12
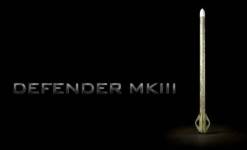
Badd Azz Rocketry Defender MKIII
Build
[More]
Badd Azz Rocketry Defender MKIII - Fin detail
Build Entry
[More]
Badd Azz Rocketry Defender MKIII - Make it shiney
Build Entry
After the paint has dried for 24 or more hours, wet sand with 2000 grit. Dont over do the sanding, you dont want go sand through the clear coat. Clean with clear water.
I use Meguiars rubbing compound, polish and then wax.
If you take your time, the finish will be outstanding! The picture ... [More]
Badd Azz Rocketry Defender MKIII - Tape removed
Build Entry
Remove the tape within a few minutes of candy coating.
DO NOT SAND AT THIS POINT!
I sprayed 6 coats of Duplicolor clear over the rocket, waiting about 10 minutes between coats.
[More]
Badd Azz Rocketry Defender MKIII - Cndy timw
Build Entry
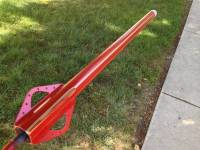
Painted entire rocket with Duplicolor Candy Apple Red candy coat.
[More]
Badd Azz Rocketry Defender MKIII - Masking off
Build Entry
I masked off some striping where I wanted the gold to stay.
DO NOT SAND ANY METALFLAKE PAINT!!! Be creful when handling, metal flake paint will show any sratches etc.
[More]
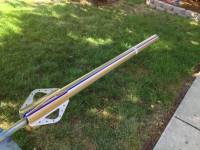
Badd Azz Rocketry Defender MKIII - Base color painted on.
Build Entry
The entire rocket was sanded with 120 then 320 grit, alcohol wiped down, adheasion promoter primed Primed with RustOleum primer and then primed with Duplicolor primer.
Let the primer dry for at least 6 hrs depending on the weather, wet sand with 400 grit, wash off with clean water, alcohol ... [More]
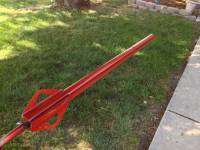
Badd Azz Rocketry Defender MKIII - Aft end primed
Build Entry
Aft end primed. This will show any defects in the filets, most of the primer will be sanded off. The forward end of the fins needed some spot putty. The priming and sanding may take a few times.
I used a wooden skewer to hold the forward centering ring in place.
[More]
Badd Azz Rocketry Defender MKIII - Close up of fillets
Build Entry
If you take your time with sanding the fillets,they will look as if they are moulded in.
[More]
Badd Azz Rocketry Defender MKIII - Fillets sanded
Build Entry
Filets done and rough sanding. The G-Flex and Cabosil sands fairly easily. I will slightly round over the fins with 120 grit.
[More]
Badd Azz Rocketry Defender MKIII - Fillets
Build Entry
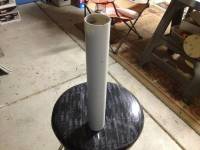
First filets laid in. G-Flex and Cabosil used.I used a piece of 3/4 PVC pipe to draw out filets. This took two passes, wipe the PVC off after each pass.
Let the epoxy run over the forward and aft parts of the fins, this will help when "moulding" the fillets.
Remove tape after epoxy gets ... [More]
Badd Azz Rocketry Defender MKIII - Taping off fillets
Build Entry
I will be using a short piece of 3/4" PVC to draw out the fillets. Use tape to mask off where the fillet will be.
[More]
Badd Azz Rocketry Defender MKIII - Fins tacked
Build Entry
All fins tacked in place.
[More]
Badd Azz Rocketry Defender MKIII - Fin installation
Build Entry
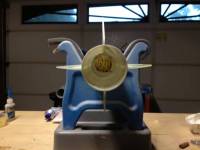
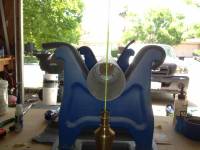
Fin alignment with a plumb bob. Mix up a very small amount of 15 minute epoxy to tack the fins to the body tube. "Butter" the bottom of the fins and slightly up the sides. Insert into the slots and check alignment with plumb bob. Let it COMPLETELY set up before doing the next fin.
[More]
Badd Azz Rocketry Defender MKIII - Fin install
Build Entry
[More]
Badd Azz Rocketry Defender MKIII - Fin install prep.
Build Entry
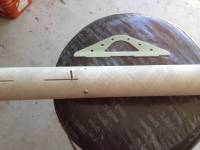
Fin mounting prep. The fin tabs will be flush with the inner tube (or bout) when mounted. I test fit the fins before epoxying. The fin slots were a bit on the narrow side. I used a drill bit that just fit into the slot to SLIGHTLY open it up by moving the bit by hand back and forth inthe slot. Do ... [More]
Badd Azz Rocketry Defender MKIII - Payload bay primed
Build Entry
Payload bay sanded, primed with DupiColor adhesion promoter, primed with RustOleum primer.
[More]
Badd Azz Rocketry Defender MKIII - The body tubes
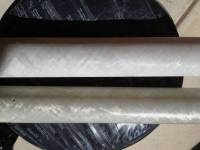
Build Entry
The body tubes had a glossy finish. 60 grit sandpaper followed by 120 grit is much better for painting.
The rocket could be built unfinished.
[More]
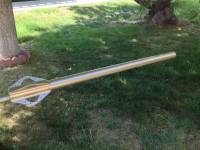
Badd Azz Rocketry Defender MKIII - The kit as shipped
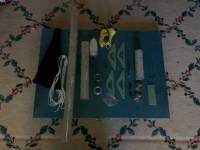
Build Entry
Everything included except the electronics, adhesives and motor!
[More]
Badd Azz Rocketry Defender MKIII - The kit
Build Entry
54" in length
4.5 lbs built
38mm machined aluminum motor retainer
Machined aluminum bulkheads
Machined UHMW "ramjet" nosecone with aluminum bulkhead.
Fiberglass body tubes, fins and AV bay [More]
Badd Azz Rocketry Mizz Rhonda - GPS mount on nose cone bulkhead
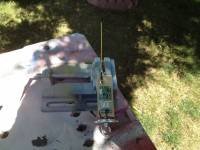
Build Entry
Big Red Bee BeeLine 70cm GPS mounted on nosecone bulkhead.
[More]
Badd Azz Rocketry Mizz Rhonda - AV bay bulkheads
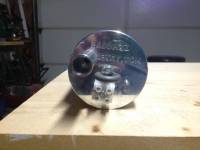
Build Entry
I decided to put a terminal block on each bulkhead, I drilled a hole a bit bigger than the screw used.
The charge holders are included in the kit.
[More]
Badd Azz Rocketry Mizz Rhonda - AV bay sled
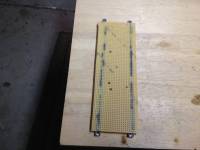
Build Entry
I used aluminum tubing to mount the perforated circuit board material (from Radio shack), JB Weld was used to secure. I cut the tubing so it would be tight against the bulkheads.
I predrilled the mounting holes for the Ravenn 3 and the Power Perch.
Note: The kit does come with a fiberglass ... [More]
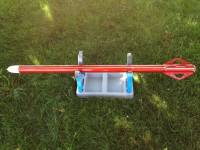
Badd Azz Rocketry Mizz Rhonda - Payload and nose cone paint
Build Entry
I used Duplicolor Champion White for the pyload sction and nose cone. I used Duplicolor Metllic Clear on the payload section, the nose cone was left just white as the metallic paint can interfer with the GPS tht will be installed in the nose cone..
The entire rocket was then clear coated with 4 ... [More]
Badd Azz Rocketry Mizz Rhonda - Install AV bay

Build Entry
After the split coupler has cured, slide the AV bay back into the lower payload to drill the rivet holes in the AV bay (the holes are per-drilled in the payload bay but are too small for my 1/4" rivets). I enlarged the holes to 1/4". After each hole is drilled, install and secure a rivet. Note the ... [More]
Badd Azz Rocketry Mizz Rhonda - Payload section

Build Entry
The kit comes with a split coupler. This gets epoxied in just forward of the AV bay in the payload section. I installed the bulkheads on the AV bay, marked the center of the AV bay then slid the split coupler into the lower payload section. I slid the AV bay into the lower section of the payload ... [More]
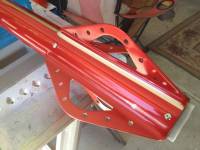
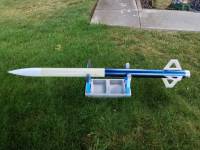
Badd Azz Rocketry Mizz Rhonda - Painted out
Build Entry
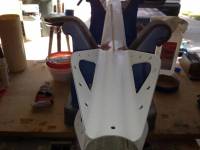
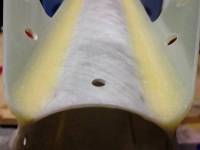
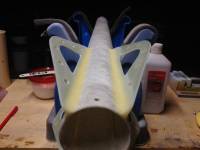
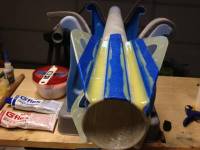
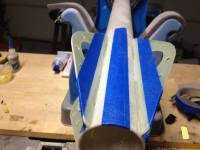
I allowed the fin paint to dry for 24 hrs then masked off. For a cleaner line on the fins, I taped starting at the bottom of fin holes near the fin root.
The body was painted with Duplicolor Deep Blue with Jet Black 5 to 1 mixture.
Fin Detail
[More]