Scratch Alien Invader (Upscale) Original Design / Scratch Built
Scratch - Alien Invader {Scratch}
Contributed by Jeff Brundt
| Manufacturer: | Scratch |
| Style: | Futuristic/Exotic, Upscale |
 Brief:
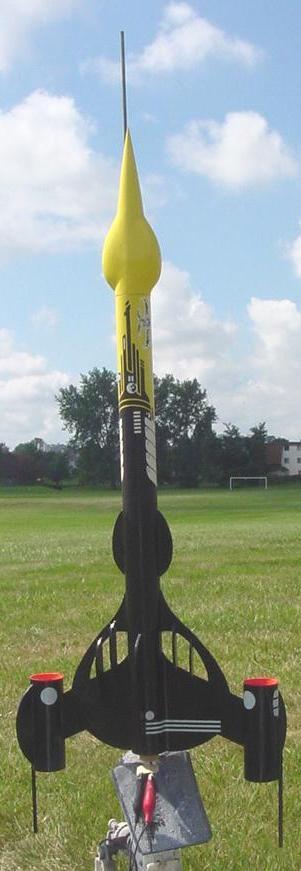
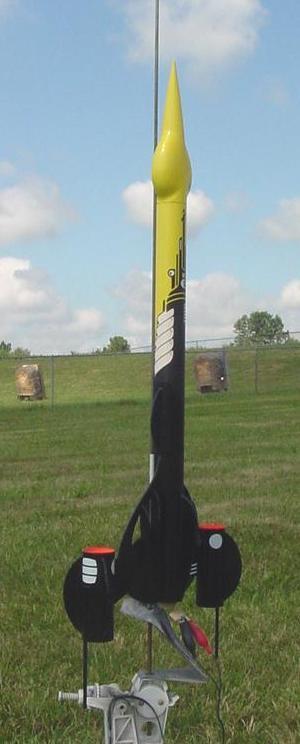
Another classic Estes rocket form the 70's that I upscaled 168%. I had the
original plans from when I built this kit over 25 years ago but not the fin
patterns. I downloaded those from JimZ's web site and started scaling.
Construction:
The model is built pretty much like any other large model rocket. All the body
tubes are Estes BT-60 size with the motor mount tube a BT-50 for 24mm motors.
Fins are made from 1/8" balsa sheet stock and cut from the enlarged
patterns. Centering rings are standard Estes heavy duty rings.
The nose cone is the most unique feature and probably the most time consuming to make. I started out by having BMS make a semi-custom cone of an upscaled BNC-50Y. The side bulges were made using 2" blue foam insulation that you can get at any Lowes or Home Depot. The basic shape was rough cut on the bandsaw. I then roughed out the concave portion that would fit against the nose cone. I wrapped a sheet of 80 grit sandpaper around the cone then started sanding the pods to fit. This is a messy process with lots of foam dust everywhere. Once I had the fit to the nose cone set I worked on shaping the outer moldline. When I had the shapes finished the way I liked I glued them to the nose cone then filled in the joints with light weight spackle compound. Everything was filled and faired in. The final step was to glass the entire nose cone assembly.
I used standard finishing resin and 3/4oz glass cloth. When the resin was fully cured I filled the weave on the cloth with lightweight spackle and sanded it smooth. It was then ready for prime and paint.
The model was painted using regular Krylon paints. Gloss black and lemon yellow. You need to mask the upper portion where the decal goes for the yellow. I used an enlarged printout of the decal from the .jpg file on JimZ's site. The actual decals were made by Tom Prestia at Tango Papa. The strange looking pattern on the nose section of the rocket is one big decal and you need to use a lot of care when applying it. It's very easy for things to get away from you so take your time and have plenty of water on hand. I painted the inside of the 'plasma tubes' fluorescent orange first after priming then masked them off and painted the rest of the rocket. After the decals were applied and allowed to dry I shot the entire model with Krylon clear.
 Flight:
The model is intended to fly on Estes D12-5's. With a D12-5 it will go plenty
high (around 675') and is just right for the park we fly at. The parachute is a
standard Estes 24" 'chute with a 48" long, 1/4" wide, ribbed
fabric elastic shock cord. The shock cord is mounted using a typical Estes type
SCM. Prep for launch is no different than any other modroc. I use 'dog barf'
type wadding and since there is no need for a stuffer tube on this rocket I
pack it right down to the motor mount.
First flight was on a nice, calm Sunday morning. The rocket was prepped, placed on the pad and the obligatory pictures taken. The boost was very straight and there was no spin at all. The ejection went off at just past apogee; perfect. The 24" 'chute gently lowered the Alien Invader to the ground with no damage at all. my friend was worried the dowels that extend aft of the 'plasma tubes' might get damaged but the nice descent rate proved no need to worry about that. Subsequent flight were repeats of the first.
Summary:
This rocket makes a nice addition to my upscale fleet of Estes classics which
include the Mars Snooper,
Mars
Lander, Orbital Transport,
USS
Atlantis and even the Super Vega. With the exception of the nose cone it's
a very straightforward and easy rocket to build. I think after upscaling it
flies even better then the original.
 |
 |