Scratch Bobcat Special Original Design / Scratch Built
Scratch - Bobcat Special {Scratch}
Contributed by Gene Wolski
| Construction Rating: | starstarstarstarstar |
| Flight Rating: | starstarstarstarstar |
| Overall Rating: | starstarstarstarstar |
| Published: | 2011-09-13 |
| Manufacturer: | Scratch |
 Brief
Brief
2.6" high power rocket with a payload section. I originally intended this project to be a clone of BSD Rocketry's 38 Special, but I decided to use a stock PML fin design rather than make custom fins. I liked the clean lines and size of the 38 Special, and I wanted a fairly conventional design so I could hone my basic rocket construction skills.
Components
Parts:
- LOC 2.6" nose cone
- LOC 2.6" payload section (length = 10")
- LOC 2.6" tube coupler and bulkhead
- Eyebolt, nut, and washers from local hardware store
- Removeable small plastic rivets (4)
- LOC 2.6" booster section (length = 24")
- PML G-10 fins (design FIN-A-03) (3)
- Eyebolt from local hardware store
- LOC 38mm motor tube (length = 8")
- LOC 38mm to 2.6" centering rings (3)
- Motor retention - tee nuts and screws from local hardware store
Construction
Construction was fairly straight forward as planned - I did not use any unusual construction techniques for this rocket.
Nose cone - I drilled a small hole in the nose cone shoulder and inserted a nut in the hole. With some minor fiddling, I was able to fasten the nut onto an eyebolt inserted into the bottom hole of the nose cone. I used a small dab of epoxy to lock the nut in place.
Payload section - I attached the eyebolt to the bulk plate then epoxied the bulk plate to the tube coupler. Once the epoxy had hardened, I epoxied this assembly into the bottom end of the payload section. To finish off the payload section, I attached the nose cone and drilled the rivet holes (one at a time, inserting each rivet before drilling the next hole).
Booster section - I attached a eyebolt to the forward centering ring then epoxied the forward and middle centering rings to the motor tube. I then printed a fin position template from VCP, marked the fin locations, then cut the slots using a hobby knife (new blade!) and metal ruler. I epoxied the motor assembly into the booster section, then I epoxied the 3 fins in place. I applied internal epoxy fillets to the fin/motor tube and fin/booster tube joints. I also applied external fillets - probably a bit too heavy. I then marked and drilled the t-nut holes in the aft centering ring, then secured the t-nuts with a dab of epoxy. I installed the aft centering ring and the two rail buttons to finish construction.
Finishing
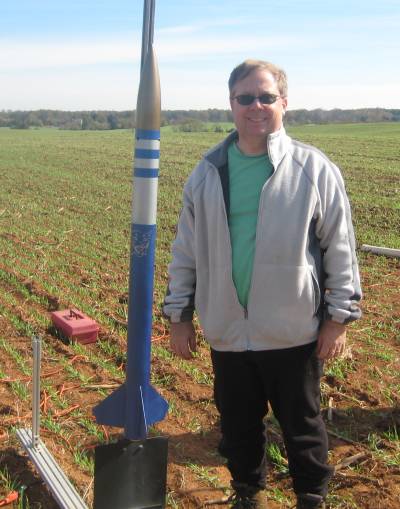
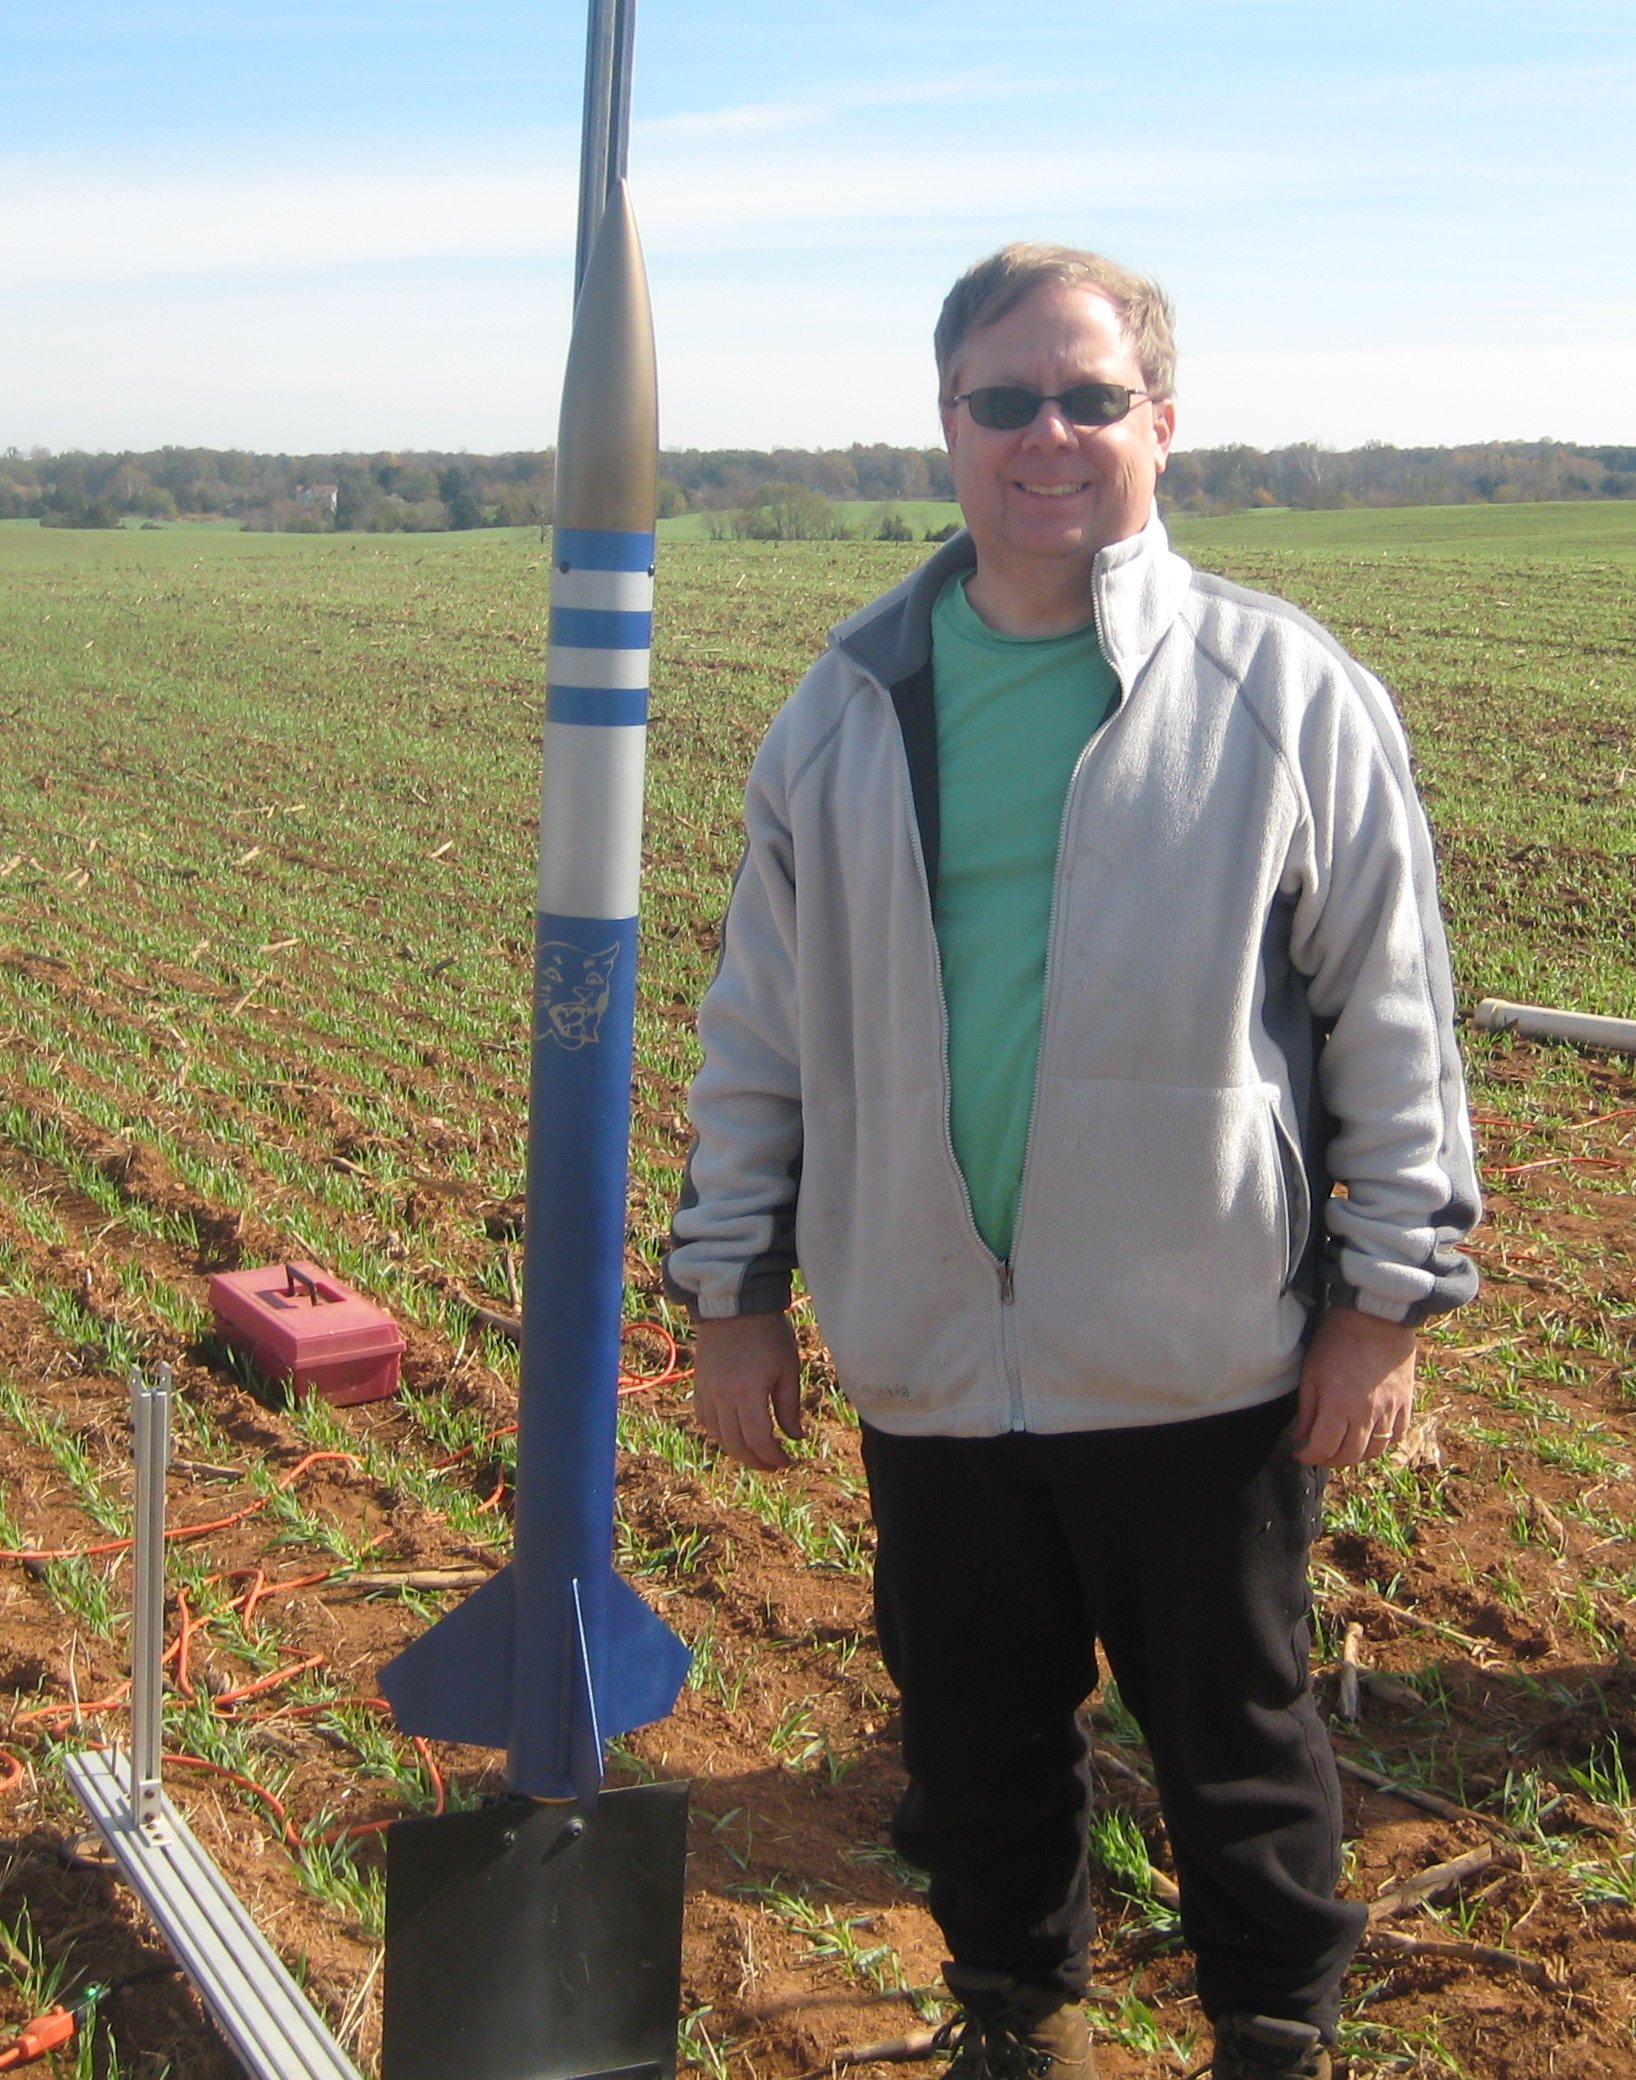
Before painting, I lightly sanded everything including the fins and then applied a gray primer coat. I sanded one final time prior to applying color. I used metallic blue spray paint for the booster section and a metallic bronze/copper for the nose cone. The payload section started as all metallic gray/silver, but I later added several metallic blue stripes. I applied a vinyl bobcat decal from Stockershock. After painting, I applied a Krylon clear coat.
My overall goal for paint was not to obtain a flawless mirror finish, but to provide an paint scheme that looked good at normal pad distances. Overall, I'm very happy with the balance between looks and the time spent finishing.
Flight
First flight was at Culpeper with Tripoli Central Virginia. I prepped an AT G61W reload (38/120 case) and drilled the 10 second delay to 8 seconds. The motor was placed in the motor tube and held fast by two small bolts and clips. I packed the main chute into a kevlar chute protector and placed it on top of the kevlar shock cord in the booster section prior to placing the payload section on top.
Launch was excellent with the signature white lightning smoke trail. Boost was straight up. So far, looking good!
Recovery
The shock cord was 15' of 1/8" kevlar with a kevlar chute protector and a 28" chute (not sure which brand).
The rocket descended nicely - I didn't time the descent to determine the exact rate. The rocket landed several hundred yards from the pad. Upon reaching the rocket, I noticed a small zipper (less than 1") in top of the booster section. Other than the zipper, the flight and recovery had been perfect!
Summary
Overall a great first flight! The G61W was a perfect motor, and I'm looking forward to flying this rocket on a CTI Pro38 G115 next time.
 |
 |
Flights
|
|