| Construction Rating: | starstarstarstar_borderstar_border |
| Flight Rating: | starstarstarstarstar_border |
| Overall Rating: | starstarstarstarstar_border |
| Published: | 2011-09-27 |
| Manufacturer: | Scratch |
 Brief
Brief
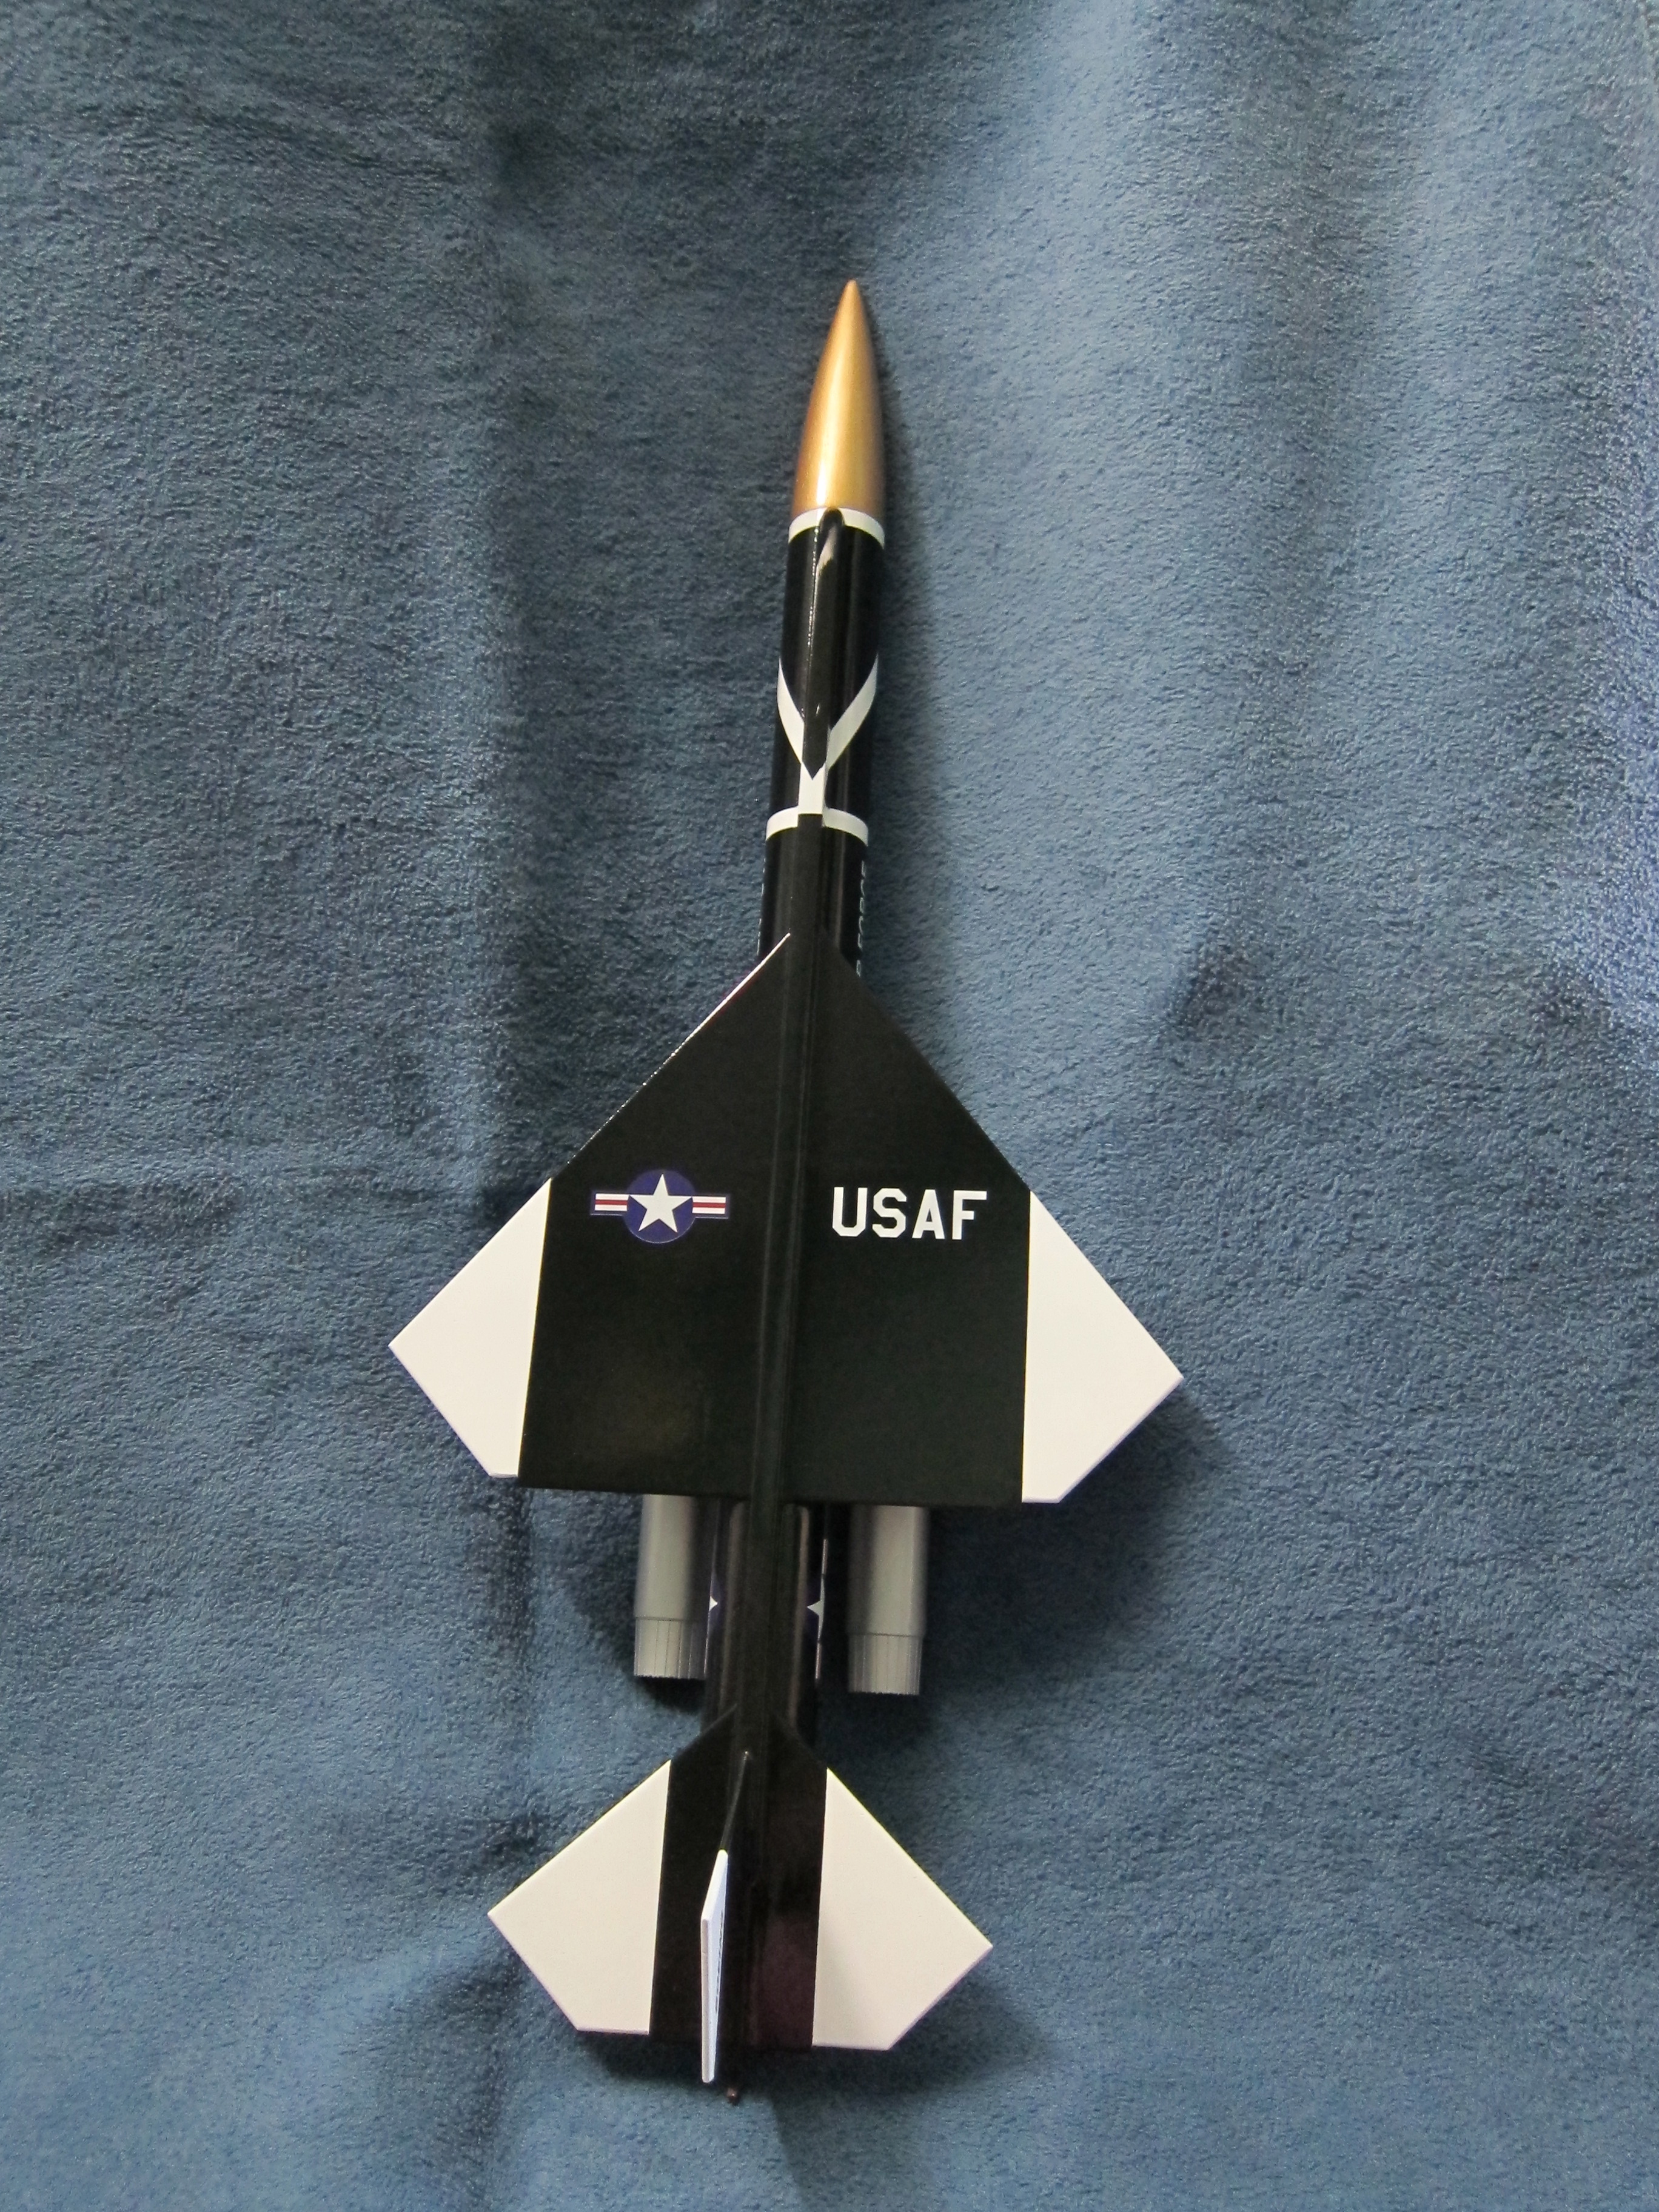
This is a scratchbuilt upscaled semi-scale version of the Estes Bomarc kit. The rocket actually began life as an Estes "Screamin Mimi" which I had built but never launched. I was never very excited by the rocket and decided to try something else with it. I had extended the body tube length by 5 1/4" which improved the "Screamin Mimi" somewhat, but not enough, the rocket continued to linger unflown. After having built a regular size clone of the Estes Bomarc it hit me that I could use the body tube from the "Screamin Mimi" to build a larger Bomarc, which could fly on regular D size engines. The overall size of the Bomarc is 28.5" long, diameter of 1.637", and a wingspan of 11.5".
Components
- BT-60 body tube and D engine mount from Estes "Screamin Mimi" kit.
- 5 1/4" section of additional BT-60 and a tube coupler.
- Balsa nose come from Estes "Super Neon XL" kit.
- 1/8" and 1/4" balsa stock.
- 2 1" long by 3/16th" launch lugs.
- 2 24" plastic parachutes.
- Fishing sinker weights.
- Waterslide decals from Tango Papa.
Construction
For plans I downloaded the intructions for the Estes Bomarc from "JimZ." I upscaled the outlines for the main wing, tail, and rear wings by 1.237 on a copier. I layed the outlines on the 1/8" balsa, outlined them with a pencil, and then cut them out with an X-Acto knife. All the pieces were glued together with Elmer's wood glue and allowed to dry. When the glue was dry I rounded the leading and trailing edges of the wings and tail. The ramjet extensions were cut to size then sanded to an airfoil shape. For the raceway, I cut a 21" long by 1/2" strip from the 1/4" balsa stock, to which I laminated a 1/8" strip in order to make the raceway 3/8" wide. I sanded a taper into the front and rear of the raceway, and then cut a strip from the center of the rear taper where the tail would slide in. The raceway is the least scale like feature of this model, the real missile raceway has a halfround cross section whereas mine is basically straight sided. Next time I will use a long tube sectioned lengthwise with shaped balsa ends. The ramjet cones were created by making cones from copier paper. Once the cone was formed I soaked the paper with super glue to strengthen it. I constructed the ramjet transitions from thin cardboard by wrapping it around a pointed BT-55 nose cone and trimming by eye until it looked right. I glued the cones into the transitions which were then glued to the end of the 6 3/4" tubes. The plastic knozzles were super glued to the rear of the tubes. The solid balsa nosecone was hollowed out inside with a power drill in order to provide room for nose weight which Bomarc models usually require. In this case, the total weight of the nosecone is 5.5 oz. Due to the heavy nose cone I was concerned it would stike the body tube after ejecting so I decided to have it recover on its own chute. Later testing in the backyard showed that both the cone and the main body needed 24" chutes for slow recovery. The body tube had been prepared by removing all the fins and the launch lug, then sanding the paint from the tube. In order to ease the paint removal, I sprayed the tube with oven cleaner which dissolved the color coat and softened the primer. With careful work and sanding the tube came out smooth and ready for assembly. I used wood glue to attach the wings, raceway, tail, and ramjets to the body tube. I made 3/16" launch lugs by wrapping paper around a launch rod and soaking it with super glue. (after removing it from the rod!) I glued one lug under the rear wing and another under the main wing. I added shock cords to the main body and nosecone using the common Estes method. The cords don't need to be very long due to the seperate recovery, and I made mine from old shoe laces. Although the Estes plans would have you add antennas to each of the main and tail wings, I opted not to add these as I feered they might snag the shock cords or parachutes resulting in a bad recovery. Once assembly was finished I moved onto finishing.
Finishing
Finishing this kit was complicated by using a previously painted body tube. Removing the old paint and sanding the tube smoothed it out adequately. All the balsa was sealed with thinned Elmers wood filler and sanded smooth. There is a large amount of wood to fill... Next time I will fill the bottoms of the wings and the ramjet supports prior to gluing them to the body tube as sanding these areas was complicated by the narrow angle between the tube, wing, and supports. Once filling was complete I used some old grey colored Testors paint as a primer. This was a mistake as it never really seemed to dry, and clogged sandpaper very quickly, next time I will use proper primer. Eventually I acheived a fairly smooth surface and painted the entire rocket with gloss white Walmart spray paint. The areas to remain white were masked off and then I sprayed gloss black "Quick Color" from Home Depot. I should have bought the better paint, the "Quick Color" took about six coats to cover the white, and the finish was inconsistent, some areas smooth and glossy, others dull and dusty, with some areas of small bubbles which did not cover the white. After using about 3/4 of the can I finally had a decent finish. The silver areas of the ramjets and rear body were masked and sprayed with Testors silver, while the nosecone received a spray of Walmart gold, no problems here. Once the paint had dried for a few days I applied the Tango Papa decals. The decals went on very well, the white areas were very opaque and cover the black with no bleed through. Unfortunately, the printing registration was off just a little so there is a thin edge of white showing on the bottom of the star and bar insignia. The decal sheet did not include the serial number as with the original Estes kit, but the overall appearance of the model looks pretty good even without them. Once everything was dry I clear coated the model with Rustoleum clear gloss. Unfortunately, even trying two different cans of the clear, it did not spray smoothly so I again ended up with an inconsistent finish. Perhaps in a few weeks I will wet sand the clear with fine sandpaper and polish to get a proper glass smooth finish. Overall though despite my various problems the Bomarc looks good, even my highly critical wife thinks it looks "Pretty."
Flight
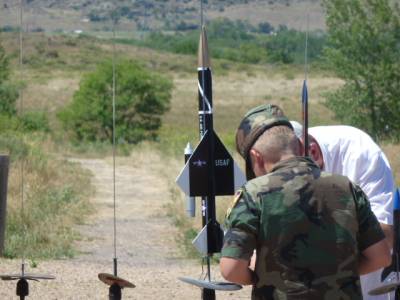
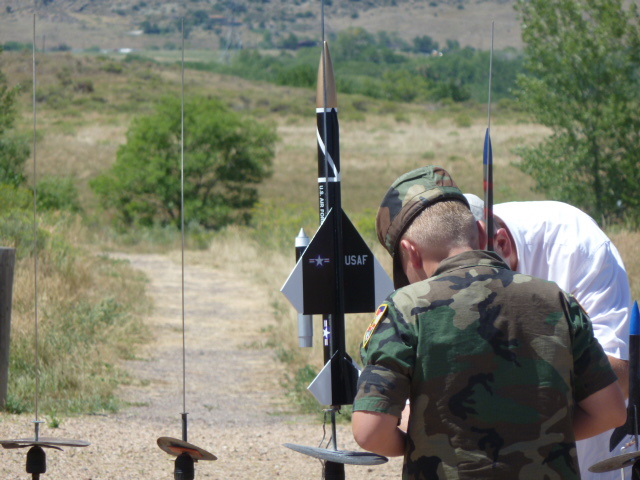
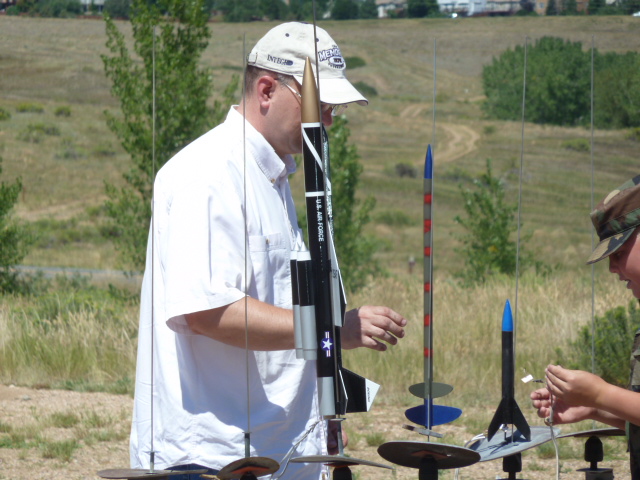
Prior to flight I balanced the model such that it hung level from a point about one inch in front of the main wing, with no engine installed. Never having flown a Bomarc model before, and having heard many stories of them going out of control I erred on the side of caution and may have overdone the nose weight. My rocket seems heavy for its size at just under 13 oz. Nevertheless when launch day arrived I prepped the rocket with an Estes D12-3 and about six squares of wadding. I packed the nosecone chute into the body tube first and then the mainbody chute on top to ensure both would come out when the nosecone was ejected. There was little to no wind and the engine ignited on the first try. The Bomarc shot off the pad as a good clip and slowly rotated around its axis as it climbed nearly straight up to an estimated 300 feet. At that point the Bomarc started to level out as if flying toward a distant missile intercept. I have to say it looked pretty cool, almost like you would expect the real one to have looked. I suspect the heavy nose had something to do with the Bomarc dropping down to the horizontal as it lost airspeed.
The second flight was about a month later, this time in winds of approximately 5 mph. I again used an Estes D12-3. This time the rocket did not rotate at all and flew to a similar height. Once again the rocket went horizontal and then ejected shortly after.
Recovery
After going horizontal for about 50 feet the ejection charge blew and the nosecone seperated smoothly, with good deployment of its chute. The main chute was pulled free as expected but did not deploy until about 100 feet up, at which point it filled nicely. I caught the nosecone before it hit the ground and my recovery assistant daughter caught the main body, there was no damage to either section. I probably wrapped the main chute too tight resulting in its slow deplyment. Overall it was an exciting and cool to watch first flight...
On flight number two, the nosecone chute did not fully deploy so it came down fast. The cone sustained a slight chip in the tip on landing but nothing that can't be touched up. The main body chute deployed correctly and the body landed without incident. The crowd really seemed to enjoy the flight.

Summary
The Bomarc is not the easiest rocket to build, and the tradeoff between total weight and balance for safe flight is more critical with this rocket than others. However, it is an interesting and unusual design and looks cool in flight, adding an element of excitment above my other rockets. I am surprised more Bomarc kits are not offered by the mainstream manufacturers.
#Related Reviews
Related Products
 |
 |