Scratch Cheap 12V Launch Controller
Scratch - Cheap 12V Launch Controller {Scratch}
Contributed by James Harechmak
| Manufacturer: | Scratch |
 Brief:
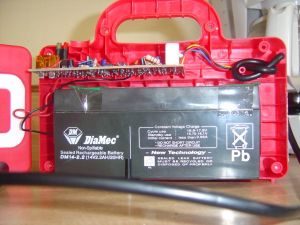
The cheapest 12V sealed lead acid battery I've ever seen!!
Construction:
Parts list:
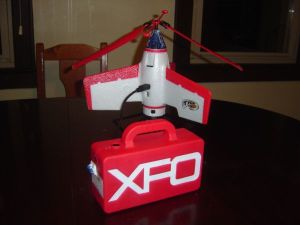
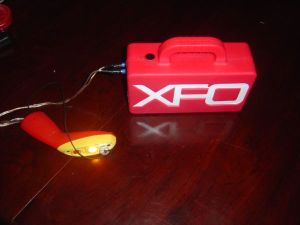
- 1 Tyco XFO ($10 from Dollar General)
- bullet connectors
- epoxy
I had this built in under 1/2 hour with basic hand tools.
- Remove XFO from its packaging.
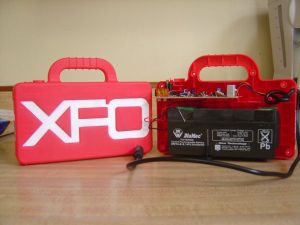
- Remove 6 Philips screws from XFO charging station then remove front cover.
- Locate and drill holes for female ends of the bullet connectors. I drilled mine level with the top of the battery on the side the wires are soldered to.
- Clip and strip one battery lead between the circuit board and battery. Twist stripped ends together and crimp on a female connector.
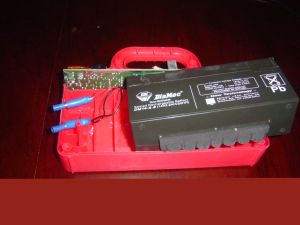
- Repeat with other battery lead.
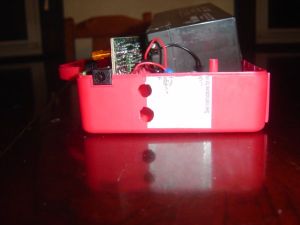
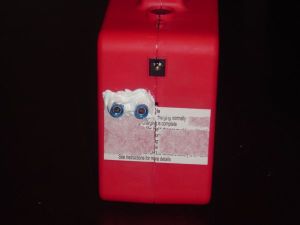
- Slide female bullet connectors about half way through holes from step 1 and tack with CA.

- Reassemble field charger and epoxy female bullet connectors in place from the outside.
- Crimp on male bullet connectors to battery leads of your launch controller so it can receive power from the XFO Field Charger.
- Charge XFO Field Charger for 14 to 16 hours.
- Fly all day long!
This battery will ignite motors using Quest Tiger Tails, Copperheads, Solar Ignitors (singles and clusters at least up to 5), and straight nichrome wire.
Summary:
Pros for this battery are its ability to be modified for rocketry use and still be used for its original purpose, length of time it can hold a charge under near constant use, and low cost.
Cons are its long charge time.
 |
 |