Scratch Junkyard Transport Original Design / Scratch Built
Scratch - Junkyard Transport {Scratch}
Contributed by Jim Myers
| Manufacturer: | Scratch |
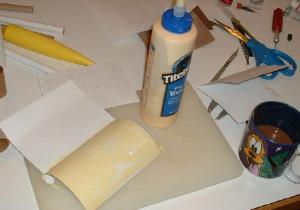
The following is the HTML interpretation of Jim's PDF submission. After putting tubes together, holding parts together and trying different combinations, this is what I came up with. The JunkYard Transport. The Junkyard Transport flies on a central 24mm engine with a cluster of three 18mm engines surrounding the central mount. She is 55 1/2 inches tall, and about 8 inches wide. Assembly I decided I would like to have a fairly tall rocket, and I had a pretty good amount of mixed BT-55 and BT-56. I also had a good NC-55 nose cone. I decided I would join some sections of BT-55/56 with multi tube arrays of BT-5. I had a 8 1/2 x 11 piece of card stock, so I doubled it over and glued it together. I put on a "3 BT-5 into BT-55" centering ring template that I created and cut out 12 centering rings. I sanded down the BT-56 rings to fit the slightly smaller ID of those tubes.
Please see the full PDF HERE (34M) INCLUDING TEMPLATES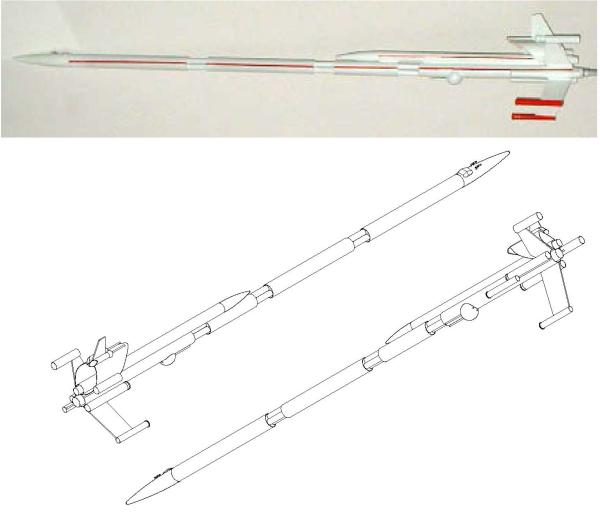
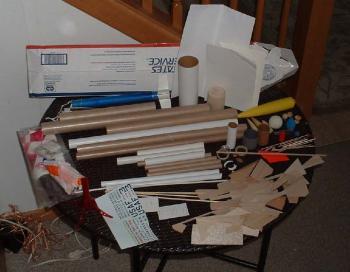 I opened up my box-o-parts with much anticipation. Here is a picture of the contents. Wow! Lots of stuff, now what to do with it. Looking through it further, There sure are a lot of tubes, and not a whole lot of balsa. This is begging to be a tube intensive rocket.
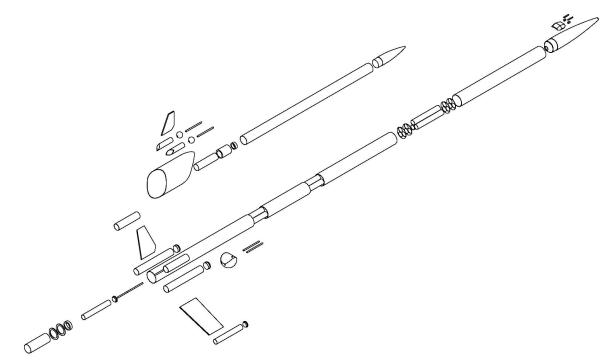
|
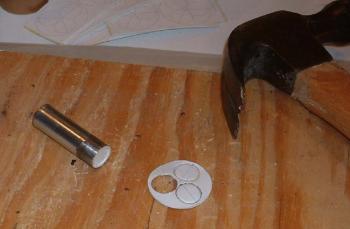
I cut out the centering rings and glued up the BT-5 tube arrays as shown here. I found a scrap piece of steel tube that I sharpened with a grinder, and punched out the BT-5 holes. Later they would be sanded with sand paper glued around a dowel. |
 |
|
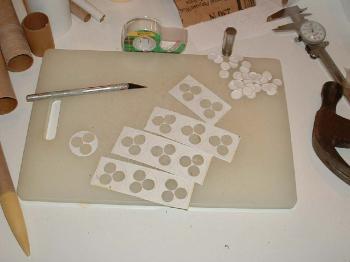
The outside diameter of the Centering Rings were cut with scissors and stack sanded to size. |
 |
|
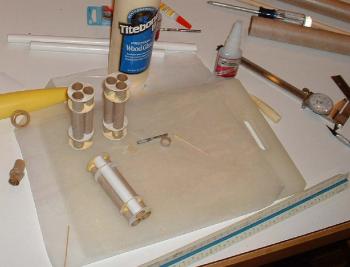
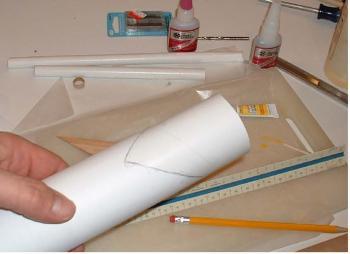
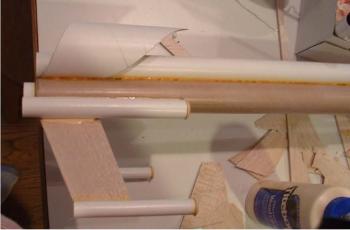
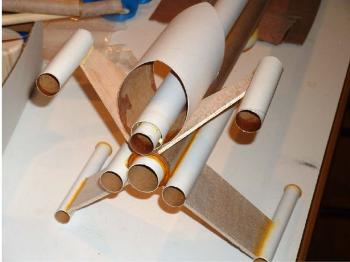
I cut nine pieces of BT-5 to 4 inches long. I marked the BT-5s 1/2" and 1 inch from each end, and glued up these "BT-5 arrays" which became the tube couplers. I then joined the main tubes by gluing them together with the BT-5 arrays. Use care to roll the main tubes on a flat surface to keep them in alignment. |
 |
|
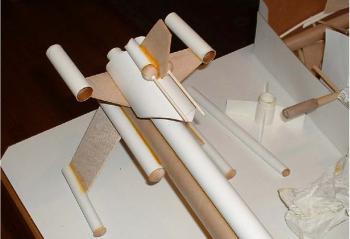
Most of the balsa stock that came in my box-o-parts was small bits, old die cut skeletons and miscellaneous bits, so I thought that a mixture of tube fins, balsa and tube tips would make a nice design. |
 |
|
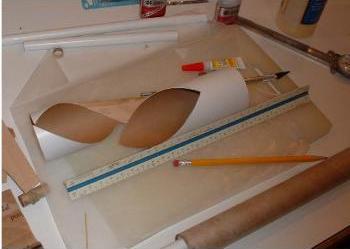
I cut the top tail ring with the patterns in the pattern section. |
 |
|
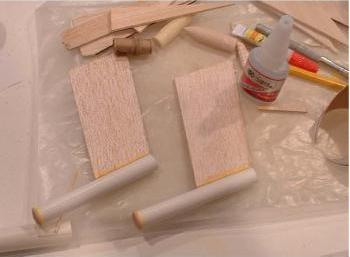
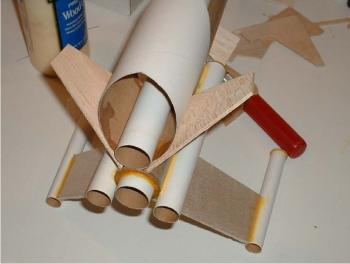
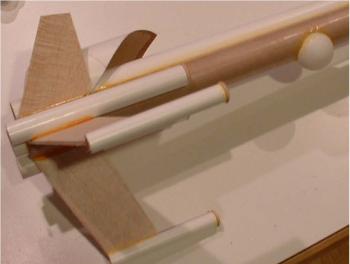
I got two pre-cut fins that looked great as lower fins. I attached 4 inch sections of BT-5 tubing to the fin tips and capped them off with some wood buttons that were rolling around in the bottom of the box-oparts. |
 |
|
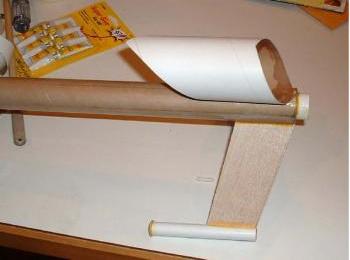
The top tail ring is glued flush with the rear of the BT55 using the tube marking guide included. |
 |
|
Next I glued an 18 inch piece of BT-50 inside the top tail ring and along the top mark on the rear most BT-55 Attach two 6 inch BT-20 sections at the junction of the lower fin/ body tube junction, flush with the rear tube. I capped them with some larger wooden caps from the ole-box-o-parts. |
 |
|
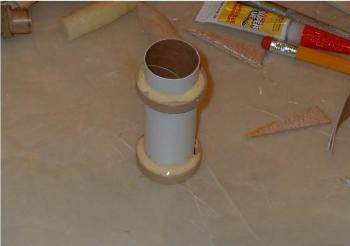
I glued up a 24mm engine mount for the main, central tube. I cut a BT-50 section, 2 3/4 inches long, and glued a 20-50 Centering ring flush in one end as an engine block. I had a pair of 50-55 centering rings that completed the engine mount. One centering ring is glued flush with the engine block end, and the second is 1/2 inch from the rear end. |
 |
|
The 24mm engine mount was glued into the main tube, with the rear ring flush to the end of the tube. I found some more pre cut fins, and attache them at the junction of the top tail ring and the main BT-55. |
 |
|
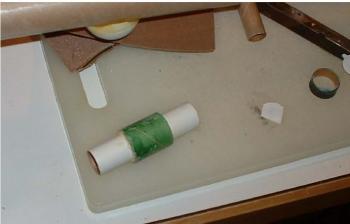
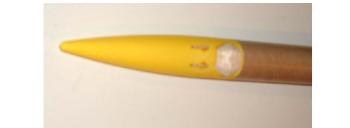
I made up an 18mm engine mount for the upper BT50 tube. I cut a 2 3/4 inch piece of BT-20 and glued a BT-20 engine block flush into the front end. I salvaged this long 20-50 centering ring tube from a Estes Athena that was in my box. I also used the Athena nose cone on the front of the upper tube. |
 |
|
Next I glued the 18 mm engine mount into the upper BT-50, leaving 1/2 inch hanging out. I glued 3 inch sections of BT-20 onto the tips of the upper fins for more stability. |
 |
|
I found a smaller version of the two precut upper fins that I used as the top fin. I glued it on the center line, flush with the rear of the top tail ring cut-out. |
 |
|
Next I cut two 2 1/4 inch sections of BT-5. I cut the rear of the tubes at a similar angle as the upper tail ring and glued them against the top fin. I then inserted two .650 diameter wooden beads and 1/8 inch dowels as laser guns. |
 |
|
I did get a pingpong ball in my box-o-parts, and I HAD to use it. I cut it to fit on the BT-50 and created a gun pod. It is glued 11 inches from the rear of the main tube. |
 |
|
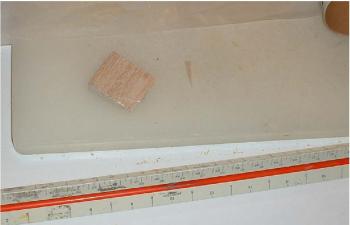
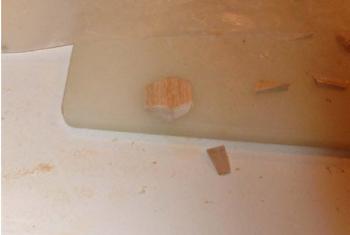
I wanted a canopy on the nose cone. I found this triangular chunk of balsa in the box. |
 |
|
I made some angled cuts and sanded the underside to the approximate radius or the nose cone. |
 |
|
I attached the canopy to the nose cone and two 1/8 inch x .680 long "guns" on 1/8 x 1/4 inch balsa gun mounts. |
 |
She flew "in her underwear" (primer) at the June 28, 2008 MASA launch at the Nowthen sod farm. It flew on a cluster of one D12-5 and 3 C6-5s. It ripped off the pad to a nice straight flight in spite of the 15-17 mph winds. Recovery is via three different 12 inch parachutes, (as that is all I had in the box) two deployed out the main nose cone and one from the upper BT-50 tube, at mid body. The rear chute tangled with the fins and guns. After the contest, i will switch it to a single larger chute.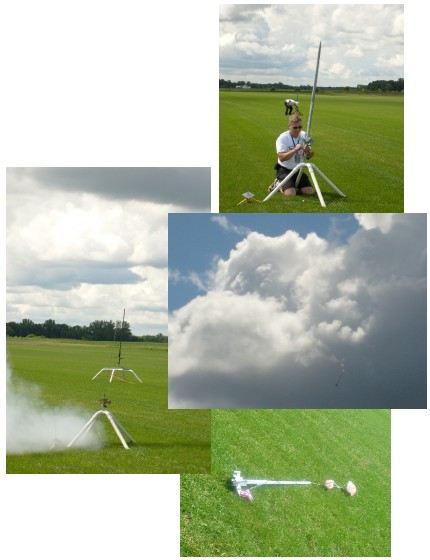
 |
 |