Scratch Scratch and Dent Racer Original Design / Scratch Built
Scratch - Scratch and Dent Racer {Scratch}
Contributed by John Partridge
| Manufacturer: | Scratch |
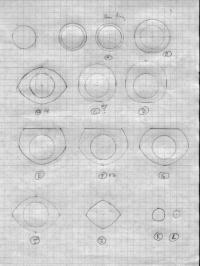
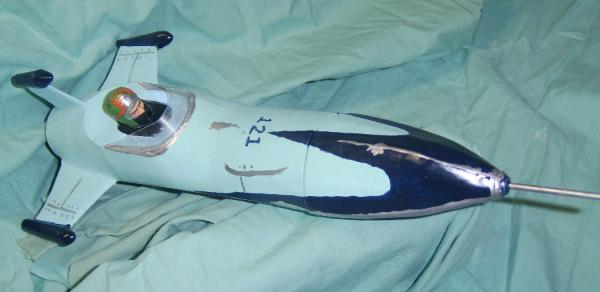
I chose to build the Racer because it was cool looking, had higher difficulty bonuses and because it was different than your average 3FNC rocket. First I printed the picture out as large as I could on a single sheet of paper and measured out as many dimensions as I could. I then found a pilot head I could use and scaled the rest of the dimensions up to fit the head that I had chosen. Based on these dimensions I drew the plans on graph paper (each square is ¼ inch) and figured out what the top view, side view would look like followed by sketching out several sections so I could build a skeleton around a 24mm tube.
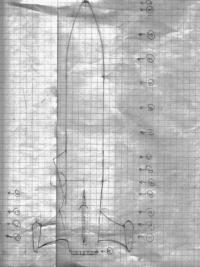
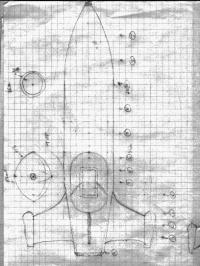
I then copied these drawings onto 100-weight cardstock a couple of times and cut out pieces for templates that I used to cut from balsa sheets. Most of the skeleton pieces were cut from 3/32" balsa but I tried 1/16 for a couple of them to save weight and regretted it. If I were to do this again I would recommend gluing typing paper to each and every piece. Probably it would be easier to copy the sketches on to regular paper, glue it to the balsa and then cut them out. My method sometimes transferred the pieces twice before the got onto balsa and then I had to trim and sand far more than I would have liked.
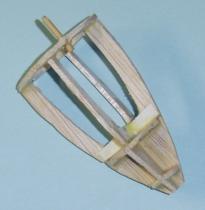
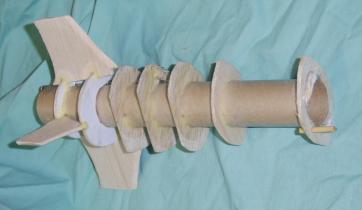
I then assembled the nose cone and the skeleton (I decided not to use all of the sections that I drew)
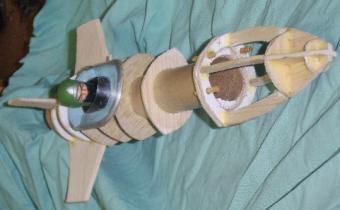
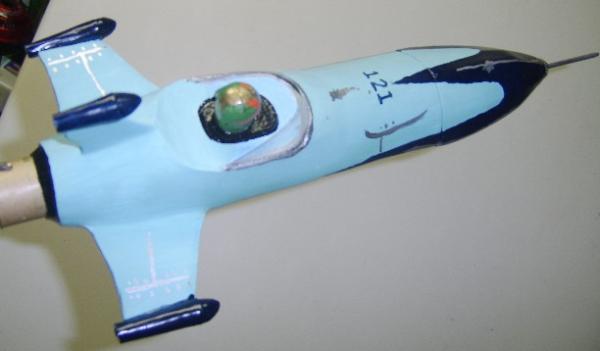
The next step was to begin painting my pilot to match and to assemble the cockpit. The windscreen was cut from a Pepsi bottle. I estimated the shape from EMRR’s transition program and fudged the rest. Since the skin later goes over the outside of the windscreen this assembly had to be finished before I glued it on. The pilot was a destroyed army guy from my kids’ toys.
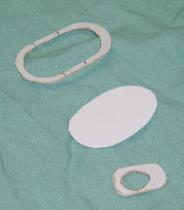
Next I cut pieces from cardstock to estimate shapes and used those as templates to cut 1/32" balsa. Each piece of balsa was papered and then glued and clamped into place.
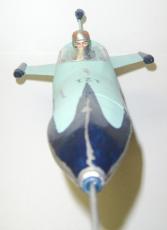
The fin pods were made by printing out transitions onto cardstock. I made the cones for the pods by sanding one pod out of 3/8 balsa. I then plunged that prototype into modeling clay four times and cast them out of 5 min. epoxy.

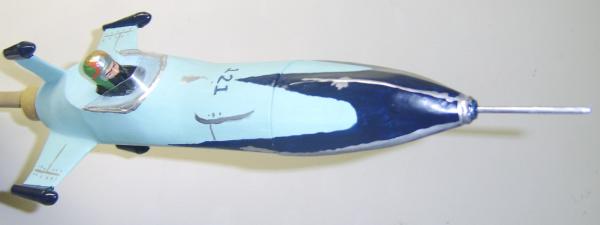
Finally I used Elmer’s Carpenter’s Putty (Fill & Finish) and lots of sanding. Then a coat of Kilz and then paint. I couldn’t find the right shade to match so I ended up mixing blue and green paints until I was satisfied with the match.

FLIGHT:
1) Launch weight was approximately 2.8 or 2.9 ounces (w/o motor)
2) This design was simmed to be overstable (Rocksim) by me and an extremely capable advisor (Bruce Levison - Teflon Rocketry - Thanks Bruce) since I am just a Rocksim novice.
Last we had to get this bird in the air. Somewhere I read we had to record three launches but the weather was closing in fast and we were racing a snowstorm. We lost. All three launches were in 10-15 mph winds. There were some stability problems and we added clay nose weight after each flight but that just made things worse. We got three flights but there is more work to do on our stability problem.
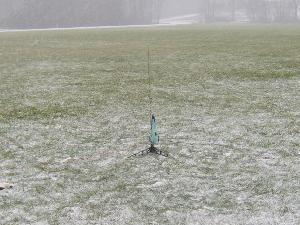
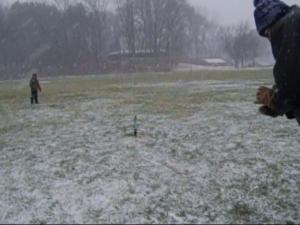
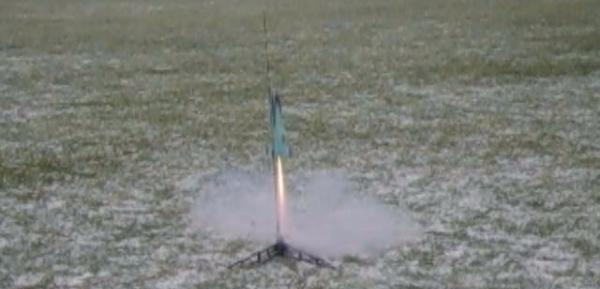
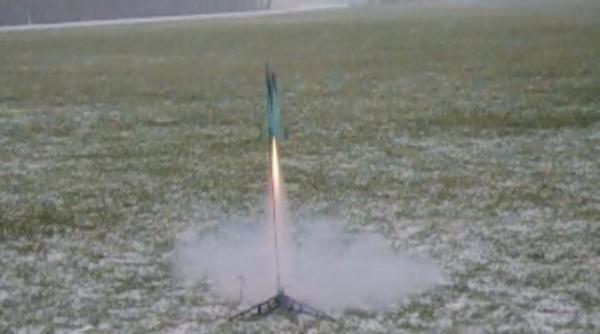
And away she goes!
The first two launches looped but there was no damage but the third left some scars that will have to be repaired over the winter. What shall we name this rocket? How about "Scratch and Dent Racer?"
 |
 |