Semroc Cherokee-D
By Manny Trotta
2012-10-30
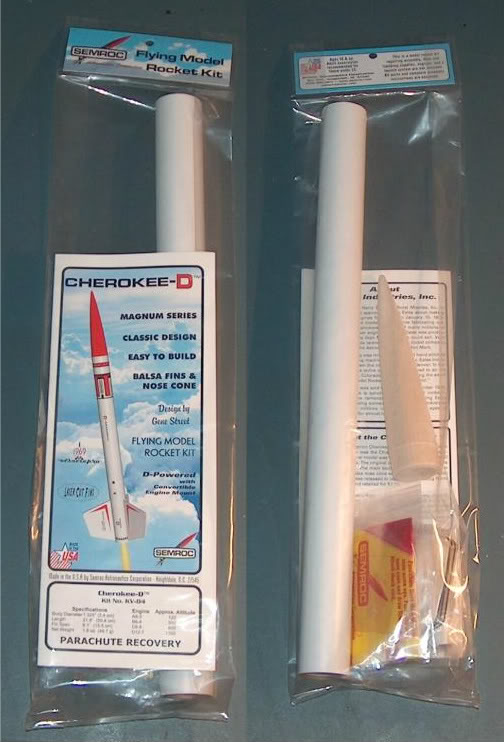
This project is a build of the Semroc Cherokee-D kit.

Semroc makes a great kit. The kit has a 24mm motor mount for D-engines but also includes an 18mm converter so you can fly it with lower power engines. The nice thing about this is that the 18mm mount can just be inserted for flights with smaller engines and then removed; it does not get glued in. There are decals so I will have to see how they work out, I have not had a Semroc kit with decals yet. The other things that stands out are that the motor mount adaptor rings for the 24mm mount are fiber rings, not cardboard and the assembly instructions and parts list are 3-hole punched so if you like to save them in a binder they are ready to go.

I originally picked up some Createx Opaque white and transparent red paint planning to use my airbrush for this project. Having decided I wanted an enamel finish I went back to the store and picked up a couple cans of Rustoleum gloss protective enamel.

Here are the 24mm and 18mm motor mounts assembled. There is a kevlar cord that gets attached to the mount to later be tied to the shock cord so there there will be no need to glue a shock cord to the inside of the body tube.

Since I don't have a fin alignment tool I use something like a plumb-bob. It is a wooden dowel with some thread and a small weight on the bottom. I secure the dowel so that the thread hangs down behind the fins. This will help me get the fins perpendicular to the body tube while lining them up by eye. The other thing I like to do is to draw 2 lines for each fin which further helps me get them in the right spot.

Here is a shot of the plumb-bob set up. You still need a good eye to get them right but it does help.

Making the fin fillets. Below is one of the fins masked and ready for the epoxy. I am using LOCTITE 60 minute epoxy.

After applying the epoxy with an ice cream stick I smoothed it in with a small piece of PVC. A paper towel and rubbing alcohol work great to wipe the epoxy off the PVC and the alcohol helps the PVC glide nicly over the fillet. Once the epoxy is smoothed over and all excess removed I carefully remove the tape and set the rocket aside to dry.

Here is one of the fins with a finished fillet.

I am using Elmers Carpenters Wood Filler on the balsa wood, tube spirals and the fin fillets having the filler watered down to a medium-thin consistancy that brushes on easily. I read that this might cause the balsa wood to warp. Although I have never had any trouble I suspect if the fins were not glued on it would be possible for them to warp. If you are trying this you might want to keep that in mind.

I tend to go a little heavy on the filler but it sands off very easy.

Here is one of the nose.

The first coat of filler is sanded off using 220, 600, 1200 and then 2000 grit. I picked up the 2000 grit in the an auto body shop. The 2000 works great for light sandings between paint coats. I will repeat this process 1 or 2 more times before starting the primer paint. Some of my techniques may be a little over kill but I like to experiment and see what works best for me. A rocket could take me a while to complete but I have fun working on them.

I covered the entire model with 2 coats of Dupli-Color Filler Primer with sandings between coats.I used the same 220, 600, 1200 and 2000 grit paper for the sandings.


Ready to start the paint

I had a lot of problems with the Rustoleum but it was all due to a combination of user error and bad luck. I hadn't used spray cans all that much since I started using an airbrush and I ended up applying the paint way to heavy causing drips. After the paint dried I sanded the drips down and applied a second coat hoping I would be able to blend in the areas that had the drips. A freak gust of wind pummeled the rocket with some airbourn debris texturing it on one side just seconds after spraying on the second coat of paint! I ended up having to sand the rocket back down to the primer and start all over. When it was finished, I was suprised, it actually looked ok. The Rustoleum has a superior finish as compared to the Createx airbrush colors and I was pretty happy with the results.


All set to apply the decals.

The Semroc decals worked great and went on trouble free. I am really happy with the results.


 |
 |