| Construction Rating: | starstarstarstarstar_border |
| Flight Rating: | starstarstarstarstar |
| Overall Rating: | starstarstarstarstar |
| Published: | 2013-05-11 |
| Manufacturer: | New Way Space Models  |
Brief
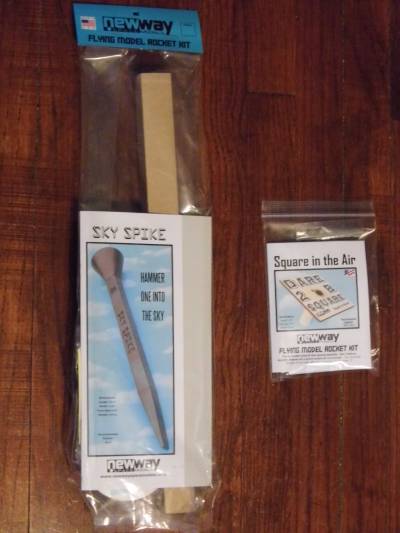
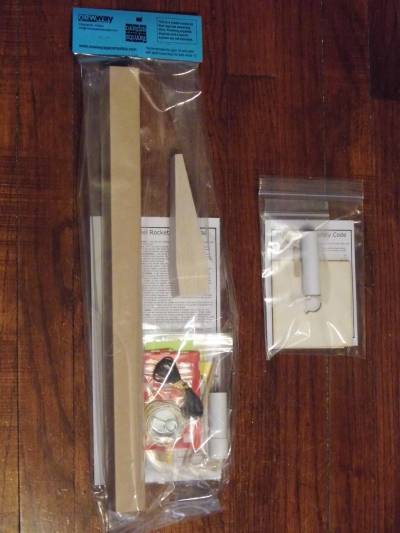
I ordered the SkySpike for $15.00 on a Monday evening on eBay from "bluegrassrocket" and a priority mail box was sitting on my porch Thursday afternoon when I came home from the store. Very fast service and the kit arrived undamaged. I was surprised when I opened it up to discover that it came with a bonus kit, the "Square in the Air," which lists for $ 5.00 in their enclosed catalog.
The "Square in the Air" is similar to Squirrel Works's "Pie in the Sky" rocket except that it is square and only has four pieces to glue together. Also included was a "Dare 2 B Square" sticker and a 1 3/8" x 2 1/4" strip of sandpaper.
For those of you unfamiliar with NewWay Space Models, they are relatively new to rocketry, but they have something different to offer. All of their kits come with square tubing. That's right, I said square tubing. Only the motor tube is round. Everything else is square, even the launch lug (don't worry though, as it is sized to easily slide up and down an 1/8" launch rod).
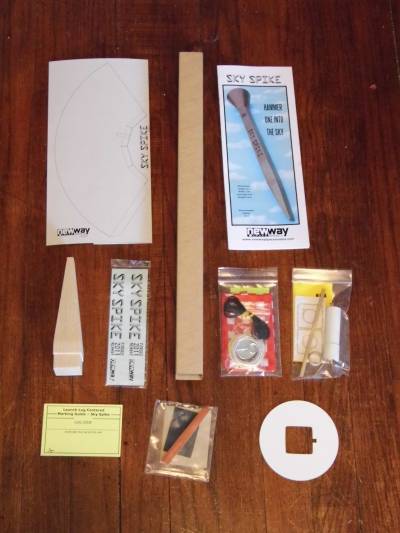
Components
The Spike comes with the following parts:
- A-Body Tube
- Engine Mount Kit:
- B-Engine Tube
- C-Thrust Ring
- D-Engine Hook
- E-Retaining Ring
- F-Centerinbg Squares
- Also included but not lettered was a 4" paper ruler (the yellow piece of paper in the bag for engine mount parts)
- G-Launch Lug
- H-Tail Ring
- I-Screw Eye
- J-Small Washer
- K-Glue Applicator Stick
- L-Decal Sheet
- M-Lug Marking Guide
- N-Paper Shroud
- O-Nose Cone
- Recovery Kit:
- P-Parachute Canopy
- Q-Shroud Lines
- R-Line fastener Tabs
- S-Snap Swivel
- T-Shock Cord
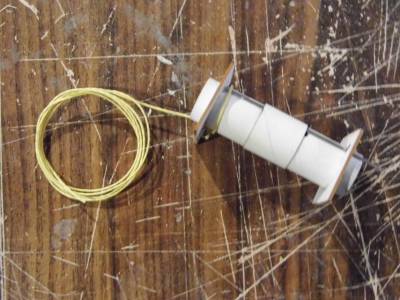
- U-Kevlar Line
- V-Knot diagram
- Sandpaper Kit:
- W-Course sheet
- X-Fine sheet
- Y-Fine strip
- Z-Emory Board
- AA-Nose Weights
The only things missing are glue, paint, and an Exacto knife. Very impressive.
Construction
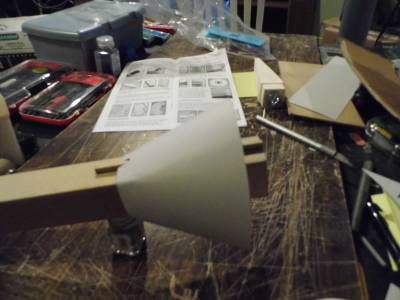
This was a text-book build so I won't go into all the details here (you can read them in my build section) other than to say that the instructions are well-written and documented. A note that is mentioned in the instructions warns that due to the square nature of the body tube you must make sure that the motor mounts are flush and parallel with each other when gluing it together and before gluing it in the body tube.
Make sure centering rings are square
Another note states that the NC must be sanded down for proper fit. This is easily accomplished with the enclosed sandpaper and emery board. The cone shroud around the tail of the rocket was something new for me, but it went together quite easily. A word of caution here, though. Test fit the shroud before gluing to assure a proper fit. This is the only tricky part to the build.
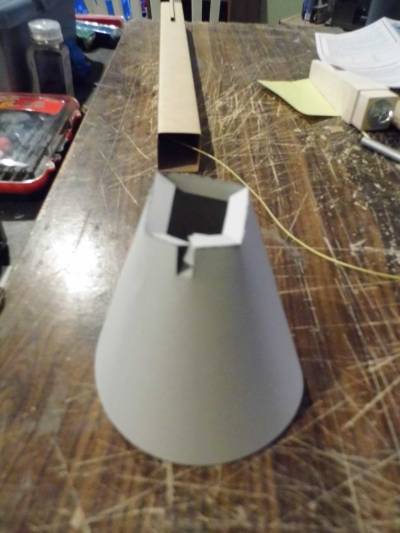
Test fit before gluing
The only CON here is that the two joining lines do leave a straight line crease that can't be completely hidden on finished rocket.
Finishing
I sprayed rocket with of two coats of Rust-Oleum 2x white primer with the usual sanding between coats.

After all was dry, I applied two coats of Krylon Fusion Hammered Finish Dark Gray to give it a forged steel look. I left the rocket outside to air dry for most of the day then applied the decals. The decals are very thin and I had a minor problem applying one of them on one side when it tore and tried to fold over. That resulted in a small flaw that you have to look at twice to see, but I will ding it a point for that.
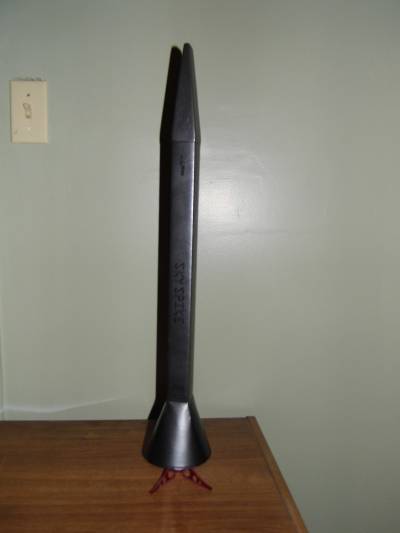
Sky Spike Glamour Shot
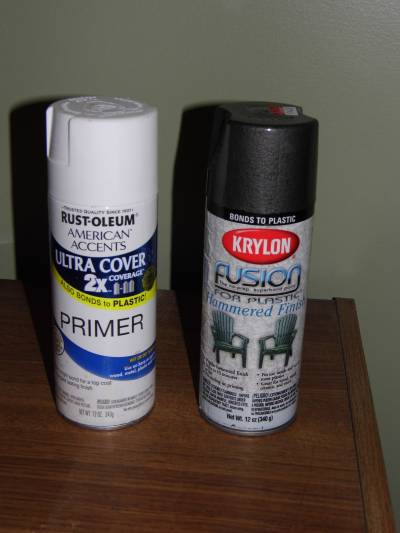
Paint used for finishing
Flight
Lift-off was very impressive. The rocket climbed straight and true into the light wind with no weather cocking. Parachute deployment was spot on. The only motor recommended for this rocket is a C6-3 and I concur that it is the smallest motor that you want to use as this rocket has a LOT of DRAG. This could almost be a B-field rocket. That's not saying it doesn't get high enough, because it is a beautiful thing to watch lifting off with its big wide smoke trail. I think a composite Aerotech D10-5 could be in its flight plans for the near future for added smoke effect and, of course, more altitude.
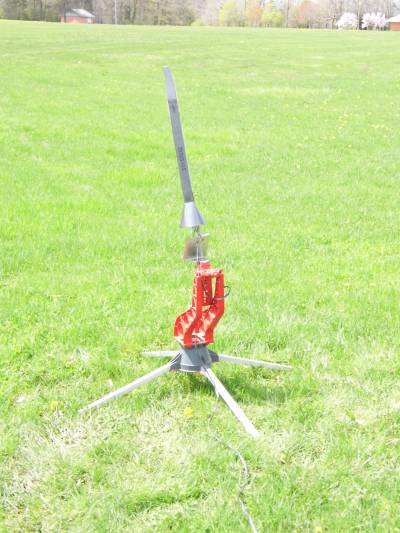
Sky Spike in 5...4...3...
Recovery
This is the first time I've assembled a parachute in this manner where the string aren't attached through holes in the chute. Instead there are looped tabs that you attach first then tie the shroud lines to the tabs.
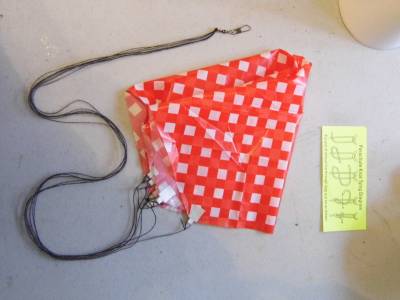

I'll have to keep an eye on these to see how they hold up over a number of flights.
A side note also informs you that because of the square body tube that you should use a little extra wadding as well to ensure that you get it into the corners to prevent scorching the chute. Personally I prefer dog barf and I used a little extra and the recovery system performed flawlessly. The checkered print parachute was easy to track and the descent rate was just right. The rocket landed with a slight bounce less than 60' from pad on soft grass.
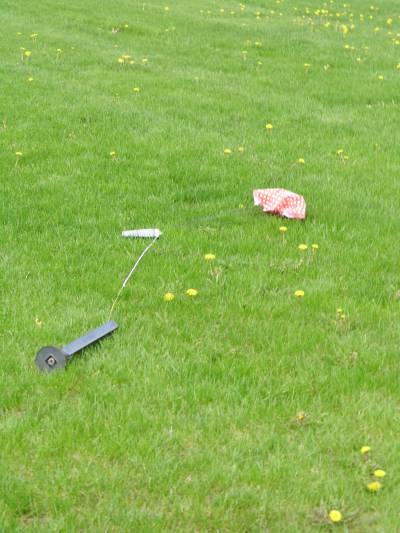
Sky Spike recovery
Summary
This is a top notch kit. Quality, attention to details, and some unexpected extras (plus the uniqueness of this kit) make it a must-own kit. The price makes it a sure fire hit!!
 |
 |