| Construction Rating: | starstarstarstarstar |
| Flight Rating: | starstarstarstar_borderstar_border |
| Overall Rating: | starstarstarstarstar_border |
| Published: | 2012-10-17 |
| Manufacturer: | Scratch |
 Brief
Brief
The Viking 4 was the last of the original FSI Viking rockets that I cloned. I built the BMS Clone of the Month Viking 1 several years back, but had no luck creating my own version of the distinctive angled tube fins that the Viking line features. Once I found a template maker for this step, http://archive.rocketreviews.com/tool_template_widget.shtml I began cloning the rest of the line, starting with 1:1 versions of the Viking 3 and Viking 5, an upscale of the Viking 2, and finally the Viking 4.
Components
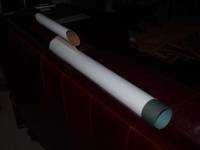
- 2 18" BT-70 body tubes
- BNC-70AO nose cone
- 24mm motor mount
- BT-70 baffle
- 3 10.75" BT-55 tube fins
- 3/32" basswood fin stock
- launch lug
- http://www.oldrocketplans.com/fsi/fsi1012/FSI%20Viking%20IV.pdf
Construction
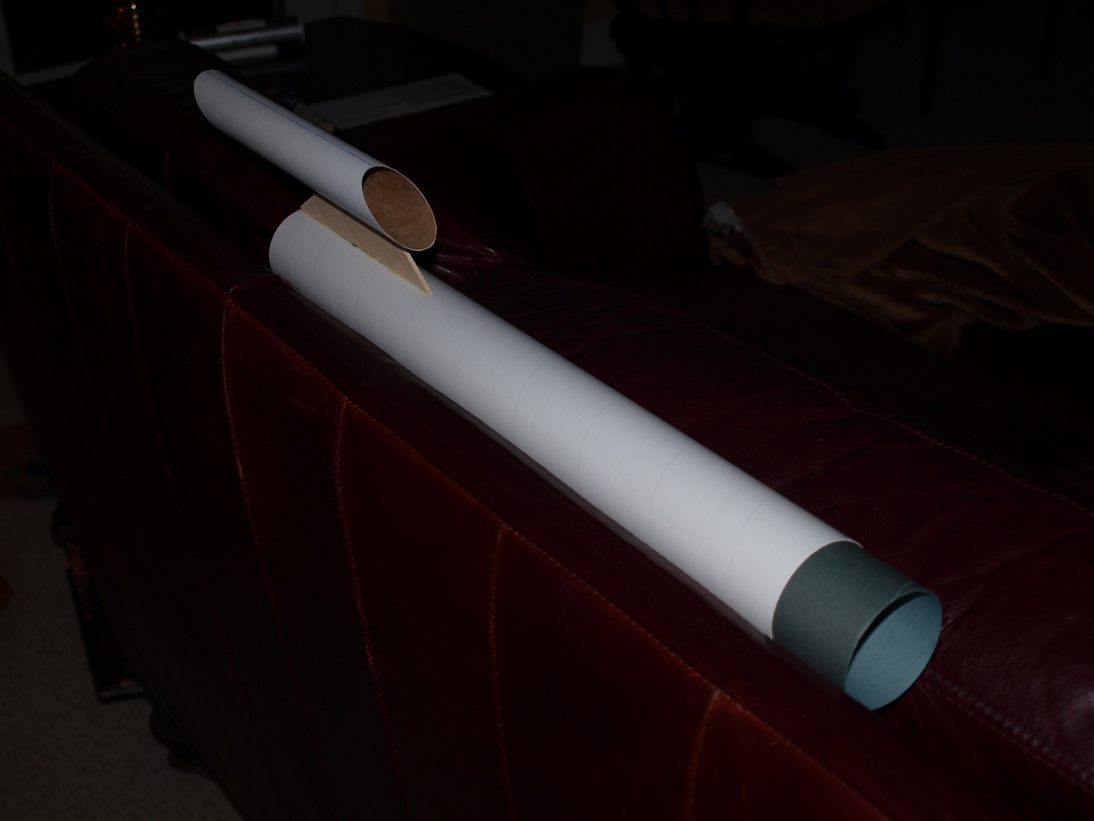
I wanted this to be an upscale from the start, and after comparing the available nose cones on the Semroc site, I opted to go with a BT-70 main body tube with BT-55 tube fins, making it a 1.67x upscale. Since it was going to be a fairly large, draggy bird, I felt that making it E-powered was a moral imperative. Plus it would be cool. I also had a Semroc BT-70 baffle that I'd been looking for a project for, so the Viking 4 became that project. This would save me on Kevlar because I normally tie my Kevlar around the motor tube behind the front centering ring, then run it up through the body tube. With the baffle I just had to knot it in behind the front plate of the baffle, and glue it in place, which meant I needed a foot or so versus my usual three feet.
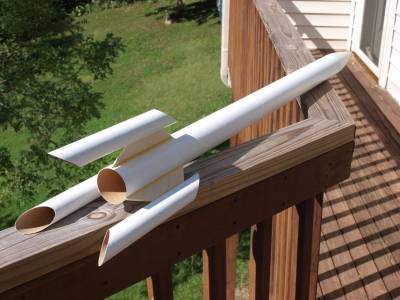
Construction was on the order of any 3fnc bird, made slightly more difficult by the tube fins. I decided that the best way to attach them was to glue the fairings to the tube fin, then attach the resulting structure to the main body tube. This was accomplished with double glue joints using Elmer's wood glue. Once the fins were satisfactorily in place and sitting straight, they were secured lightly with masking tape.

The one oddity to the finished rocket is the tube fins, or "stabilizer tubes" as they're termed in the instructions. On the 1:1 Viking 4 they were listed as being 5.5" long, which would make them 9.2" long when upscaled by 1.67x. When mounted as shown in the instructions, the bottom of the tubes stick down far below the fairings. The drawings in the instructions show them mounted so that an equal amount of tube fin is on each end of the fairings. Don Fent included a scan of his actual FSI Viking 4, which looks a lot like the way mine turned out, so I'm thinking that this kit, like most I've seen from FSI, had wiggle room. It's all good.
Finishing
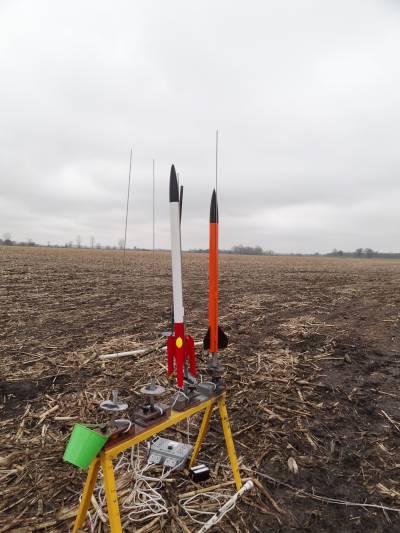
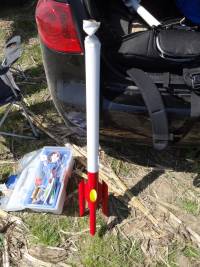
I'm not good at coming up with paint schemes, and since the Viking lineup was fairly light on actual paint suggestions and decals, that meant I'd be pretty much on my own. One thing I normally do with tube fins is to paint the inside of the tubes a contrasting color, preferably a neon color that gave it some pop. I started there, choosing a flourescent yellow for the inside of the three BT-55 tube fins. Since the insides of the BT-55 tubes would be fairly visible, I filled and sanded the internal tube spirals first, then sprayed them with Valspar white primer, followed by the flourescent yellow. Once the flourescent paint had dried, I masked off the inside of each tube with overlapping long strips of masking tape, then sprayed each tube fin with Valspar dark red paint. The two colors complimented each other nicely, and I got a lot of comments about the paint when I took it to the pads. The remainder of the body tube was painted Valspar gloss white and the nose cone gloss black, also Valspar.
Flight
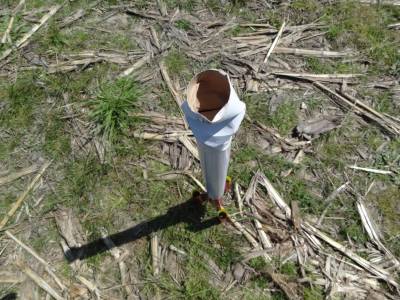
First flight for the big Viking was on a cold, windy March day at a TORC launch in South Charleston, Ohio. At the previous launch I had been unsure of which delay to use on the big upscaled birds I'd been building for the Estes E9. I initially thought that the E9-6 would be preferable, but after a couple of incidents where the rockets were pointing down and picking up speed, I opted to go with an E9-4 for the Viking 4. The rocket windcocked to the east immediately upon leaving the rod, arcing out over the field and ejecting as the rocket was almost horizontal. The 15" nylon chute brought it back toward the center of the field where it hit hard and dug in about 200' in front of the flightline. There was no mistaking the landing spot as the fast descent coupled with the soft ground and allowed the rocket to stick the landing at a 75 degree angle. The impact looked to be pretty jarring, but there was no damage to the rocket, a pleasant surprise.
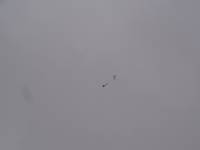
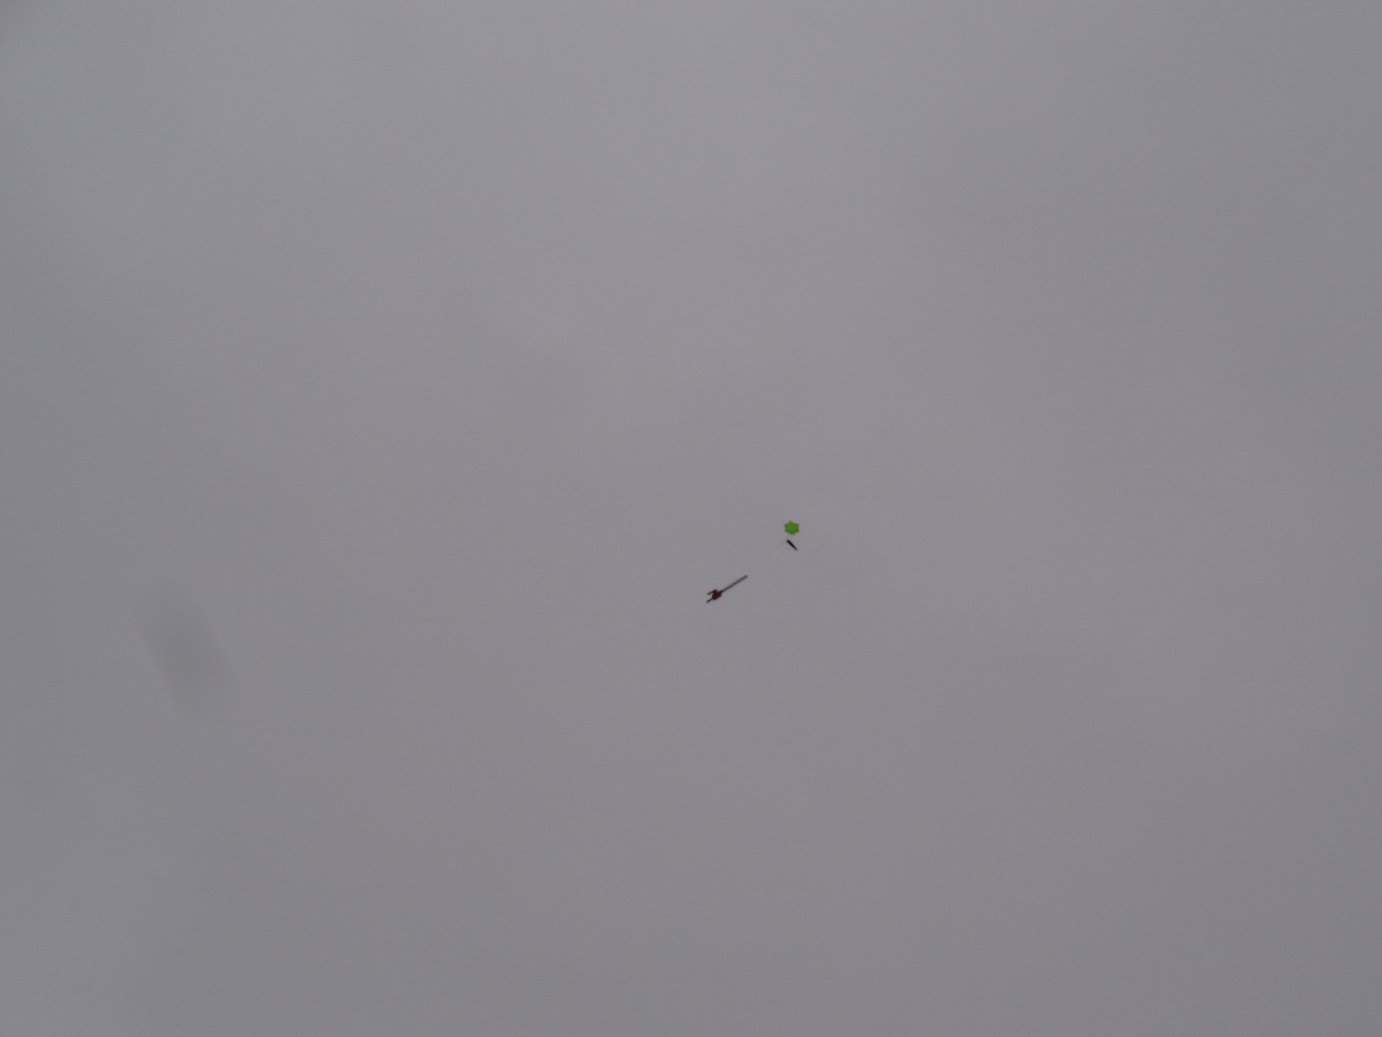
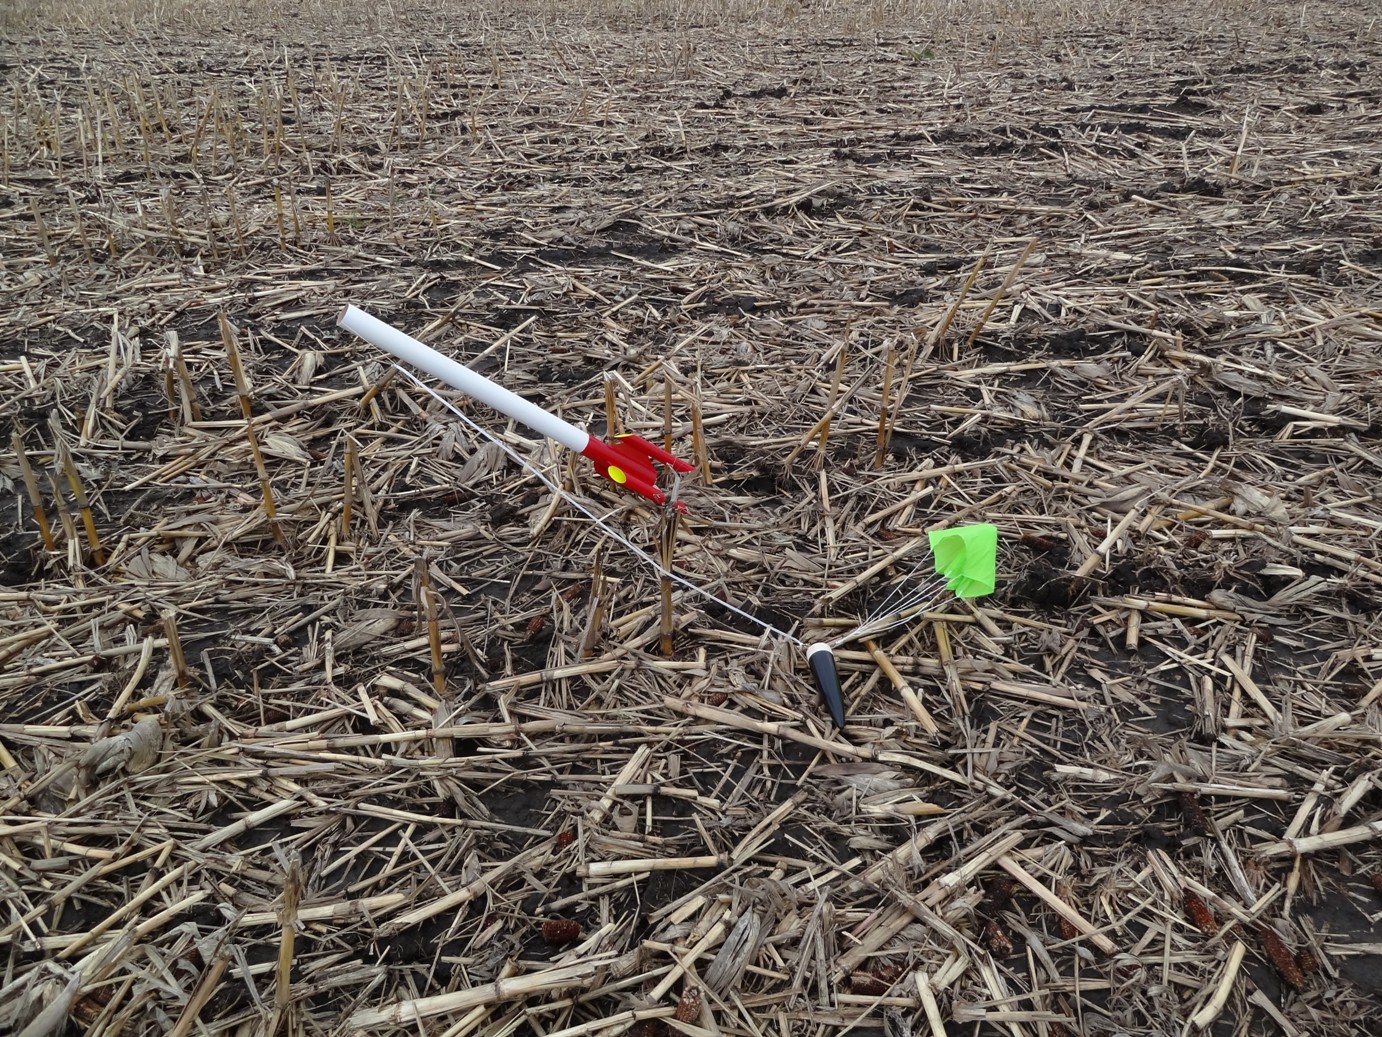
The second flight came on a totally different kind of day from a weather standpoint. It was bright, sunny and breezy when I joined the Tri-City Skybusters for GLRMR in Amherst, Ohio a bit over a month later. The Viking 4 was one of the rockets that I was most looking forward to flying that day, so it was my first on the pad, again with an Estes E9-4. I had taped one of my keychain cameras to the side of the rocket, anticipating a great flight video with the optimum weather conditions. Initially everything looked great. The rocket left the pad without incident and followed a largely straight flight path. It had just begun to tip over when the ejection charge fired, and that was when you could see that something wasn't right, both from the ground and on the video. At ejection the nose cone and parachute began a lazy drift back over the flightline while the body came in straight and hard. All I could hope for was a soft spot in the cornfield, but you could see that the landing was anything but soft. The body tube hit and bounced several feet back into the air. While I was standing in shock, wondering how much of the body tube that I'd be able to salvage, something bounced in the dirt just off to my right. It was the engine mount, whole and complete with the expended engine still hooked in place. My shock increased by an order of magnitude.
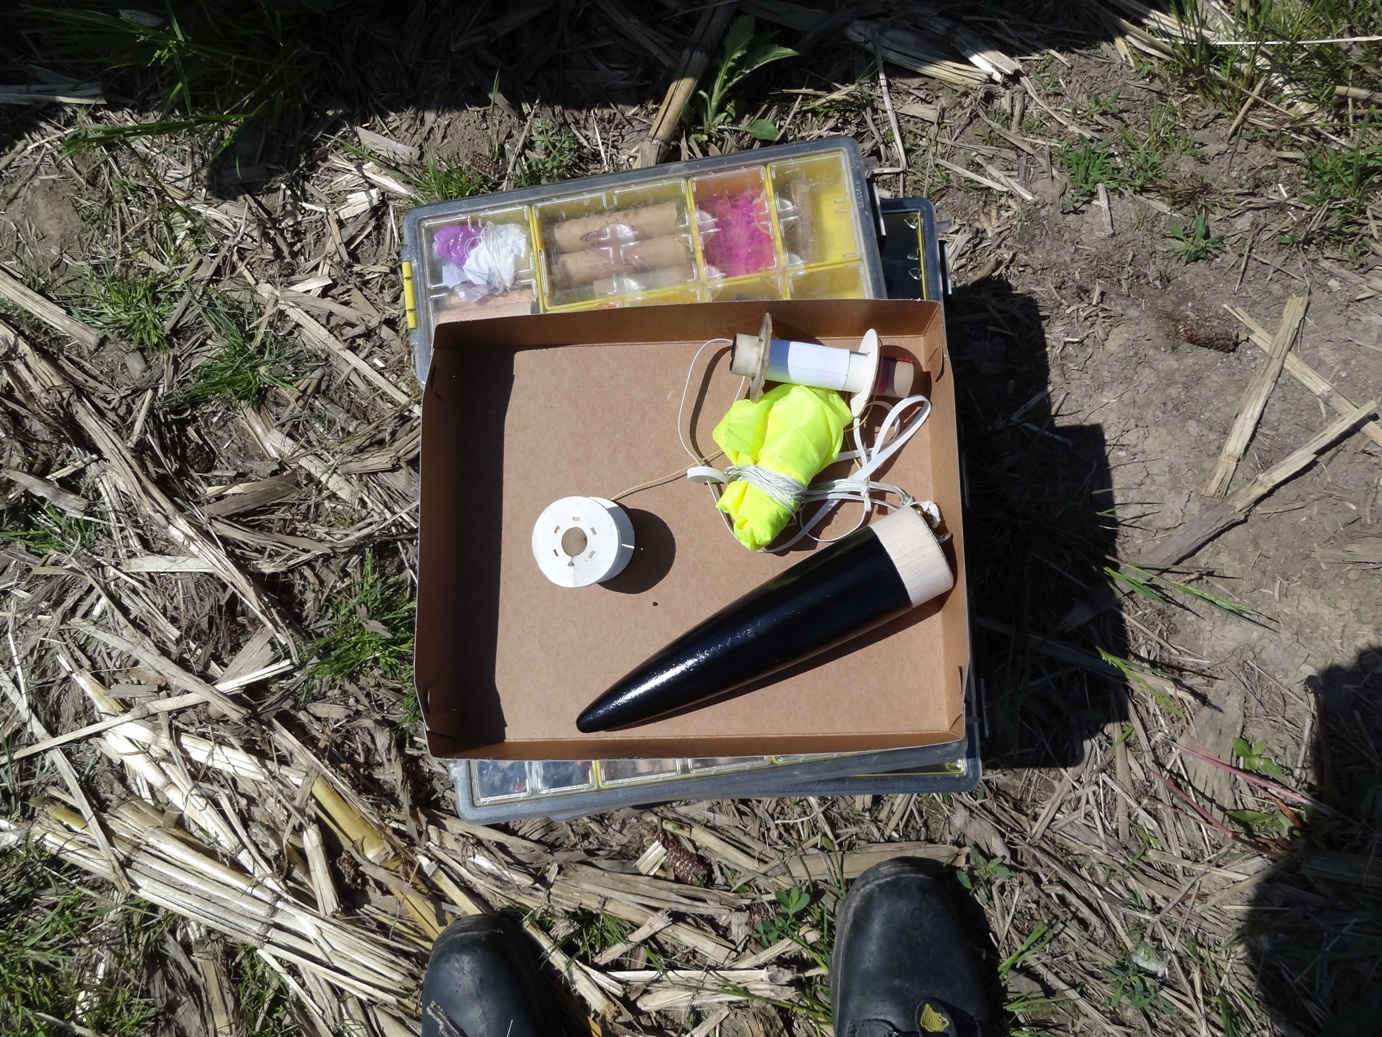
The actual damage wasn't nearly as bad as I'd feared. The top six inches of the body tube were crushed as expected, but the real surprise came when I picked up the carcass and looked in from the rear. I thought the Kevlar may have snapped and caused the chute and cone to head out on their own. I didn't expect to find a clean tube. All that was left of the baffle was the bottom glue fillet. The entire baffle, malformed and delaminated, was still attached to the shock cord. Not only had the ejection charge blown the motor mount clear, it had done the same with the baffle. That must have been a heck of an ejection charge.

Recovery
I used two different chutes on the two different flights I've made with the Viking 4, but only one got a fair trial. That was a 15" nylon chute on the first flight, which was made in a fairly stiff breeze. Considering that the rocket "stuck the landing" and wound up sticking out of the soft ground at an angle, I'm thinking that the 18" I had packed for flight #2 might have been a better idea. Hopefully we'll see on flight #3.

Summary
Pros: Classic lines and the paint turned out nice. Great flier on Estes E9s.
Cons: Had there not been an incident with the ejection charge on the second flight, I'd say none, but finding the body tube with all of the internals blown out says to me that there was an issue somewhere in the process. I've never been one to be stingy with glue, and the Elmer's White Glue I used for the Viking 4 has been used with many of the other rockets I've built in the last two years without a problem. Estes motors have had some serious kick in the ejection charge for the past few years, so I'm tending to lean that way. Maybe the charge was just too robust for the space between the engine mount and baffle. Got me. I'd love to hear any other opinions.
 |
 |
Flights


|
|