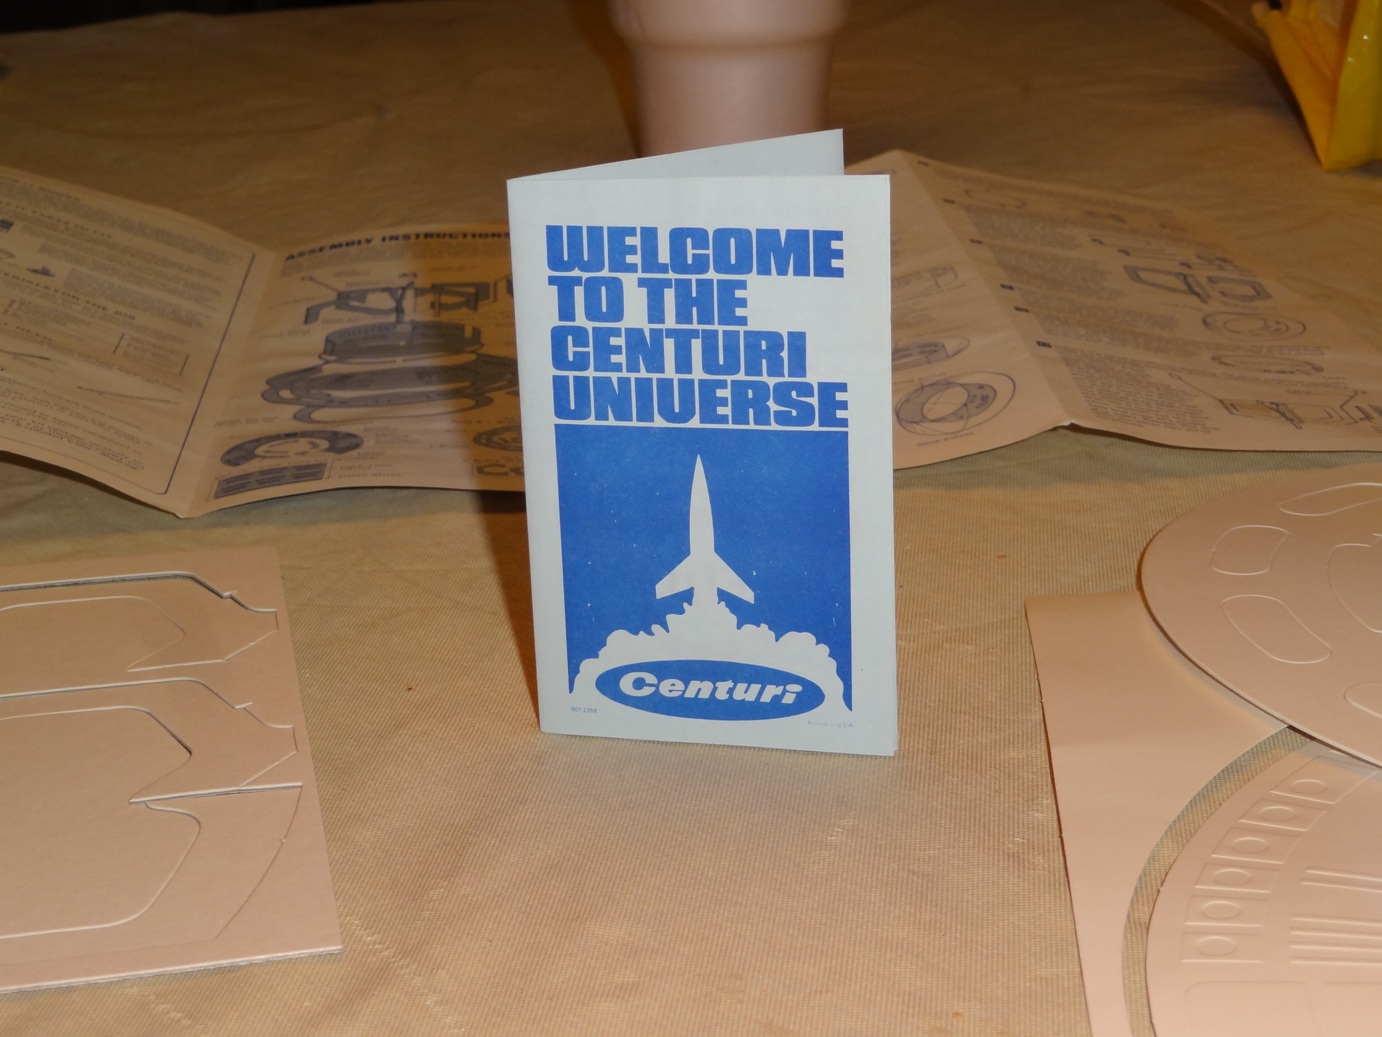
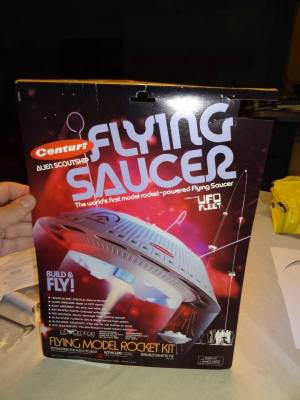
Centuri - Alien Scoutship Flying Saucer
By Bill Eichelberger
2013-11-26
| Manufacturer: | Centuri | |
| Style: | Futuristic/Exotic |

-untitled-
2013-11-26
I picked up a couple of these last year for $20, which I thought was a great price for some vintage rocketry thrills. One of the kits was incomplete, but had parts that would serve well as backups.

Now, where were we?
2014-06-28
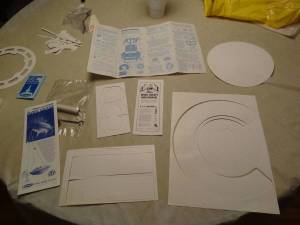
Obligatory parts picture:

The picture is a mix of parts from both kits. It never hurts to have a spare around.
Actual construction begins
2014-06-28
A bit tough on the nerves, this vintage kit building stuff. I have two shrouds, so two chances to get it right, but my history suggests that I'm two short. Nonetheless, I got the job done with no muss or fuss.
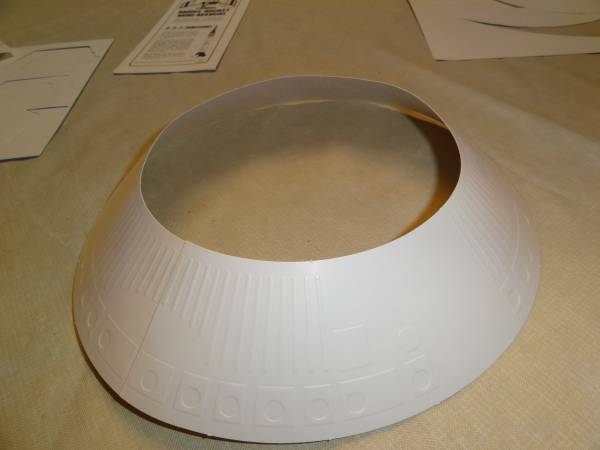

It's, uh, paper........
2014-06-29
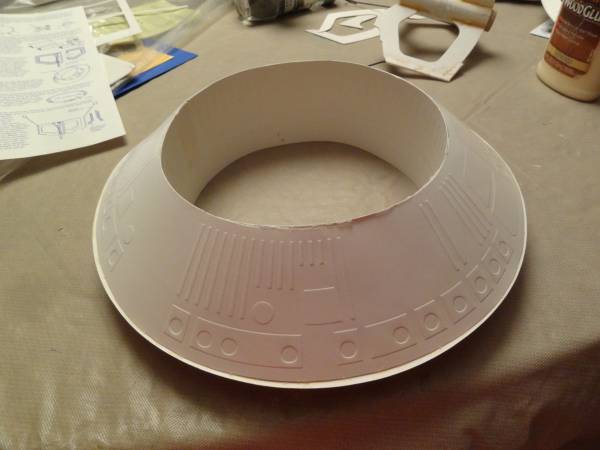
Not 100% convinced that this is going to be able to hold up to the stress of liftoff, but I'm interested in seeing it through. The main body section is together, and I know the parts that follow will bring more stability to the structure, but it feels pretty flimsy at the moment.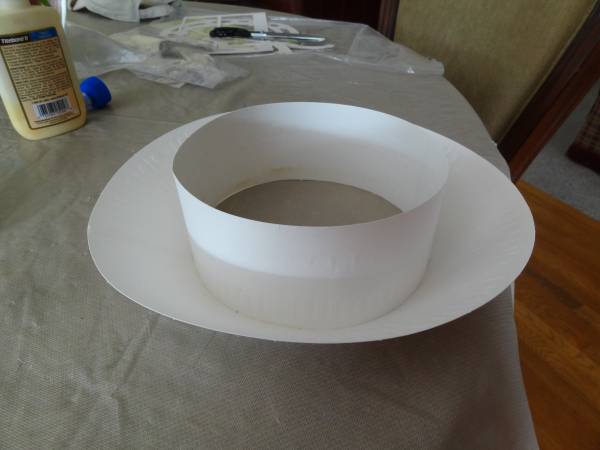

Near tragedyverythin
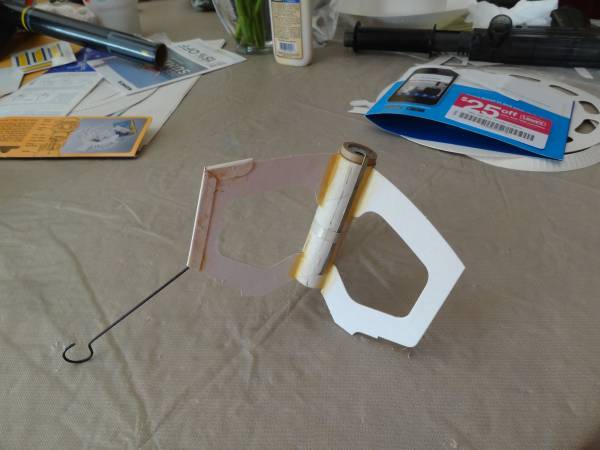
2014-06-29
I was reading through the instructions last night while watching the Reds game when I noticed that my COMPLETED engine mount didn't look like the one in the picture.
Yep, I'd glued it together upside down. DOH! The last "leg" wasn't dry yet, so it came off fairly easily, and the second hadn't been filleted, so it came off with only a little resistance. The "leg" shown here was filleted and had long since dried. It was a lot tougher.
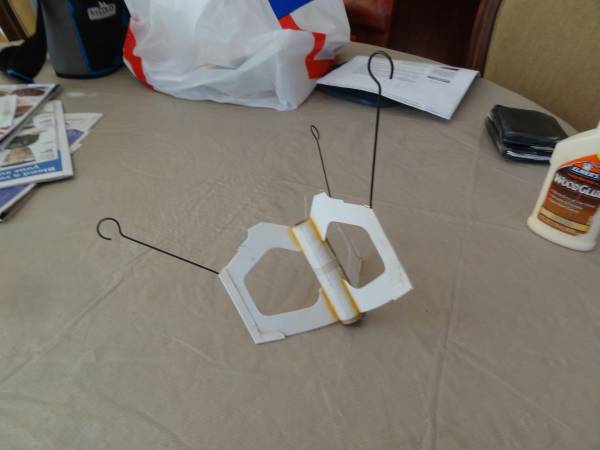
Everything is now as it should be. From here on out I pay closer attention to the instructions.

Ever onward
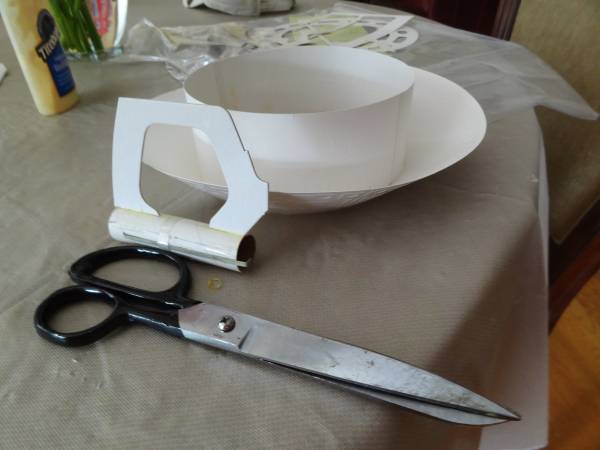
2014-06-30
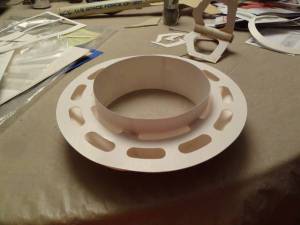
This is the completed motor mount/landing gear. I really didn't think that there was much chance of this structure feeling solid, but thirty years ago they thought this out nicely.

We have reached the point of dry fitting
2014-06-30
Yeah, it's not exactly part of the instructions, but I couldn't resist a dry fit.
I have a plastic Quest saucer downstairs that I occasionally fly so that I can say I flew a C6-3 at B6-4 Field. It's pretty obvious that it owes the Centuri saucer a design debt.

And, we're back......
2014-07-13
Tonight we creep up on actually making this thing airworthy. Yeah, I know what you're thinking, "Wow, I didn't see that coming!" Well, to be honest, neither did I.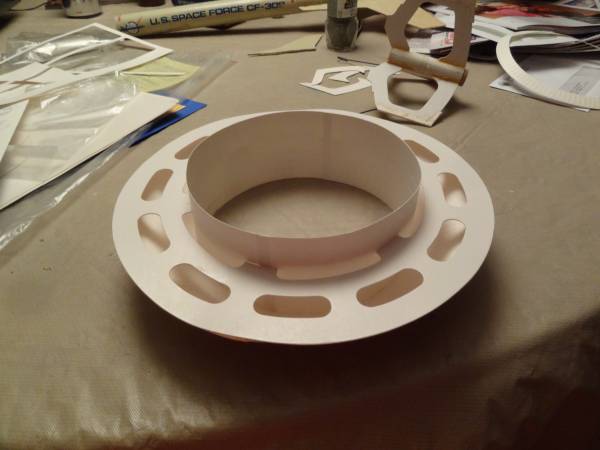
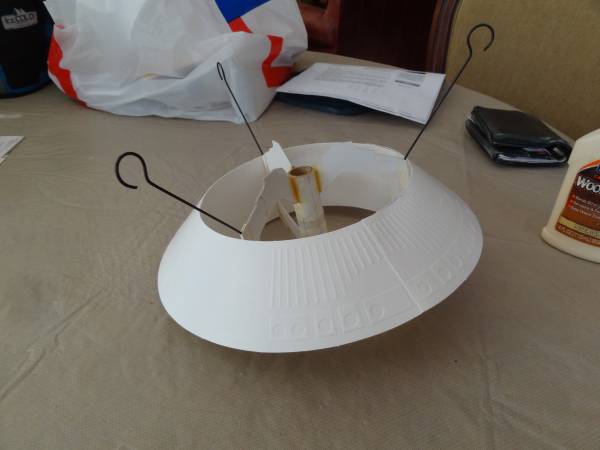
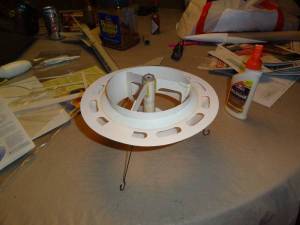
Here we see the ring attached. Not long after this picture was taken I placed glue fillets on the tabs that connect the ring to the core tube. Unfortunately I didn't get a picture of that. Trust me, they're there.
The top view shows about 1/16" of the ring, which freaked me out at first. I checked the instructions. It's supposed to look like this. In reality it's not the most squared up thing you've ever laid eyes on, but based on the materials I'm working with here, I feel pretty good about it. Lots of glue reinforcements. This thing is going to be quite the pig leaving the pad.
The finale for tonight....
2014-07-13
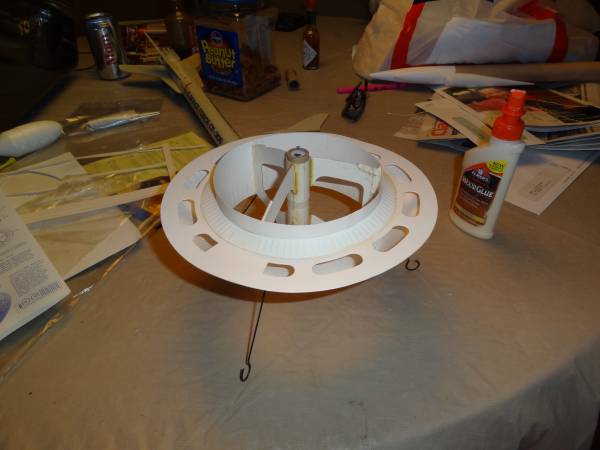
No turning back from here. This is the motor mount glued in place, as well as the minor shroud. Tomorrow I'll add the supports, detail strips, and launch lug and then start gluing the joints all over again. After that, we paint, to add a few more layers of fat to the pig.
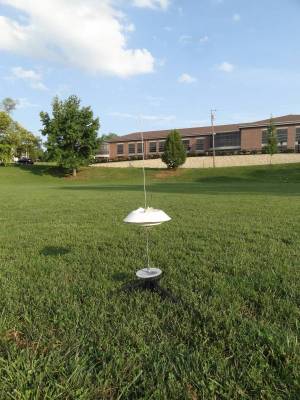
Flight report
2014-08-30
Construction was finished but for some fillets, so I saw no harm in giving it a test flight.
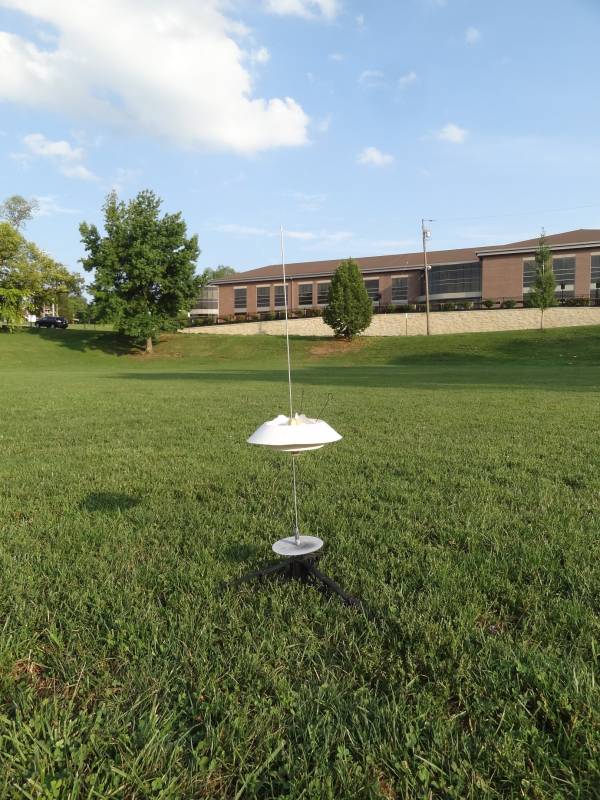
Flew well on a C6-0, but a couple of things surprised me. 1) It gets off the pad pretty fast. No liftoff shot. 2) It landed upside down, but I've been told that this is normal on a motor other than a B4-2 or a C5-3. As it was, it topped out about 150 feet, which is what I expected. I'll finish the fillets tonight, then hopefully have it painted for the next flight.
Sponsored Ads


 |
 |