Estes #1929 - Stealth
By Lester Anderson
2011-09-02
| Manufacturer: | Estes  | |
| Diameter: | 0.9760 inches | |
| Skill Level: | 3 | |
| Style: | Futuristic/Exotic |
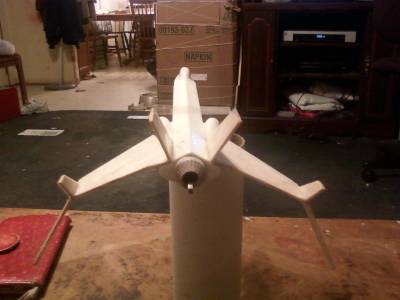
Well, this is a surprise for me. The first build entry for the old Estes Stealth rocket. As mentioned in the title, this is Kit #1929, made during the Damon era of Estes ownership. For those of you who have never seen this rare bird, enjoy my entry. This one is actually my second build for this kit. The first one happened in 1984, when the kit was new. Building this kit almost made me feel 13 again.
Construction
2011-09-02
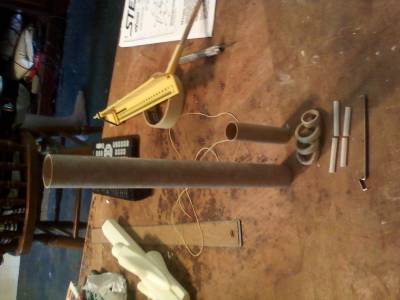
First, I want to thank Geoff Kerbel in Arizona for helping make this build possible. He willingly sold me an extra plastic body tube he had not been using.
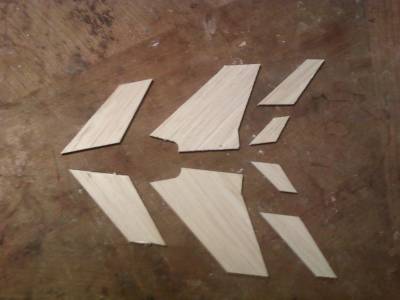
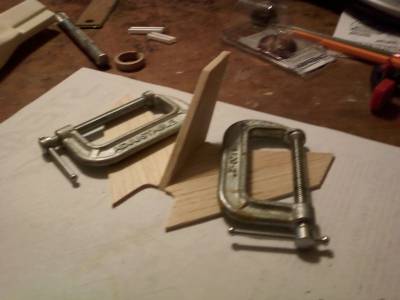
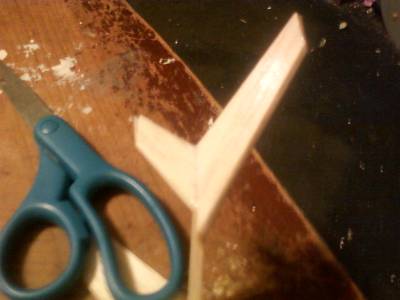
Basic construction started by assembling the missing pieces, like the fins and tubes. This is where http://www.spacemodeling.org/JimZ/index.htm was very helpful, as he has the PDF file of the original instructions available. A simple download and print, followed by a little cutting with an X-acto knife gave me new fins and a parachute tube. All the other standard odds and ends were from my parts stash.
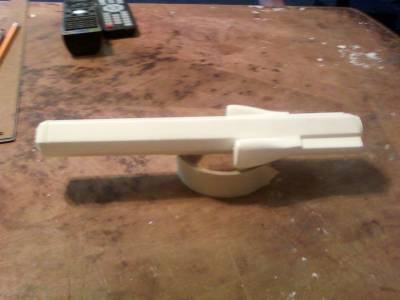
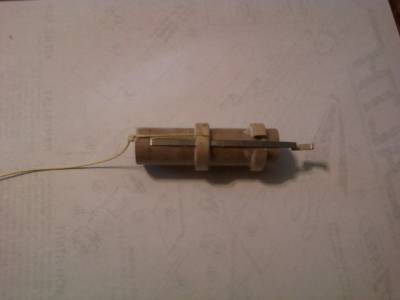
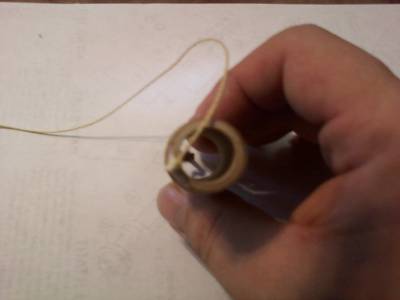
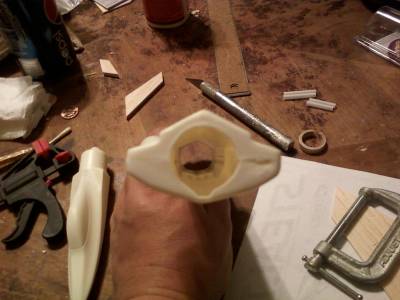
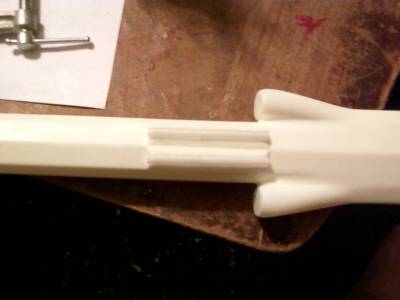
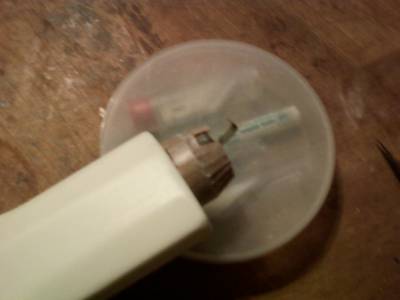
As per steps #1&2 of the original instructions, I started with the motor mount assembly first. I did, however, do 2 modifications to it. First, notice the length of Kevlar thread coming off the top of the mount, my replacement shock cord from kit standard. I doubt that with this plastic body I will have a zippering issue with it. And I know my photo is a little blury, but the end view of the mount is ment to show the forward thrust ring inside the mount tube. This was to give the kevlar something stronger to hook to. The exact arangement of the kevlar is around the upper outer centering ring, thru the engine hook slot, then around the upper thrust ring, then knotted at the top.
Next, I skipped to step 6 and inserted the motor mount into the parachute bay.
Backtracking to steps 3,4,and 5 was fin assembly.
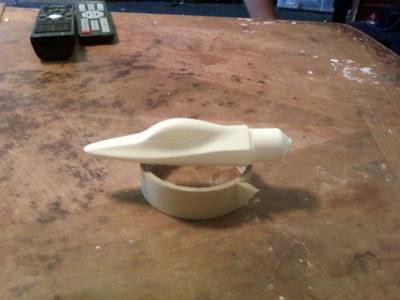
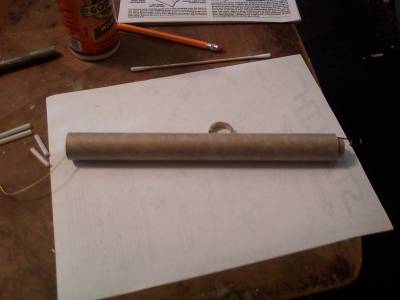
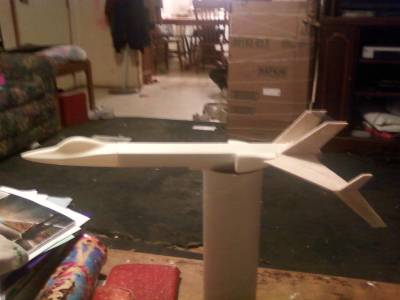
Drying time left me with my hands empty, so I moved on to plastic body prep. Estes aparently blow molded these pieces, so some extra was left that needed trimed off.

Before doing step 9, I skipped to step 16 and glued the launch lugs on to the outside of the body. I didn't have any that were 2 3/4" long, so I subbed some that were 1 1/4" and 1 1/2".
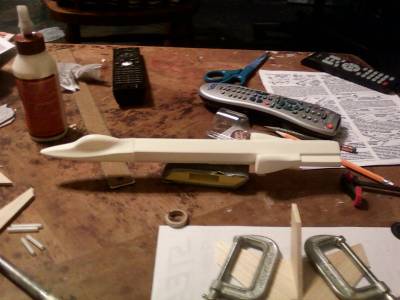
And at this point, step 9 could no longer be delayed, so into the plastic went the parachute tube assembly, followed by the aft thrust ring.

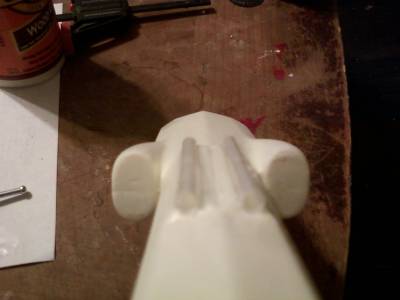
Next came another minor modification, purely for looks. I added a "jet exhaust constrictor" to the outside of the aft thrust ring. This was a real pain to fold all 25 little tabs down and around each other to simulate that look, especially since I had to trim 3 of them down for the engine hook to fit thru the part.
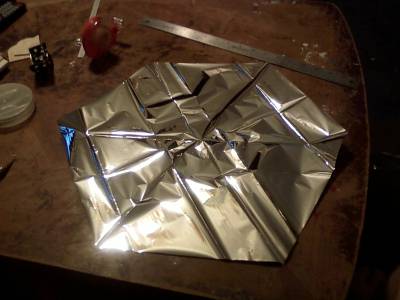
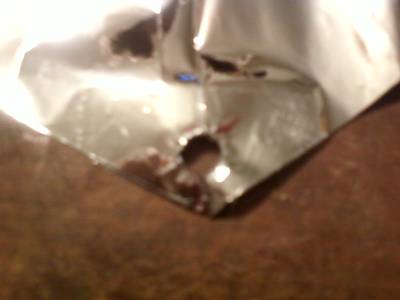
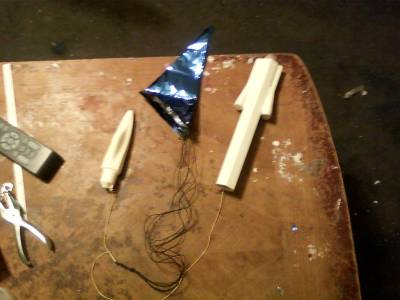
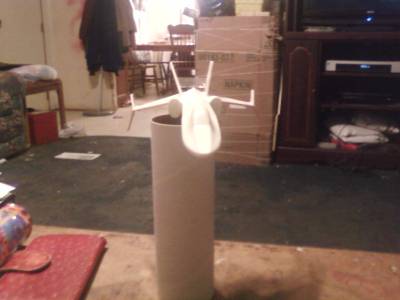
Ok by now you all are as likely as confused as my son was about what sequence number we are at. Because of the Kevlar shock cord, step's 13 and 14 are omitted, so step 15 for parachute assembly. I didn't have any Estes 12-inch parachutes available, but I do have a lot of shiny mylar gift wrapping left over from the last Christmas after sale. So after a basic snowflake fold and a cut with a straight edge, I have a custom 16-inch parachute for this bird. As many of us know, this stuff tears easily, so a line of clear tape at each corner allowed me to use a hole punch to put the shroud lines thru. This was followed by tying the main body, parachute, and nose together.
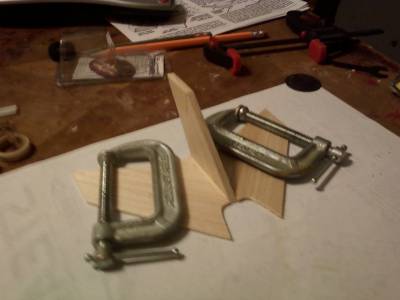
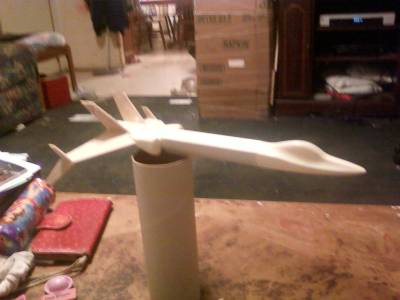
For those paying attention, you will notice that steps 10,11,12,17,18,and 19 are all that is left. Well, the next mod is my replacement for steps 10 and 17. I decided to strengthen the fins by laminating them in paper with epoxy. This also nicely filled in the balsa grain.

Step 12, mounting the fins. Construction is essentially done at this point, as steps 18&19 deal with painting and decals.
More will follow when I get this painted and decaled.

Paint and Decals
2011-09-18
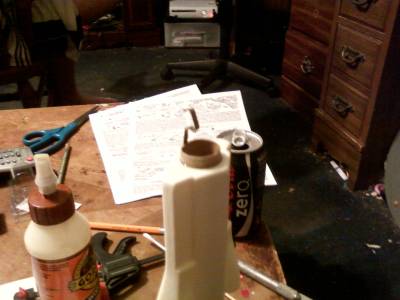
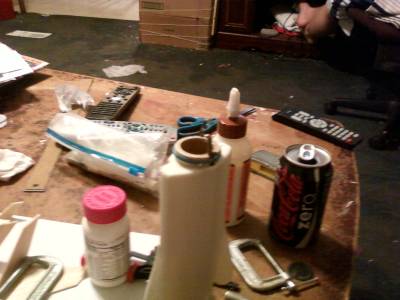
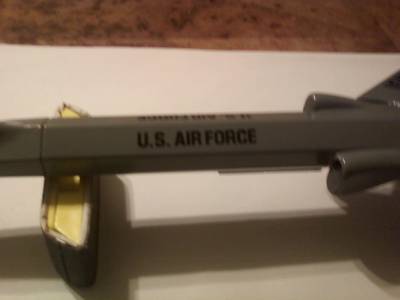
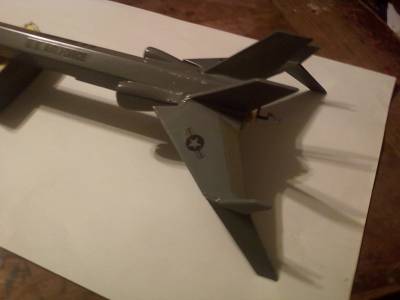
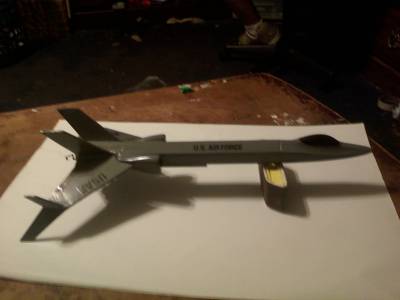
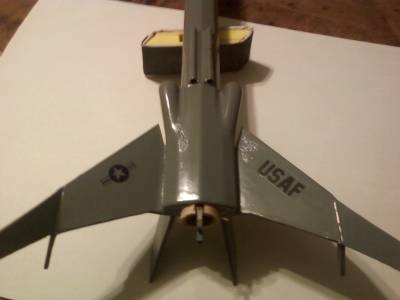
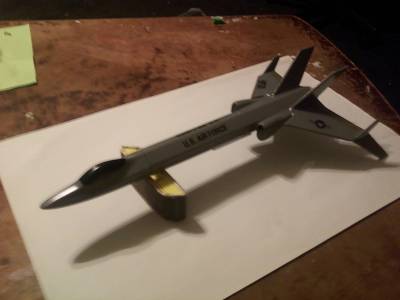
Well, I kinda got ahead of myself by not showing the paint prep, so I am sorry to all you who want to see it. Truth be told, I still kinda suck at painting from rattle cans. Lets see, a coat of Tayamia primer went on first, followed by a week of drying. Next came a little scuffing, followed by some Rustoleum red primer. 2 days of drying later, a little scuffing again followed by my , again Rustoleum, gloss medium grey. Re-drew all the decals in Microsoft Paint, and printed to decal paper, following with a sealing up of some gloss clear. Apply decals to rocket, and seal rocket with gloss clear. Look at pictures if you must, but please be kind with the comments. Like I said, not very good with a rattle can yet.


Re-dressed decals
2017-06-01


 |
 |