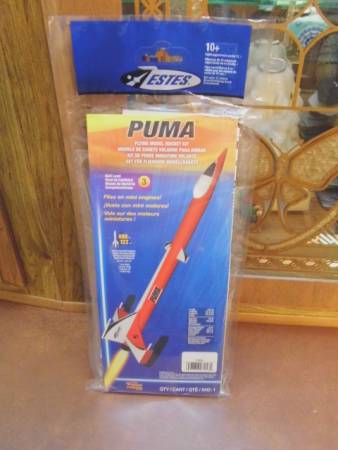
Estes Puma (7256)
By Steve Lindeman
2020-01-15

This is my first official build for 2020 and is the third of the Estes 13mm powered rockets in their current catalog that I will build. Unlike the last two builds this one should be a little easier as I don't have to cut side tubes. Production date stamp is 12/03/15.
Estes Puma (7256)

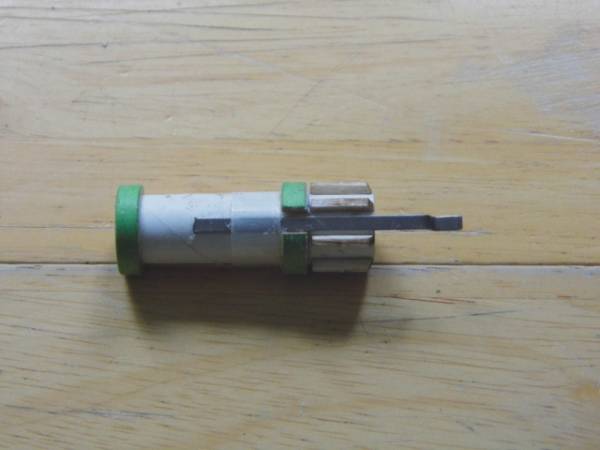
Motor Mount
2020-01-15
Once again this kit starts with the motor mount and again if you're all thumbs as I tend to be at times, a pair of tweezers will help with this section of the build as there are 8 tiny parts that need to be glued on the end of the motor mount. On a side note here: Check the green centering ring that you split before gluing it on to ensure proper length for wood pieces. After gluing the white marking ring on all eight pieces of wood were glued on. (I left a small gap that I needed to fill with putty ).
).

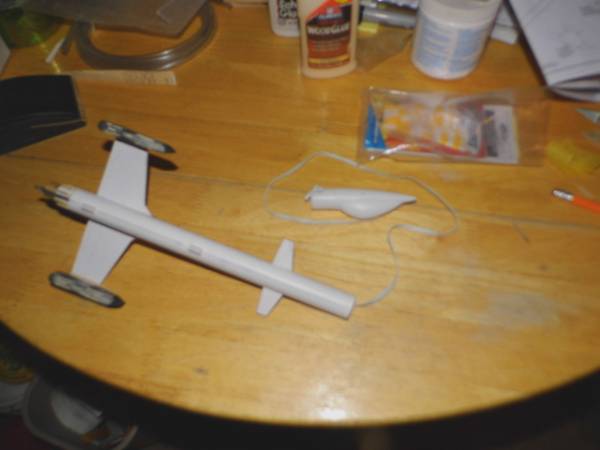
Motor mount
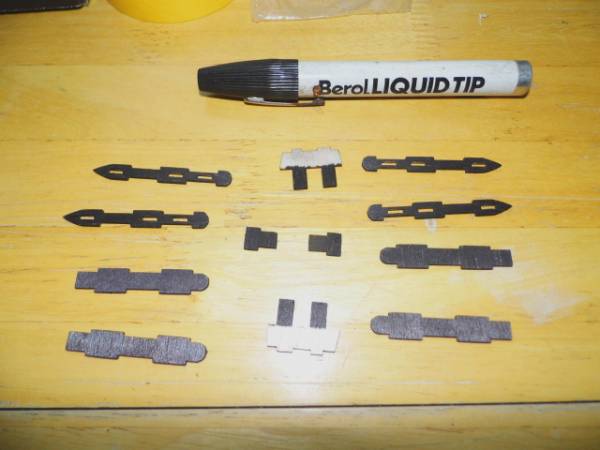
Wing Pod Prep
2020-01-15
After cutting out all parts (G-J) I dry fit them all together to see how hard they were going to be to paint and decided to color them first before assembly.

Wing pod parts

Wing pods glued together
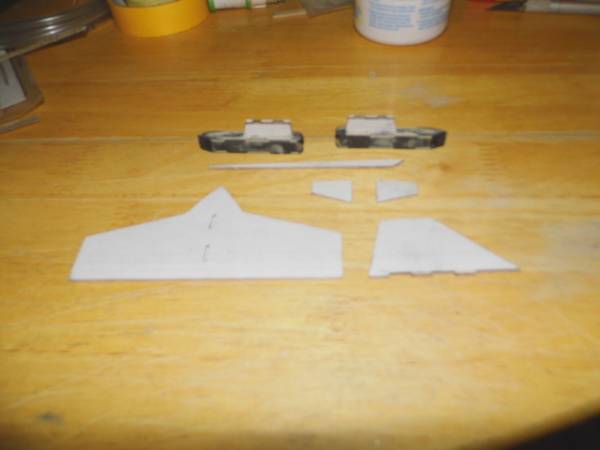
Wing & Tail Prep
2020-02-23
OMG. I can't believe I'm so far behind. Ok so I glued together the three wing pieces and the two tail pieces and set them aside to dry. After allowing ample time for them to dry I then paper coated them. I also applied paper to part "J" of the wing pod.

Wing, Conards & Tail prep
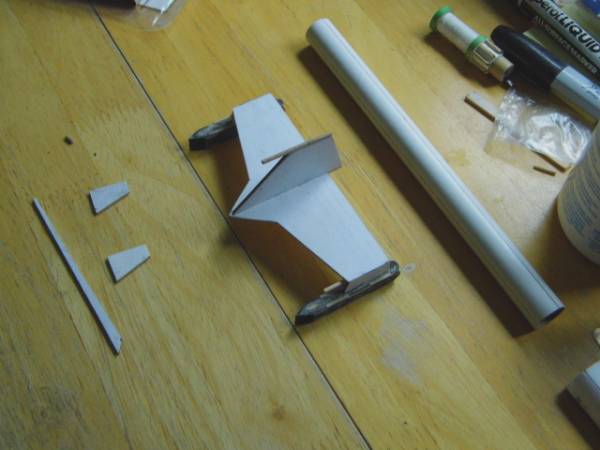
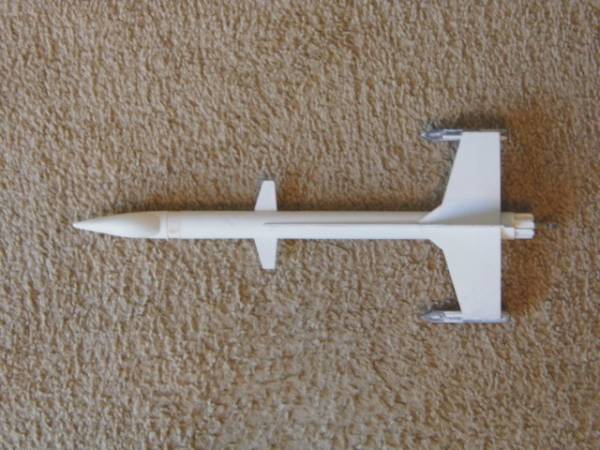
Wing & Tail Assembly
2020-02-23
I first glued the tail onto the back wing and allowed it to dry. Next I glued the wing pods on. After they were dry I cut and glued the three pieces of wood dowel "O" in place. While they were drying I took the body tube and marked it as instructed as this was the next step in the instructions.

Wing & Tail assembly
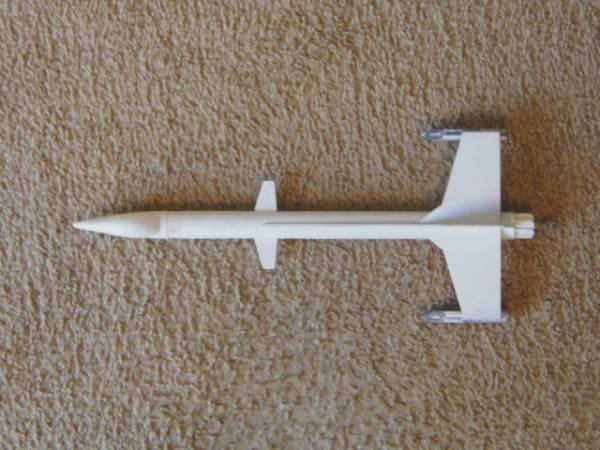
Attaching Wing, Canards, & Launch Lugs
2020-02-23
Next I glued the wing on. After allowing some drying time I attached the front strip "W" to the tail and body tube. Once it was dried I attached the canards and set the rocket aside to allow everything to dry. After that I glued on the launch lugs.
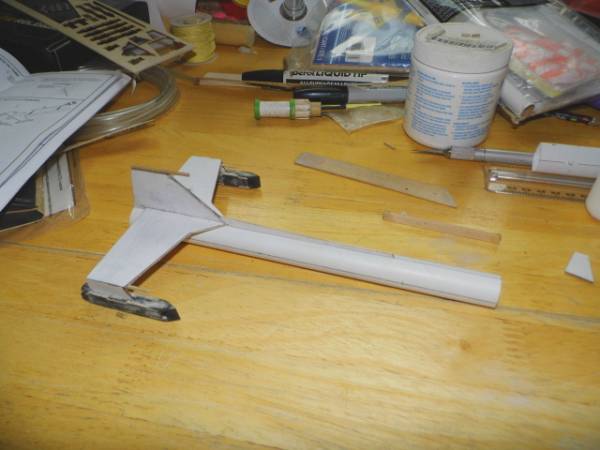
Wing & Tail glued on
Canards, & Launch Lugs glued on
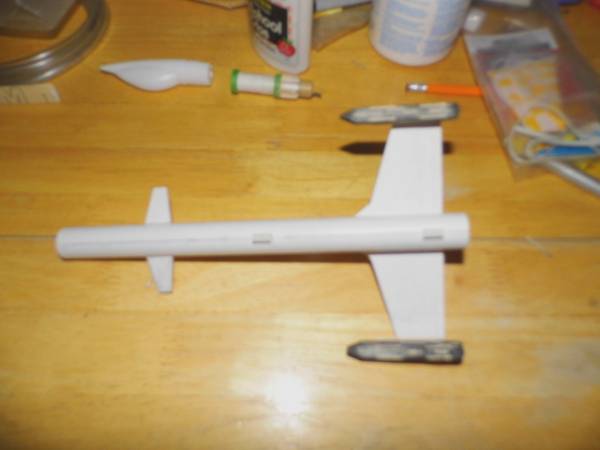
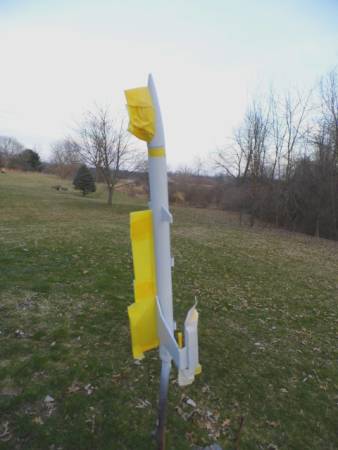
Install Engine Mount & Prepare Recovery System
2020-02-23
The final two steps were to glue the engine mount in and attach the nose cone and recovery system. All that is left now is to prime and paint when the weather warms up this spring.

Engine Mount & NC installed
Ready for primmer
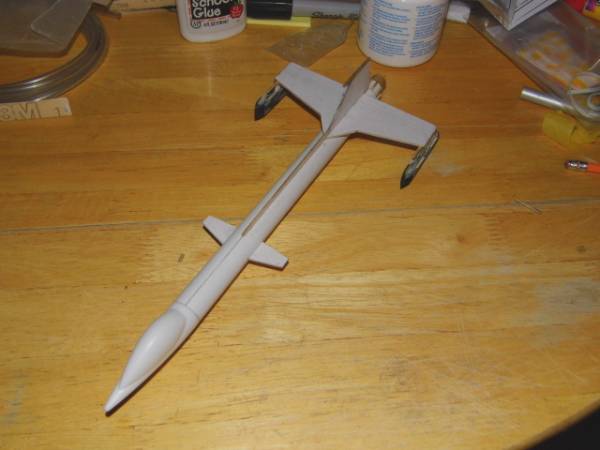
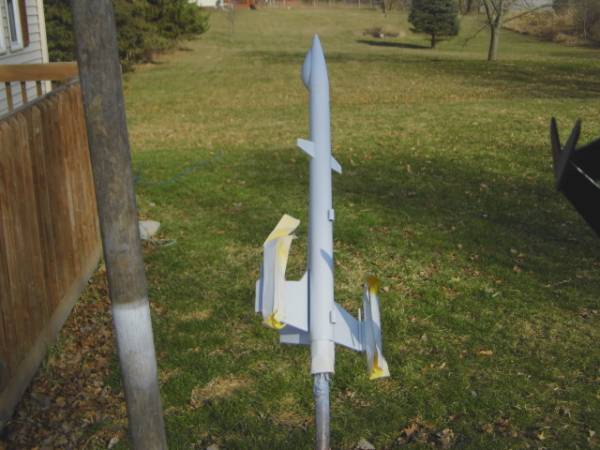
Primmer Time
2020-02-23
Weather got up to 53 degrees today so I decided to take a chance and apply the primmer. Turned out OK. I tried a test piece with some black paint but it started to fog up as its not warm enough so will have to wait for warmer weather to do the color painting. I also noted that the black marker keeps bleeding through the white primer on the wing pods and I've hit them with four coats of primer so far. Good thing they are getting painted black.
Rocket primed
Painting & masking
2020-03-27
Painted the nose cone canopy white yesterday and then put rocket aside for the day to dry completely. Today I masked off the rest of the rocket in prep for main color. May have wasted my time as the weather man is calling for rain for the next four days. Oh well, with this mandatory stay at home order from the President because of the Coronavirus I have lots of time to finish it.
NC Canopy painted white
Masked for main color

Painting & masking
2020-04-07
Well it finally warmed up enough to paint and I have five rockets that are primed and ready. I found a can of Dupli-Color Metalcast Anodized Surface Color System red paint and decided to go with it. I also decided not to go with the recommended chrome base and just sprayed it over the white primer. Didn't turn out to bad except I got a paint run on the left back end of rocket. After giving the rocket a day to dry I tried to sand it out but not much luck. Went back over the red to try and blend it in and then gave the rocket another day to dry. I then removed all masking tape. I then went back over all paint and did some touch up with a brush. At this point I also used a brush and some black paint to paint the wing pods and the tail of the engine mount. I then gave the whole thing one last day to dry.
Red paint applied
All paint touched up

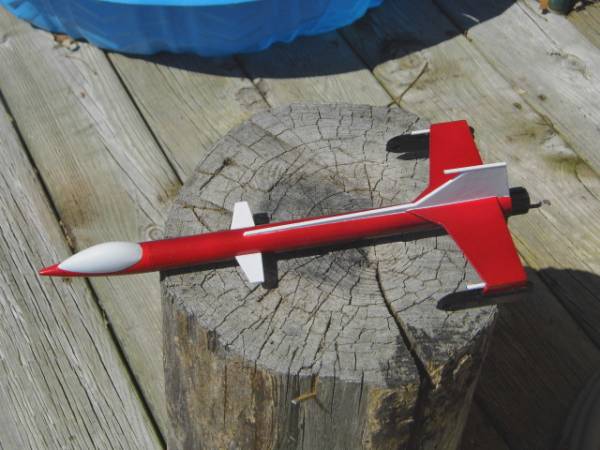
Decals and recovery system
2020-04-07
The decals for this build were a pain to cut out and a bit of a fuss to align properly and apply but look good once on. After giving the rocket some time to air dry I then clear coated it with Dupli-Color Clear EFFEX. After giving it yet another day to air dry I then installed the parachute as per instructions. Rocket is now ready for launch.
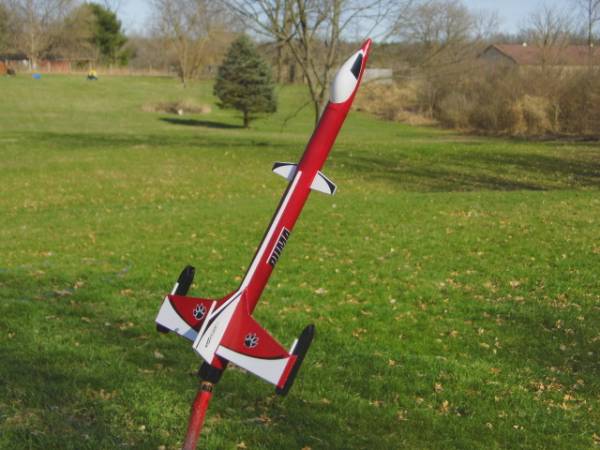
Decals applied & clear coated

 |
 |