| Diameter: | 2.60 inches |
| Manufacturer: | The Launch Pad  |
| Style: | Scale |

(Contributed - by Darren Collins)
 Brief:
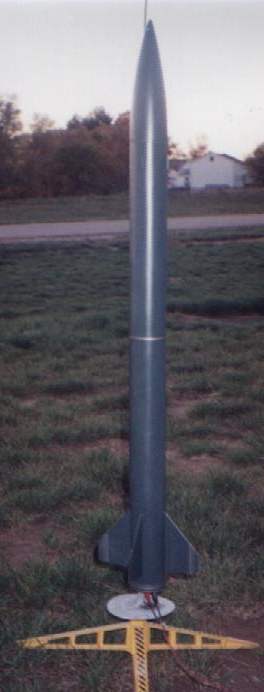
One of the larger scale kits by The Launch Pad. Listed as a skill level 2, but
I think this is the easiest level this company makes.
Construction:
Packaging was good. No damage. All parts fit okay. I coated the balsa fins with
thin C.A. glue as suggested after cutting them out. This caused them to warp a
little, but I was able to hold them straight while the body tube/fin glue
joints cured. I used yellow glue throughout.
There are two body tubes, with a coupler glued in between, with "Estes-style" centering rings on the motor tube.
The instructions said to form a paper shroud (included) and attach it to the plastic nose cone to give it a more pronounced pointed tip. I decided to pass on this step, and see how the rocket looked and performed without it.
Overall, it went together pretty easily. There was no thrust ring/motor block. I wish I had realized this earlier, so I could have used a slice from a spent D motor casing, but so far, the flat metal motor clip has been sufficient.
There was no placement instructions for the launch lug, I e-mailed the company, and they said most people have their own preference, they put them just behind the center of gravity, so I did, too.
Finishing:
There were no decals, so I put some automotive pin striping tape on over the
green spray paint. The pinstripes don't stick very well at the fin edges.
Construction Rating: 4 out of 5
Flight:
The first and second flights were on D12-5 motors. They were arrow- straight
with perfect 'chute deployment and recovery. The third flight was on a E15-7 it
was great! After a fairly long chase, my Type 30 was in my hands, in perfect
condition. A pinstripe ended up missing, but considering it was my first
E-motor launch, I was extremely pleased.
Recovery:
The nose cone comes off at ejection. There is a 10" piece of shroud line
from the nose cone to the shock cord. I think this is to prevent the dreaded
"bounce-back". The shock cord is about 40" of 1/4" elastic
and it is a mylar parachute. The mylar parachute worked great.
Flight Rating: 4 out of 5
Summary:
I think this is a great kit from a company that specializes in mid-power scale
models.
Overall Rating: 4 out of 5
* SPECIAL NOTE off of RMR from Chuck Barndt, President of The Launch Pad
Other Reviews
- The Launch Pad Type 30 By Greg Deeter
This is a single stage rocket, nice sized, over 3 feet tall. Skill level (2), being the most simple kit offered by The Launch Pad. It comes in a large retail type (Estes type) plastic bag with a peg hole punched header card and a full color cardboard insert which looks very nice. I purchased this kit and two other Launch Pad kits (the two others being the HARM and ALARM) at the same ...
- The Launch Pad Type 30 By John P. Jordan
Brief: The Launch Pad's Type-30 Artillery Rocket is a good introductory kit to mid-power rocketry. It's fairly easy to build and it flies great! Introduction: After launching model rockets with my eight year old daughter for some time we learned that the smaller the rocket the harder it is to find after each flight. Our most successful rocket was Big Bertha, which was easy to find and ...
 |
 |
Flights
|
|
M.A. (June 14, 2009)
|
|
A.J. (December 7, 2002)