NewWay Space Models - SkySpike & Square in the Air
By Steve Lindeman
2013-04-06
| Manufacturer: | New Way Space Models  |
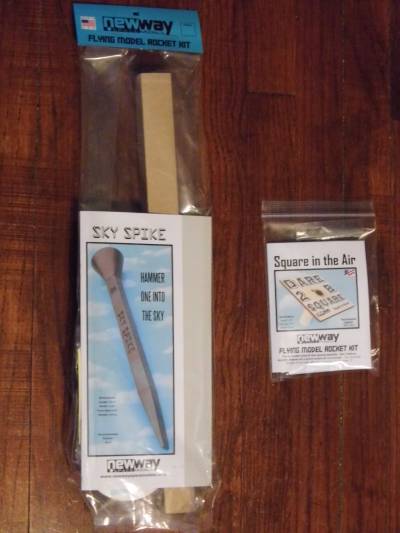
I ordered the SkySpke for $15.00 on Monday evening on "ebay" from "bluegrassrocket" and a priorty mail box was sitting on my porch Thursday afternoon when I came home from the store. Very fast service and the kit arrived undammaged. I was surprised when I opened it up to discover that it came with a bonus rocket the "Square in the Air" which lists for $ 5.00 in their catalog. This is similar to Squirrel Works, "Pie in the Sky" rocket exept that it is square and only consists of four pieces, a sticker and a 1 3/8 x 2 1/4" strip of sandpaper. For those of you unfamiliar with NewWay Space Models they are realitively new to rocketry but they have something different to offer. All their kits come with square tubbing. Thats right, I said square tubbing. Only the motor tube is round. Every thing else is square, even the launch lug (don't worry though as it is sized to easily slide up and down an 1/8" launch rod).
Will upload pics as soon as I can get around better (reinjurred facture in left foot and wife won't let me do a photo shoot. Making me stay off my foot as per docs orders).
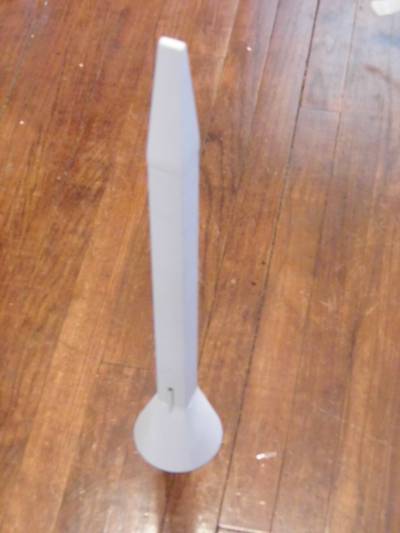
Square in the Air
2013-04-09
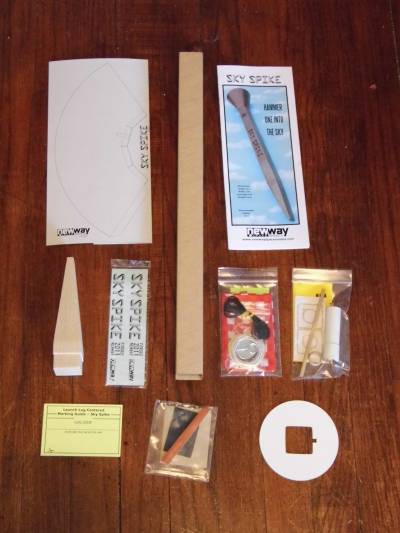
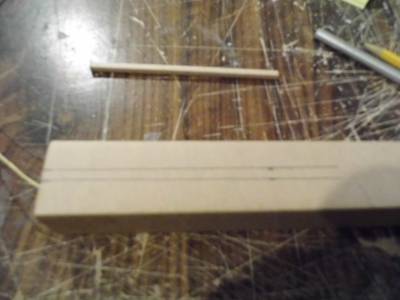
The contents of this kit are:
A - Engine Tube
B - Thrust Ring
C - Launch Lug
D - Plywood Top
E - Sticker
F - Sandpaper Strip
The instructions are on a single 8 1/2" x 11" sheet of paper folded in quarters and are clear and very well written with great photos. There are only four steps to completeing this kit.
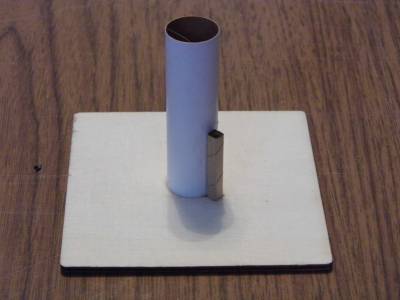
Step 1: I glued the thrust ring into one end of the engine tube and allowed glue to dry.
Step 2: I glued the launch lug to the engine tube flush with the same end as the thrust ring and again allowed to dry.
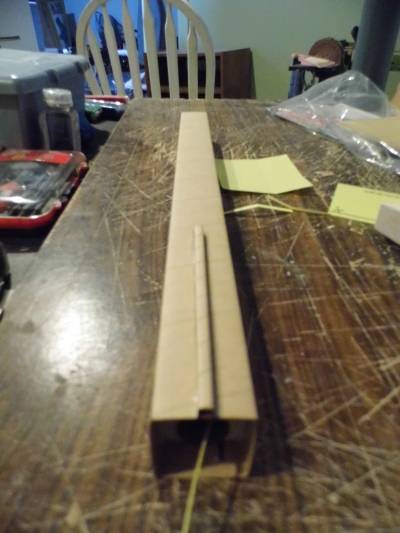
Step 3: I first checked to see which side of the plywood top fit better onto the engine tube as per the little note that they include here, and then glued the top on and applyed glue fillets to all joints.
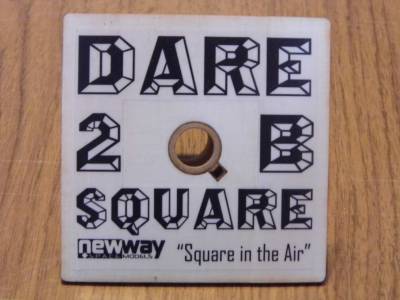
Step 4: After allowing a couple of hours for glue to dry, I cut the center out of the sticker and trimmed it down to size. I then sanded the plywood top with the supplied sandpaper, dusted it off, and applied the sticker to it.
All that is left now is to apply a single coat of clear paint to seal the sticker and help protect it.
NewWay Space Models - SkySpike
2013-04-14
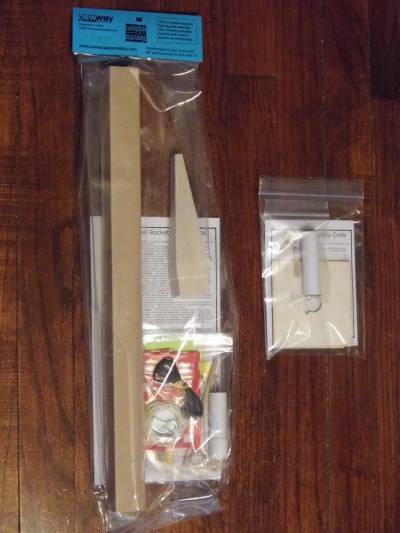
This will be a straight forward build by the book. The first thing I did was to go through all the parts bags to see what all they contained and was pleasently surprised to find what all this kit comes with. It includes three small sheets of sand paper, an Emory board plus a glue applicator stick which are items not included in most kits. The parachute assembly also comes with a snap swivel which is somthing else I haven't found in any other kit. It's extra items like this and great quality of all parts that make this a kit worth buying and building. Deffinetly a Five star rating in my book.
Note: Square rockets have some unique construction techniques so I read through the instructions twice and test fitted everthing before I started glueing anything togather.
Kit Contents
2013-04-15
The SkySpike comes with the following parts:
A-Body Tube
Engine Mount Kit:
B-Engine Tube
C-Thrust Ring
D-Engine Hook
E-Retaining Ring
F-Centerinbg Squares
Also included but not lettered was a 4" paper ruler (the yellow piece of paper in the bag for engine mount parts)
G-Launch Lug
H-Tail Ring
I-Screw Eye
J-Small Washer
K-Glue Applicator Stick
L-Decal Sheet
M-Lug Marking Guide
N-Paper Shroud
O-Nose Cone
Recovery Kit:
P-Parachute Canopy
Q-Shroud Lines
R-Line fastener Tabs
S-Snap Swivel
T-Shock Cord
U-Kevlar Line
V-Knot diagram
Sandpaper Kit:
W-Course sheet
X-Fine sheet
Y-Fine strip
Z-Emory Board
AA-Nose Weights
The only things missing are glue, paint and an Exacto knife. Very impressive.
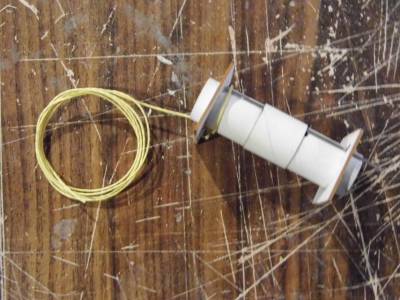
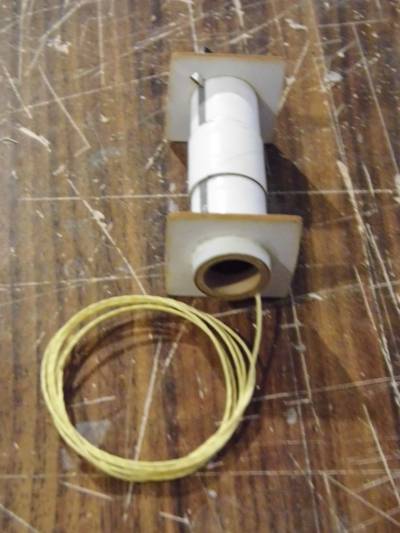
Engine Mount / Shock Cord Assembly
2013-04-15
This is a text book build so won't go into detail here but will do a review later. The only difference here is that you are dealing with square centering rings which need to be glued on parallel and at 90 degrees to the engine tube. One centering ring has a large notch for the engine hook, the other has a small notch for the Kevlar to pass through.

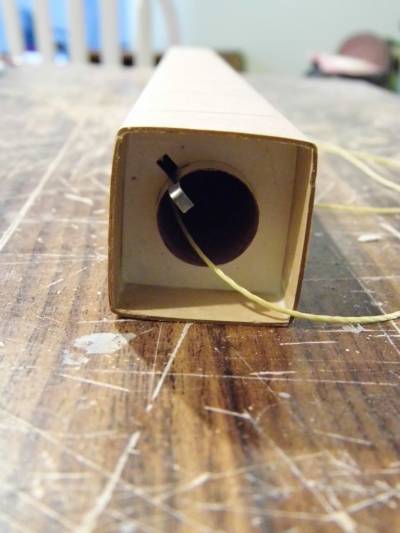
Install Engine Mount & Attach Launch Lug
2013-04-15
Again following the instructions I used the provided glue applicator stick and laid a bead of glue around the inside of the body tube and then slid in the engine mount into tube making sure that it was flush with end of tube. I then ran a bead of glue around bottom joint.
Next I marked where the launch lug goes and glued in on.

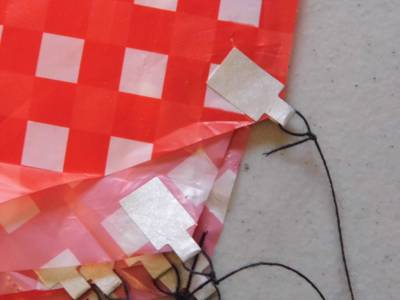
Shroud Assembly
2013-04-15
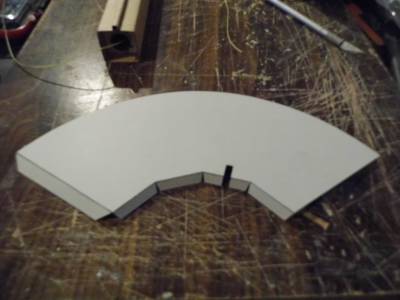
Now this is the hardest part of the build. First I did as the instructions say and I scored the lines around the narrow arc and then cut out the shroud. I then cut the lines and notch specified and glued the shroud together. After allowing it to dry I slid the shroud onto the BT.
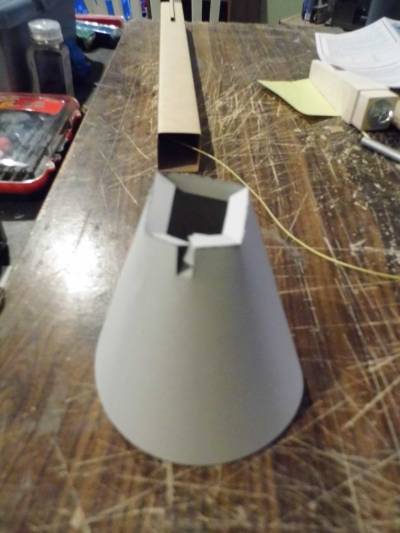
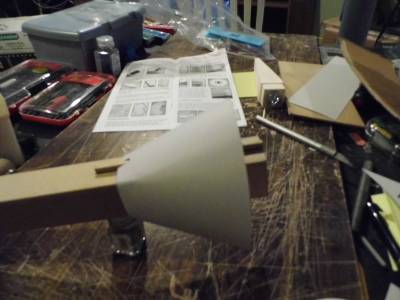
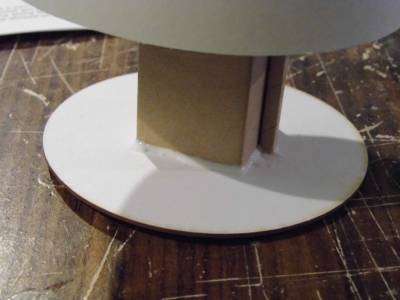
Next up was to glue the tail ring onto the end of the BT, again as per directions. I then allowed this an hour to dry. After that I slid the shroud down and glued it to the BT and tail ring as per instructions.
The final thing I did today was to mark the nose cone and install the weights and the screw eye with super glue. Also attached shock cord to Kevlar line. Total time invested so far; about four hours.

Parachute & Nose Cone Assembly
2013-04-16
This is the first time I've assembled a chute in this manner so I'll reserve judgement about it till I see how well it holds up under actual recovery. The lines are tied to tabs attached to the chute instead of being tied directly to the chute with reinforcers like most companies do.
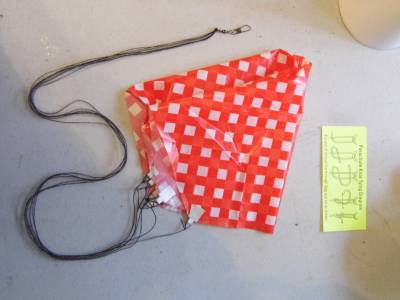
The last assembly step was to tie the shock cord to the nose cone and clip the parachute to the screw eye. Rocket is now ready for primmer.
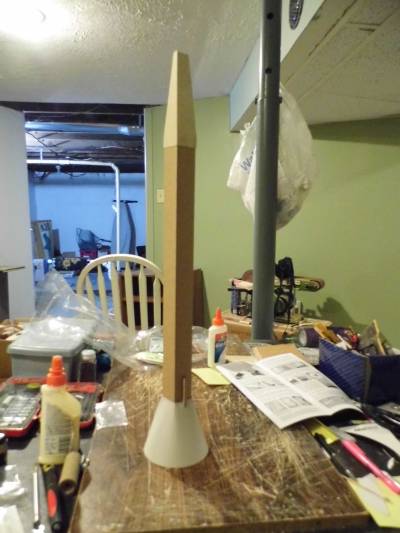

Prime & Paint
2013-04-17
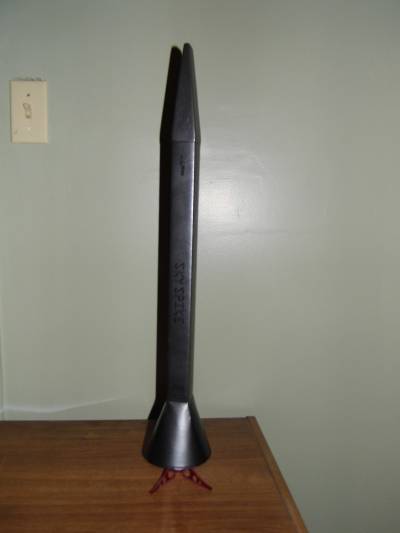
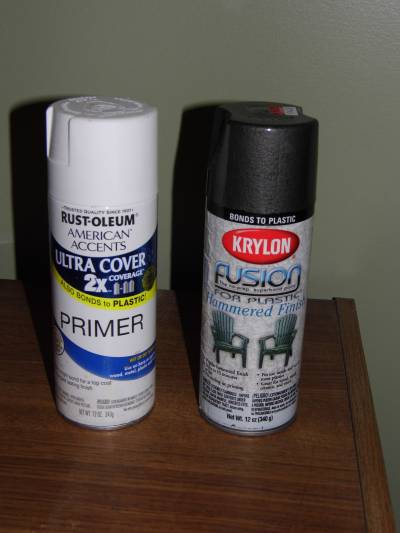
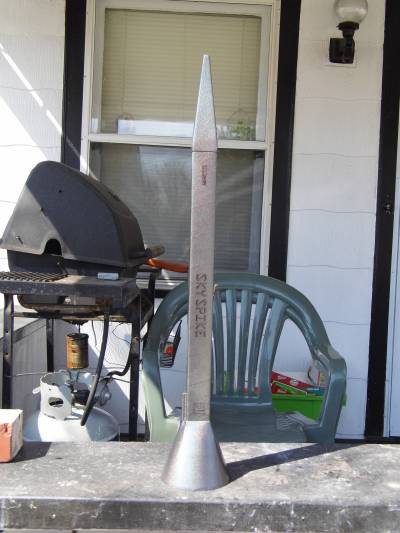
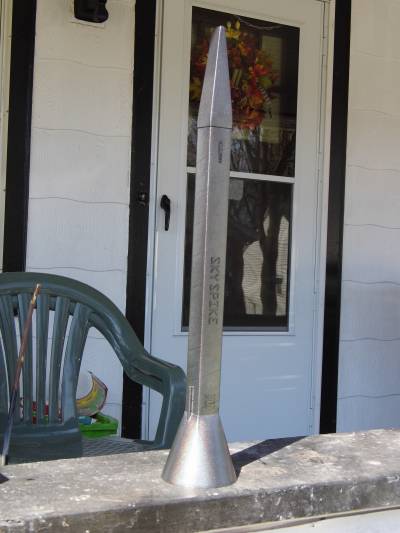
Sprayed rocket with of two coats of Rust-Oleum 2x primmer with the usual sanding between coats. After All was dry I applied two coats of Krylon Fusion Hammered Finish Dark Gray to give it a forged steel look. Left rocket outside to air dry for most of the day then applied decals. Will give it a clear coat tomorrow weather permitting, it's supposed to rain.

Clear Coating & Photo Shoot
2013-04-23
Well it was actually two days ago when I finished this build. I didn't really like the way the "Hammered Finish" looked per say, so I decided wo give it a couple of coats of my imfamous Clear Effex paint just to give it some sparkle. Much better looking. Now to find a day to go fly it.

Maiden Flight
2013-05-21
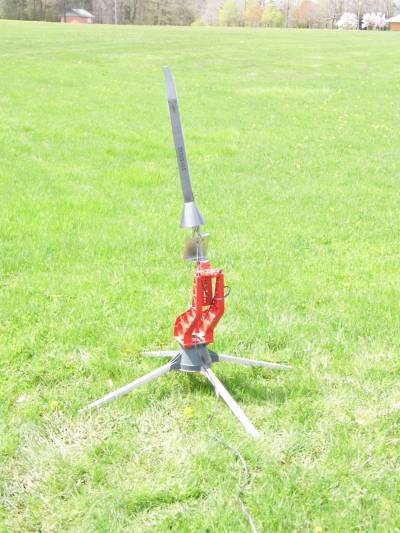
On 05-03-13 we finally made it to the park for a day of flying. The Sky Spike was the 5th and final rocket launched for the day. Wind was light (5 to 7m.p.h.) so I angled her slightly into the wind. The flight was picture perfect. Nice smokey trail going up due to high drag rear cone design and parachute was deployed right at apogee. This rocket calls for a C6-3 motor only and this is the perfect choice for this model. Recovery was very close to pad, maybe 60'. I usually cut a spill hole in my parachutes but the wind was low and I'm going to do a review so I left the parachute stock. Was relieved when this rocket didn't drift to far considering it got some respectable altitude.
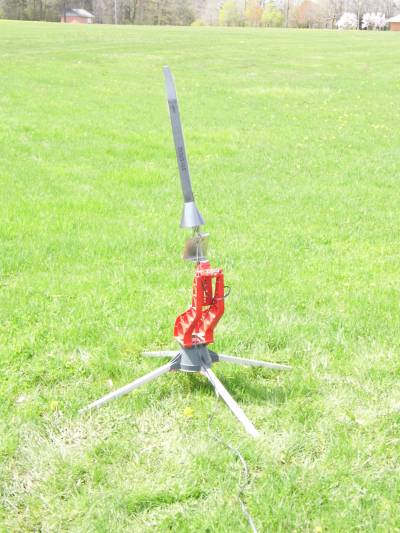
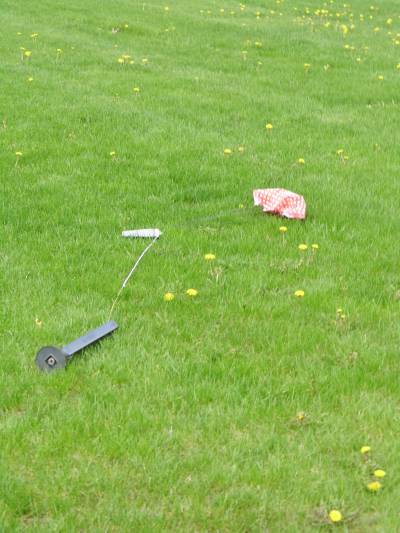
Sky Spike in 5...4...3... Sky Spike Recovery
 |
 |