| Construction Rating: | starstarstarstarstar_border |
| Flight Rating: | starstarstarstarstar_border |
| Overall Rating: | starstarstarstarstar_border |
| Published: | 2014-03-25 |
| Diameter: | 1.38 inches |
| Length: | 19.00 inches |
| Manufacturer: | MPC/Round 2 |
| Skill Level: | 1 |

Brief
Having previously seen some of the MPC/Round 2 kits at NARAM 55, I determined that they'd have to be on sale at a pretty deep discount before I was tempted to buy one. That actually happened over the following build season when the G.T.S. 1 showed up on Ebay for a $5.99 "Buy It Now" price with only a $1.99 postage and handling charge.
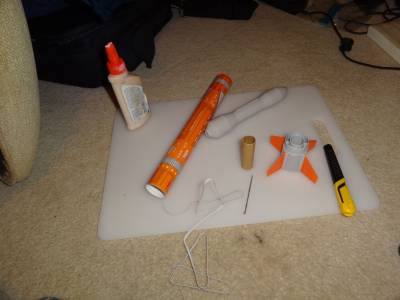
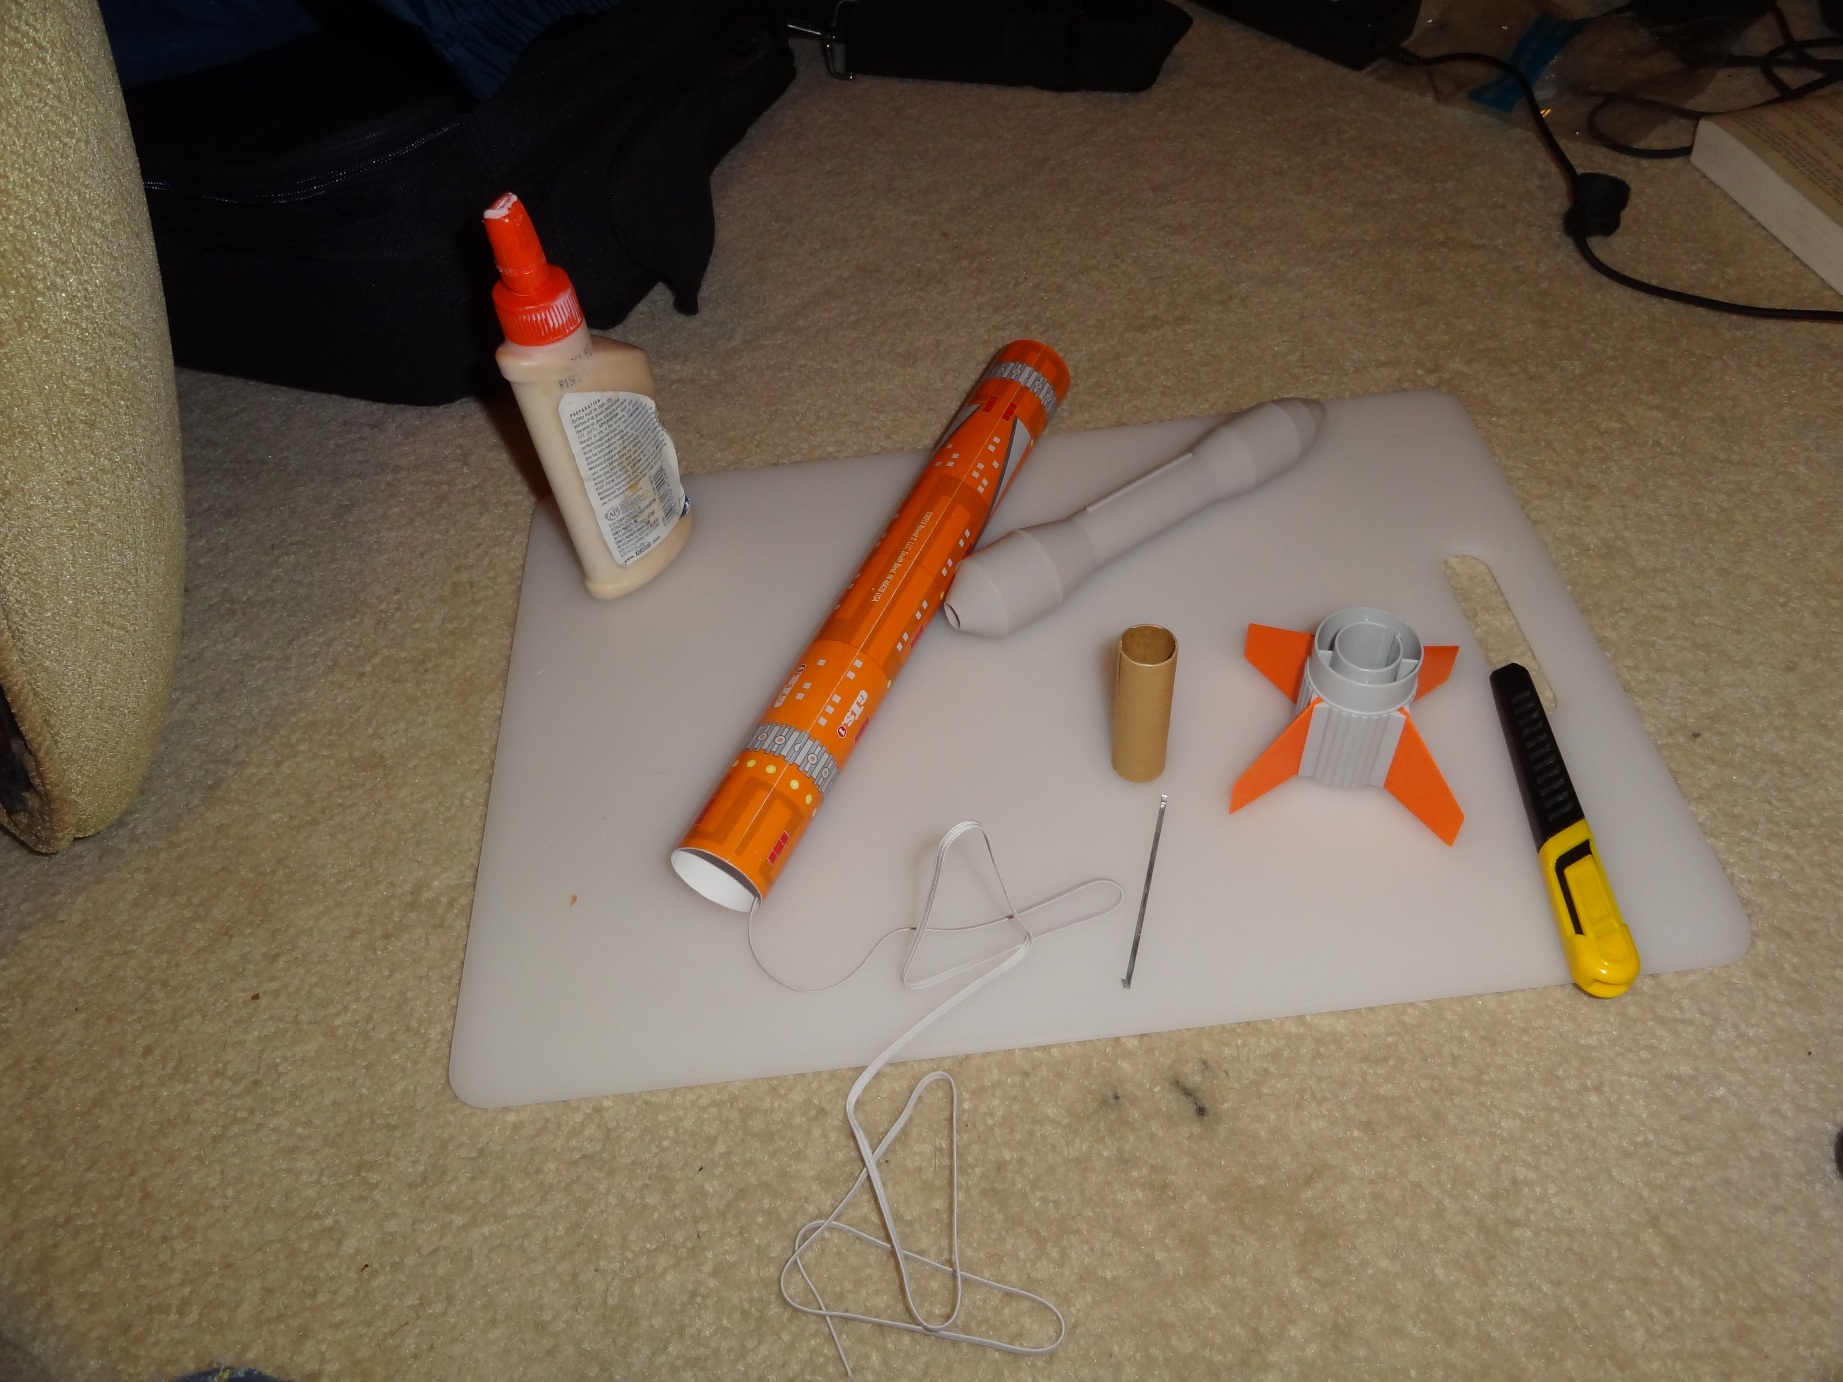
Components
- body tube
- nose cone
- fin can
- engine tube
- fins
- decorative thrusters
- engine hook
- launch lugs
- shock cord
- parachute
- decal
Construction
Like its MPC predecessors, the G.T.S. 1 comes packed in a sturdy box. If you've built more than a handful of kits previous to this, the instructions are just something you might want to put in the binder that you keep other instructions in. Step 1 is constructing the engine mount. There was no engine block, so I added one. The finished mount slides into the fin can, which is then attached to the body tube. Attaching a length of Kevlar would have been easy at this point, but I decided to go with the traditional tri-fold mount, just because it's been a while. It might be worth noting that the body tube has to be attached to the fin can so that the kit name shows right side up. The instructions don't mention it, but I can see it being an issue with a first-timer. The fins are then slid into the slots on the fin can. They hold their place fairly well, but I still worked a drop of CA into the slot of each one. Launch lugs are then glued onto predetermined spots on the body tube. I roughed up the back of each lug and the mounting spot on the body tube just to give the glue something to hold onto. I also roughed up the inside of the tube where the tri-fold mount attached. The shock cord that comes with the kit is the standard industry joke. WAY too short, so I substituted my own piece of 1/8" sewing elastic.
Finishing
Finishing consists of peeling a few stickers off of a sheet and placing them on plastic pieces. The orange stripes that are supposed to go up the side of the nose cone are WAY too fat, even with trimming. Not much chance of them staying on for more than a flight or two.
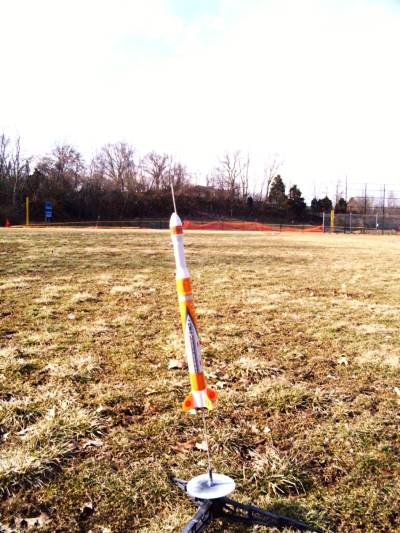
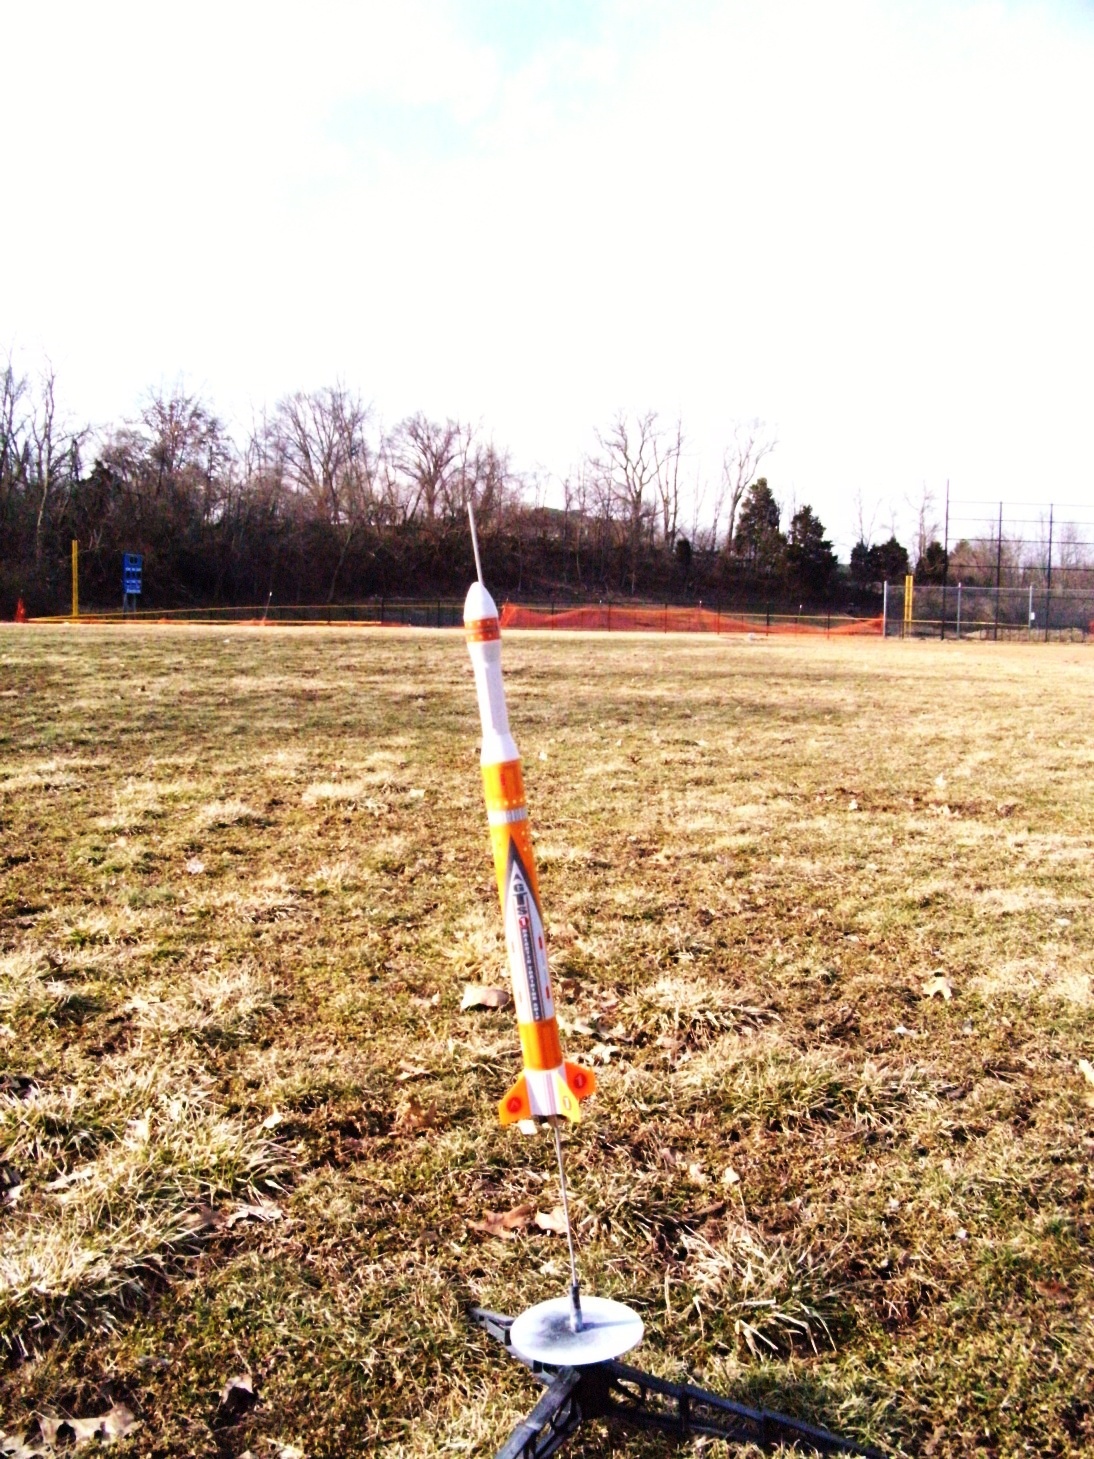
Flight
I made the first two flights with the G.T.S. 1 on a Saturday afternoon when the Polar Vortex got distracted elsewhere and let B6-4 Field resurface for an afternoon. There was a fairly steady breeze blowing to the NE, which would take the recovering rockets into the danger zone of the terrible trio of B6-4 Field; the trees, the backstop, and US 27. I set up in the SW corner and picked the G.T.S. 1 as the first flight of the day on an A8-3 to better judge the wind. Big mistake, but not fatal. The rocket struggled to leave the pad and windcocked to the left, all the while fighting for altitude before topping out at 150' or so. Ejection occurred just as it tipped over and the rocket drifted safely back on a 12" chute. Damage was kept to a bit of mud on one fin, and I decided that I was glad that no one had been there to see the last A8-3 flight this rocket would ever make. The best part of the flight was that it scared the pesky geese who seem to have adopted B6-4 Field as a convenient toilet. They left in a hurry, honking their displeasure the whole while. Did my heart good.
The second flight closed out the day, and this one was on a B6-4. There was no struggle to leave the pad or fighting for altitude on this flight. It left the pad with authority and wound up topping out around 300', which is pretty much the limit of B6-4 Field. Ejection again occurred just as it tipped over, but even with the smallish 12" parachute with spillhole the rocket began drifting quickly into the realm of the trio. Things looked bad for a moment, but the breeze lacked staying power and dropped the rocket in the mud, sand and goose poop along the first base line. Once again aside from a little bit of mud there was no damage.
Recovery
Chute opened. Rocket landed. I substituted a generic red Estes chute for the first flights because I wanted to reef the chute and didn't want to ruin the unique MPC chute.
Summary
Pros: Almost Ready To Fly right out of the box. This would be a good kit to build if you wanted to fly something new the next day. No painting.
Cons: High retail price. ARTF, so meh. Sticker decals. Shock cord is about 1/3 of what you really need.
 |
 |
Flights

|
|