| Construction Rating: | starstarstarstarstar_border |
| Flight Rating: | starstarstarstarstar_border |
| Overall Rating: | starstarstarstarstar_border |
| Published: | 2011-08-30 |
| Manufacturer: | Modification |
 Brief
Brief
The Estes Super Vega was among a group of rockets that I received as a Christmas gifts in 1994 after my wife stumbled upon a hobby shop closing sale. (I also received a Hornet, Greyhawk and F-22 Interceptor as a part of this haul, but the D-powered Super Vega was definitely the kit that caught my attention.) I began work on it soon after the holidays while my son was in his pre-school class, but soon came to realize that active toddlers and rocket construction were far from a perfect combination. The Super Vega project soon stalled and was moved from the dining room table to a basement storage closet, where it stayed for the next six + years. When I got reinterested in rocketry in early 2001, I was disappointed to find that the Super Vega had not weathered the years well while in storage. I was able to salvage only the nose and tail cone, the decals, and the cardstock pieces from the original kit. The rest had been reduced to a bagful of crushed body tubes and splintered balsa. It was only after gathering the needed parts for the rebuild project that I came upon the clustering idea. The initial attraction of the Super Vega had been the fact that it was D-powered, but since I had recently built and flown an upscaled Satellite Interceptor that I had made into a D-powered bird, the thrill of a D-powered rocket was gone. Clustering, on the other hand, still left plenty of room for extreme personal jollies.
Components
- 18" BT-60 main body tube
- 7" BT-60 body tube extension
- BT-60 tube coupler
- 3 BT-50 pod tubes
- 3 2.75" engine tubes
- 3 18mm engine blocks
- 3/32" balsa stock
- PNC-60 nose/tail cone
- launch lugs
- wood dowels
- die cut cardstock pieces
- 3 discarded 13mm engine casings
Construction
Since this project was started and finished in my BAR infancy I did very little by way of using modern methods in the construction, and as a result it looks a lot like the rockets I built back in 1977, with the tube spirals clearly visible and the shock cord attached using an old style Estes paper mount. That said, I did use another technique that I had only recently read about on one of my early informational forays on the internet. I attached the large main fins with epoxy, but first I drilled a number of small holes with a pin drill along the spot in the body tube where the fins would attach. Theoretically this would create glue rivets and would, along with the normal glue fillets, provide extra strength to the big fins. I also took care to align the fins along the open areas where the motor mounts didn't rest against the body tube so that the fillets would be assured of flowing through the holes to form the rivets.
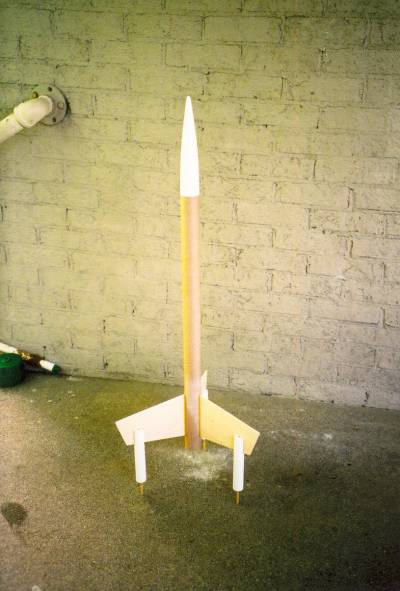
Another area of worry was the dowels that formed the legs that extended from the main fins. Even with the large nylon parachute that I planned to use, I couldn't see the relatively thin dowels standing up to much stress under a hard landing. In order to keep from always having to repair or replace the landing legs, I covered the dowels with an expended 13mm motor casing. (An innovation for which I was roundly crucified on the Yahoo OldRockets group.) True, it changed the look of the rocket somewhat, but I didn't think a cluster was exactly a minor modification, so I didn't lose sleep over it. I also turned the small secondary fins around because I like the sleeker look they gave the rocket, swept back instead of swept forward. In short, nothing on this rocket was safe from my twisted personal vision, but the end product came out looking a lot like it was supposed to anyway.
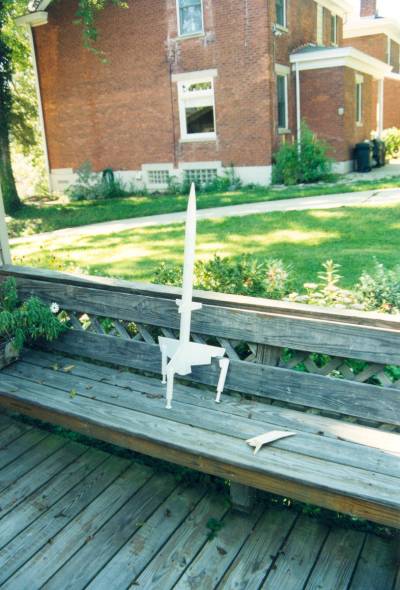
Finishing
This is one of those rockets that is just short of a joy to finish. It's all white. Mine is a bit rough looking because in the spring of 2001 I had yet to discover the wonders of Fill & Finish, but from ten feet it was a beauty queen. The original decals were actually stickers, something that I've always felt had no place on a model. Several times over the years I came close to applying them, but I'll eventually scan them and print off a set of waterslide decals instead.
Flight
Seven years after it was purchased, this Frankenstein made its first flight at a Quark Launch at Miami Meadows Park in Milford, Ohio. I was nervous as I prepped the three C6-5s for the flight, not for the safety of the rocket, but because I was afraid I was going to screw something up. Miami Meadows was an intimate little park, decent for small modrocs, but iffy for anything else. I hoped that the sheer size of the Super Vega would allow for a low and slow flight, even with the cluster.
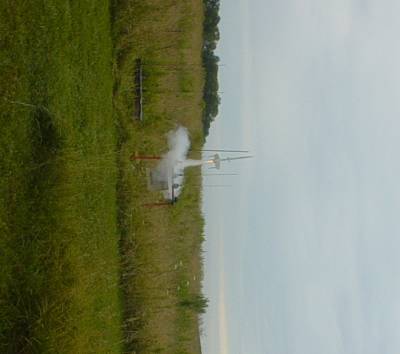
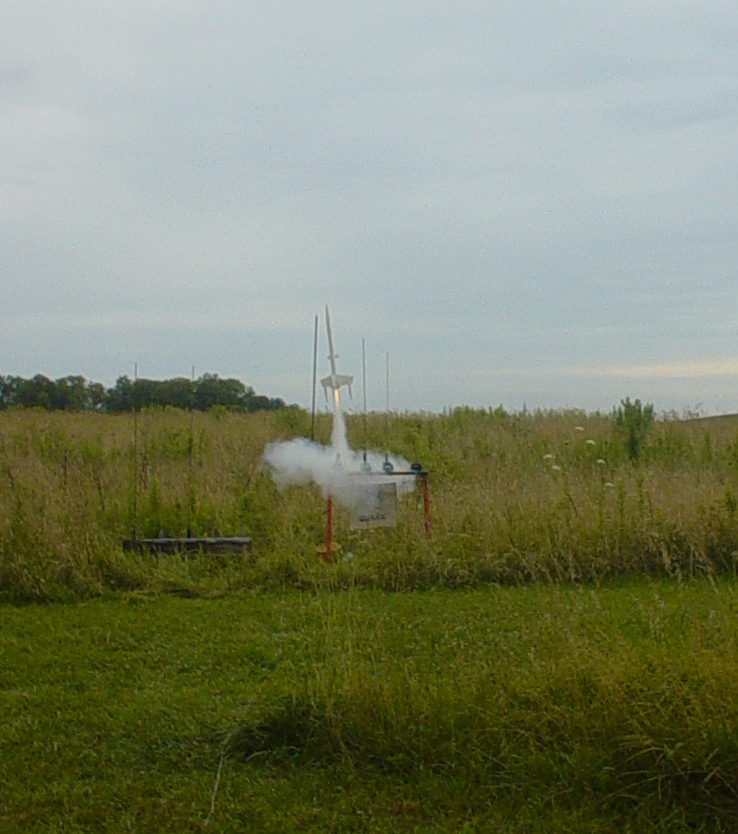
I borrowed a clip whip and took the big bird to the pad. At this point I'd never seen a cluster, and judging from the amount of excitement the announcement caused along the flight line, they were few and far between. The flight was smoky and impressive, topping out above the trees, but angling toward the center of the field which took the trees out of the recovery equation. The ejection charge fired at apogee and the big Estes Nylon chute tangled as it deployed, bringing the rocket swinging down much faster than I had hoped. It hit the ground hard and snapped off one of the landing legs on impact. (A clean break, but one that would take me forever to fix anyway.)
Almost three years later I brushed off the cobwebs and went for another flight, this time at the more expansive VOA Park. Again, a very smoky and noisy flight, but this time a perfect landing without damage deep in the heavy vegetation.
 Recovery
Summary
Related Products


 |
 |