| Construction Rating: | starstarstarstarstar |
| Flight Rating: | starstarstarstarstar_border |
| Overall Rating: | starstarstarstarstar_border |
| Published: | 2012-07-17 |
| Diameter: | 0.79 inches |
| Length: | 17.38 inches |
| Manufacturer: | Quest  |
| Skill Level: | 2 |
| Style: | Payload |
 Brief
Brief
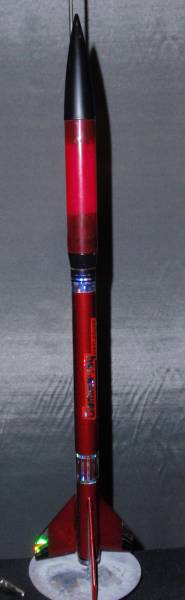
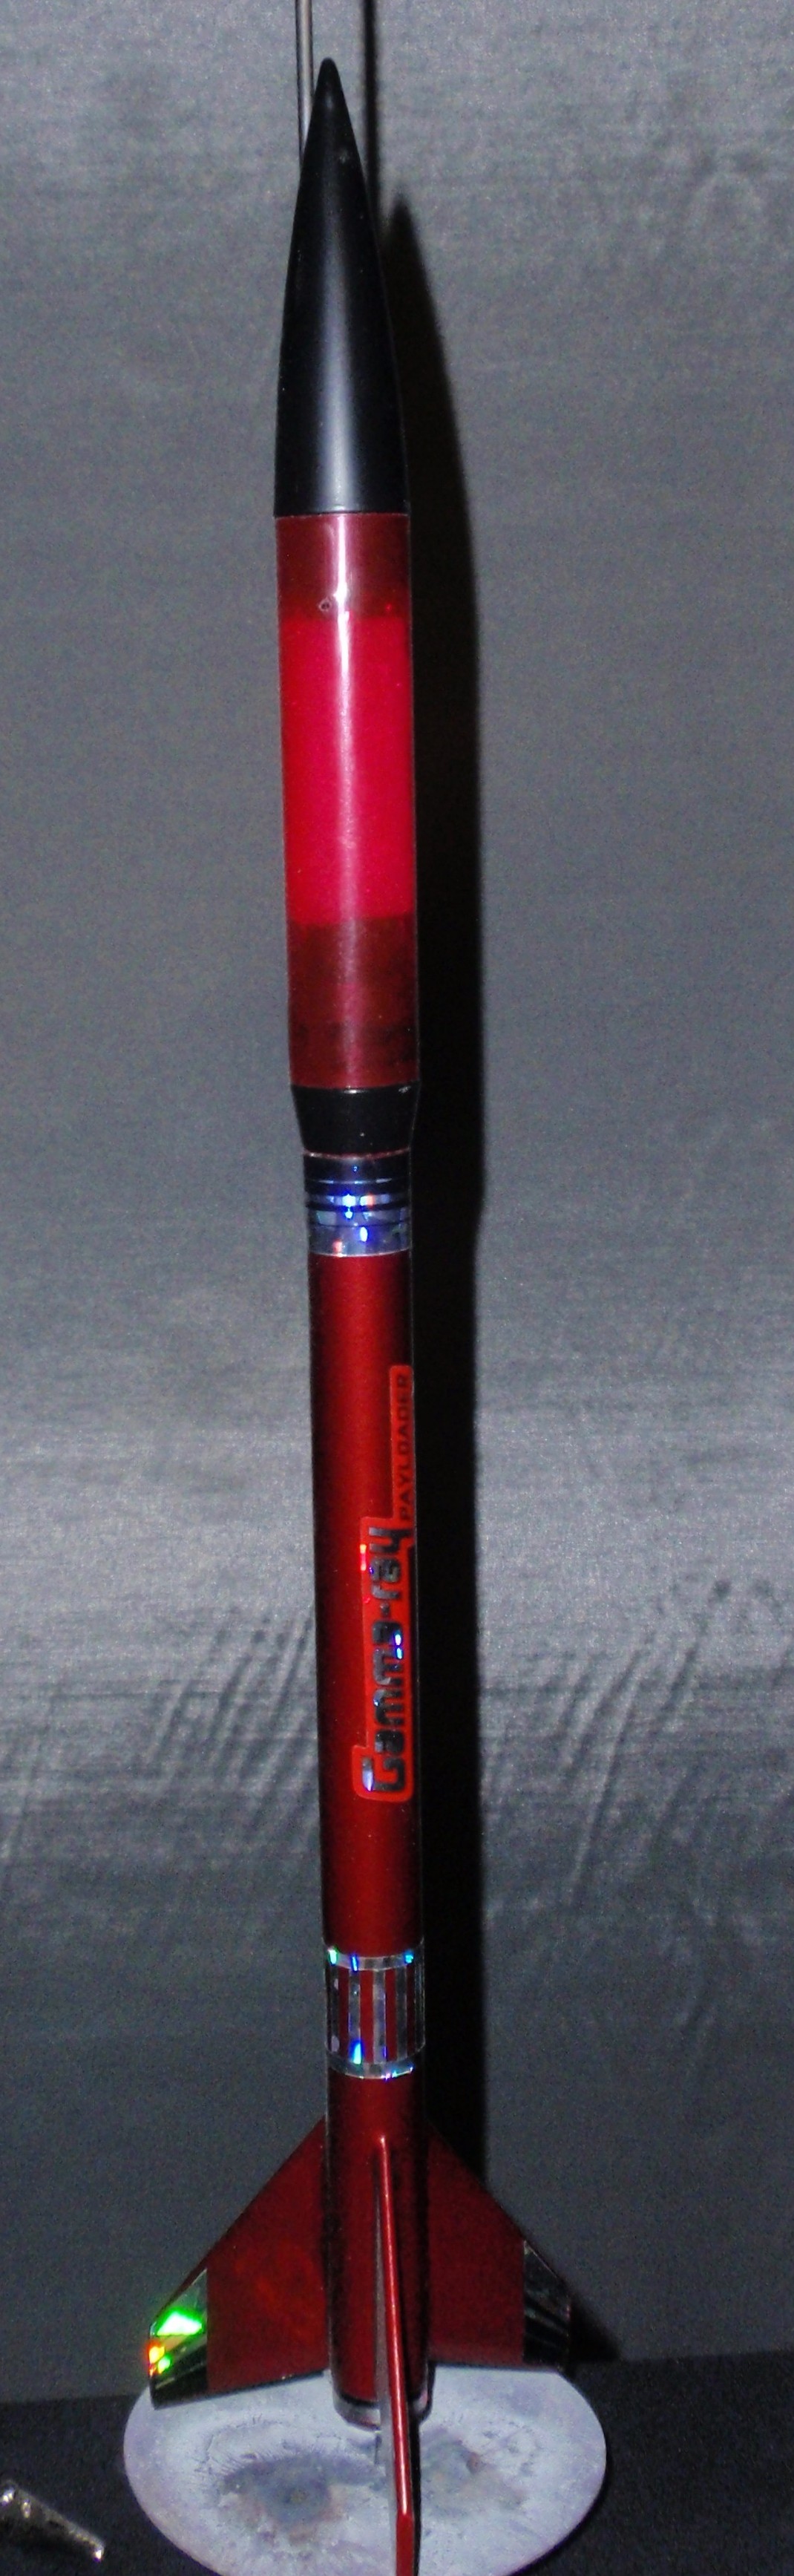
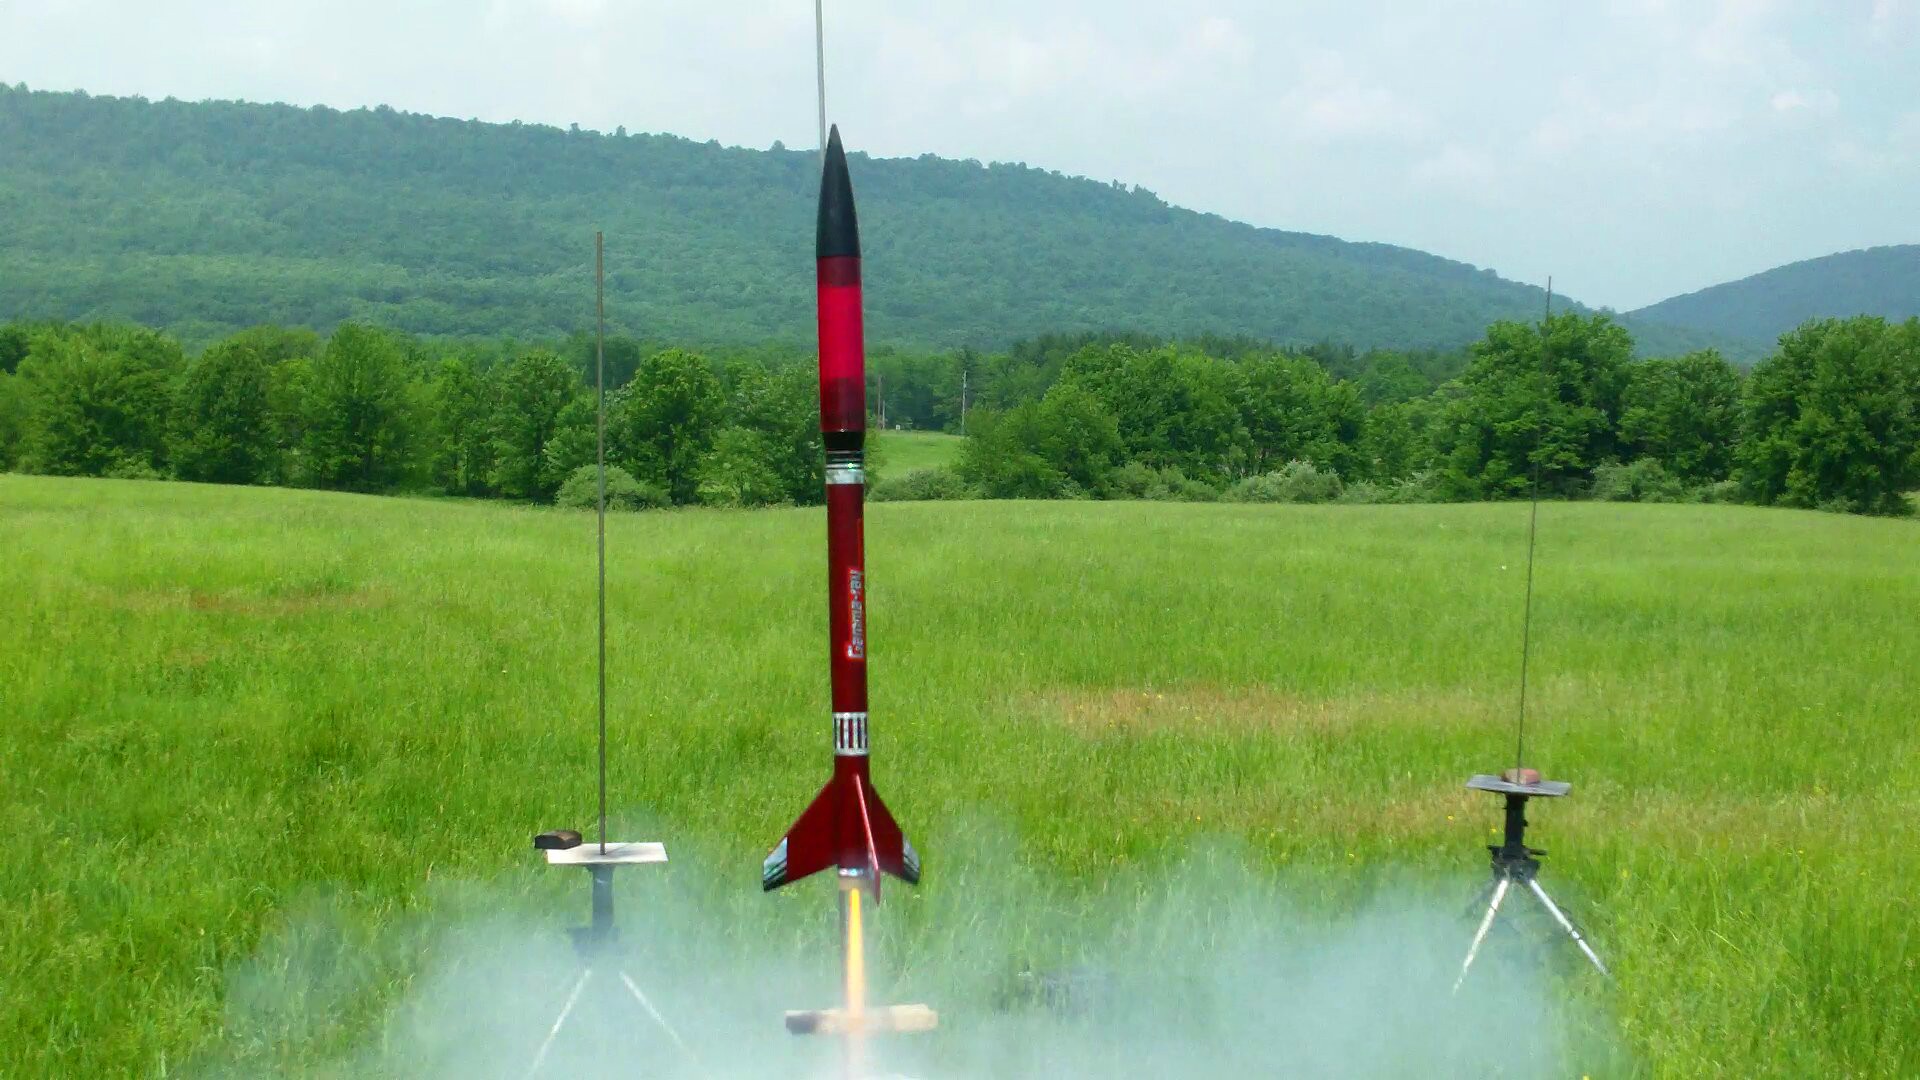
The Quest Gamma Ray is a small payload rocket designed to fly on 18mm (A,B,C) motors. It does fly well. It's main unique feature is a payload section made with translucent red plastic. The payload section's diameter is larger than the rest of the rocket, so it uses a transition section between the two tubes. It's small size makes it capable of travelling to very high altitudes. This was my first build of a Quest kit after many Estes models, and I was impressed with the quality of this kit. The parachute supplied with this kit is rather large for the weight of the rocket, and fitting this into the body tube of the rocket without it being tight is sometimes a problem. Since the material used for the parachute is not the best, you might want to try a smaller parachute or just be extra careful to pack the chute loosely in the tube.
Components
The nosecone and transition section are made of black molded plastic. It was a more flexible type of PE or PP material and did not seem to be very precisely molded, but certianly good enough for the task. There was a bit of flashing to cut or sand away. I was very impressed with the balsa fin material, it was very thick and hard, I don't imagine I'll ever have a problem with the fins breaking. The other item I liked about this kit over Estes (and I'm sure you've read this in every review) is that the Gamma Ray has a Kevlar shock cord mount and uses a braided shock cord surrounding the rubber core. This is far superior to Estes method of gluing the (too short) rubber onto the inside of the body tube. The body tubes were certianly good quality, I did not get any visible spirals after finishing the kit, even though I did not fill and sand the body tube. This kit also comes with a spring-metal engine clip, something I would always be glad to have. Overall, I would have to rate the quality of the components very high, with the exception of the parachute.
Construction
The instructions were clear and easy to follow. There were no major challenges to completing this kit. Although I like the spring-metal motor clip, there wasn't really enough clearance at the end of the body tube to spring it open, after a few flights the paint cracked, then the cardboard split, so I had to use a dab of CA glue to keep it all together down there. A few issues I learned after a year of flying this model can be addressed with better construction.
First, you may consider mounting the motor a little further back in the body tube to alllow for some more motor clip movement.
Also, I would recommend a few extra knots on the shock cord-to-Kevlar to "use up" the remaining loose ends before gluing them down flush with the knot. A few times the parachute lines or part of the shock cord got caught on the protruding knot ends, causing tangled 'chutes and rapid descents.
This model is capable of flying very high with C motors, and even B motors. The supplied parachute is too large for this model so if you intend to fly with C motors, cut a 1 to 2 inch spill hole in the parachute or replace it with a smaller one. If you are carrying a heavy payload (2 oz or so) then the size should be OK.
When fitting the nose cone and transition to the clear red payload tube, you may need some additional tape to hold it tight. Don't reach for the usual roll of masking tape, but instead get some black electrical tape. This makes the tape almost invisible behind the red tube and it makes the finished model look a whole lot better.
While doing a string-stability test, I found I needed to add about 10 grams (.36 oz) of noseweight to get this model to pass with a C6 motor. Instead of using up the payload space, I dropped some soft steel bits of wire into a small hole in the nosecone and secured it with a large dose of glue. This leaves the entire payload space available for flying an Altimeter Two, or a Lego spaceman if it is a "manned" mission.
Finishing
I would have to say that finishing this kit was actually easier than most other kits. This was because the texture and finish of the nose cone and transition was good enough to leave natural, so there was less to paint. Even if you do decide to paint them, there is no critical masking to be done as they can be painted seperately from the rest of the rocket. You may want to mask off the plastic transition's lower shoulder though to allow for a good fit with the body tube. Certianly you don't want to paint the clear red payload tube! The rest of the body and the fins was finished with a single color of spray paint. In my case I decided to use metalic red, which goes very well with the metalic silver stickers supplied in the kit. Using extra pieces of the metalic stickers, I created some additional silver details on the body tube above and below the fins, for even more added sparkle. These stickers, though not water-slide decals, have remained tight on the rocket after many flights. The most I ever had to do was dab down an occasional corner with a drop of CA glue when it started peeling up.
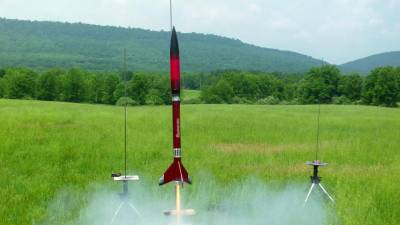
Flight
This model is certianly easy to build. The only problem I had was having to be careful packing the parachute to have it fit loosely in the small tube. With several flights of mine I was not so careful, and had to watch the Gamma Ray plummet to the ground at 20-30 mph or so. Fortunately such a light model is not likely to break landing in grass, especially the thick fins.
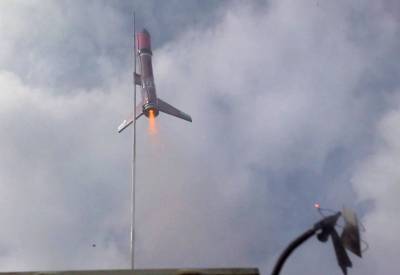
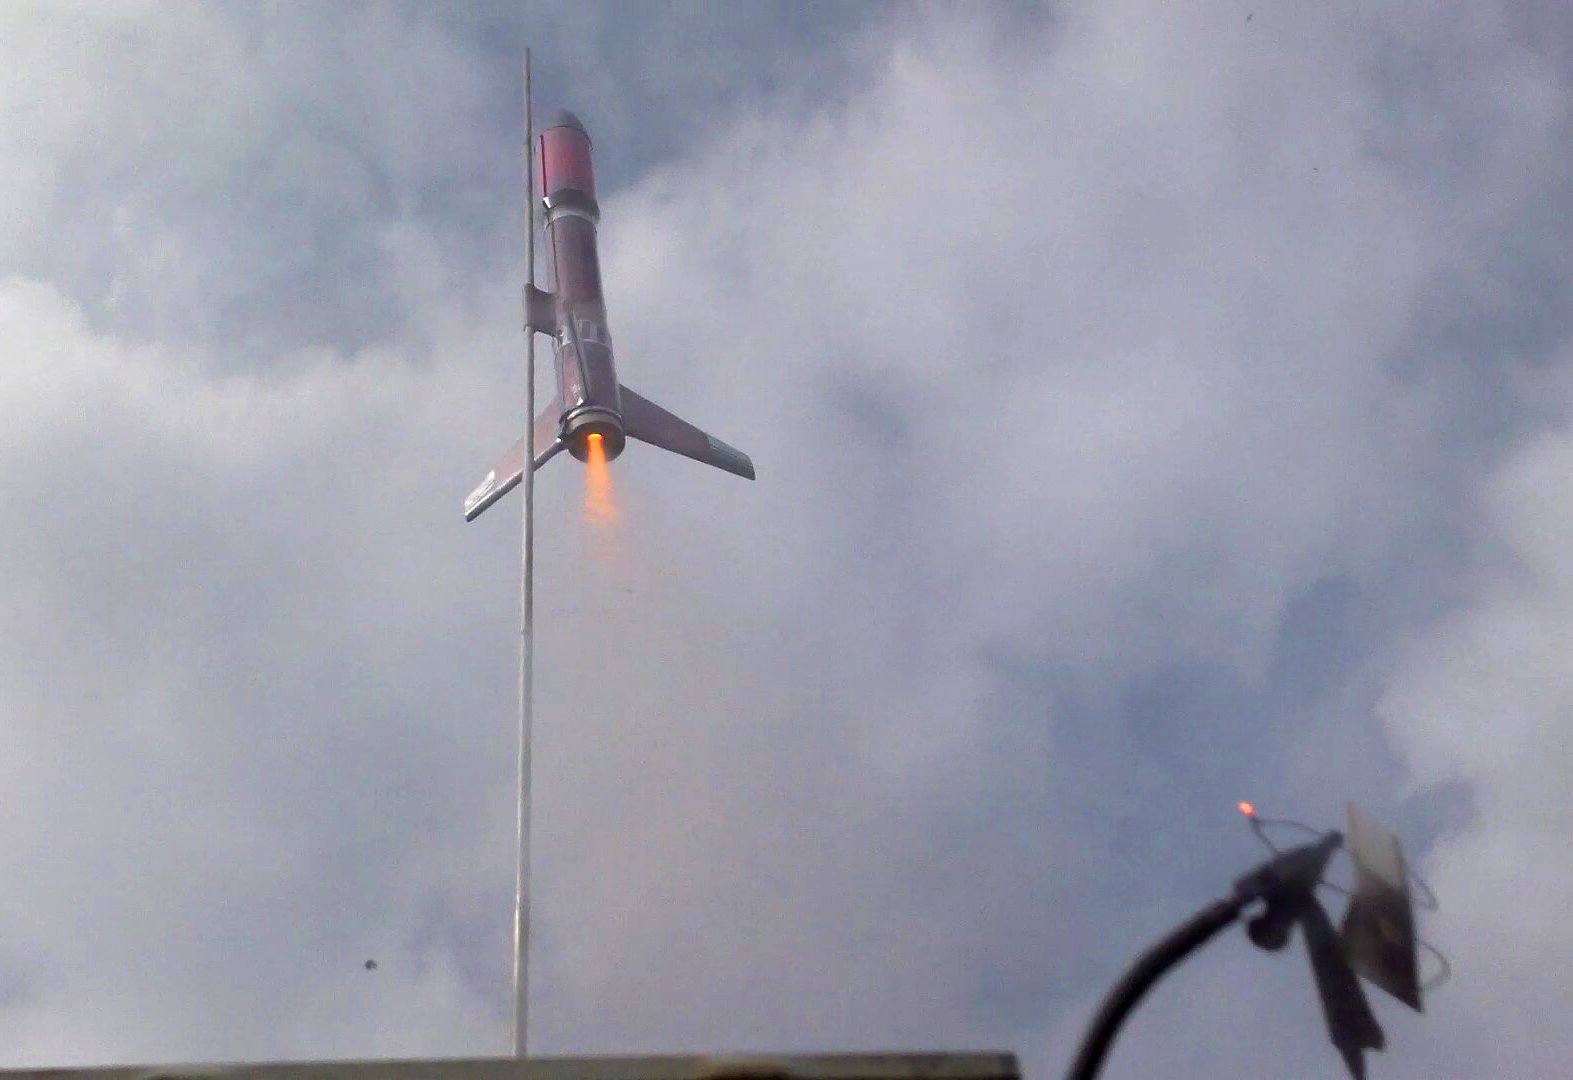
In the past year I have flown this model about 14 times, usually with an altimeter. It flies well enough, a few times it weather-cocked a bit but not too severely and not regularly. I flew these flights using Estes motors. Using the A8-3 motor, it averaged 103 feet, good but low flights. Using a B6-4 it averaged 365 feet, the highest being 390 feet. I also tried a B6-6 which proved to be a better delay time in light winds, reaching 370 feet. I feel this is high enough for satisfying flights, taking about 30 to 45 seconds to land with a modified 'chute.
Of course I'm no wuss, so I've flown this with a C6-5 and C6-7 also, and found the -7 to be the best delay time. With these motors, I've reached 800 to 900 feet, where it is very difficult to see at those altitudes. Expect those flight times to be over a minute to a minute-and-a-half, wondering if you'll ever see the model again. And this was with 17 grams of payload, without that you may break 1000 feet and never see the model again. With the supplied parachute it will fall slower than 5 mph so you really need a spill-hole or a smaller 'chute. My spill hole of 1-1/2" speeds it up to about 9-10 mph descent, just barely enough to keep it in the 1000' fields I use.
This model reaches an average top speed of about 46 mph with an A8 motor, 97mph with a B6 motor, and up to 167mph with a C6 motor. Acceleration peaks can reach 10 to 15 G's.
In summary: Be very careful if you send it up on a C6. B6 is a good motor for this model, using a -6 in calm weather and a -4 for windy or gusty days. Use the A for a small field or windy days.
It flies well and is a tough bird. With a few minor tweaks, you will like this kit.
Recovery
As previously stated, the parachute is too large for this model for both being able to fit loosely into the small diameter tube and for recovery from high altitudes. You will need to do something if you fly it on a C, or at least go buy another kit because you will likely loose the first one. With a spill hole, it is certianly adequate if flying on the A or possibly even the B motors though.
The rather stiff parachute material seems to work well on the first few flights, but after about 5 or 8 flights I began to have trouble getting it to open reliably. For this reason alone you may want to find a smaller 'chute made of a softer material for both reliability, less drift and easier packing in the rocket.
Do something about those loose ends of the shock cord knot, before they tangle up with the parachute.
I did have a shroud line break on this model once. Not on the expected knotted ends but in the middle of the length. The shroud line material is probably not very tough.
Summary
Good quality parts and a good deal for the $. Easy to finish. Maybe not the best design considering the large 'chute, small diameter body tube and the placement of the motor clip, but you can work around those issues by tweaking the motor mount installation depth and cutting or replacing the parachute. After that, you'll find you have a nice rocket with flashy silver decals that flies well even in winds. The swept back fins make this model look fast.
I am blessed with dozens of rockets in flying condition, but somehow my flight logs show that the Quest Gamma-Ray Payloader has the most logged flights of any model of mine - that should be a strong enough endorsement by itself.
 |
 |
Flights
|
|
|
|
Rich DeAngelis (July 24, 2012)
I should point out that the parachute shroud that broke was from the swapped-out Estes parachute - NOT the supplied Quest parachute. As I recall the usual Quest shroud line material is quite strong and most likely better than Estes shroud lines, but not always. (My Quest Tomahawk SLCM kit had very thin shroud line material.) In short: Everything Quest supplied for the recovery system is good, except for the too-stiff plastic of the parachute.