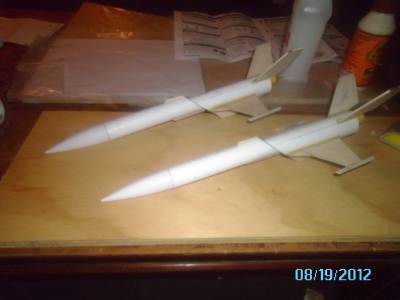
Tandem Quest AS-1 Escort Fighters
By Lester Anderson
2012-08-12
| Manufacturer: | Quest  | |
| Diameter: | 0.9800 inches | |
| Length: | 17.3000 inches | |
| Skill Level: | 2 | |
| Style: | Futuristic/Exotic |
Figured I should build 2 of these, and fly them drag style with the big blue Aerospace 1 when it is completed. After all, that is what the USAF does with the real Air Force One. Gonna basically follow the Quest instructions, except for where the Chris Michielssen build on his blog showed clear reason to deviate.
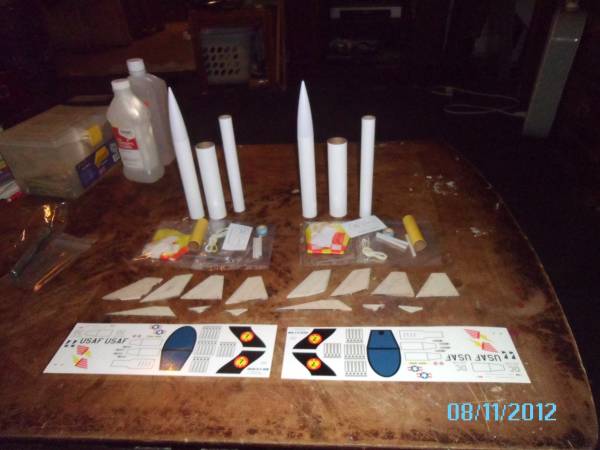
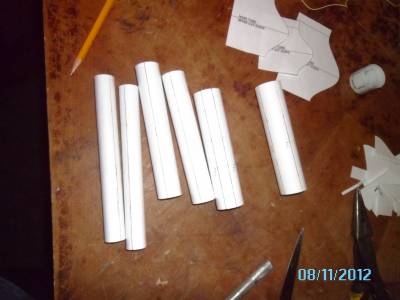
All the parts that come with 2 kits.
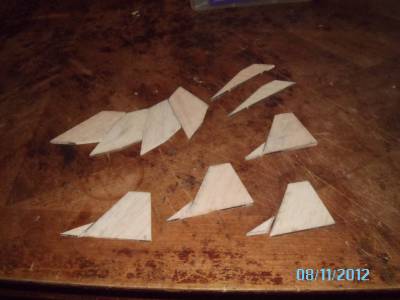
prep the fins
2012-08-12
Lately I have taken to laminating all my rocket fins with epoxy and standard copy paper. This makes the fins much stronger than stock. It has the side benefit of filling the balsa grain to allow finishing to be easier
.
Step 1&2
2012-08-12
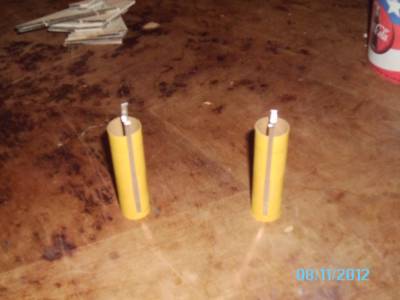
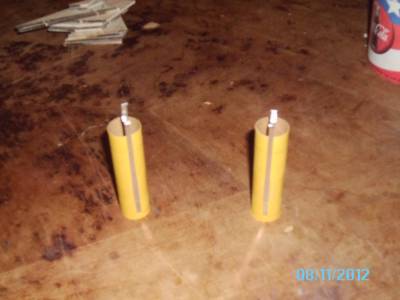
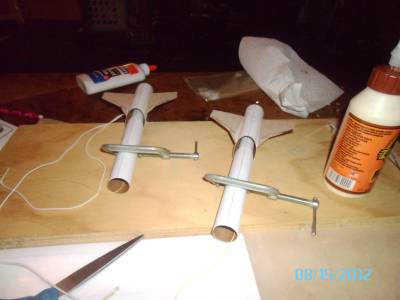
Mark the engine tube, and attach the engine hook to the side. The instructions say to tape the engine hook to the side, but the Chris build mentions the tape getting in the way of the insertion into center tube, so I omited the tape. He also stated that the engine hooks were bowed the wrong way, which I also found. So I made sure that I re-curved the engine hook to the correct direction.
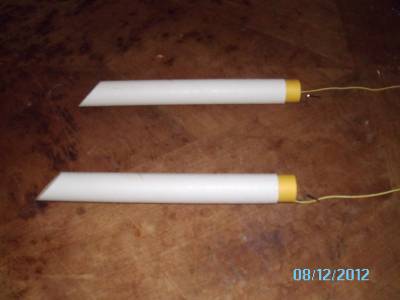
Step 3, 4, &5
2012-08-12
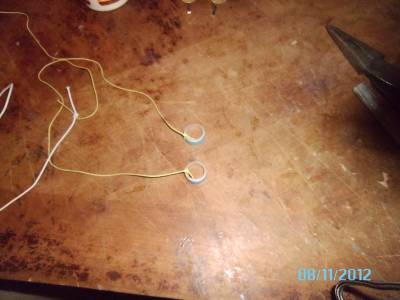
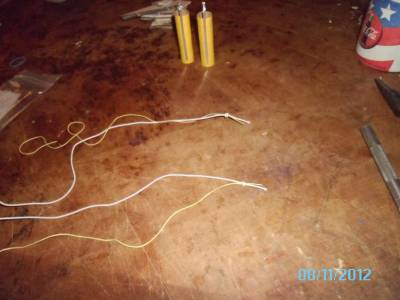
Nothing special here, just prep and installation of the shock cord. The kit comes with a length of Kevlar for the lower shock cord, and an equal length of elastic for the upper. You simply tie one end of them together for the center joint, and secure them with white or wood glue. Then attach the other end of the Kevlar to the enging thrust ring. Chris's Blog recomends knotching the thrust ring for the kevlar to clear the motor mount tube, but I found that un-necessary. After the kevlar is attached to the thrust ring, glue the thrust ring into the motor mount tube.

Step 6 &7
2012-08-13
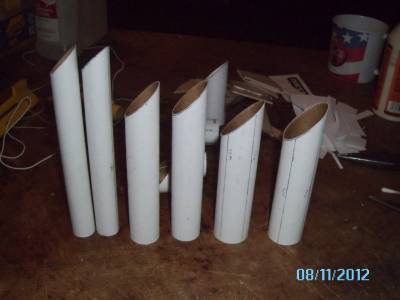
These 2 steps involve the marking of all the body tubes and then cutting the miter's for the joints. I highly recommend the use of a razor saw for cutting the miters, as the curved lines at the top and bottom of the miter cuts can be difficult for a novice. The miter cuts with a saw don't leave the cleanest of edges, so sand the miter's on a flat surface to clean them up.

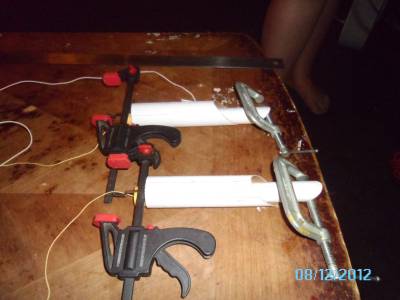
Step 8, 9, &10
2012-08-13
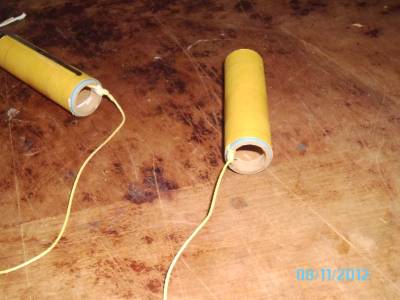
These steps deal with just putting the motor mount tube into the center tube, marking the center tube for glue for the engine intake tube, and glueing them together.
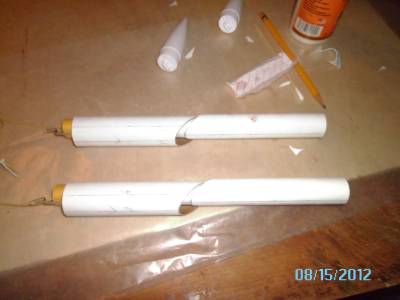
Step 11, 12, &13
2012-08-18
Quest calls the part for Step #11 a "GAP CAP", more simply it is an offset centering ring. There are 2 printed on the paper, and the paper feels like 55lb bond paper (kinda flimsy). To stiffen the part up, I simply folded the paper in half and glued it to itself, turning 2 parts into one. Then it was just a matter of cutting it out and glueing it in place, ala step 12. Step 13 was then gluing the nose tube onto the center tube.
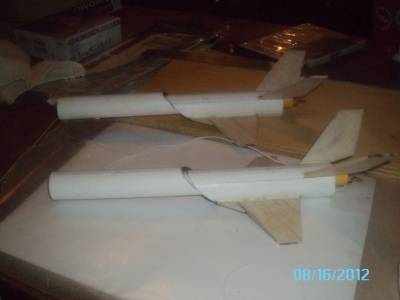
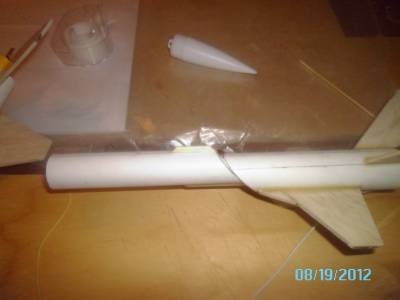
AS1 Fin instalation
2012-08-18
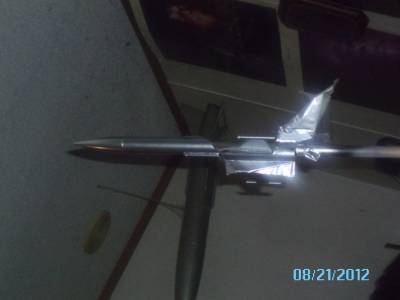
This is the most of the fin instalation. Step 14 is cutting the fins out and sanding them to matching size, and step 15 is attaching the forward wing fillet to the main wing. Considering as I paper laminated my fins before starting the build, this was already done. Step 16 is attaching the main wings to the "engine inlet" tube. If you drew your lines on the inlet tube correctly, the wing mounting lines are below the centerline of the tube, making the task of propping them up for gluing difficult. My solution was to tape the fins in place, then set the tube down on my work surface to allow the wings to "droop" correctly. Tacking the wings on with a drop of CA glue held them in place long enough to use wood glue for fin fillets.
Step 17 and 18 were simpler to do. Considering that the wings held the body tube stable, I was able to hold the 2 rudder fins in place by hand and tack in place with CA, and the bottom keel fin is the same way. After the CA set, wood glue fillet's were applied.
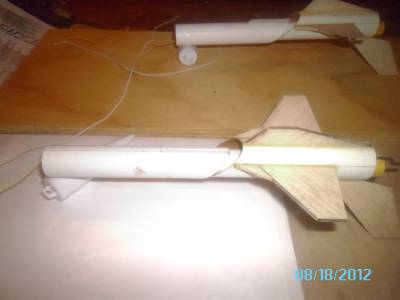

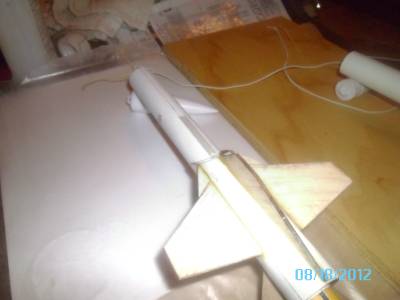
Step 19, 20 &21
2012-08-31
Pretty simple for these 3. Glue the launch lug on the bottom of the parachute tube, attach the "Strake fin" to the top, and glue the "missle mounts" to the outer wing tips. WAIT!!! where is the strake fin??? Just like other builders, there is no strake fin on the fin sheet. Going back to the Chris Michielssen build, I kinda coppied his with the root edge being 1 1/4 inches long. I, however, had already thrown away the balsa sheet the fins came in. So I grabbed a couple of used kitchen matches, glued them together, and shaped them correctly to make mine.
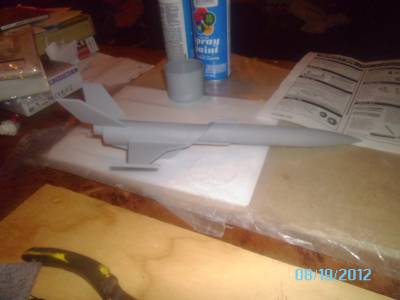
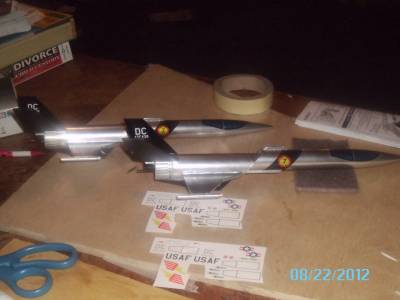
Paint and Decals
2012-09-01
Ok, I decided to skip step's 22 thru 25. I figure if your reading this, figuring out how to string a parachute, attach the nose cone then the parachute should be self evident (steps 22,23,&24). And my laminating of the balsa with paper and epoxy kinda made sealing the wood with sanding sealer un-necessary (step 25). So, on to paint and decals.
First of all, the Quest instructions don't mention anything about priming the model prior to paint application. I always prime my stuff, as it allows the color to adhear better, and lets me fill in any small imperfections. I am still not the best at this process, but each build does get better. Step 26 calls for spraying the back of the model with gloss black for the tail fins and the lower strake. To limit the paint build up, I followed the lead of others and masked these off first. Important note for the next color-- My black paint stated time to tape as 3 hours, and although the tape did release from the paint, the masking paper I used did not. Always leave 24 hours dry time for any paint application. Step 27 calls for silver/alumimum paint.
Lastly, the decals. A couple of relief cuts need to be done to the "canopy" decal so it forms around the compound curve of the nose cone, other wise there are no real major issue's here. I did position my canopy decal further foreward than it shows on the instructions, so that the aft "glass" is on the body tube and the foreward is on the nose.
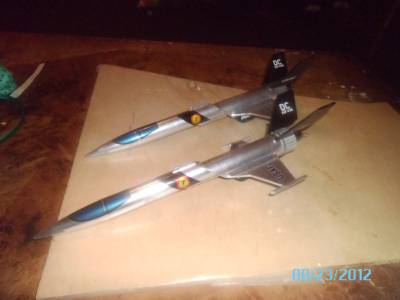
At this point, the build is basically done. I would not recommend useing clear coat paint to seal an aluminum metallic paint. On one of mine the clear dissolved the aluminum flakes on the top layer, ruining the finish. I have not yet tried Future floor wax on the other yet, but it may be what I end up doing.
 |
 |