TLP Perseus
By Bill Eichelberger
2013-10-22
| Manufacturer: | The Launch Pad  |
The Perseus is one of the entry level kits to the world of TLP. It's my second TLP build, the first being the BOLO. Like the BOLO, the Perseus is powered by a single 24mm motor, and also like the BOLO, it seems to be a kit that if built light enough, could even be flown on a small field with an 18mm mount.

Rough start
2013-10-22
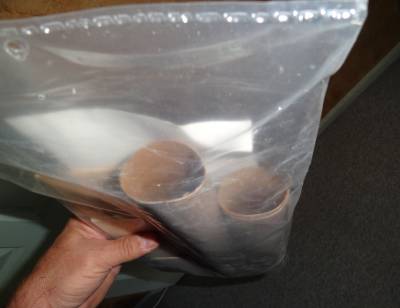
I ordered the kit from Hobbylinc along with some other "necessities". Things got off to a rough start for the Perseus project when I noticed that the tubes had been pretty well crushed. Everything else was in decent shape, so I contacted Hobbylinc and informed them of the problem. They initially wanted me to send the whole thing back, but I suggested that they just send me a couple of BT-60 body tubes instead. Two days later they arrived. Impressive service. Hobbylinc remains one of my "go-to" retailers online.
While I was waiting......
2013-10-22
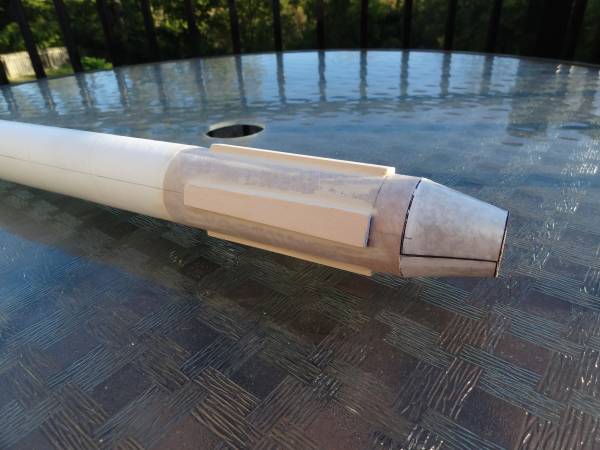
With new tubes on the way, I decided to start on the rest of the build. The motor tube had escaped damage, and the rings were in good shape, so I built the boattail/engine mount. Forming cardstock tailcones used to be one of the parts of a project like this that filled me with fear, but after a Doug Sams coaching session, I got over it.  Construction was handled with Elmer's white glue since I planned to fly it only on 24mm C and D motors.
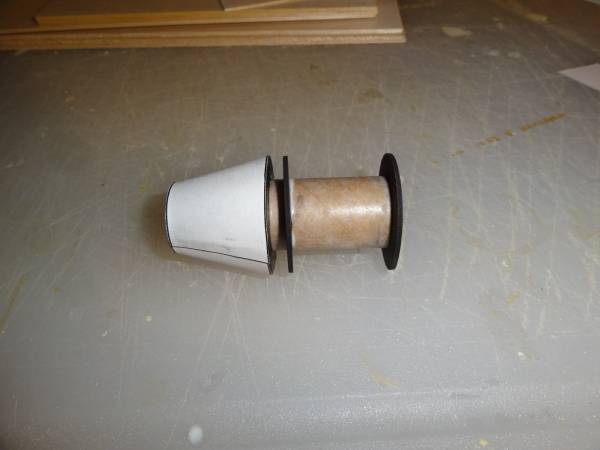

The pool is colder than it looks
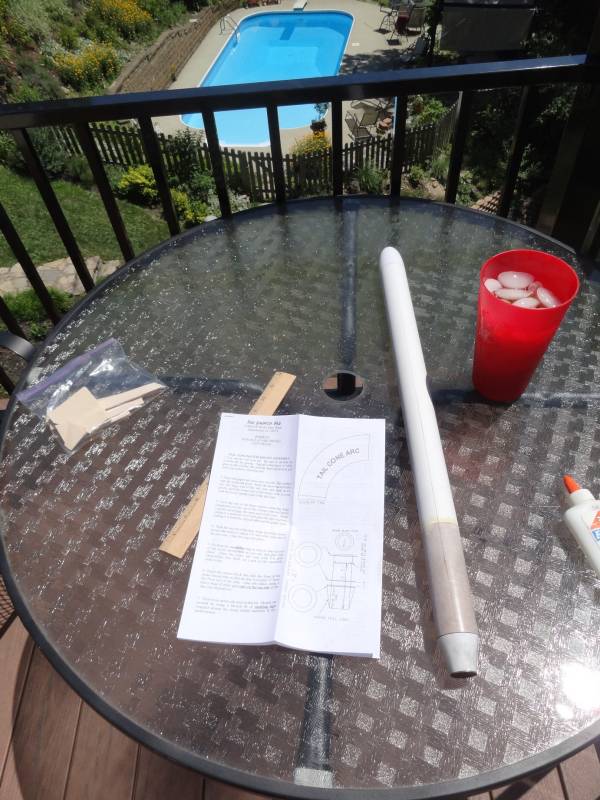
2013-10-23
Vacation day that was supposed to be spent in the pool, but the weather didn't cooperate, so I improvised. I tied a 36" length of Kevlar around the forward centering ring and glued it into place just under the ring. When it had dried I cut a slice in the ring and threaded the Kevlar through. The remaining length of Kevlar was dropped back into the motor mount so that it wouldn't come in contact with the glue. I then spread a healthy ring of glue around the bottom of the inside of the tube and installed the motor mount/boattail unit.

Can't let well enough alone
2013-10-23
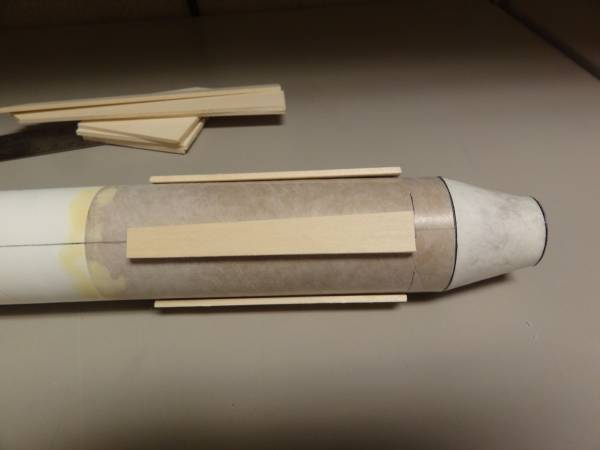
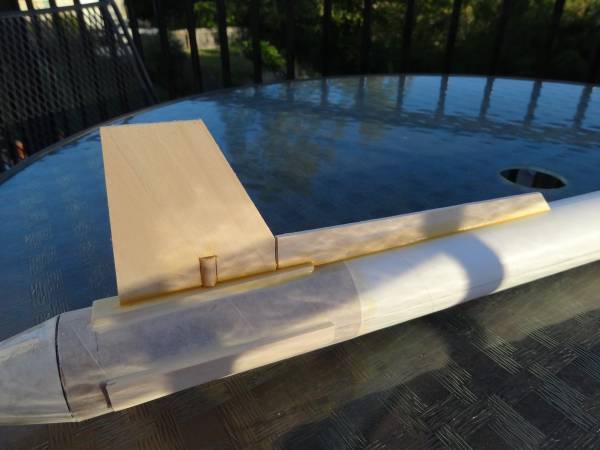
One thing I did in the interest of making finishing easier was switch out the 3/32" balsa for 3/32" basswood. More weight, but I'll take the tighter grain as a tradeoff.

Cleaning up seams
2013-10-23
Attaching the flat fin sections to the round tube left some seams I wasn't thrilled with, so I filled the gaps with unthinned Elmer's Fill & Finish. (Or whatever they've decided to call it this week.) The rest of the body tube was coated with thinned Fill & Finish, and the joys of sanding commenced.

Building the fins
2013-10-23
This was actually pretty cool. The lower fins were constructed from four separate pieces, three sections of 3/32" basswood and a short section of 1/4" dowel. I glued the forward section of fin into place first so that it would make placing the rear fin easier. The rear fin had to be built slightly with the insertion of a length of dowel into a pre-cut slot. The dowel was cut to length, glued into the slot in the fin, and sanded to length. I had previously drawn lines up the length of the body tube to help with keeping the fins straight. Once dry, fillets were added using wood glue.

 |
 |