USS Enterprise
By Lester Anderson
2016-05-02
| Manufacturer: | MPC/Round 2 | |
| Diameter: | 1.5800 inches | |
| Length: | 28.7100 inches | |
| Skill Level: | 1 | |
| Style: | Sport |
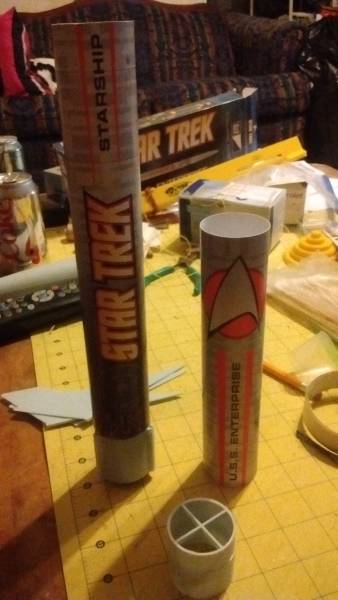
One of the three MPC / round 2 Star Trek model rocket kits.
Fin can modification.
2016-05-07
First thing first, power. My edited RocSim file said this rocket would fall back to the ground on an A motor, about 150 ft on a B6-4, and 250 on a C6-3. Parachute deployment was way lower than I liked. So modifying the fincan for 24mm motors seemed like a good idea.
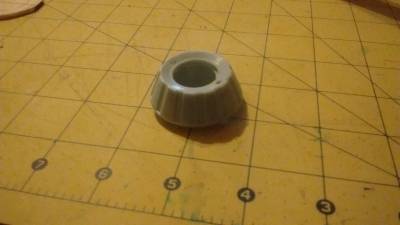
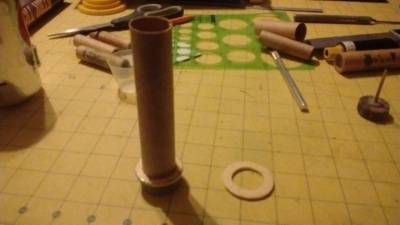
The first thing that needed to be done was to modify the existing engine retainer. I decided I like the stock look, so simply removing its internals was the chosen course of action.

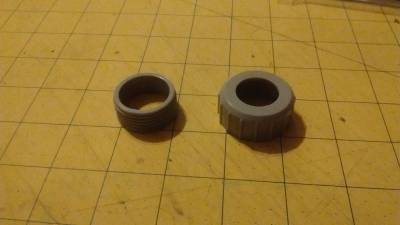
Next I needed to modify an Estes 24 millimeter motor retainer. I took it from picture 3 too picture number 4.
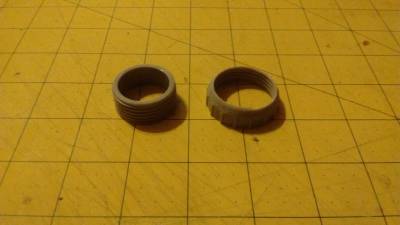
Eventually, after I glue the two pieces together with epoxy, it will look like this next picture.
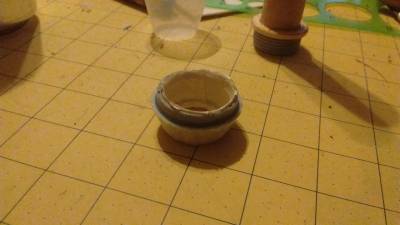
And here is that glued together assembly. I masked up the non glued areas to prevent excess epoxy.
Here we have the new 24 millimeter motor mount tube. I had to make a new pair of centering rings to fit it into the fincan.
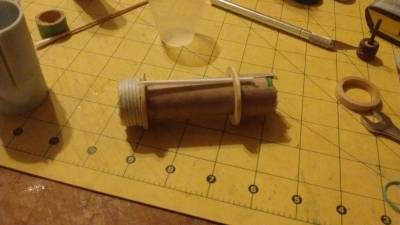
Mock up of my motor mount assembly prior to gluing it in. The hollow Q tip shaft is the pass through for the Kevlar shock cord.
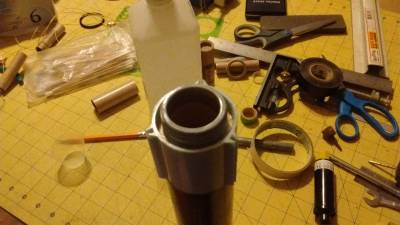
And here is the completed fin can assembly. For alignment purposes, the lower body tube needed to be added to this assembly stage. This was because the lower centering ring was outside diameter sized to fit inside of the first can. The upper centering ring was sized to fit inside the body tube, which happens to be about 1/8 of an inch bigger then the inside of the fin can.
Body tubes and fins
2016-06-19
Moving on, we now need to assemble the main body.

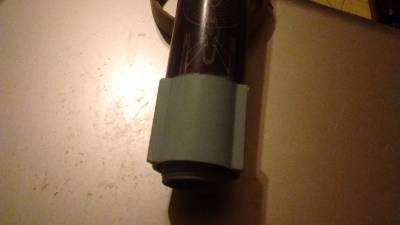
That grey tube coupler gets inserted between the two pieces of body tube. The instructions call for using plastic model cement. Because I epoxied motor mount together, I decided that epoxing that joint together would be a good idea too. Next we have the fins.
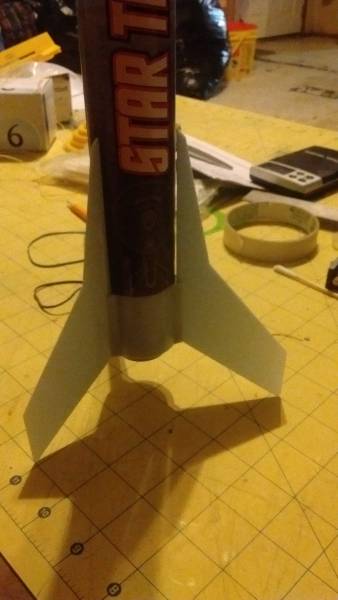
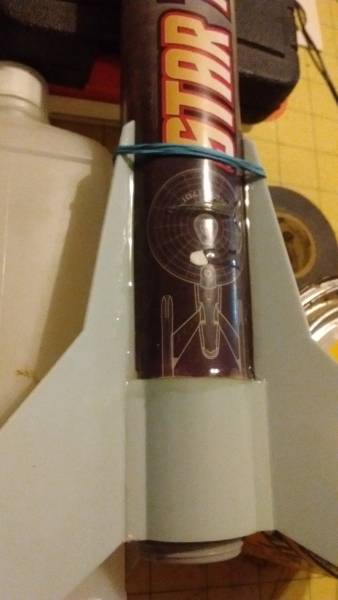
The first picture above, is where I dry fit the fins onto the fin can. I don't like that gap at the top of the fins. So I decided to pull the top in a little bit with a rubber band, picture number 2. I got impatient and didn't mask off the epoxy, so it got a little messy.

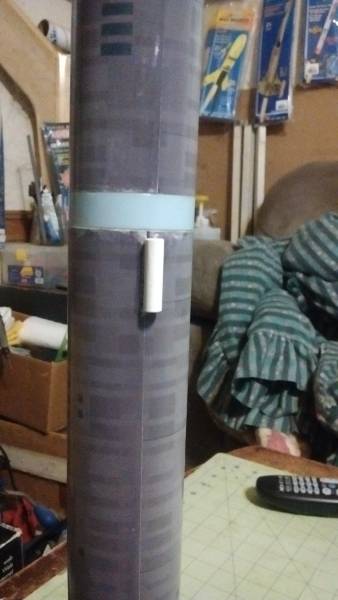
Launch lugs and parachute
2016-06-26
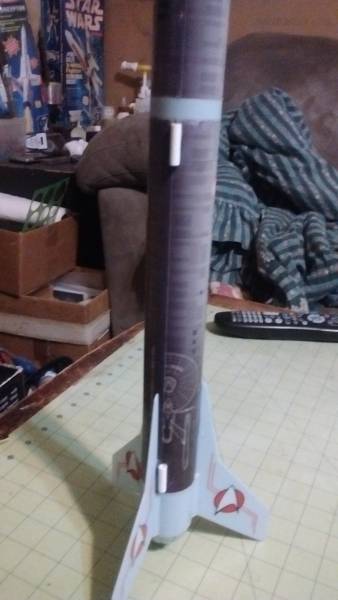
Applying the launch lugs to the body tube was easy. Just glue them on to the seam in the outer label.
 .
.
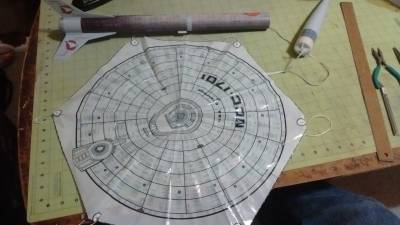
Next is the last flight step, the parachute. The existing shroud lines broke while I was assembling the chute, so I had to sub in a replacement.
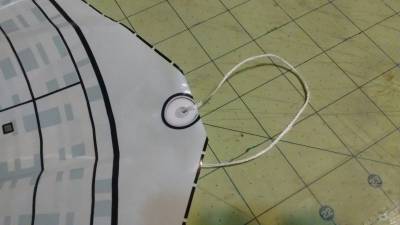
And here is the finished parachute.

Finished
2016-06-26
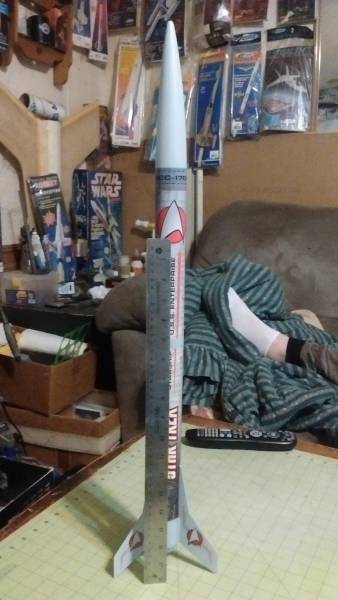
And here it is finished. This is by no means a difficult kit, I would not classify it as a skill level 2, as a matter of fact the MPC labeling states that this kit is for ages 10 and up.
 .
.
 |
 |