Welcome
Welcome to RocketReviews.com (formerly EMRR).
RocketReviews.com is the home of almost 5000 reviews of rocketry kits and products. Written by visitors to RocketReviews.com like you, the reviews cover everything from low-power model rocket kits to high-power rocket motors.
The site's Flight Log allows you to record and share your rockets and their flights. The Builds feature helps you document your rocketry projects.
At RocketReviews.com, you'll also find a large collection of rocketry resources such as a list of rocketry clubs, and large libraries of OpenRocket design files and Rocksim design files. A number of rocketry tools and calculators are available to help you design, build, and fly your rockets.
As you explore RocketReviews.com, you'll also find a number of fun things such as a huge library of rocketry videos and a collection of photo albums.
 |
 |
Featured Review
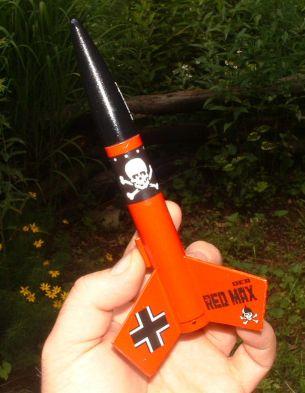
Retro Rocketry Mini Red Max
Manufacturer: Retro Rocketry Style: Futuristic/Exotic

Construction Rating: 
Flight Rating:
Overall Rating:
Contributed by John Rowan-Stern
Brief:
Retro Rocketry's "Mini Der Red Max" is a downscaled version (1:2.33 scale) of the original popular Estes kit which use streamer recovery and a 13mm motor mount.
Read the rest of the review ...
|
|