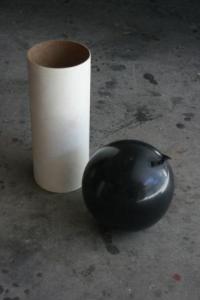
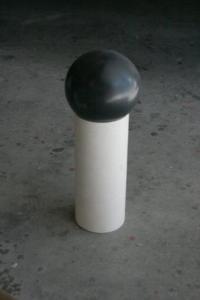
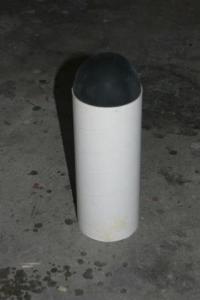
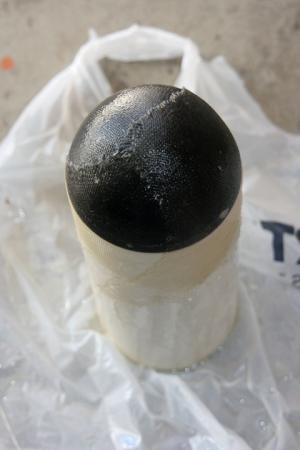
Creating Fiberglass Hemisherical Nose ConesOne of the notable problems with trying to make scale models of real rockets and missiles is matching the shape of the nosecones. While a large number of different shapes and sizes are commercially available, what do you do if the cone you are looking for isn't? If you are modeling a missile that has a hemispherical nose, the Estes Big Bertha or Fat Boy cones come close but are a bit elongated. Here is the solution that I used to create a true hemispherical cone that could be used for modeling missiles such as the Hellfire, JCM or Javelin. I started out with a 4" diameter by 12" piece of tubing. I then partially inflated a round rubber balloon and squeezed it into the end of the tube. I was able to move the balloon in and out until I was pleased with the curvature of the portion extending from the end of the tube.
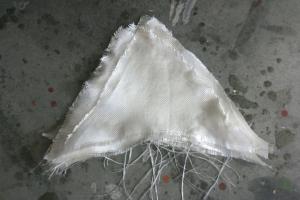
If you haven't done fiberglassing before, don't freak out. It's easy. Just be prepared with everything you need ahead of time. In addition to the fabric triangles you would be need to have on hand thin slow epoxy, rubber gloves, small mixing cups, stir sticks and baby wipes. This is probably going to be a bit messy, so don't do it on your brand new dining room table… Use lots of newspaper or plastic to cover your working area if you are concerned about it getting epoxy on it! Mix up your epoxy in the mixing cups. For the 4" cone, I mixed about 1.5 ounces of epoxy. Better to mix a little extra and not need it than to not mix enough and have to rush through mixing a second batch with your hands covered in goo from the first batch. Stir the epoxy for at least a minute. There is nothing worse than having the batch not catalyze evenly due to under mixing and having to discard your materials and start over…
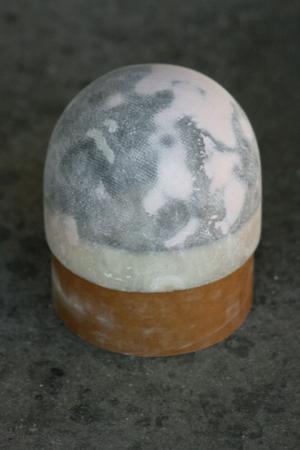
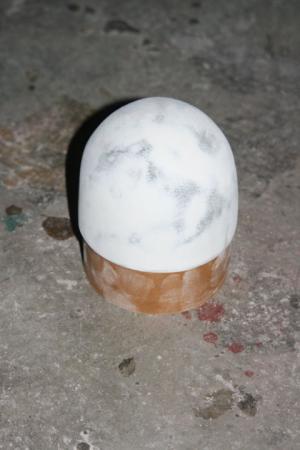
Unfortunately, one layer of glass cloth will probably not be sturdy enough to complete your cone. It will probably take two of three layers, depending on the size of your cone. On a large 10" cone that I made using this technique last year, it took 5 layers to be completely rigid. Sand the 'glass lightly along the seams after the epoxy has cured and apply another layer of cloth. Repeat until the desired firmness is achieved. After you have finished with layering the fiberglass, you can pop the balloon and remove it. I next cut the tubing down to the length that I wanted for the nose cone and glued in a coupler and bulkhead. It will take some filling with Bondo to even out the cone. Apply and sand the filler down until you are satisfied with the cone's appearance. To fill the weave of the cloth, I coated the cone with a heavy coat of Kilz primer and sanded and the cone is ready for finished painting.
Contributed by Todd Mullin
What You Can Do |
|||
|
|