Attaching an Aileron to a GliderThis tip is for fixing ailerons to a glider that uses a change of wing surface from its boost to coast phase. Model aircraft enthusiasts have a huge range of methods for joining flaps, rudders etc.
However, they don't have to contend with the speed and acceleration of a model with we see during boost. Having built several airplanes and rocket gliders, this tip gives the best method (in my opinion) for fixing ailerons. I first came across this method on my friend's VMX-2. There are three main ways of creating a hinge.
Tape is quick and easy, but does not create a strong hinge. External plastic hinges do create a very strong hinge. There are dozens of different designs to choose from including ones that have pins to separate the hinge at the joint. But, they are relatively heavy and look ugly. The internal tape hinge is strong and creates a very clean look. This tip is similar to the instructions in the VMX-2.
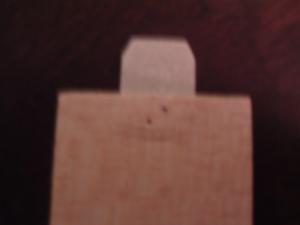
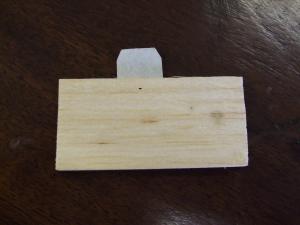
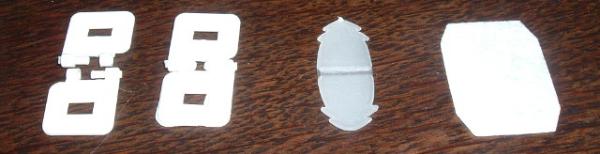
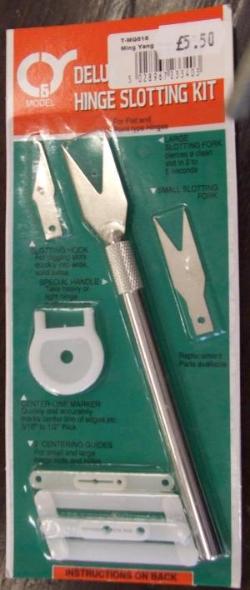
You will need a few small hinges perfectly aligned along the center of the balsa edge. The centering tool is perfect for doing this and is worth the cost. After the centering tool is aligned the cutting blade is pushed through the slot a wiggling motion makes the blade go in easier. I was initially surprised by how blunt the blade is. But, it works fine. As the blade is a "V" shape, the rest of the balsa in hooked out using a reamer - although you might want to use a normal blade to cut it out. The hinge itself is made out of any flexible, strong material. Mylar works well although I prefer fiberglass cloth. Fiberglass cloth is strong and it soaks up the CA glue which gives a very strong bond. Most model shops sell these hinges ready cut. The hinge is placed into the slot.
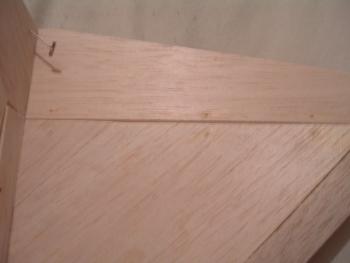
Then, using either a drill or a pin, pierce a hole through the wing and the hinge. The hole needs to be about 1mm in diameter. If there is a wide hinge, then two or three holes may need to be cut. Next fill the holes with CA glue. The fiberglass material will wick the glue throughout its length. But, you may need to work the glue in with a pin. The thinner the CA glue, the better the joint. Take care not to get any glue onto the part of the hinge that needs to flex.
Repeat the process for the remaining flaps / ailerons. The gap between the two surfaces needs to be as small as possible while allowing free movement. This technique results in a very strong hinge that does not spoil the look of the glider.
Contributed by Matt Gillard
What You Can Do |
|||
|
|
 You need: