bannerbanner
Tips >>
Tip 62 of 75
PreviousNext

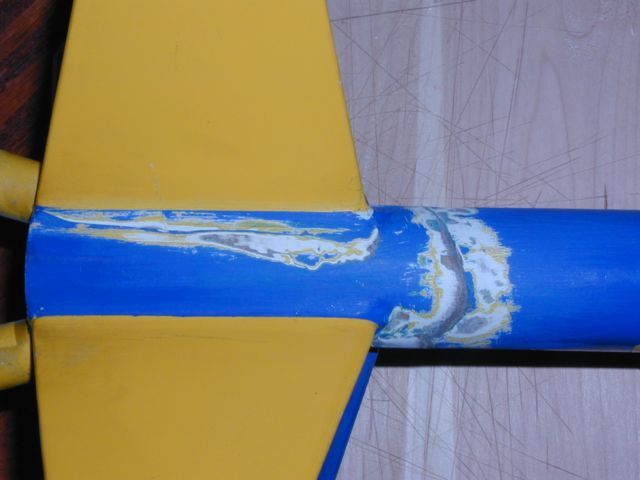
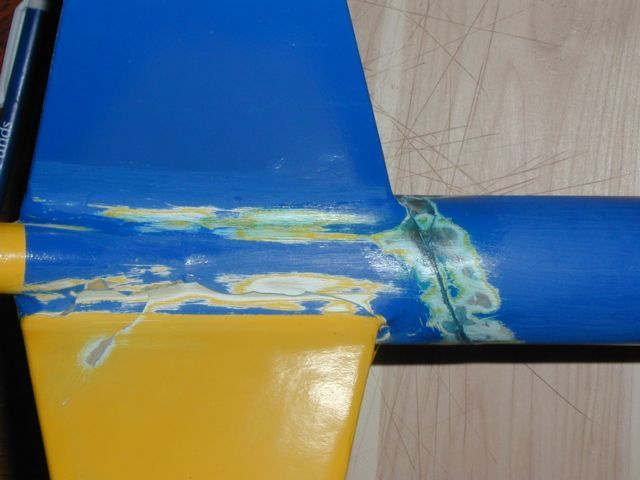
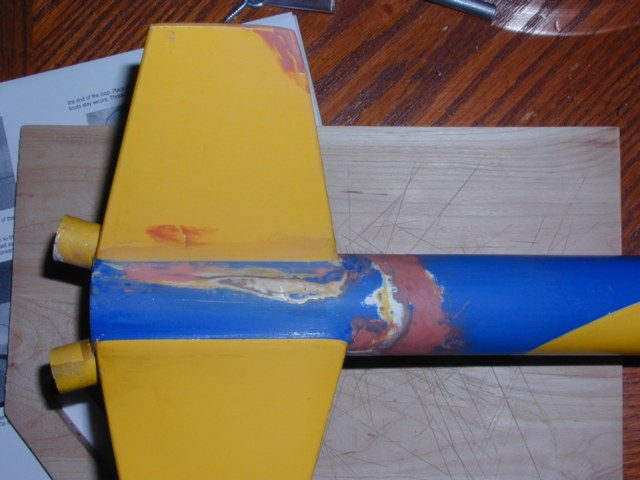
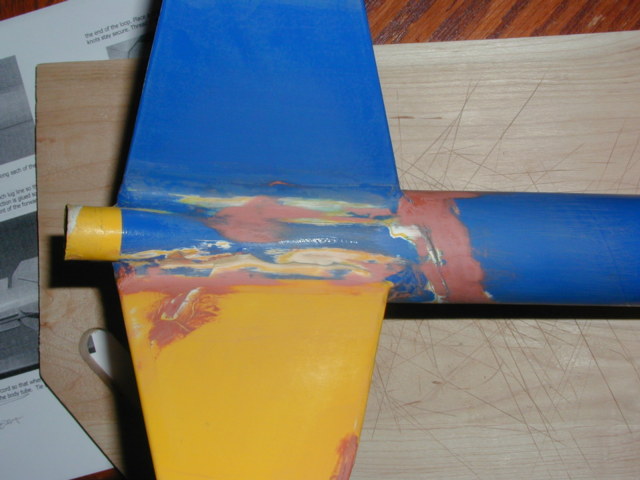
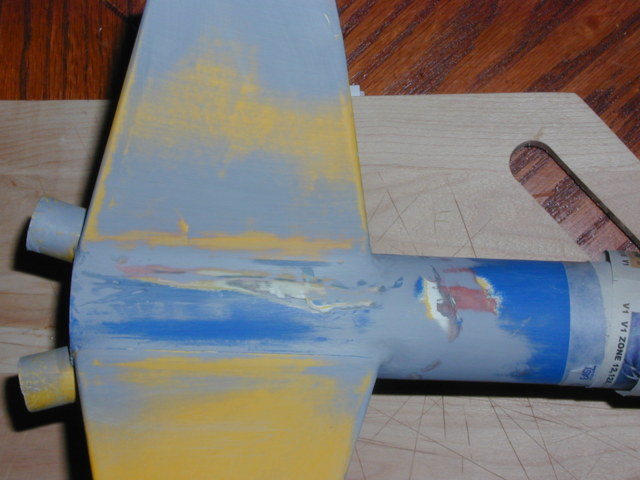
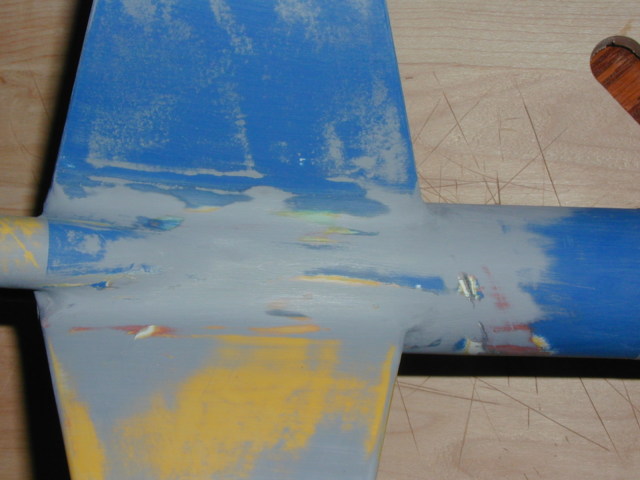
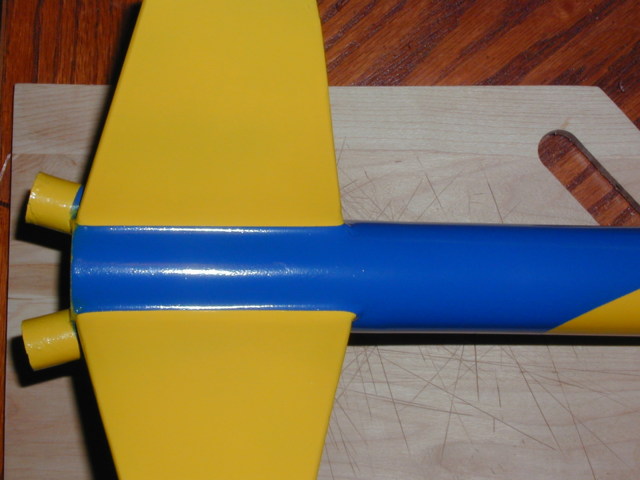
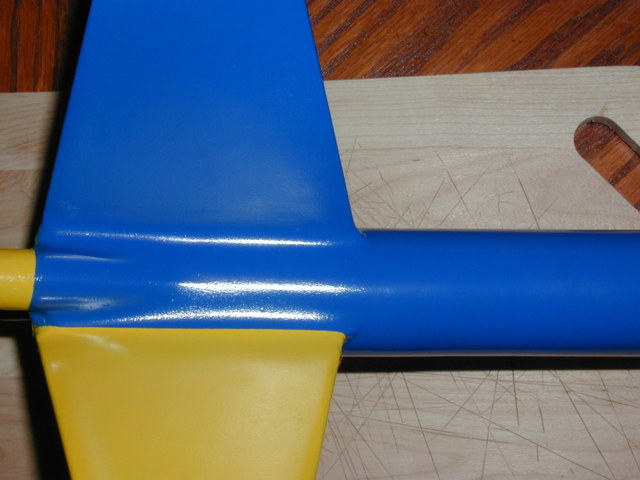
Repairing a Rocket That Has Broken into Two Pieces

I received the Tour De Deuce's on 7/2/04 and was happy to try to put them in the air on 7/4/04. We had calm evening and so my son and I rushed out to our local field which had been hayed and set up. I decided I would just get going with one of the Deuce's (later to learn it was DW#2). I loaded it up with two Quest C6-5's and set up. Upon ignition, which my son pushed the button for, only one motor lit and it came off the pad about 10 feet turned at a 30 degree angle downward and flew into the ground. The ejection separated the rocket from the nose cone and there she lay. Broken in two!


Upon impact the DW#2 broke through at a stress point just above the fin-can. The rocket had already been repaired "above" this break, as there is a coupler that appeared to run to within inches of the top of the body tube. Also below this point is where the motor coupler was. A BT60 Coupler was glued in place and the tube was pushed back to where it met the fin-can. The loosened fin was lifted so that CA could be put under it and then clamped to dry in place. The tube joint was then soaked in CA to harden the paper tube. Everything was then ground with a Dremel and 100 Grit paper to take off the high edges. It was then re-CA soaked. A very thin epoxy coats was placed over the existing fin fillet to secure up that crack.
CLICK TO ENLARGE
Click To Enlarge
CLICK TO ENLARGE
Click To Enlarge
Bondo Glazing compound was added. I went ahead and fixed a couple of the fin wounds while I was at it. The glazing was sanded down to a minimum simply to allow the proper filling. I kept the sand to only the fin-can and blue area.
CLICK TO ENLARGE
Click To Enlarge
CLICK TO ENLARGE
Click To Enlarge
Plasti-Kote Filling Primer was then used to further level/smooth things out. You can see how I protected the upper section. The tape was above where I sprays so that it didn't make a definite line. I then feathered it out. Working around the motor tube was a bit tough, but this side really needed some work. This took about 4 coats of primer to take out as many flaws as I could. My focus was on the tube break. I didn't focus too much on the fins, but did clean up a couple of the dents. The primer was sanded back with 400 grit so that as little primer was left as possible.
CLICK TO ENLARGE
Click To Enlarge
CLICK TO ENLARGE
Click To Enlarge
I then coated the fin-can and damaged area with Krylon White primer (it had looked like it was originally done this way and I didn't want grey primer to change the final color). I then target sprayed the yellow-fins. I also did a very light spray of the upper body/nose cone to "freshen it up". I masked off the yellow sections and sprayed the blue to finalize the repair. The rocket looks good.
CLICK TO ENLARGE
Click To Enlarge
CLICK TO ENLARGE
Click To Enlarge
Finished

Contributed by Nick Esselman

- Post a Comment -

What You Can Do